
Fluffy Dinner Rolls
super soft, quick and best ever


 4 portions
 90m
90mSome things truly cannot be bought. The experience of pulling apart one of these dinner rolls, hot out of the oven, smothering it in butter and devouring it. That is one of those things. No comparison to store bought rolls. You have to put in the work. Priceless.
What you will need
2-3 cups AP Flour
½ cup Milk
3 Tbsp Butter
1 ½ tsp Sea Salt
2 Tbsp Honey or Sugar
1 Egg
1 ½ tsp (6g) Active Dry Yeast
1 Tbsp melted Butter
Sea Salt
(Nutritional facts 338 calories, 7.06 g fat, 58.18 g carbohydrates, 9.57 g protein, 119 mg cholesterol, 910 mg sodium)How to cook
1
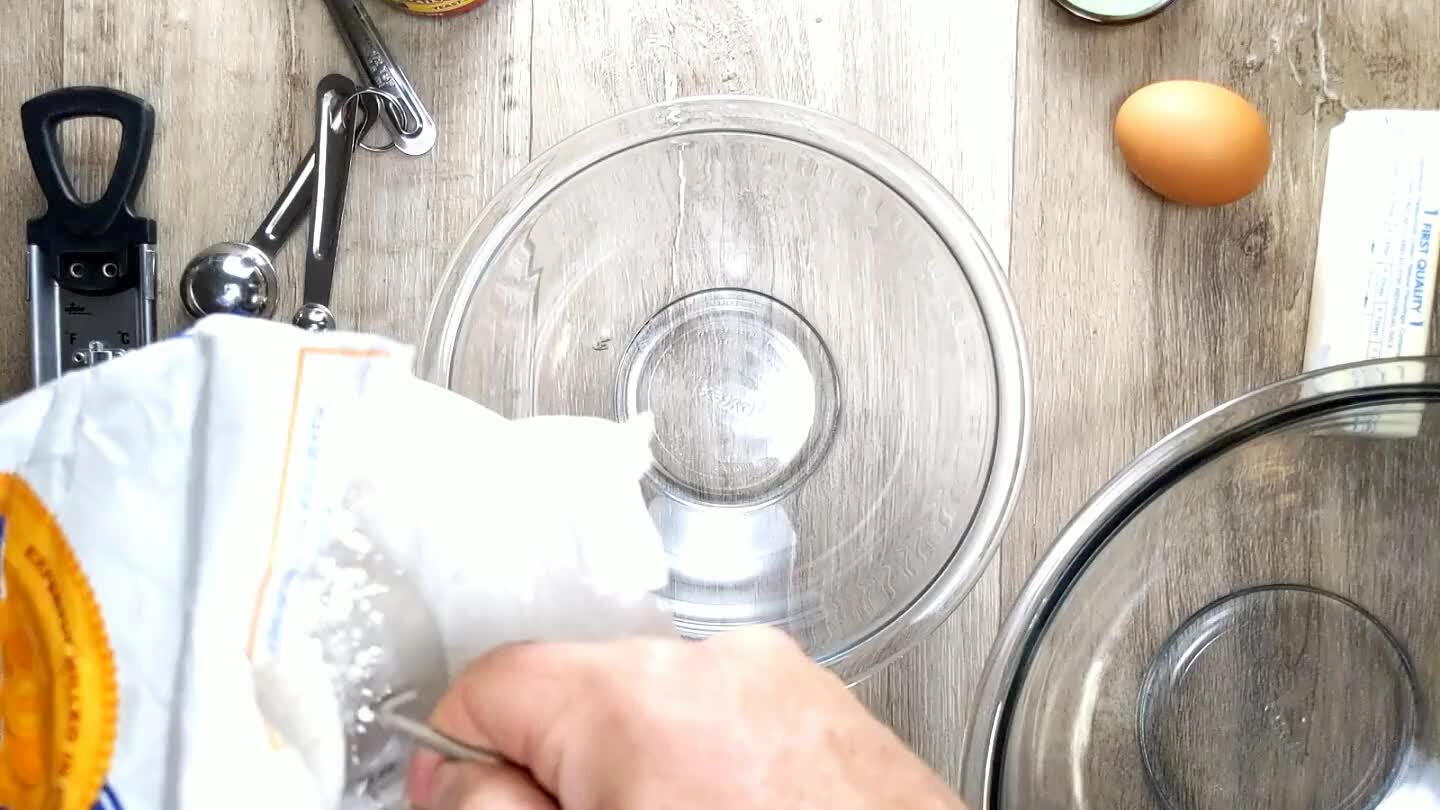
Set aside a few cups of flour in a clean bowl. When we add the flour later, we want it to be easy to get at.
2
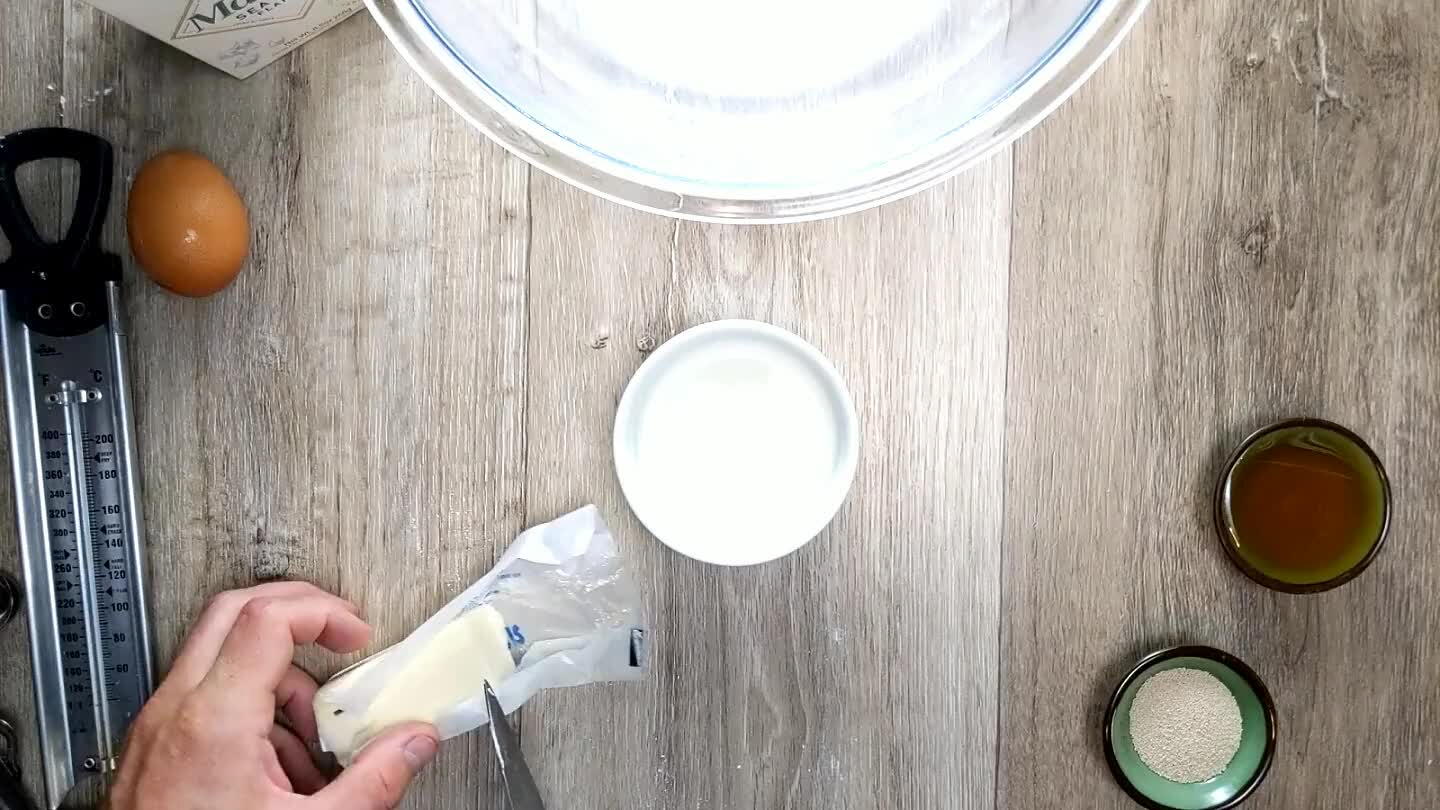
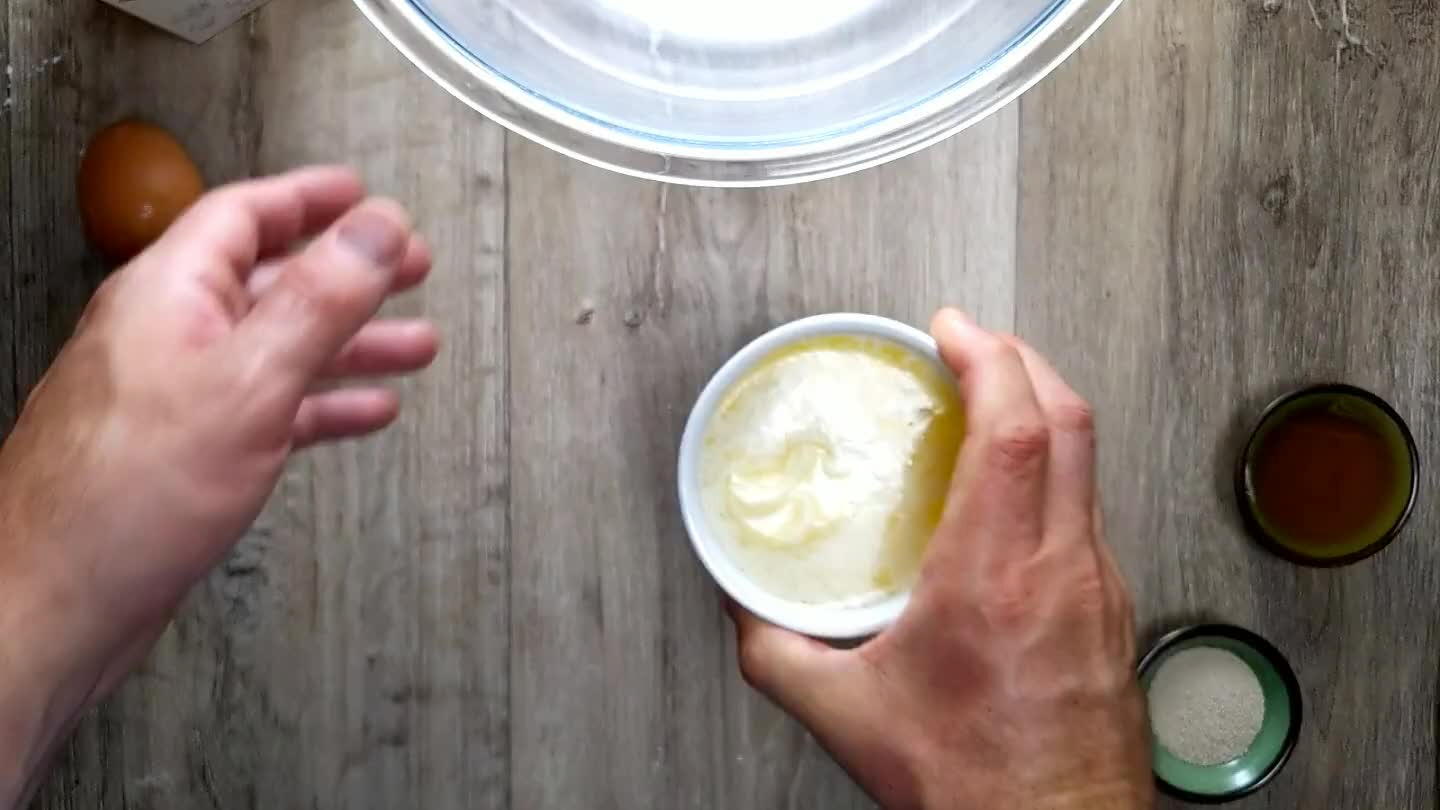
Place 3 Tbsp of butter in a microwave-safe dish with 1/2 cup of Milk.
3
Microwave briefly (45-60 seconds) to warm the milk and melt the butter. The mixture should be hot to the touch, but not uncomfortably so. If you have a reliable thermometer, you want to the temperature to be somewhere around 110°F-120°F.
4
Mix in about 1 ½ tsp of Sea Salt. I've said it before. I'll say it again. I love Maldon salt.
5
Pour in the honey. Sugar works fine as well in the same amount. Most sweeteners should work fine actually, as long as they contain actual sugar. The yeast likes the sugar, so if you use a sweetener that the yeast can't eat, your dough might not rise as fast.
6
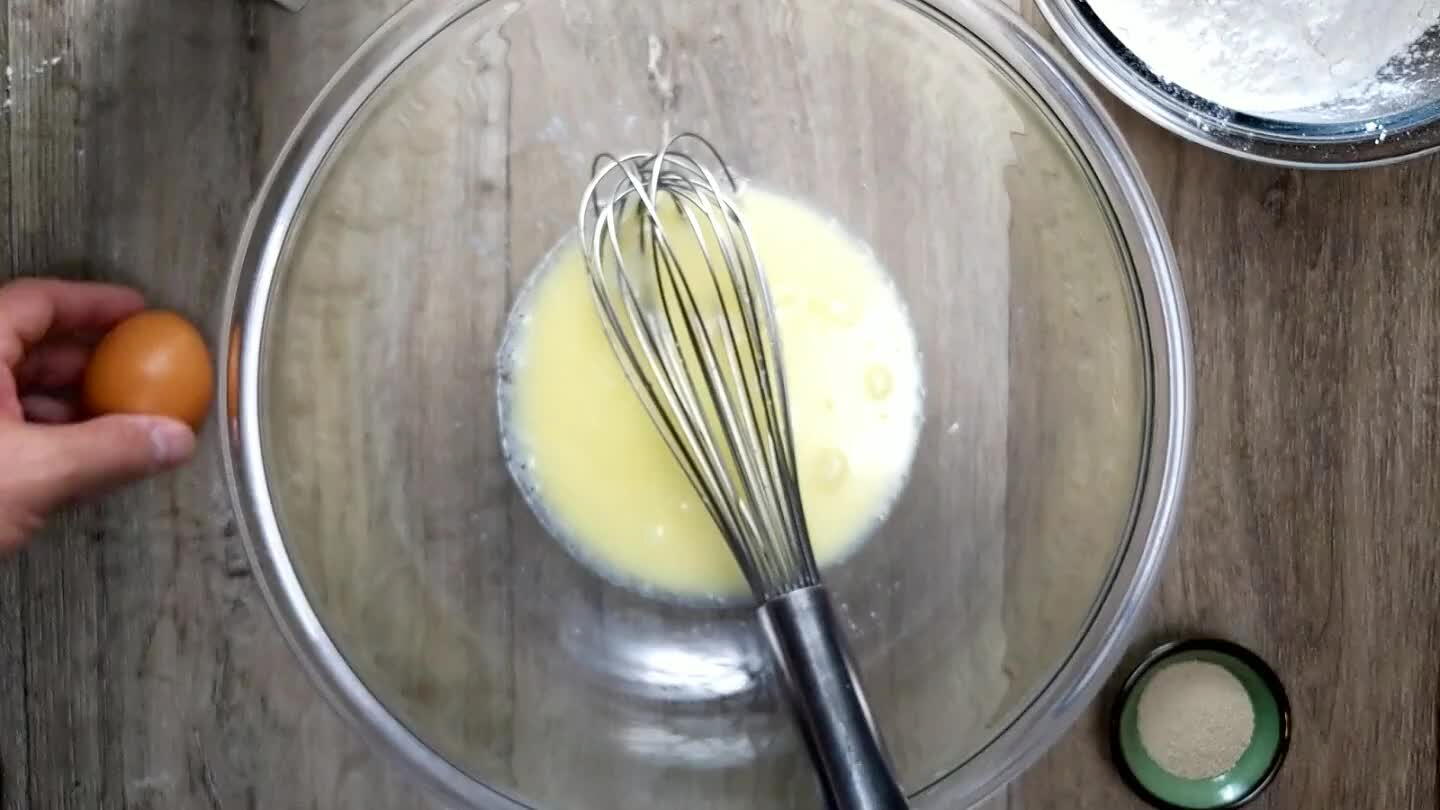
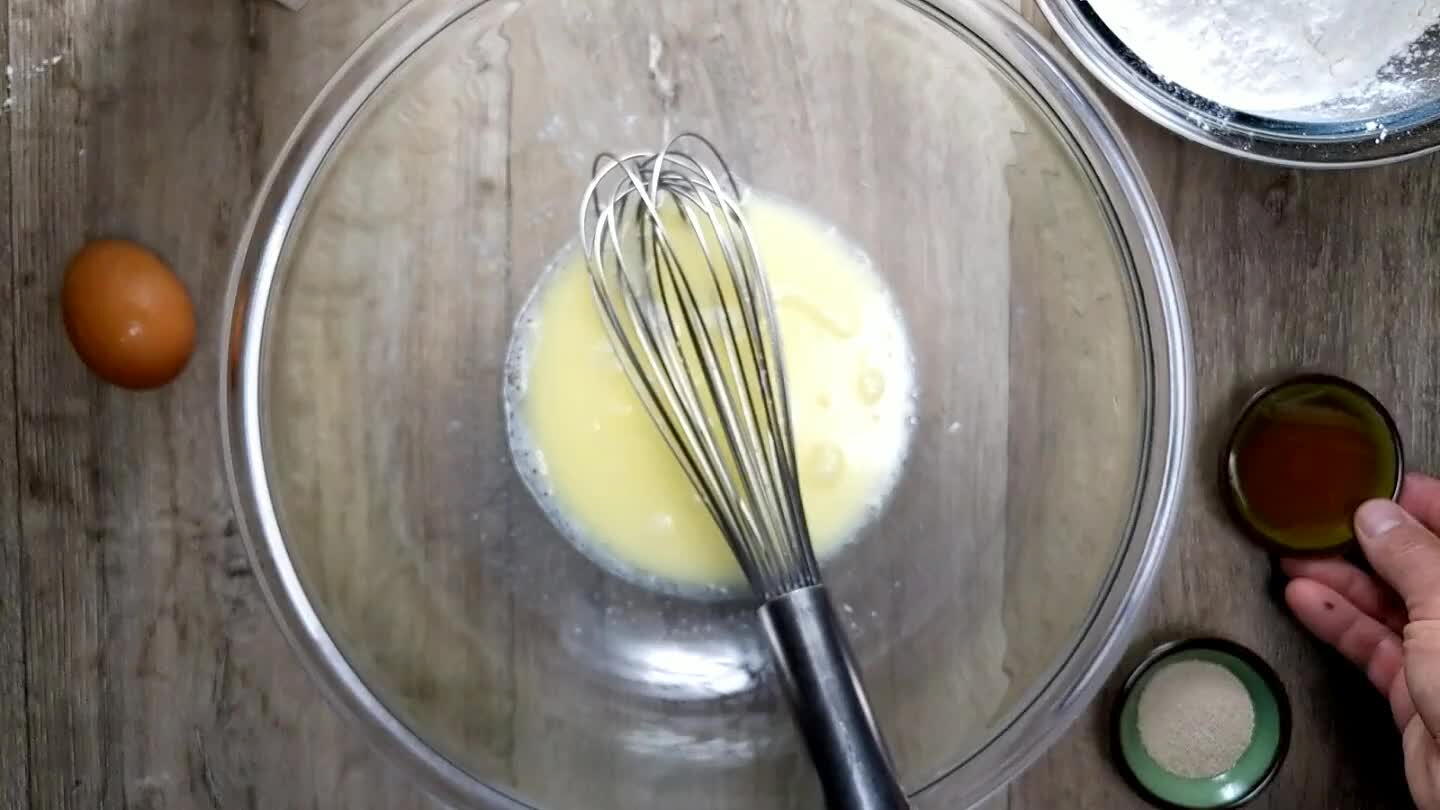
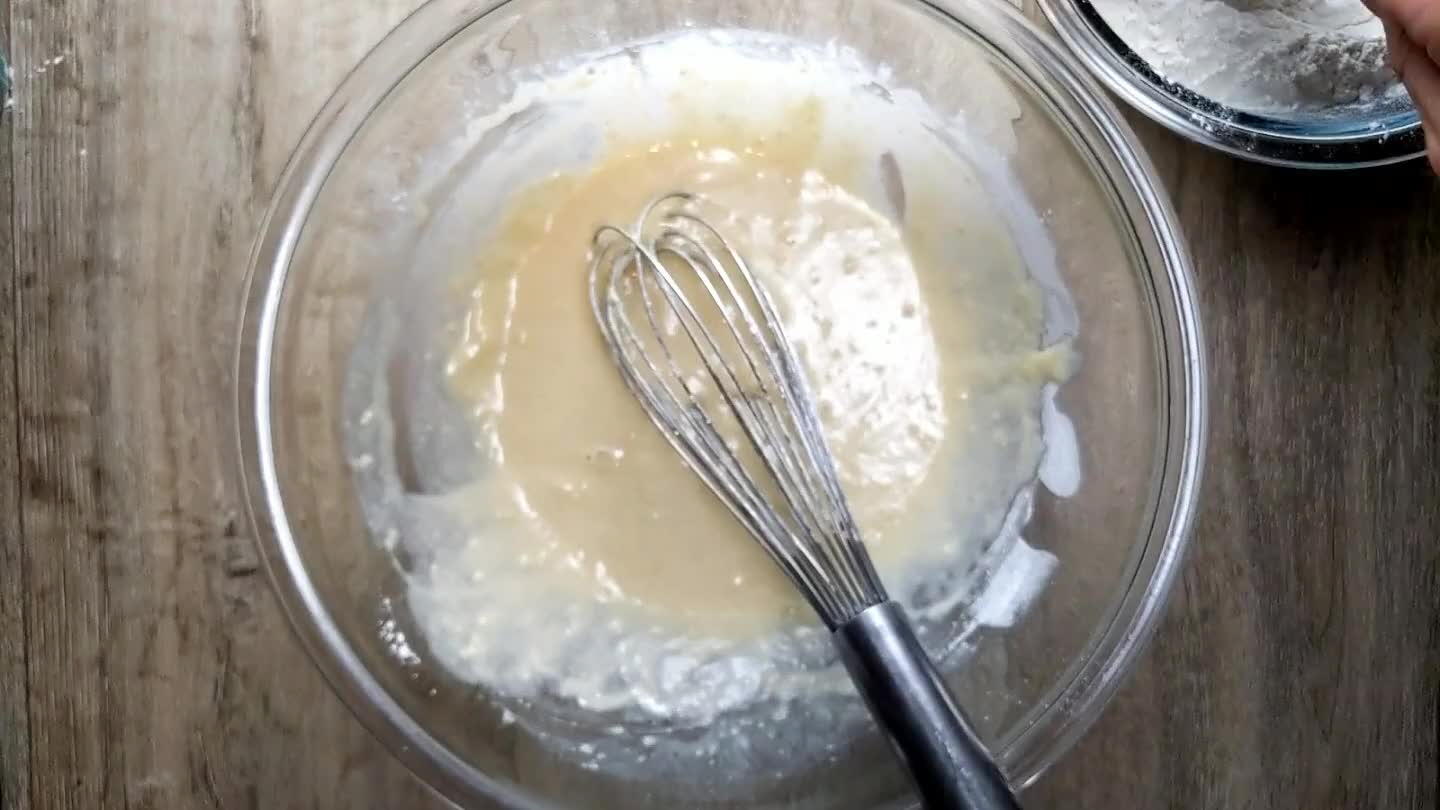
Add the egg and whisk it in thoroughly.
7
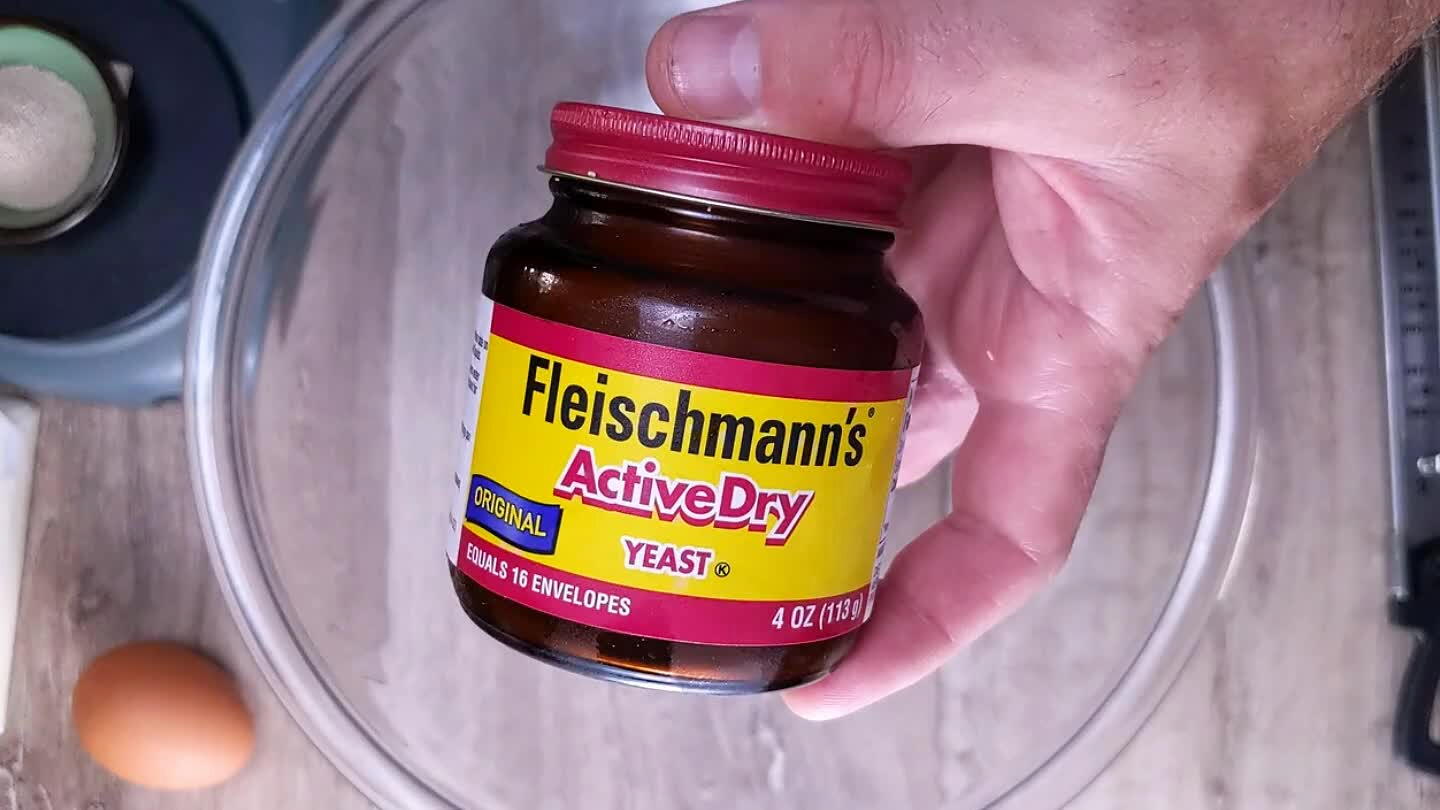
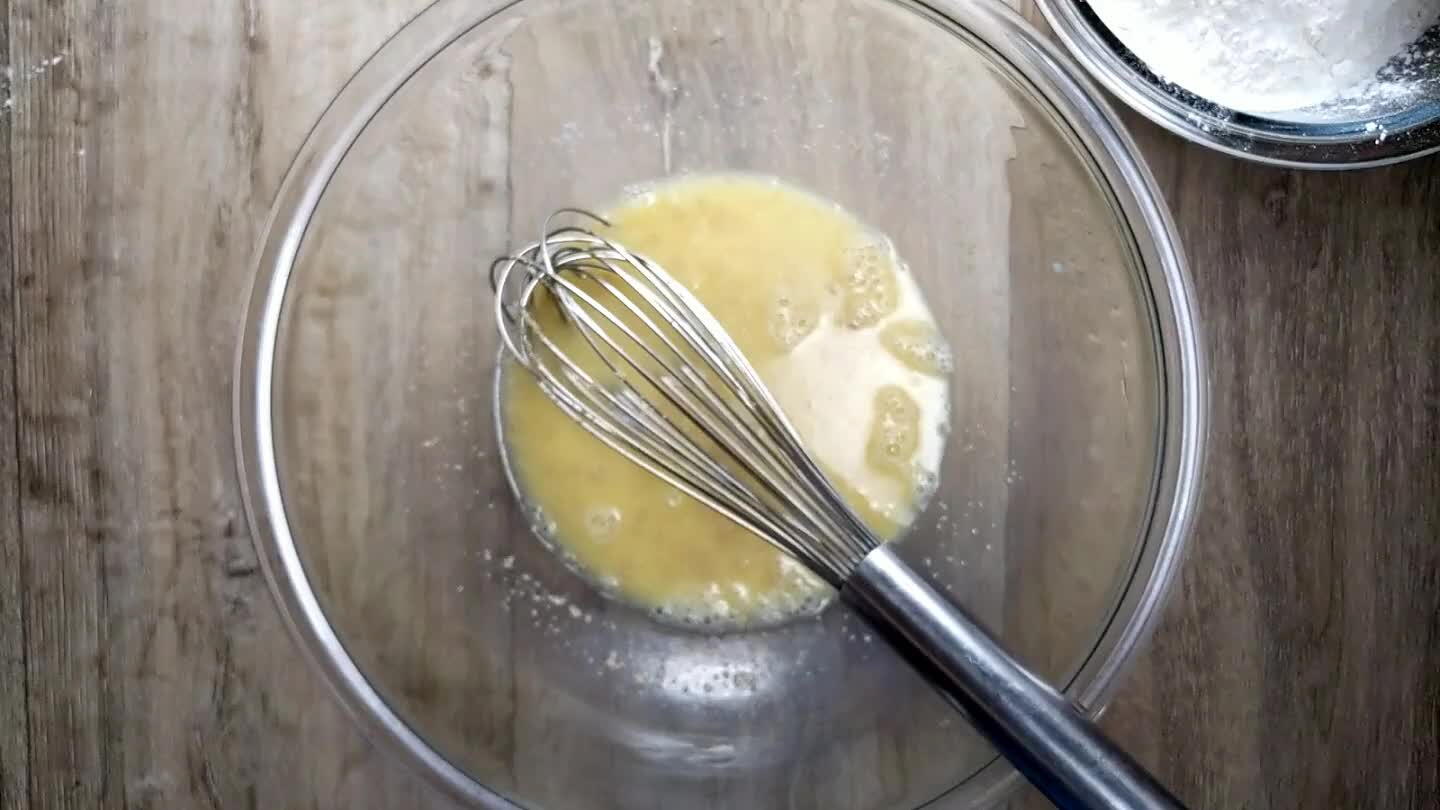
Add the yeast. The whole point of checking the temperature earlier is really to make sure that the yeast is happy. Yeast reproduces most quickly around body temperature. Too hot and it dies, too cold and it never really gets going. Either will keep your dough from rising. I used active dry yeast. If you use instant yeast, you should reduce your proofing time by 25% at least.
8
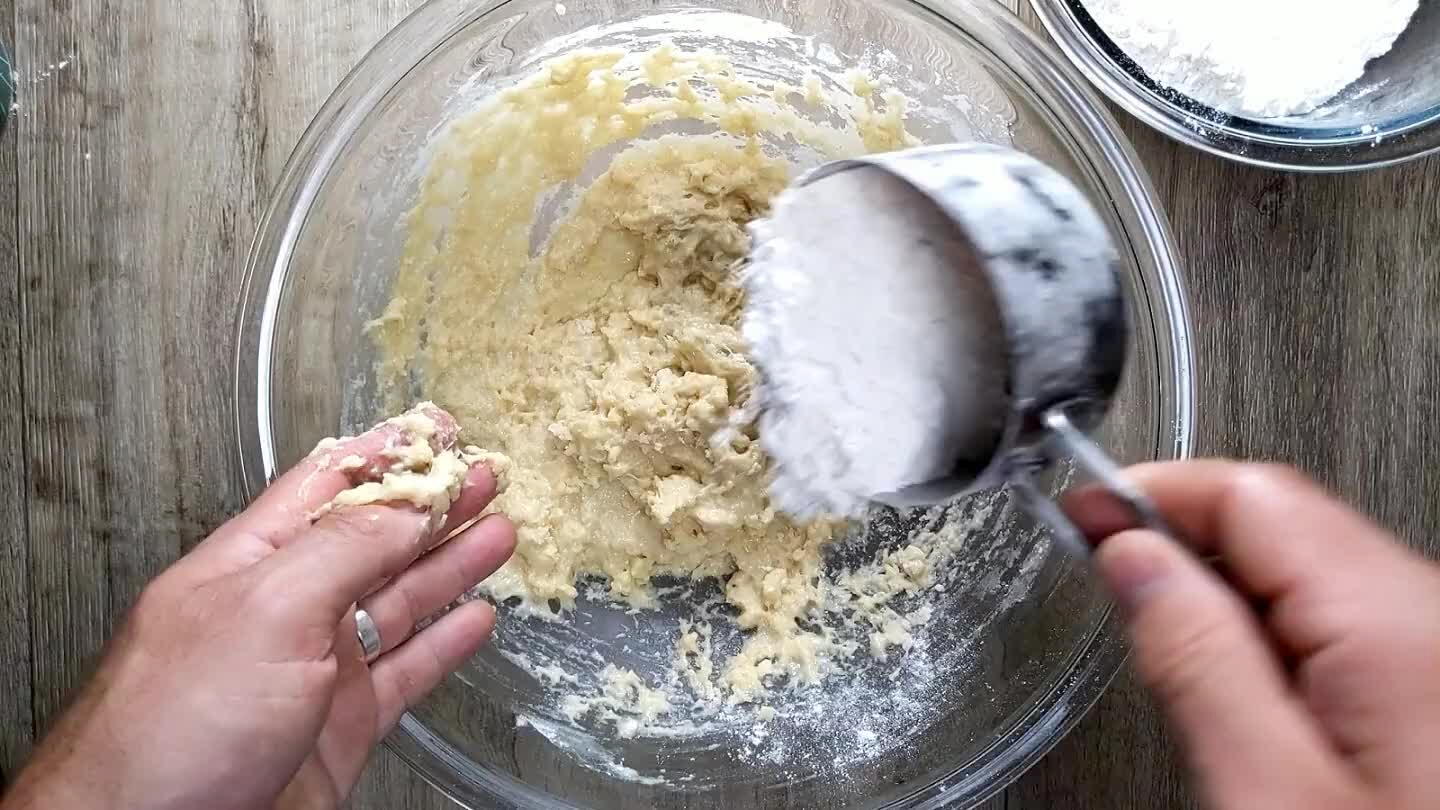
Add 1 cup of flour and mix well. We don't have an exact measurement for the flour because the amount required can vary slightly, as you will see.
9
As the second scoop of flour is thoroughly incorporated, it should start looking more like a dough. If you're using a whisk, clean it off and transition to mixing by hand as the dough gets too thick to whisk.
10
Continue to add the flour in smaller amounts. Scrape your hand along the bowl to clean the sides. Stretch the dough up and over itself repeatedly to incorporate and disperse the dry flour.
11
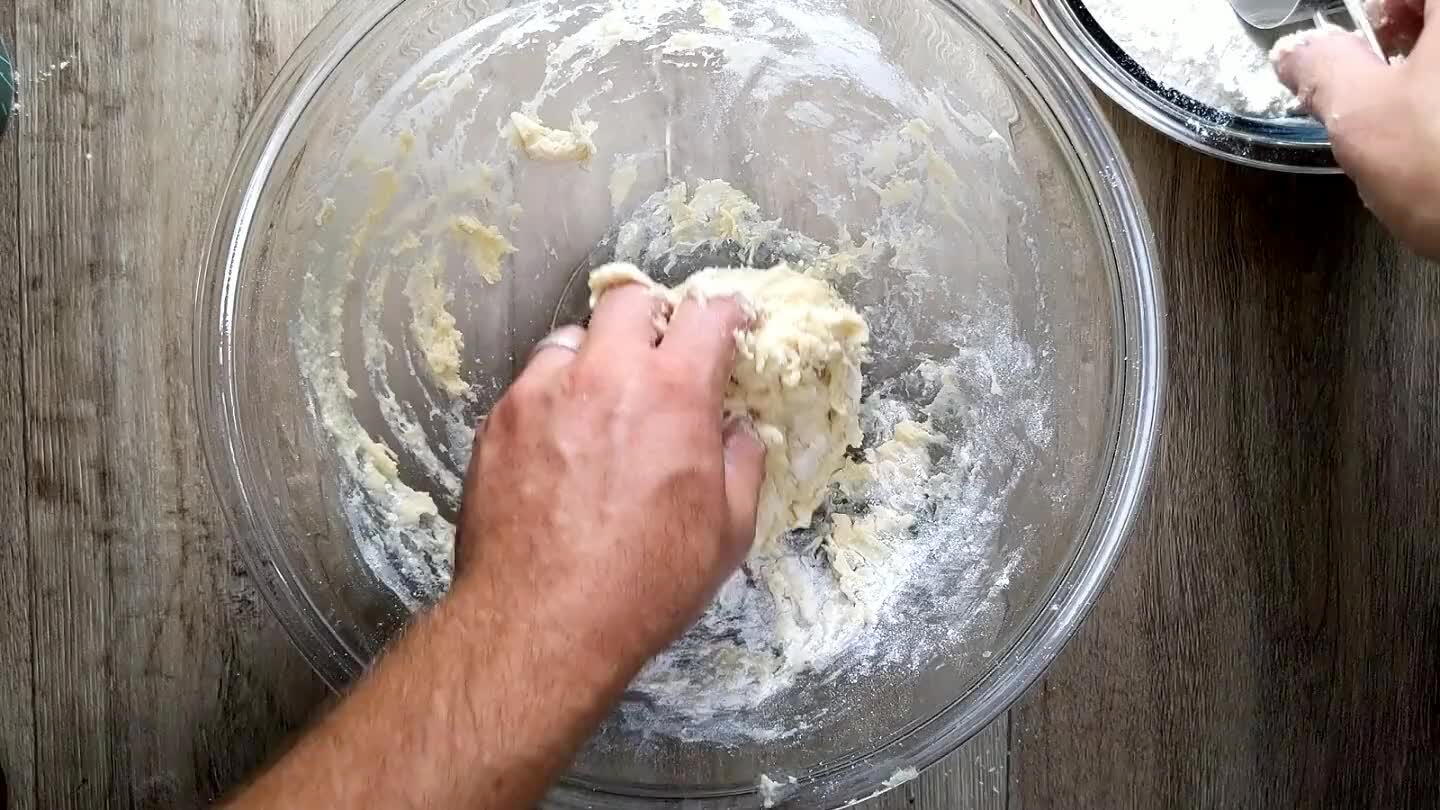
See how the dough is beginning to come away from the bowl, but still sticks to my fingers? We're getting close here.
12
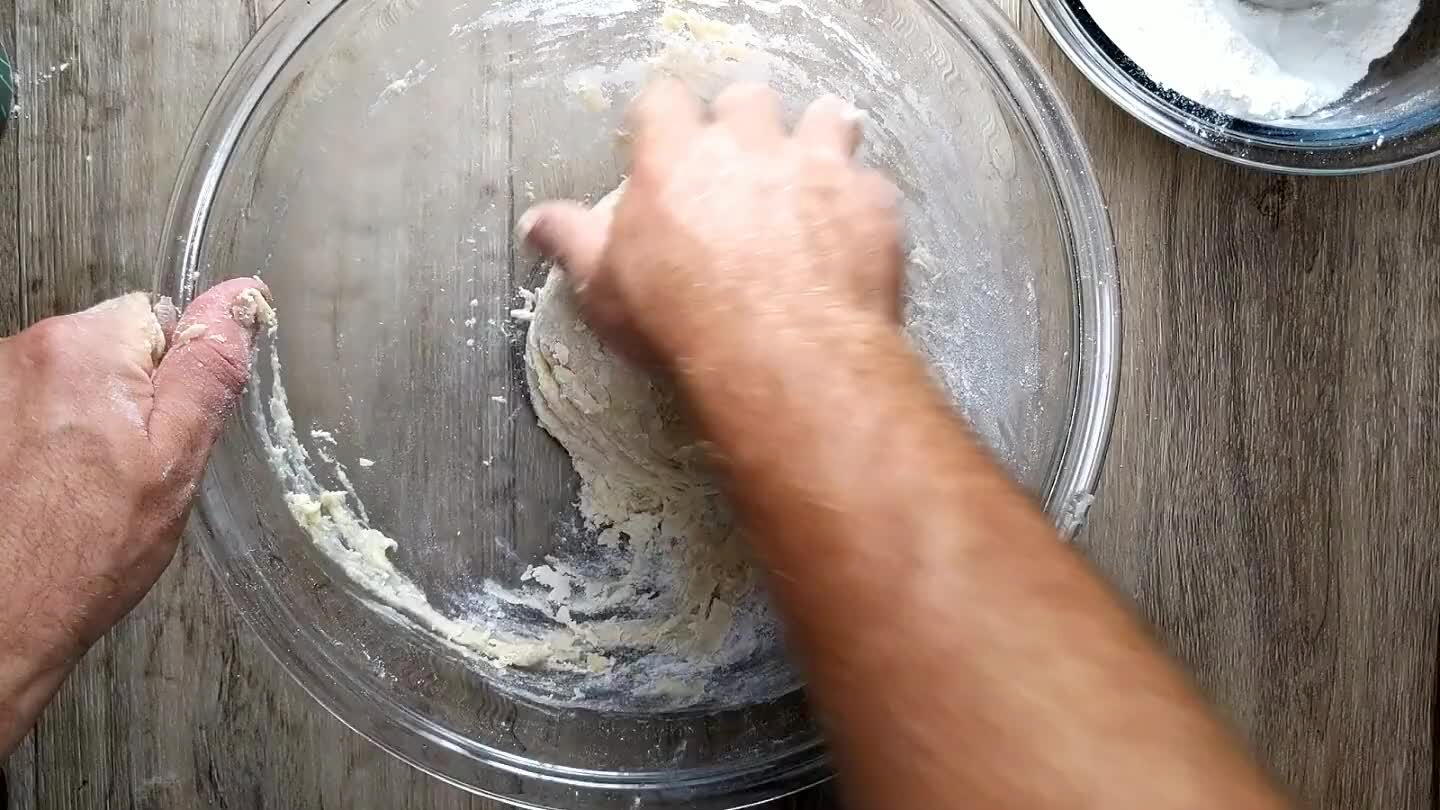
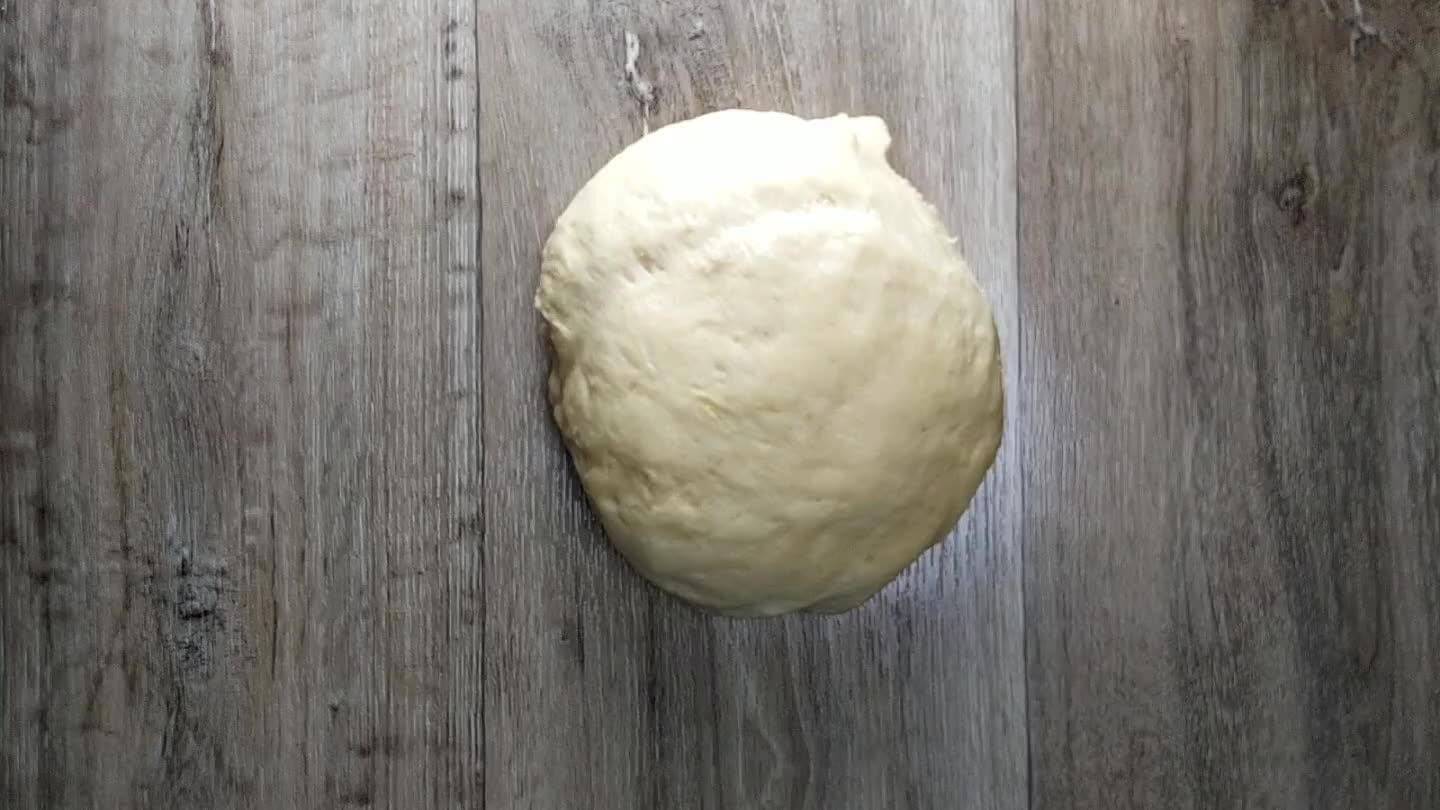
Alright! The bowl is clean. You can knead the dough without it sticking to your fingers, and yet it is still moist and stretchy. Perfect!
13
Kneading can be a little intimidating at first, but it's really easy and kinda fun. Use the heel of your palm to smoosh and spread out the dough into a pancake. Then use the opposite hand to fold the pancake on top of itself and repeat. Do this for a few minutes to develop the dough a little. Make sure to have fun. The dough knows if you're having fun.
14
Now cover the dough with a towel, set it in a warm place, and leave it alone for about 45 minutes, or until roughly doubled in size. If it's cold in your house, you can turn your oven on for a few minutes until it's around 100°F, then turn it off and proof the dough in your oven. Alternatively, place one edge of the towel over a bowl of hot water. Either technique will get your yeast excited and help speed up proofing.
15
Knead the proofed dough briefly to release some of the gas it's built up during proofing.
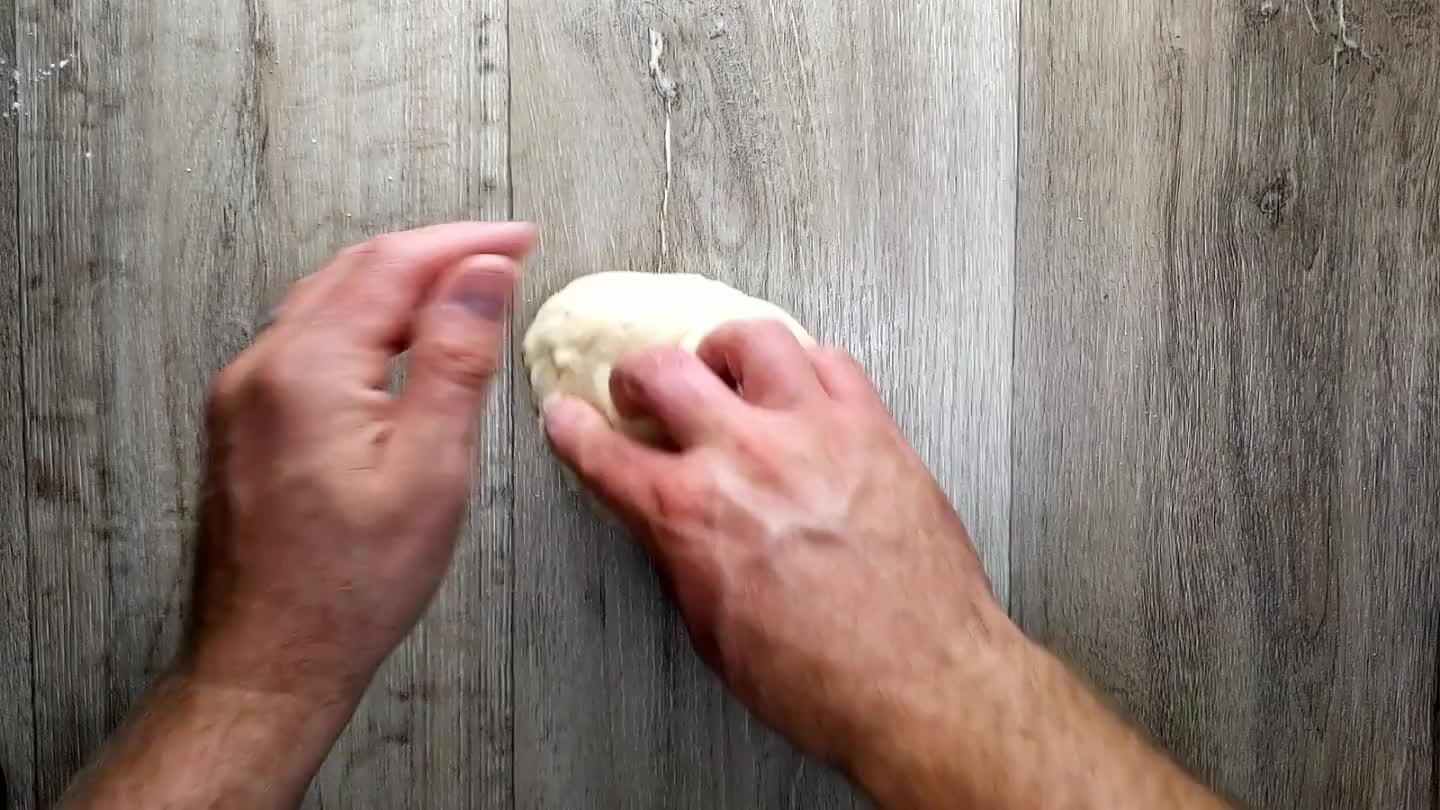
16
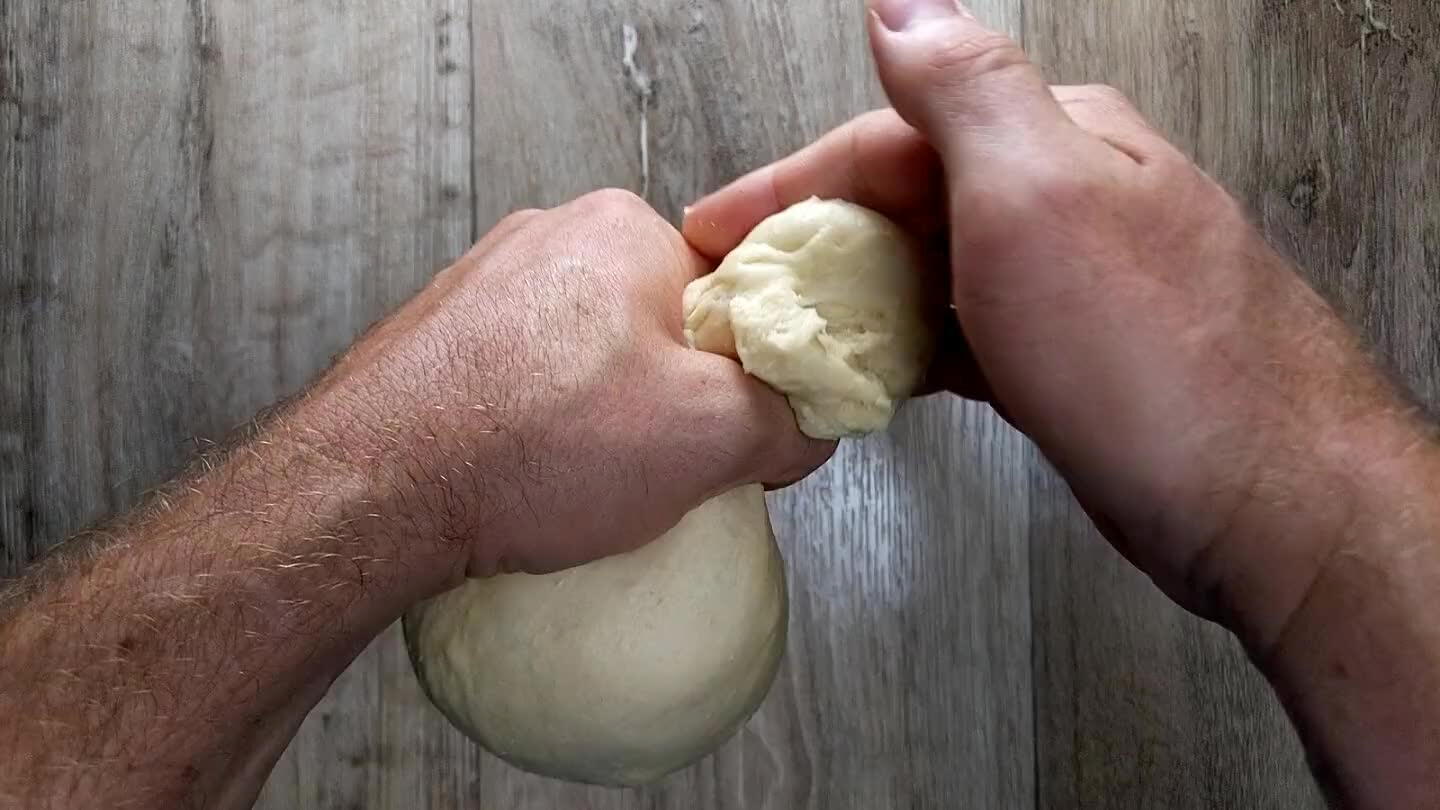
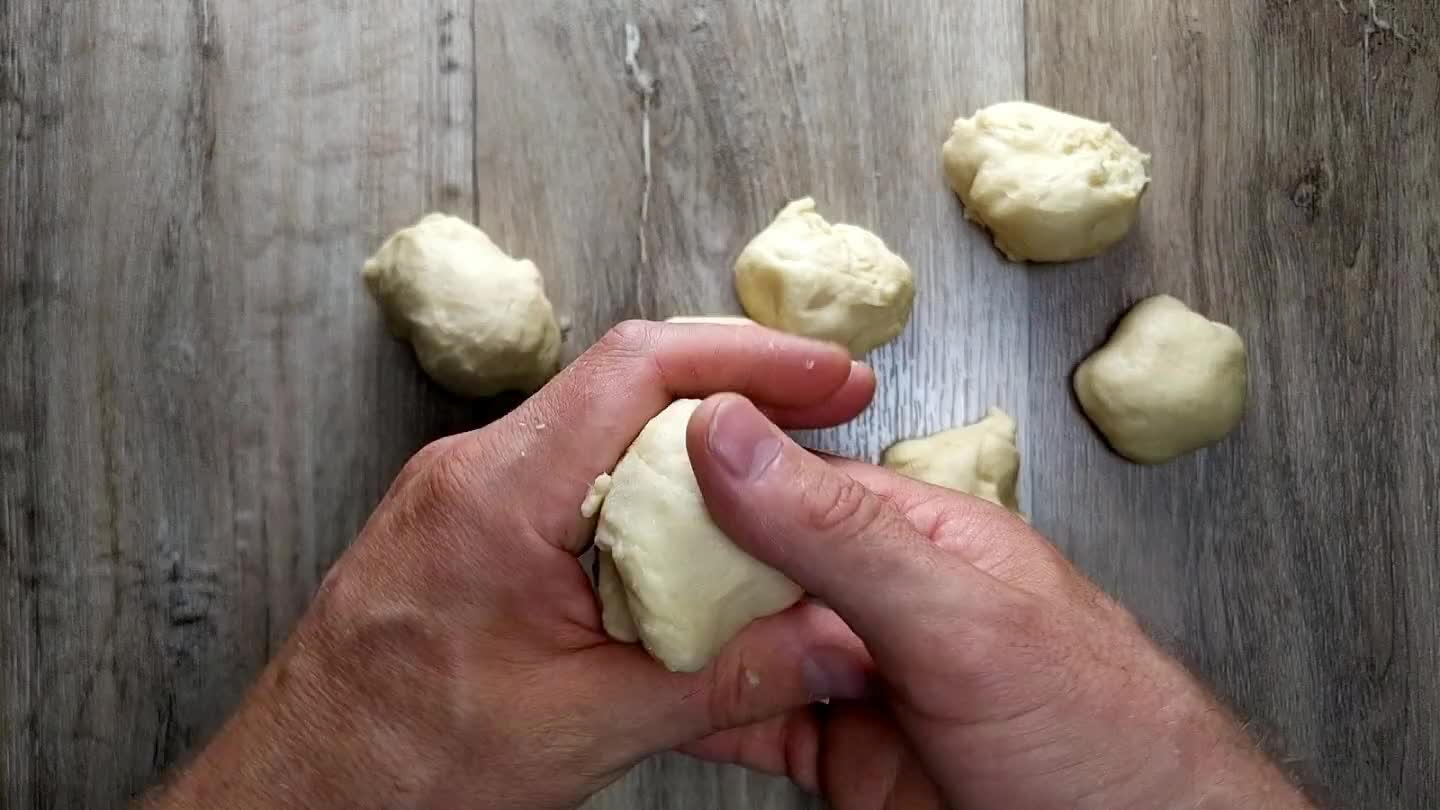
Tear the dough into 12 pieces of similar size. To do this, take up a piece of the dough, slightly smaller than a racket ball, and close your thumb and forefinger tightly around it. Use your free hand to cut the portion away from the main ball. Repeat.
17
I'll show you two different ways to shape your dinner rolls. They both taste the same, but one way comes out a little lumpier and more "rustic". The other way comes out smooth and round.
18
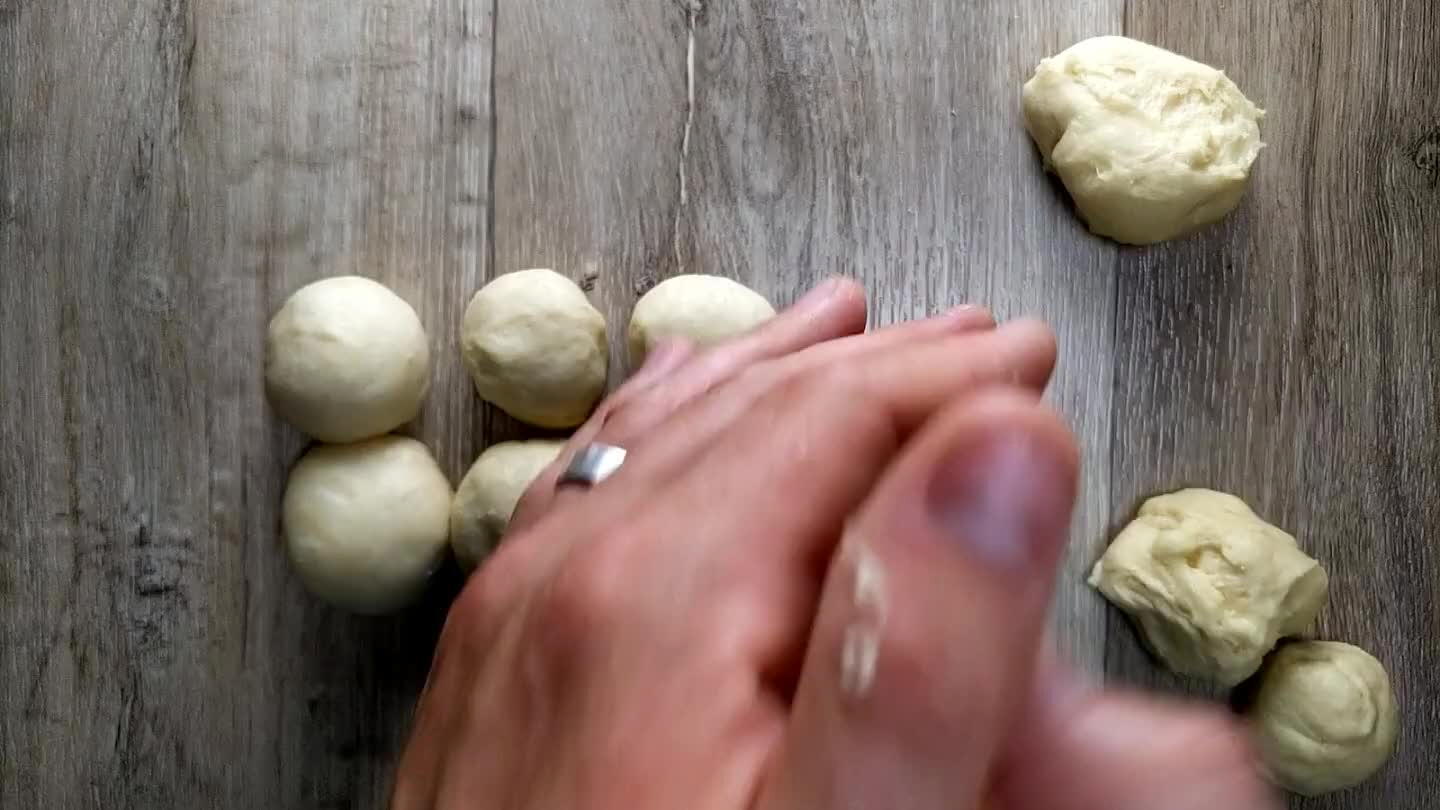
If you're in a rush or you don't really care how your rolls look, just roll them each into a ball between your palms and we can move on.
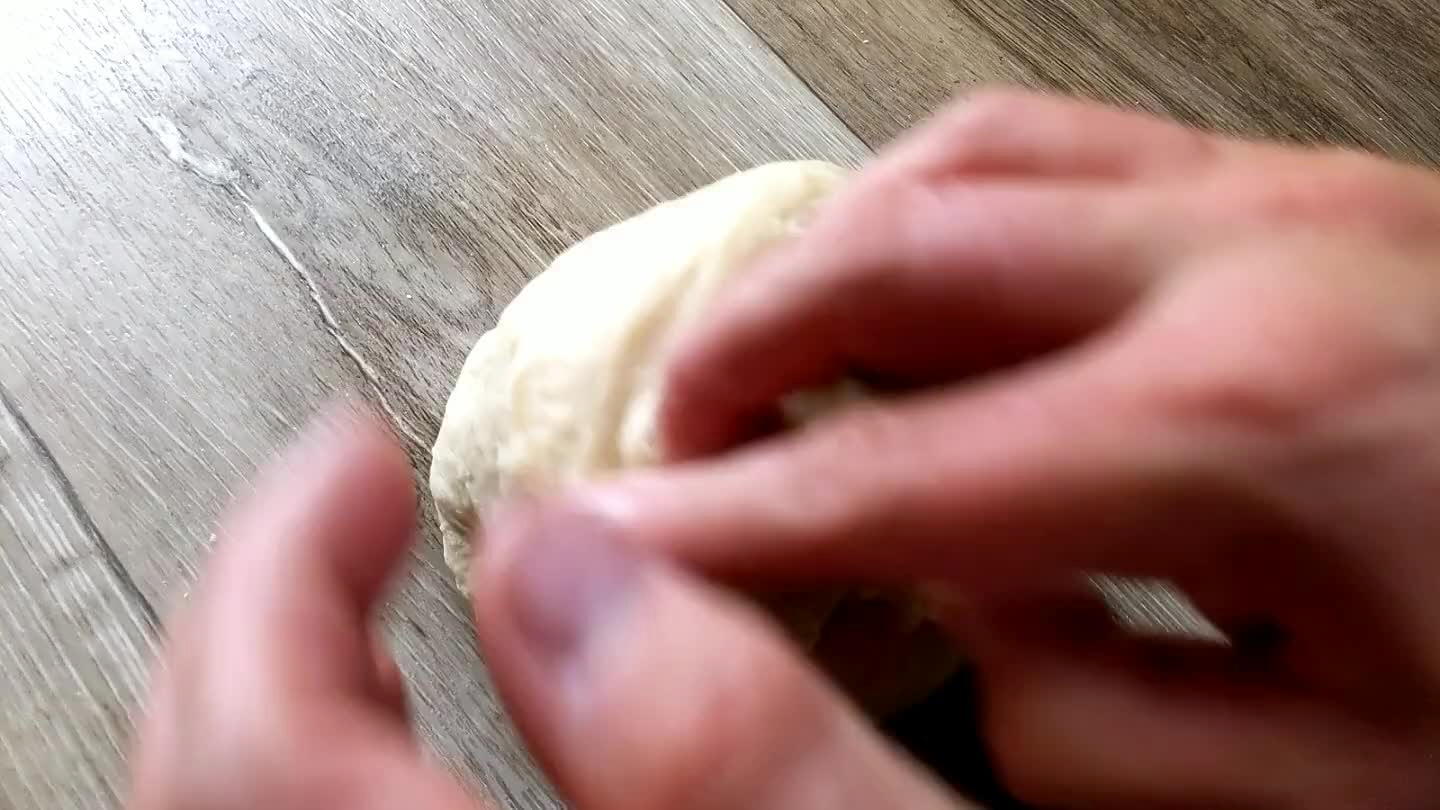
19
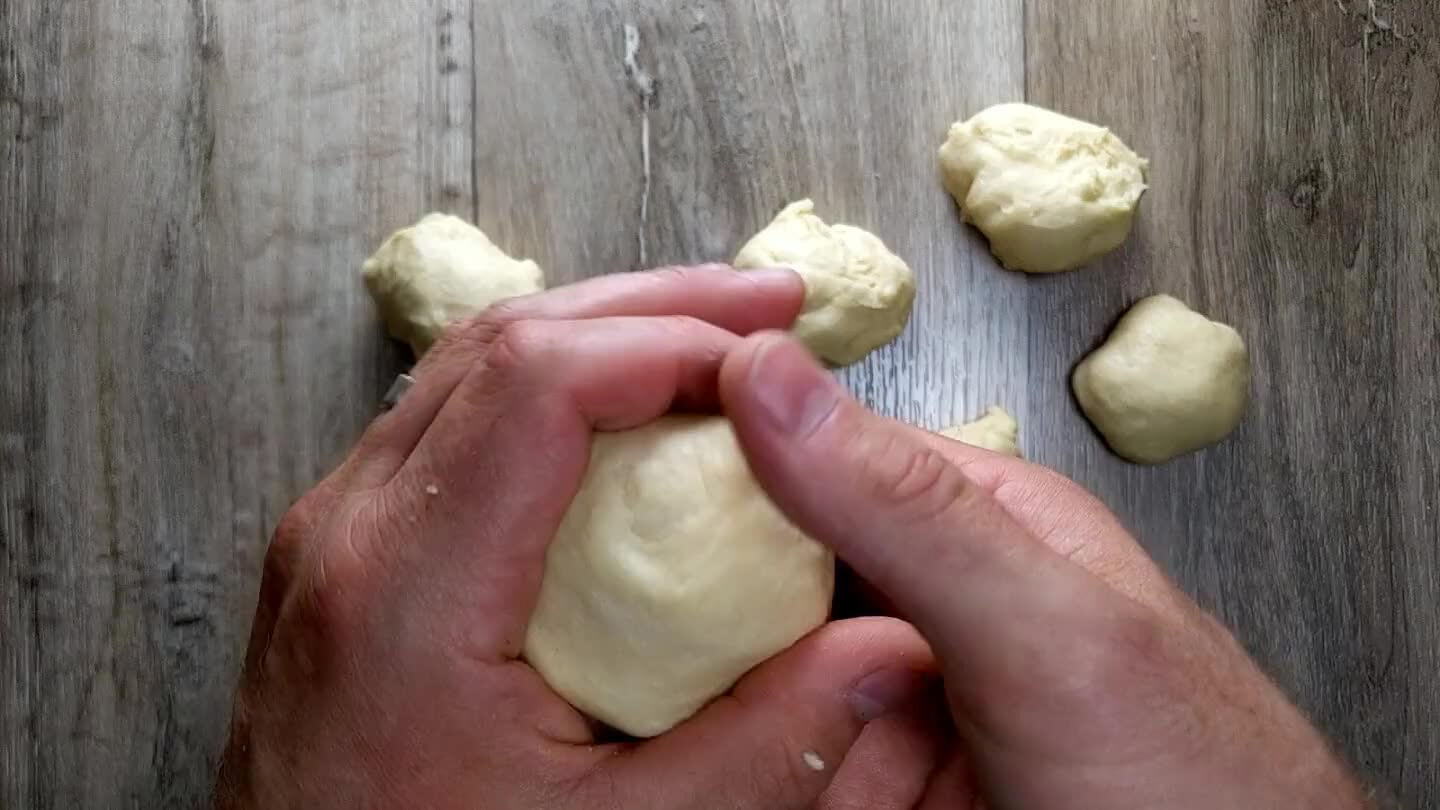
Use this technique if you want smoother, rounder and slightly fluffier rolls. Stretch the dough with your dominant had, holding it with your opposite hand, and tucking the excess in underneath it until the top looks smooth and round. Gently pinch the bottom to seal it.
20

Place a piece of parchment in a baking dish. Spray lightly with nonstick spray. This batch fits perfectly in an 8" square baking dish. The rolls bake best when they're crammed together. But you should be okay using an 8" or 9" round dish or just cramming the dough balls together in a larger dish.
21
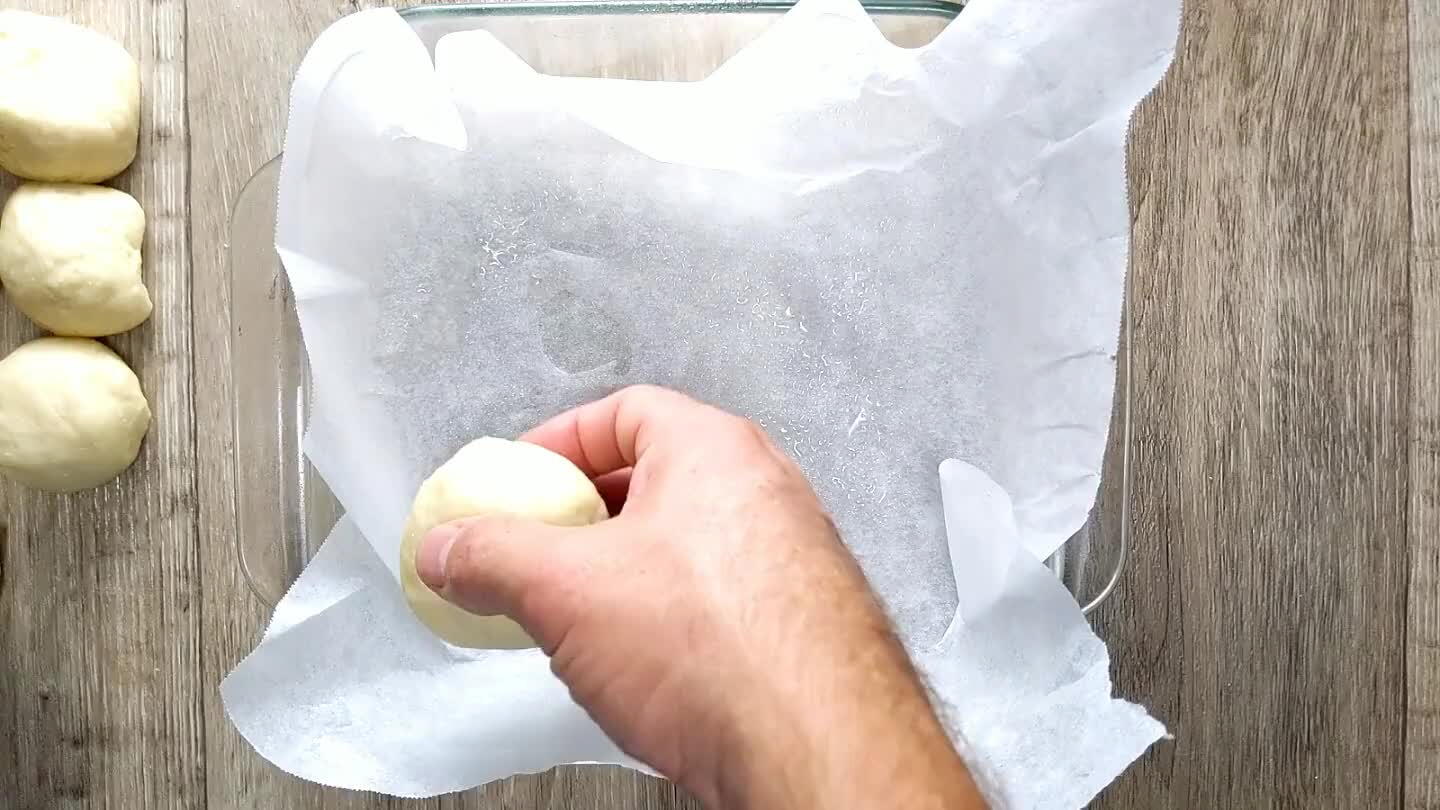
Arrange all of the dough balls in the prepared baking dish. They should all be touching.
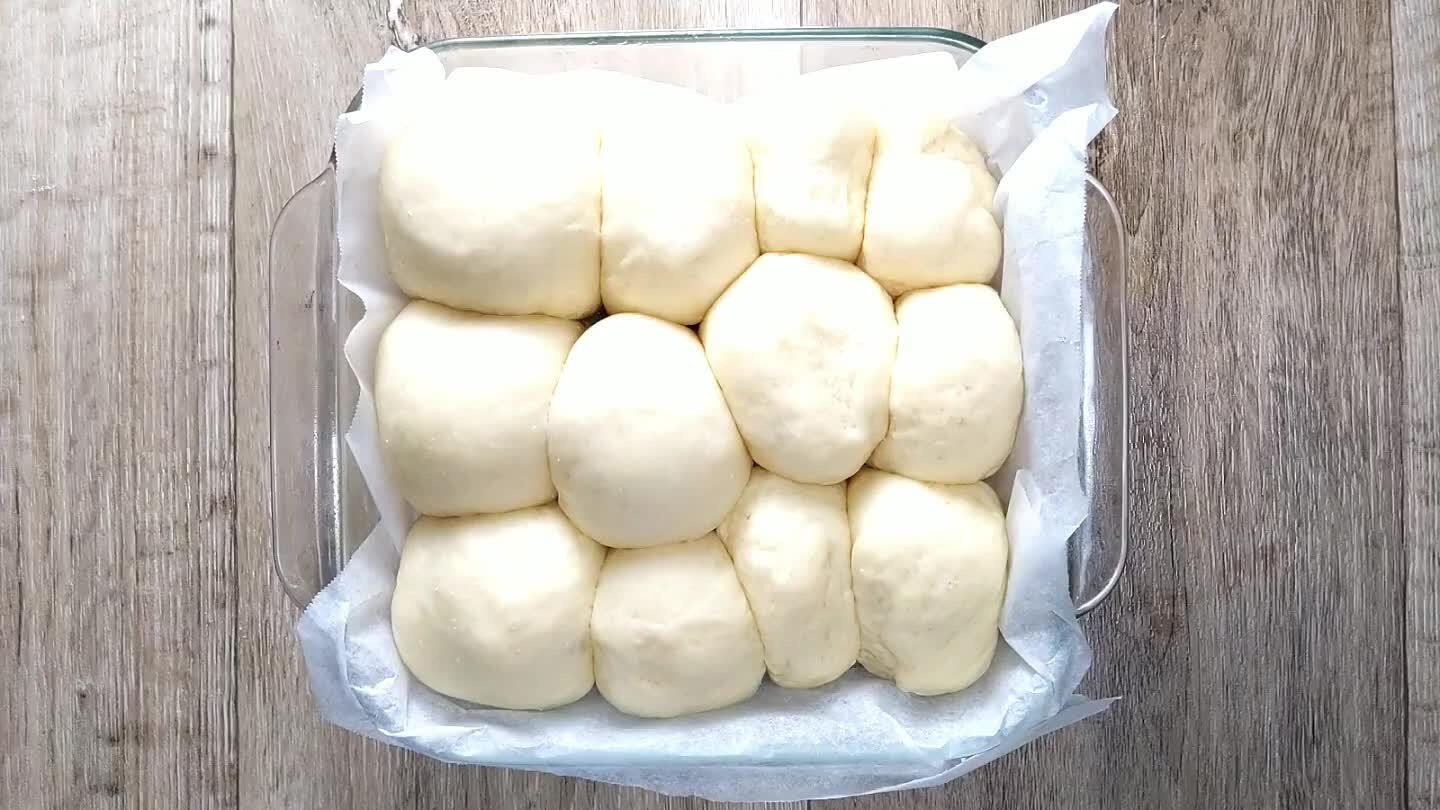
22
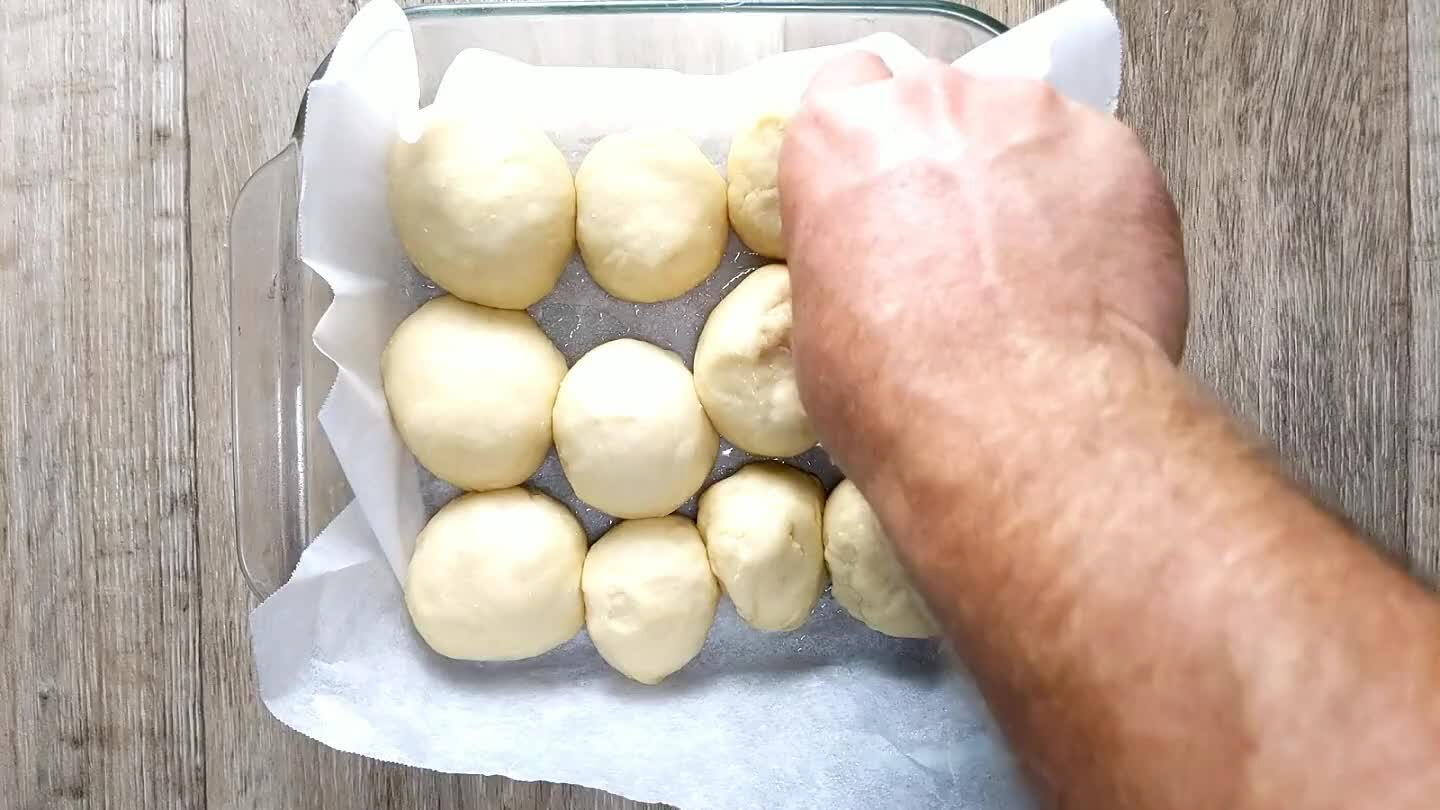
Drape a kitchen towel over the baking dish and let it sit for another 45 minutes or so. The rolls should again be roughly doubled in volume. Take a look at the video to see how they've grown to fill up all of the extra space in the baking dish. Being all squished together like that will help your rolls stay moist as they bake.
23
Preheat oven to 375°F
About half way through the second proofing, preheat your oven to 375°F
24
Bake the dinner rolls for 12-15 minutes.
25
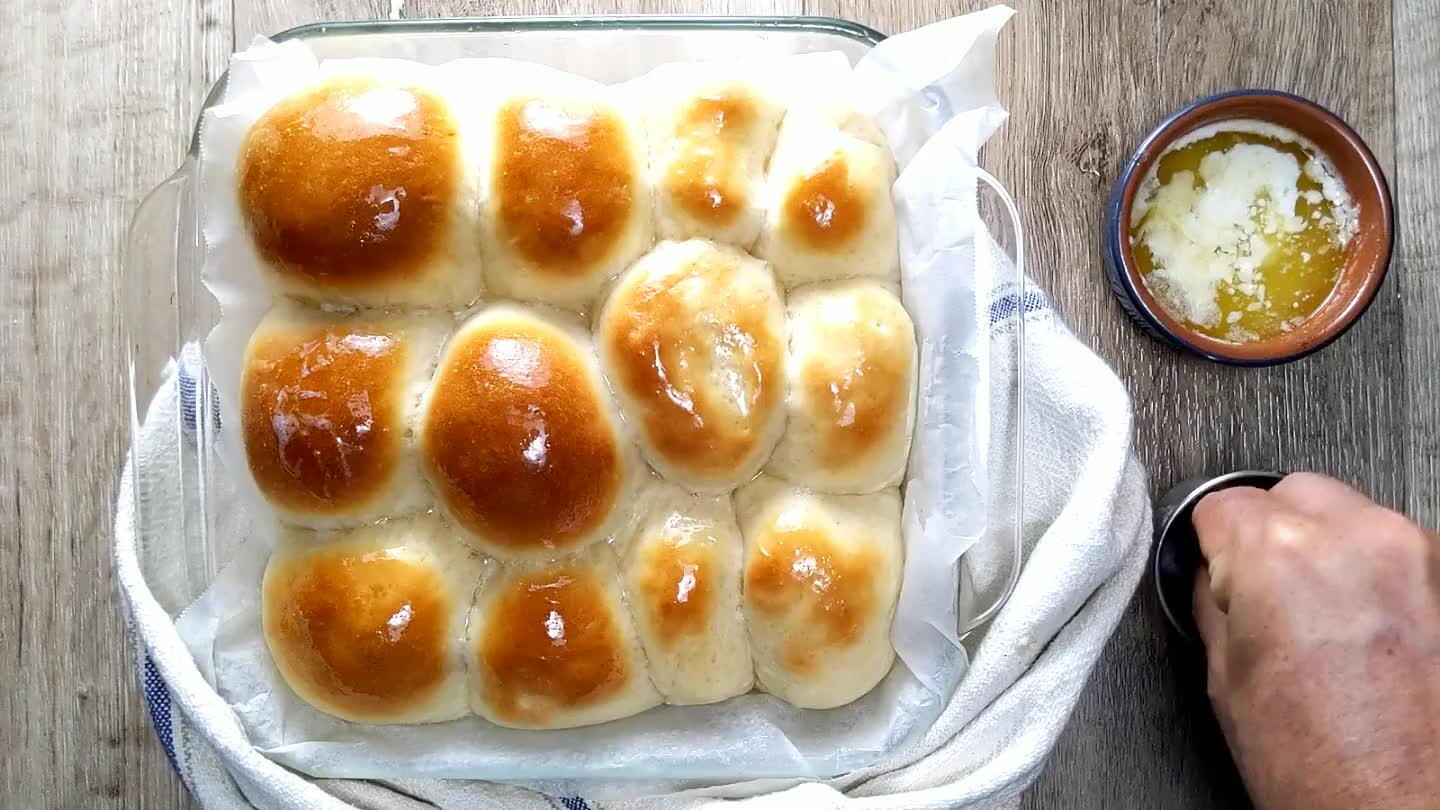
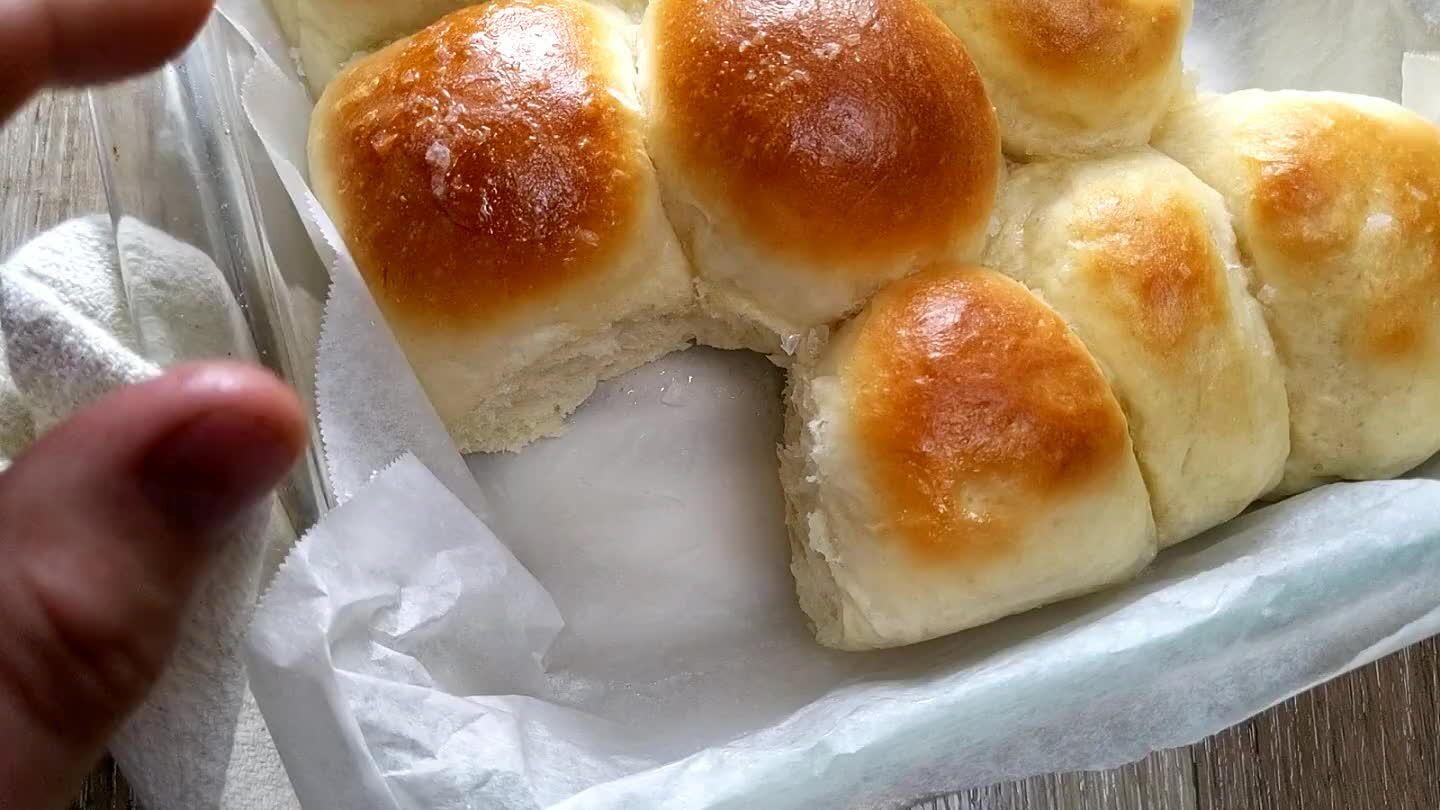
Finish with melted butter and sea salt. Don't forget to try one fresh out of the oven. You did the work, now enjoy the rewards. You can see here the effect of the shaping techniques. The rolls on the right were just quickly rolled in my hands (the easy way). The rolls on the left were stretched into balls (the less easy way). They both taste amazing but the ones on the left are rounder and fluffier.
26


Comments