
Ash and Walnut Jewellery Box
Old Design, Fantastic Gift


I wish I could take credit for this design, but it is a common one seen on Pinterest. I really liked making this box, so much so, that I added flocking and an internal sliding tray. I have tried to add a SketchUp drawing, but the app doesn't let me.
What you will need
Ash
Walnut
Hand Plane
Biscuit Joiner (not necessary)
Biscuits size 10
Glue
Saw
Finish of Choice
How to do this project
1

This part really is key for any woodworking project. I planed the front and sides to 15mm thickness and sanded thoroughly. Next I cut the slots for biscuits, but I have used a butt joint for this in the past and it worked well.
2

The legs are planned to 25mm square and 100mm long. I then cut the decorative curve in each leg, but this isn't essential.
3
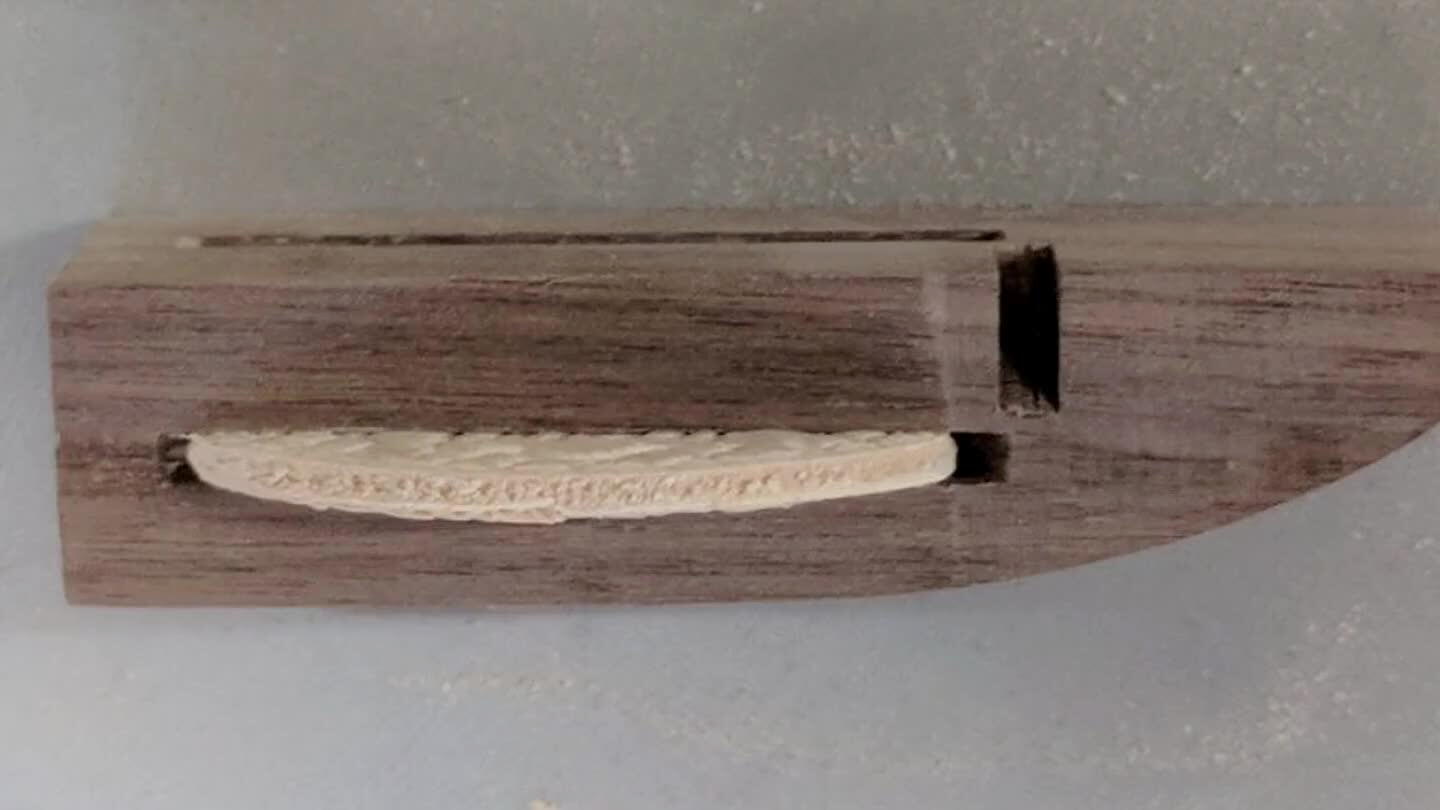
Cutting the biscuit slots in the legs is quite a challenge. I would do this prior to adding any curves, as balancing them is difficult when cutting the slots. Remember to put them in the correct orientation, or you may have slots cut on the outside.
4
Dry fit
Carry out a dry fit to make sure everything is aligned and that the slots are correct. This is the time to measure the box for the base.
5
I made my base out of 5mm ply and this was strong enough. Cut the slots in the sides and front to accept the ply by around 7mm. You will need to cut this slot in to the legs also.
6
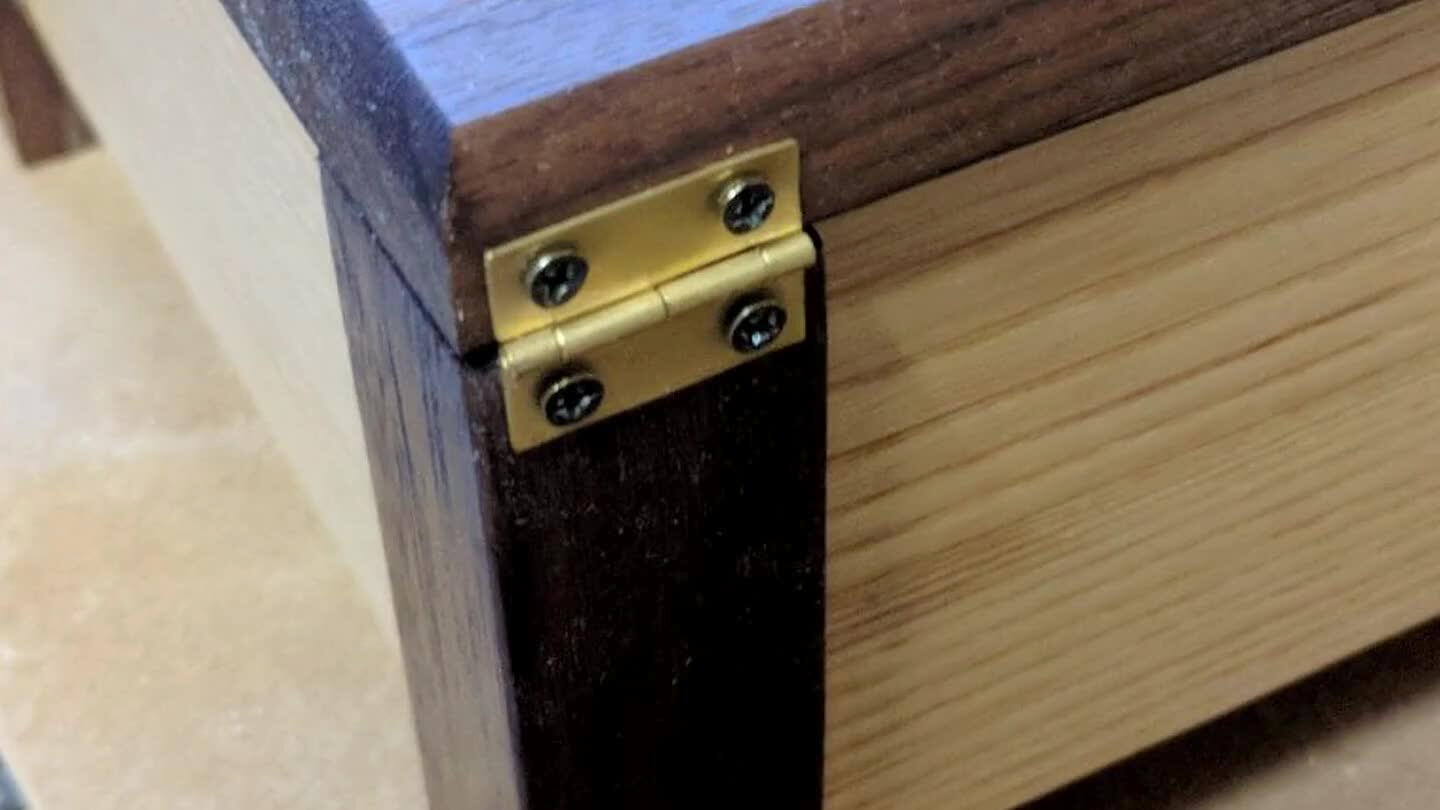
I made mine out of strips of Walnut and Ash for a decorative effect. This was joined to the box by 19mm hinges. These are my nemesis (hinges), so I put the hinges on the outside and I don't think they look too out of place ?
7
Assembly
The assembly was quite tricky. I turned the box upside down on a known flat surface and made sure that everything was in contact, the legs, fronts and sides. Then clamp up..
8
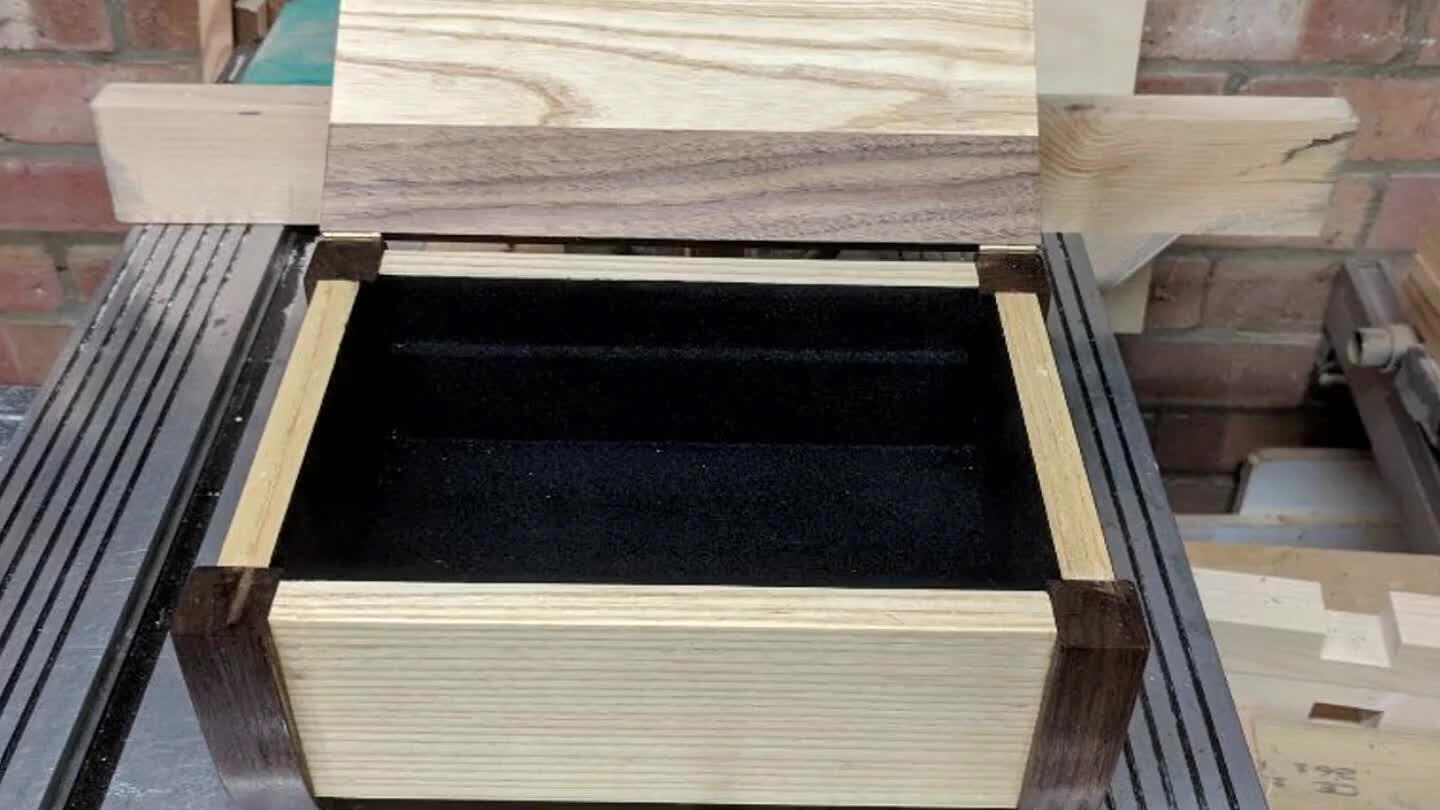
I made a sliding tray for mine and flocked the inside. This adds a nice touch, but isn't essential. I then applied 3 coats of Danish Oil, sanding with 400 grit in between each coat.
9
Lastly, I made a lid stay from a strip of leather. I'm sure they weren't, but the hinges seemed quite small, so I thought I'd support the lid when it was open.


Comments