
Custom Maple Closet Shelves
with thick maple and rod


We were hoping to build the perfect closet, but couldn't live any longer without a place to put our clothes. This is a very simple start to our closet, so we can start improving it with time.
What you will need
INGREDIENTS
Maple slabs
Wood glue
Chrome Closet wall brackets with rod support
Chrome rods
Drywall nails or wood nails for stud
120 grit sand paper
40 grit sand paper
Wood sealer and top coat
TOOLS
Stud finder
Drill
Saw to cut straight
Clamps
Level
Sander
Hand planner
How to do this project
1
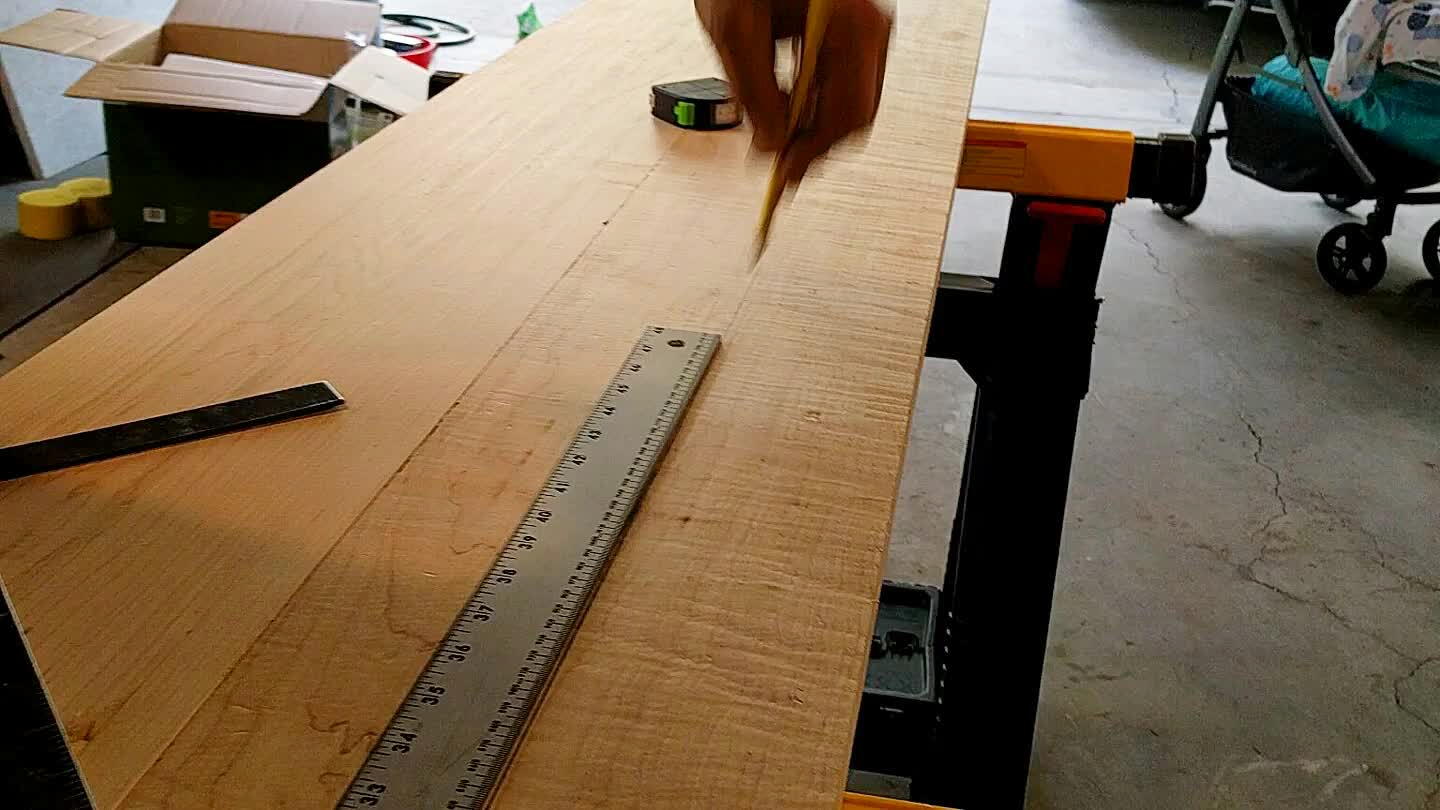
Depending on the slabs that you have you will need to cut them straight and joint them so you will have the size you need for your shelves.
2
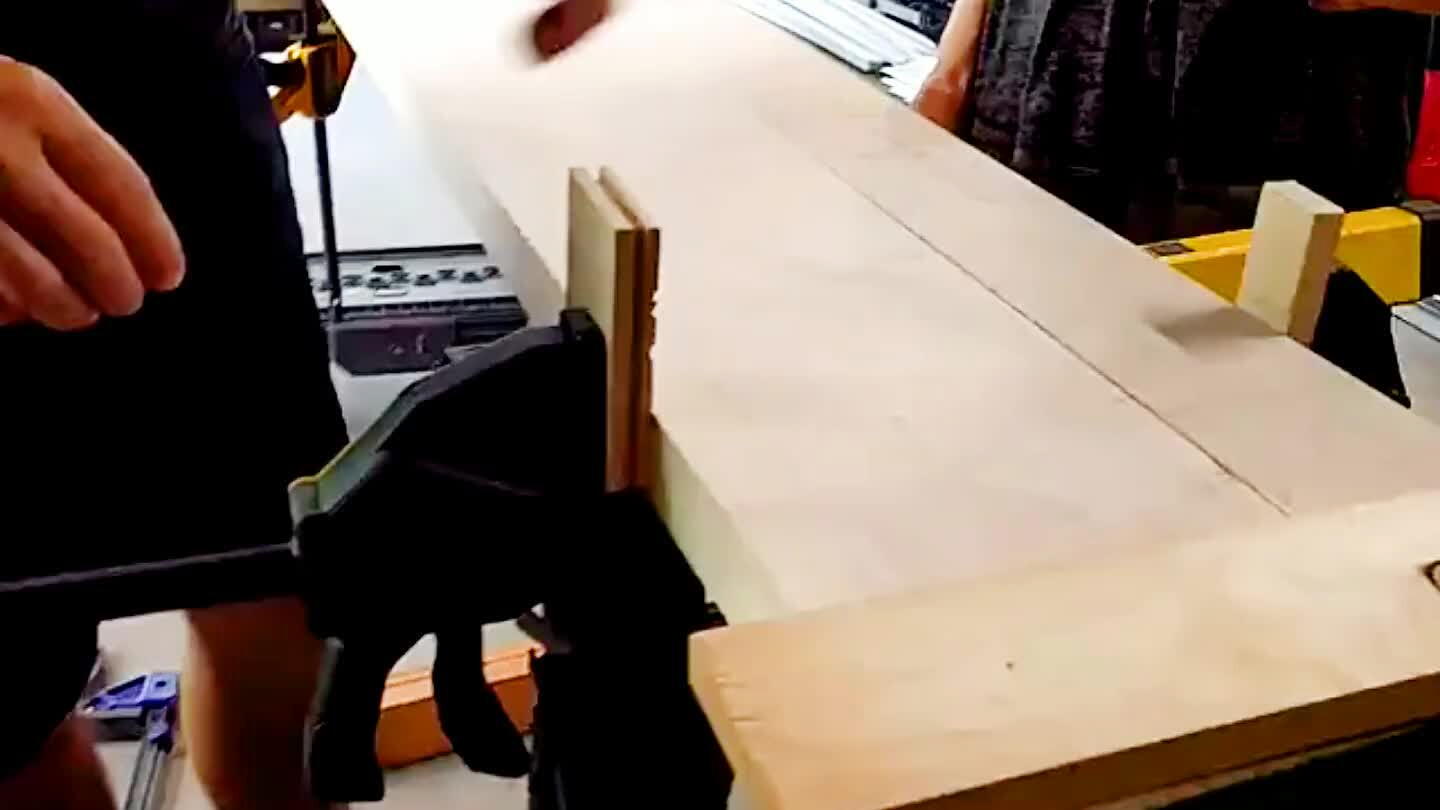
Glue the joint and clamp it. I used to always forget the vertical clamps, but they are very important. See how we sandwiched the wood for clamping vertically.
3
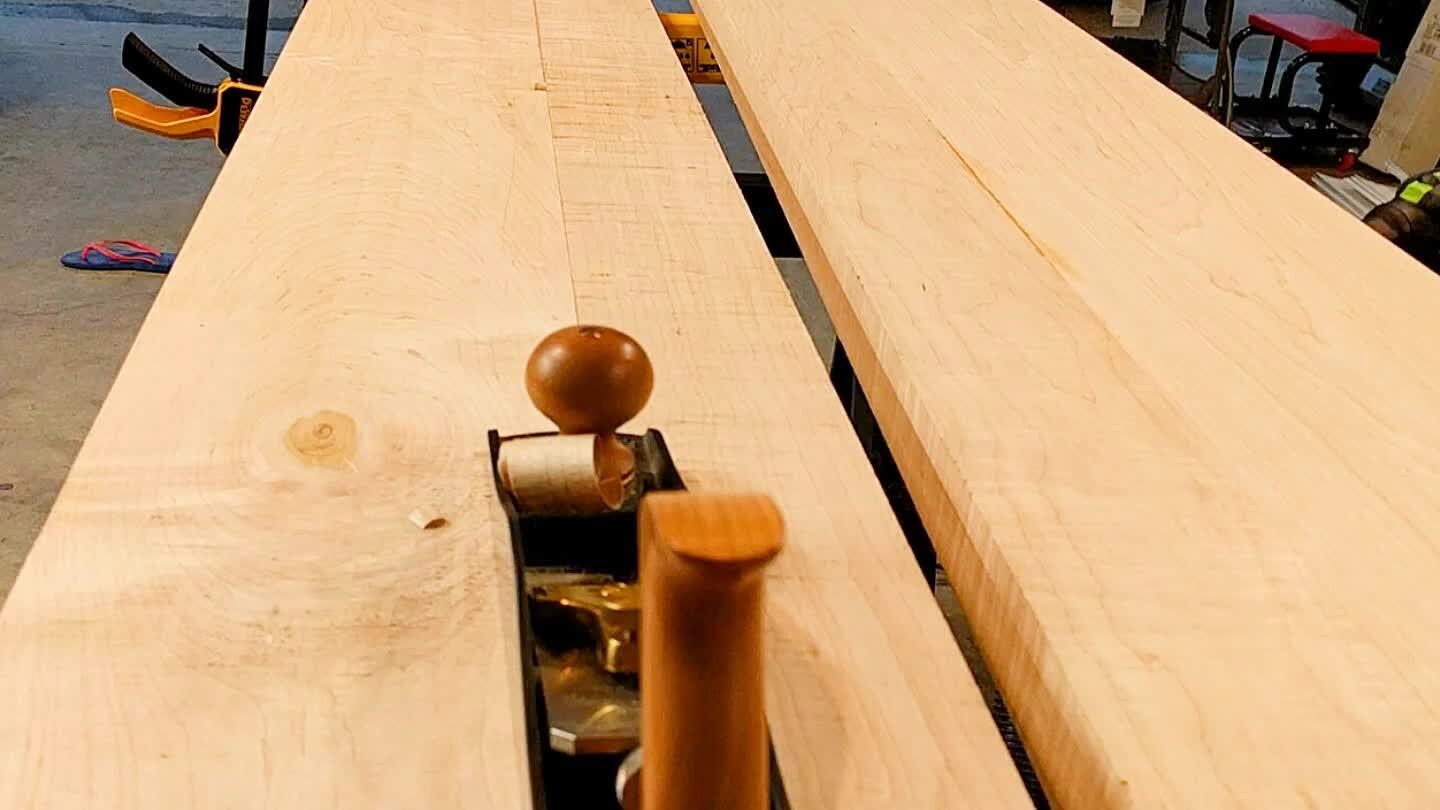
Remove the joint difference. If one piece might be sightly thicker than the other. I used the planner and then a 40 grit sand paper to quickly remove the difference.
4
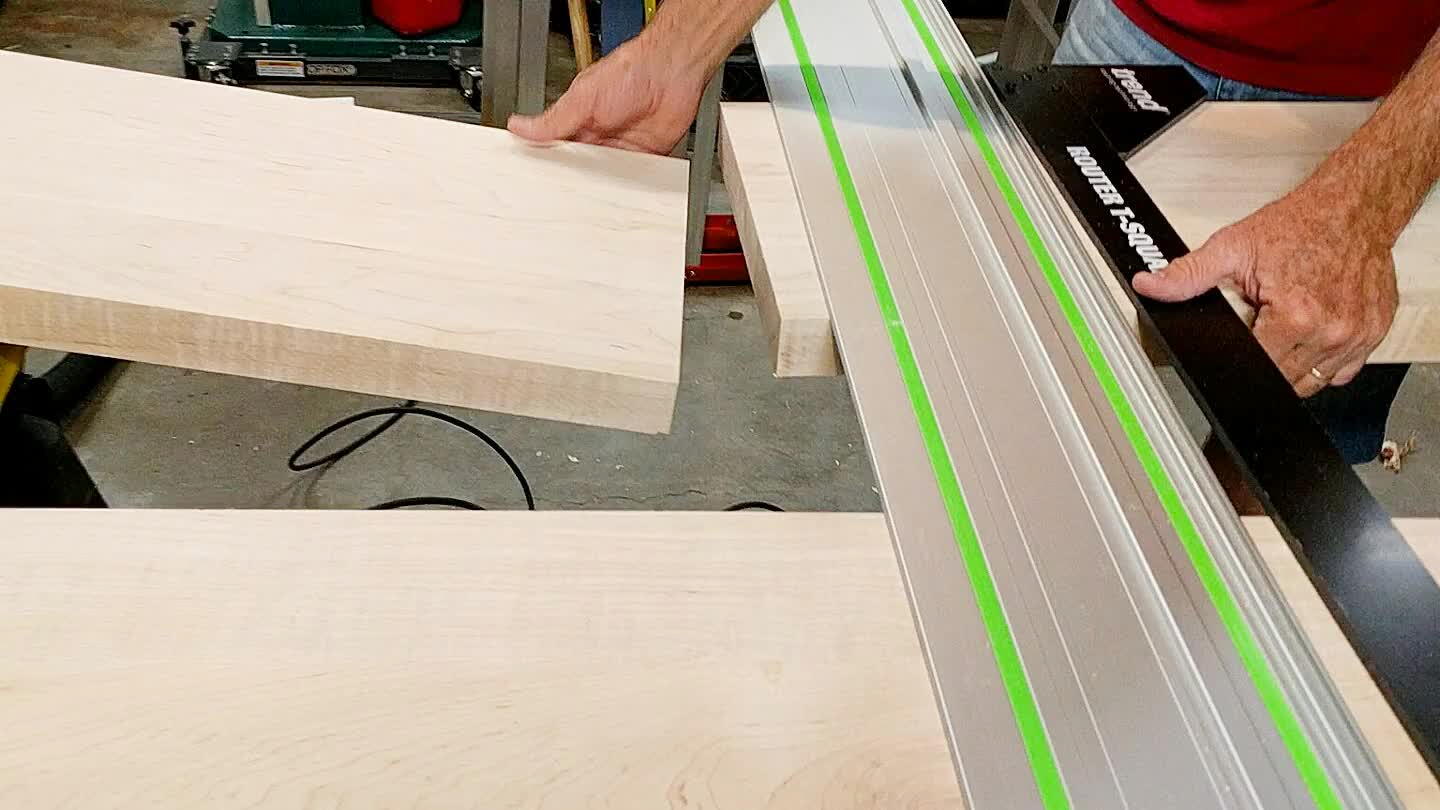
Measure the space you have in your closet and cut the slabs to fit almost perfectly. We have cut slightly smaller so to account it's very difficult to fit perfectly when the drywall is usually imperfect.
5
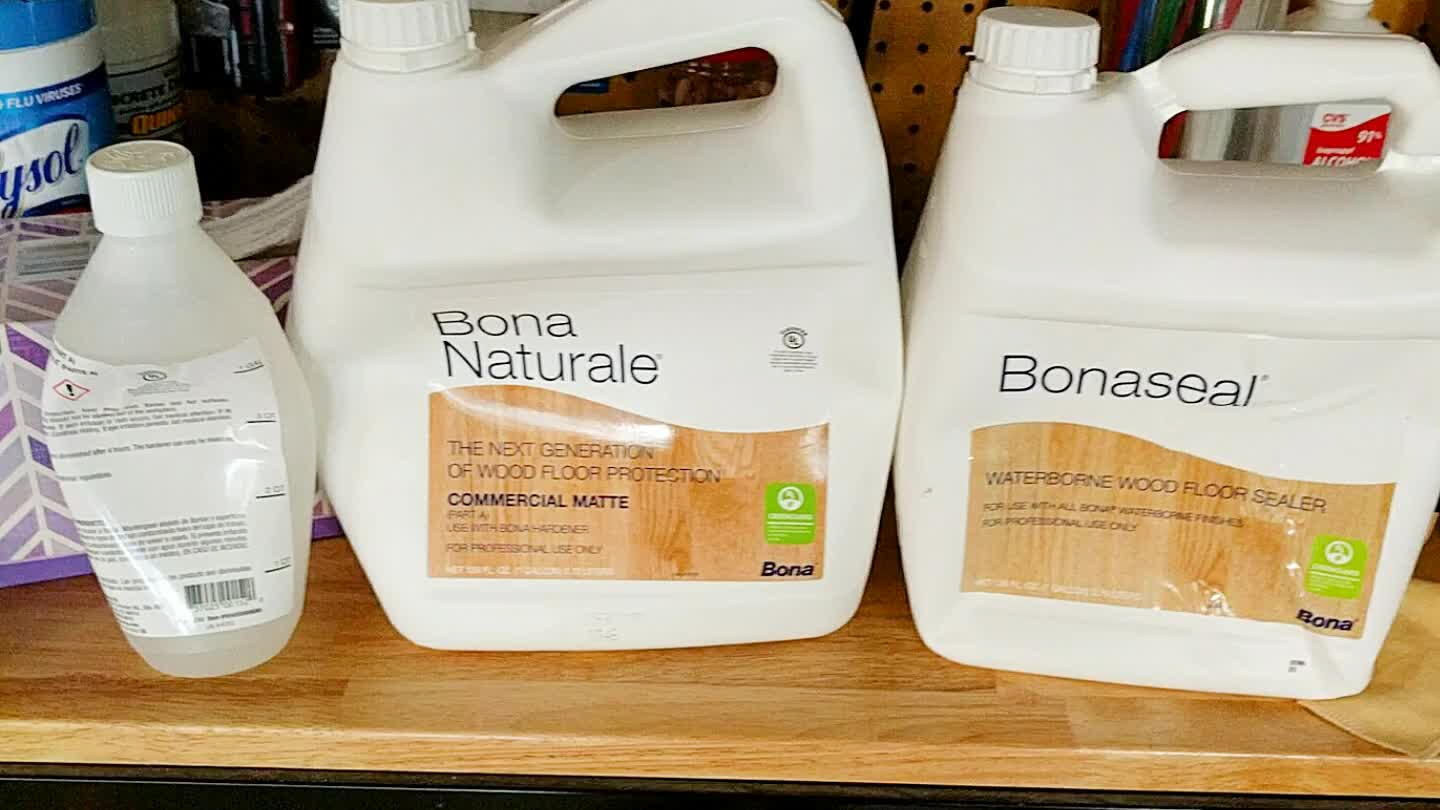
Seal and apply finish. We used bona naturale because its the same we used on our maple floors and we also liked the unfinished maple look. See in the photo how the container is squished after we used it. That way we remove the air to preserve the content.
6
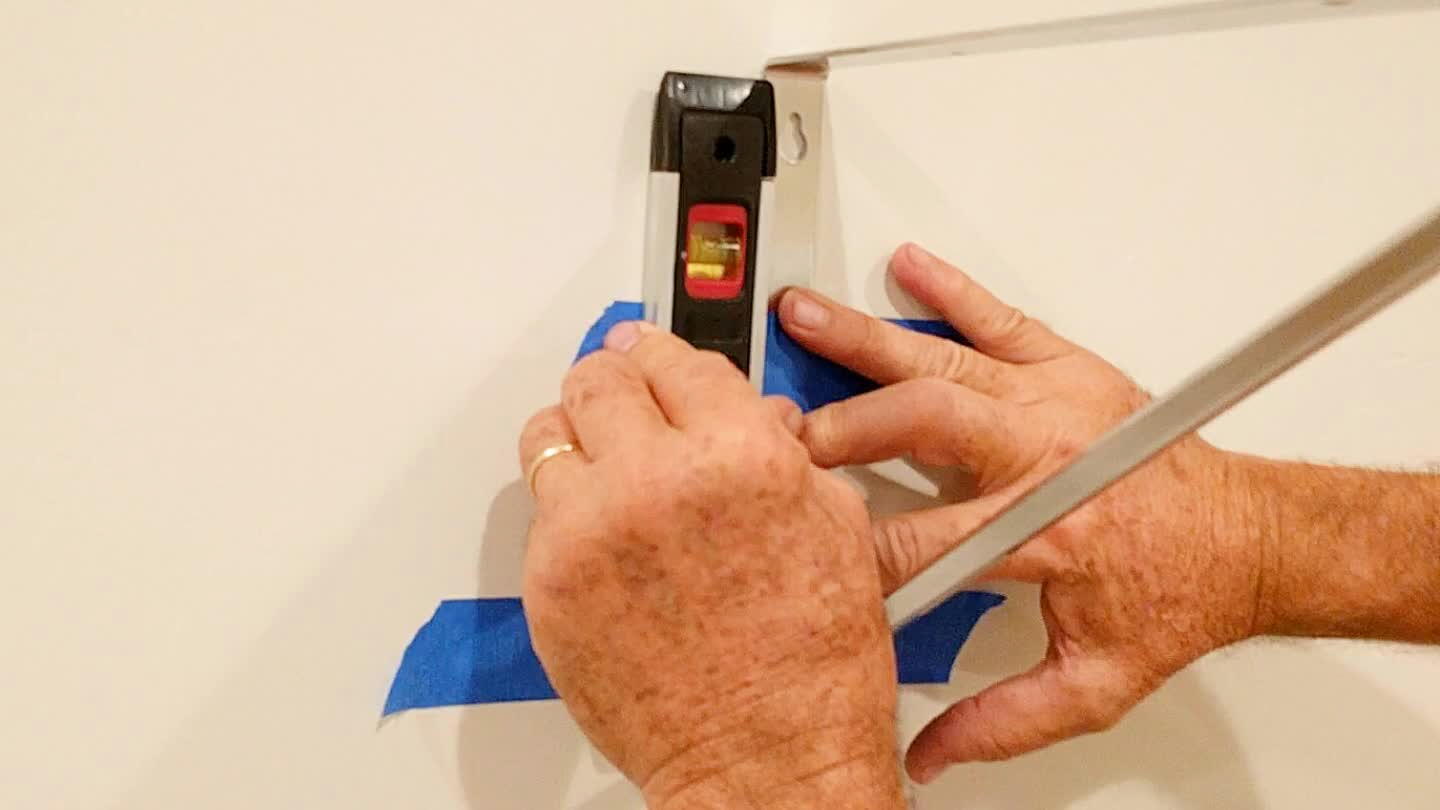
Measure where you are going to install the brackets and tape it to the wall. Use a leveler to make it sure it's properly aligned. After you tape two brackets, use a longer leveler to see if both are aligned, then drill the wood slabs to it.
7

Make it sure you level everything all the time. You can see our floor finish is the same finish as the slab.
8
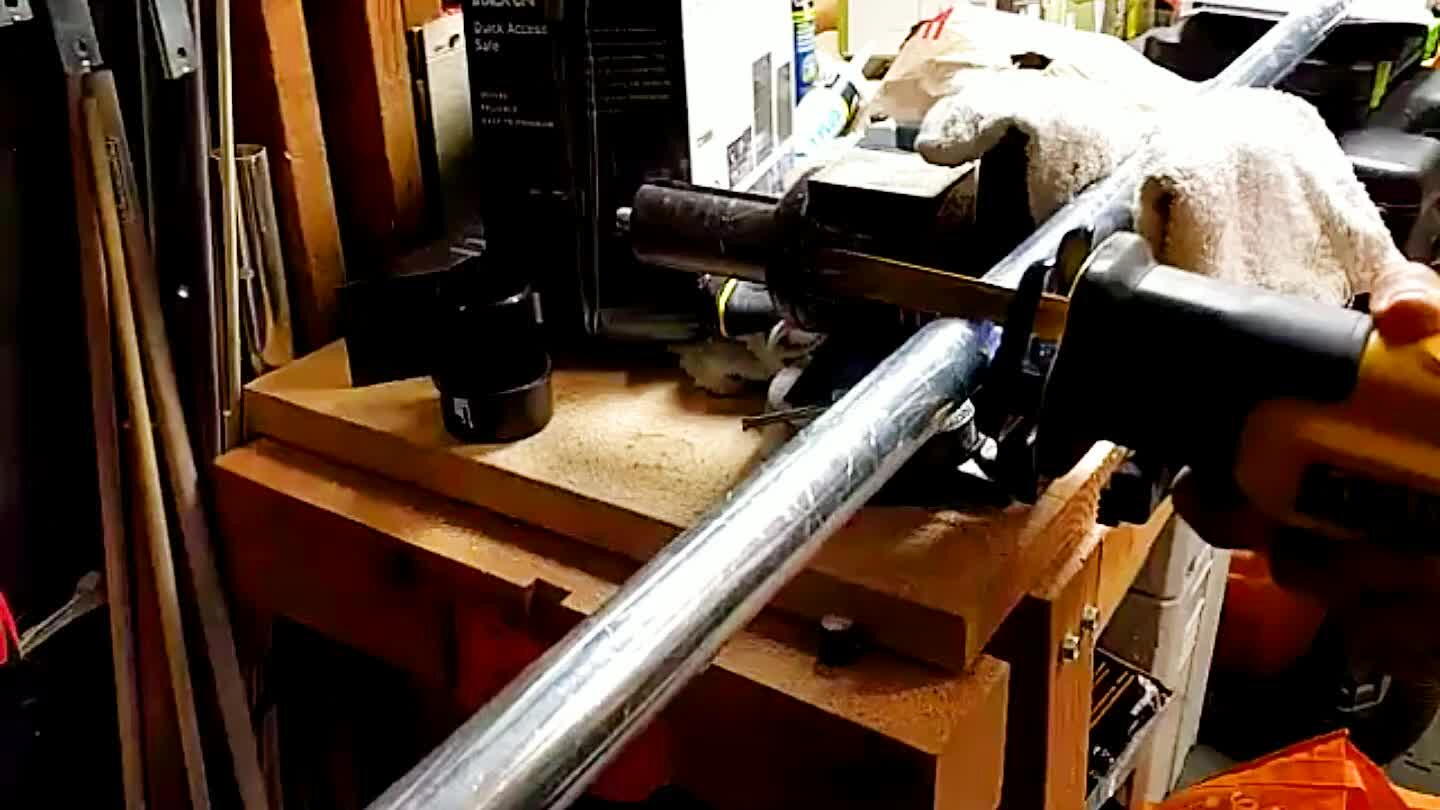
Since we made a custom size, we needed to cut the chromed rods to size.
9
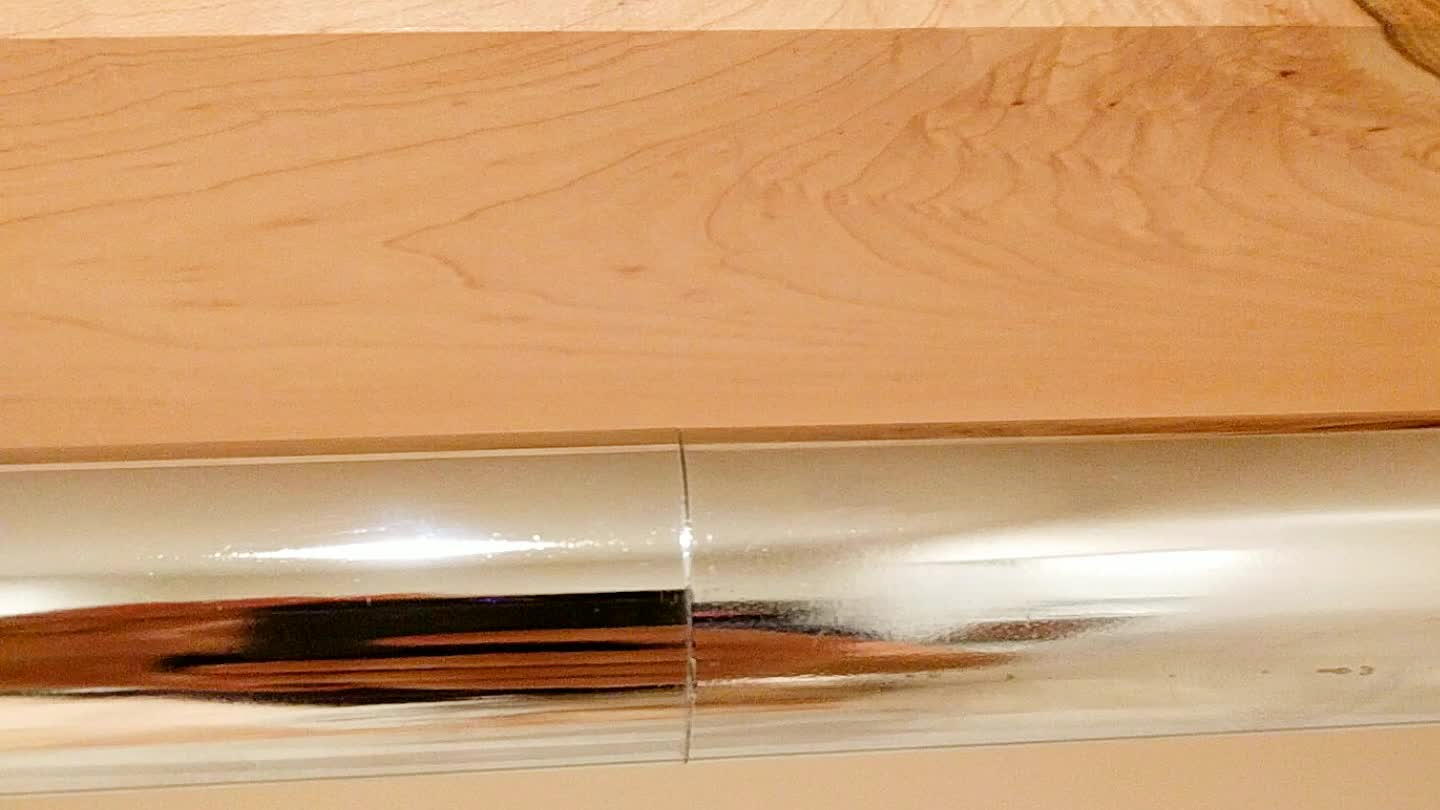
Because one of our shelves was an odd big size (107'') we had to make a bigger rod. To do that, we have inserted a wood rod inside and taped till was snug enough to be super tight.
10
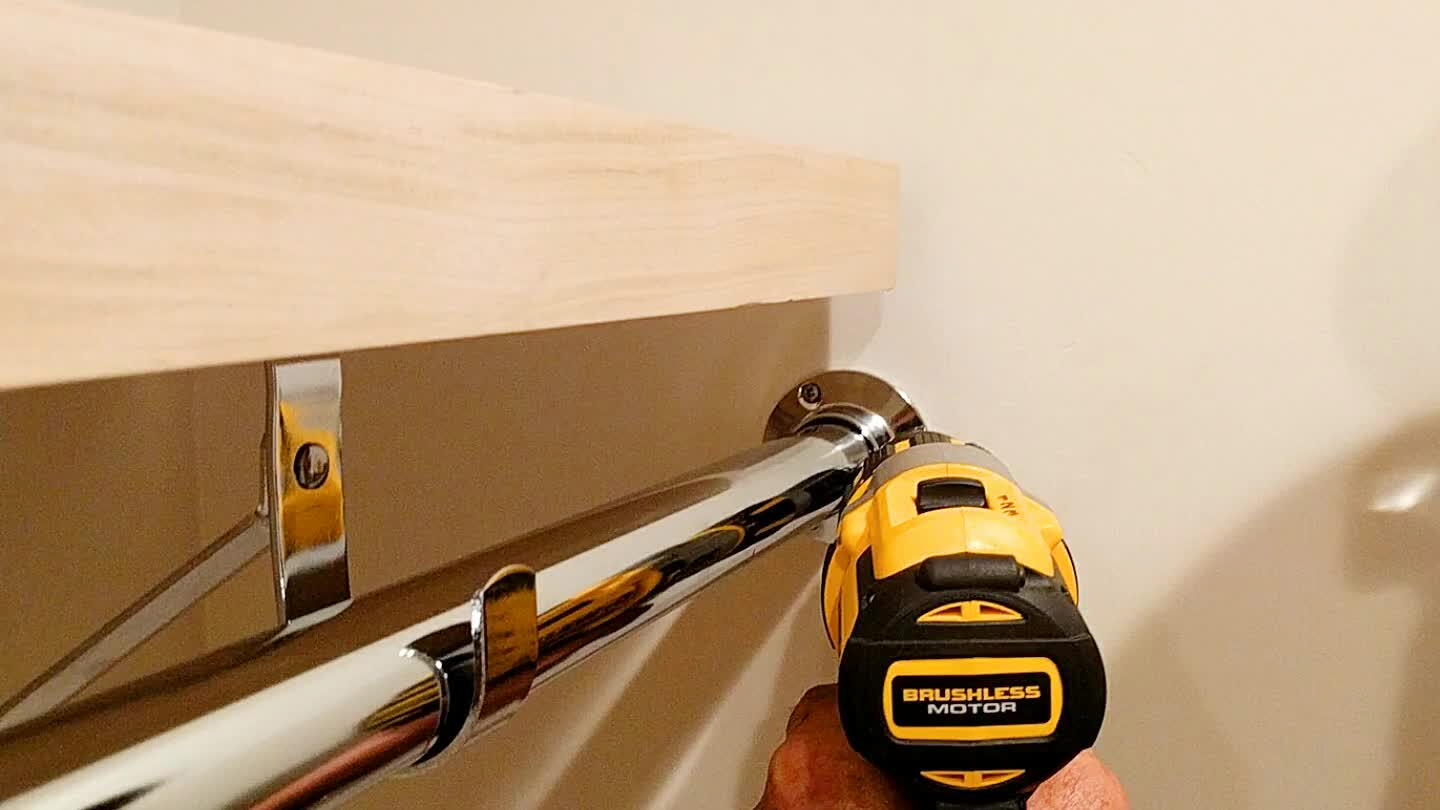
Screw the end connection. This is what keep the rod in place if someone leans on it. We didn't screw the rod to the wall support.
11
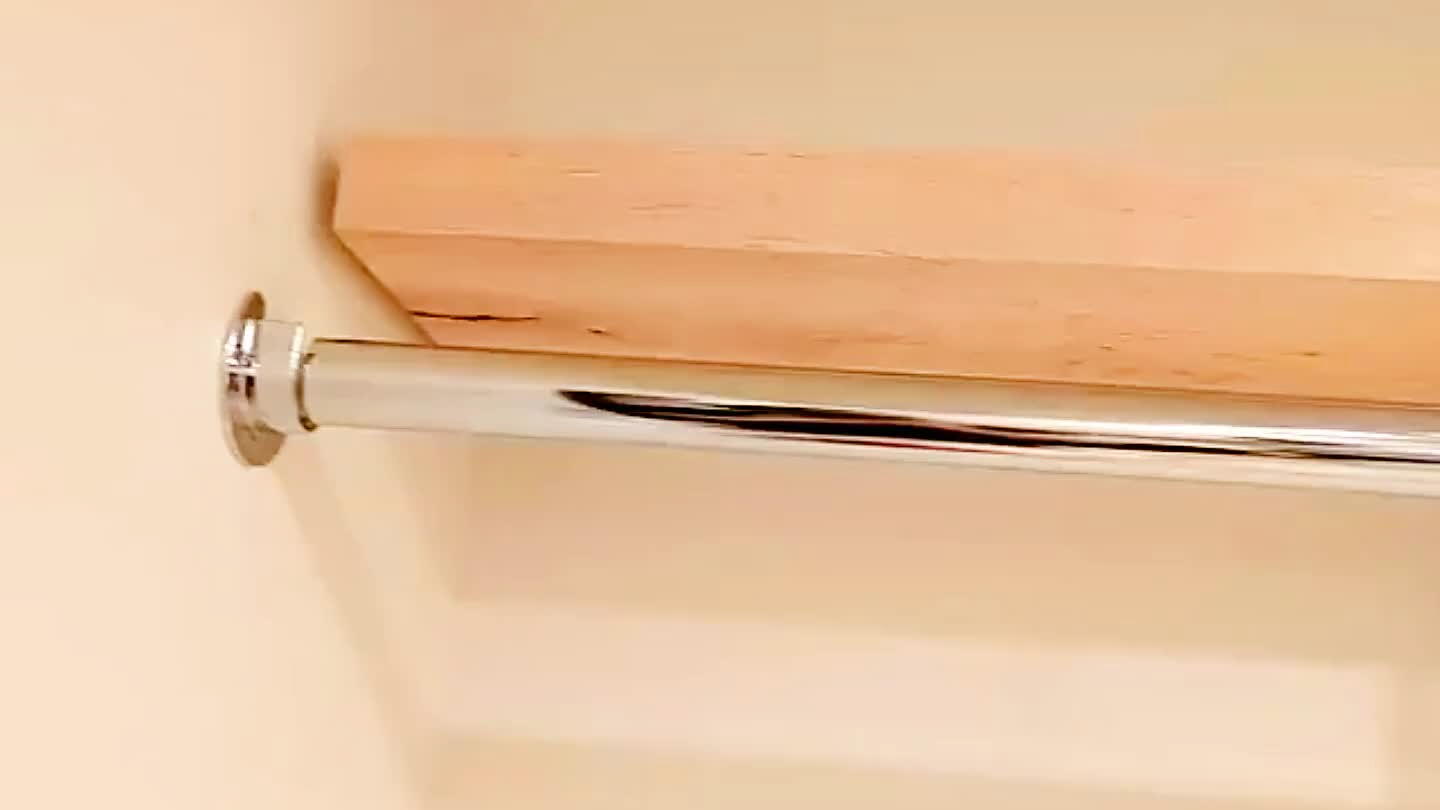
This is the end result. Just missing an end cap to the rods.
12
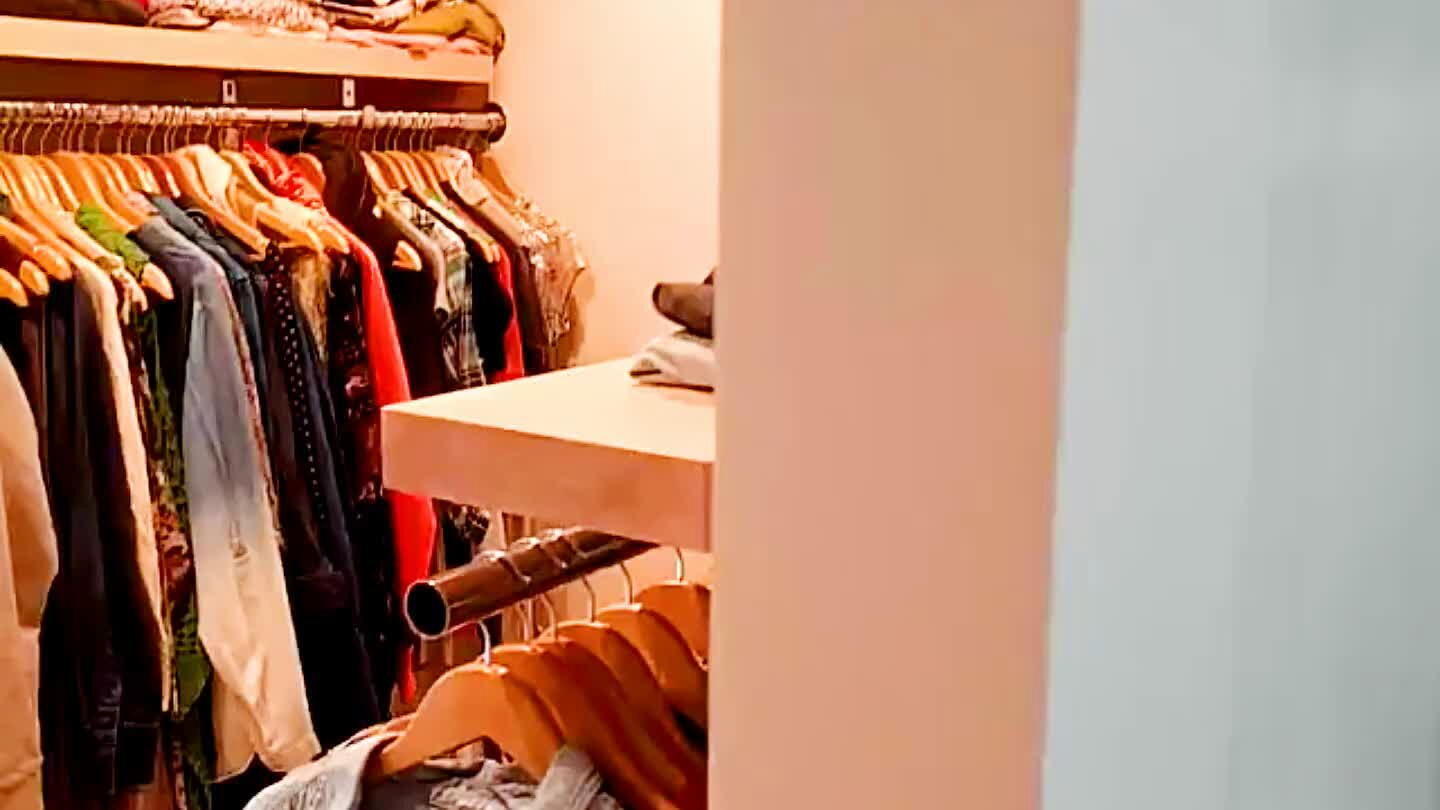
Here's with our mess.
Comments