
Large In-wall Maple Bench
closet replacement


We had multiple closets in our downstairs living room. We decided to remove one and create a sitting space. The idea of using wood is because we want pillows and let people do whatever they want.
What you will need
MATERIALS
Large slabs of maple
Seal-a-cell wood sealer
Arm-r-cell wood top coat
80 grit sand paper
120 grit sand paper
600 grit sand paper
Liquid nail glue
Dap dry dex (drywall patch)
TOOLS
Sander
Saw
Planner
How to do this project
1
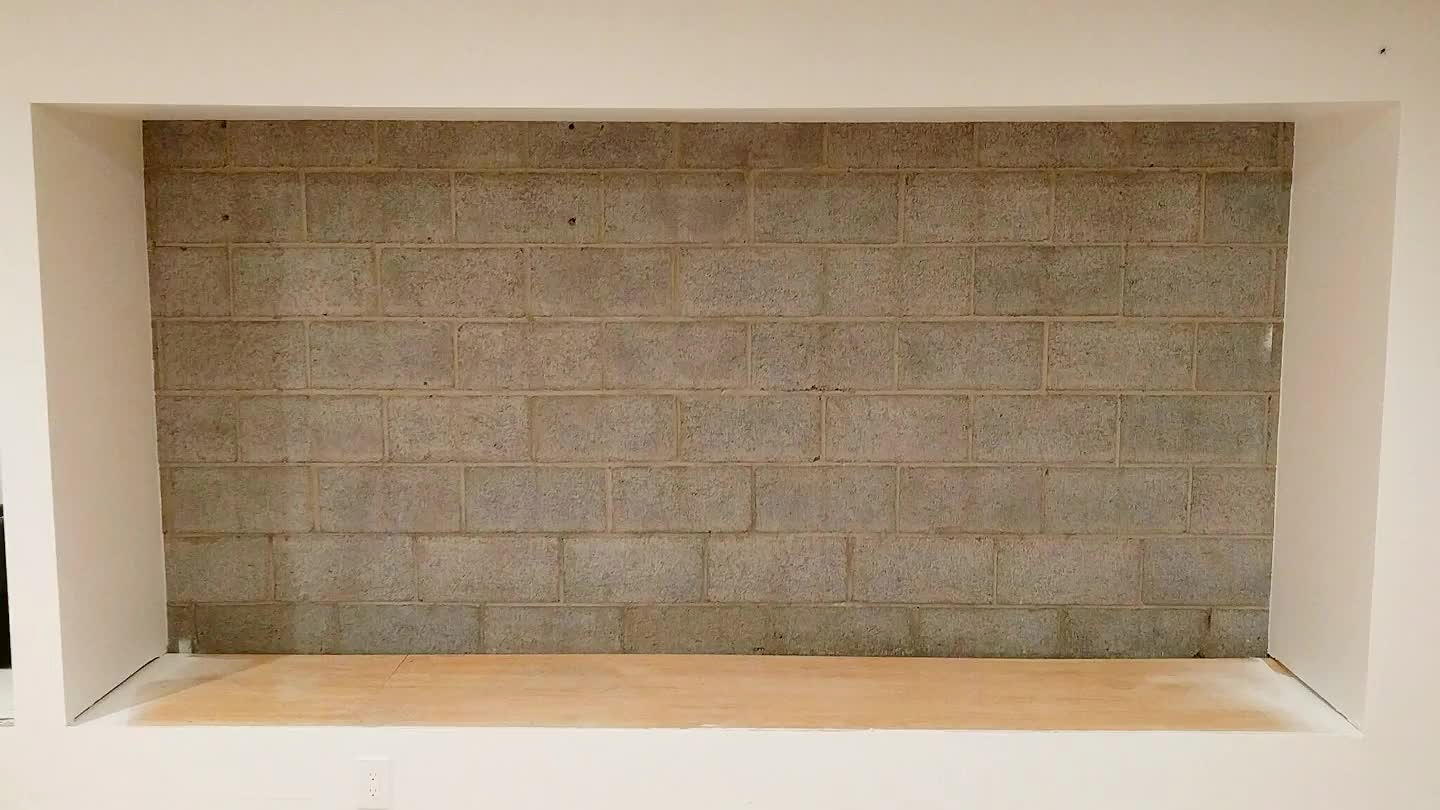
This is how it looked before. It was just a wardrobe that we removed the doors. The size is 122'' 1/2.
2
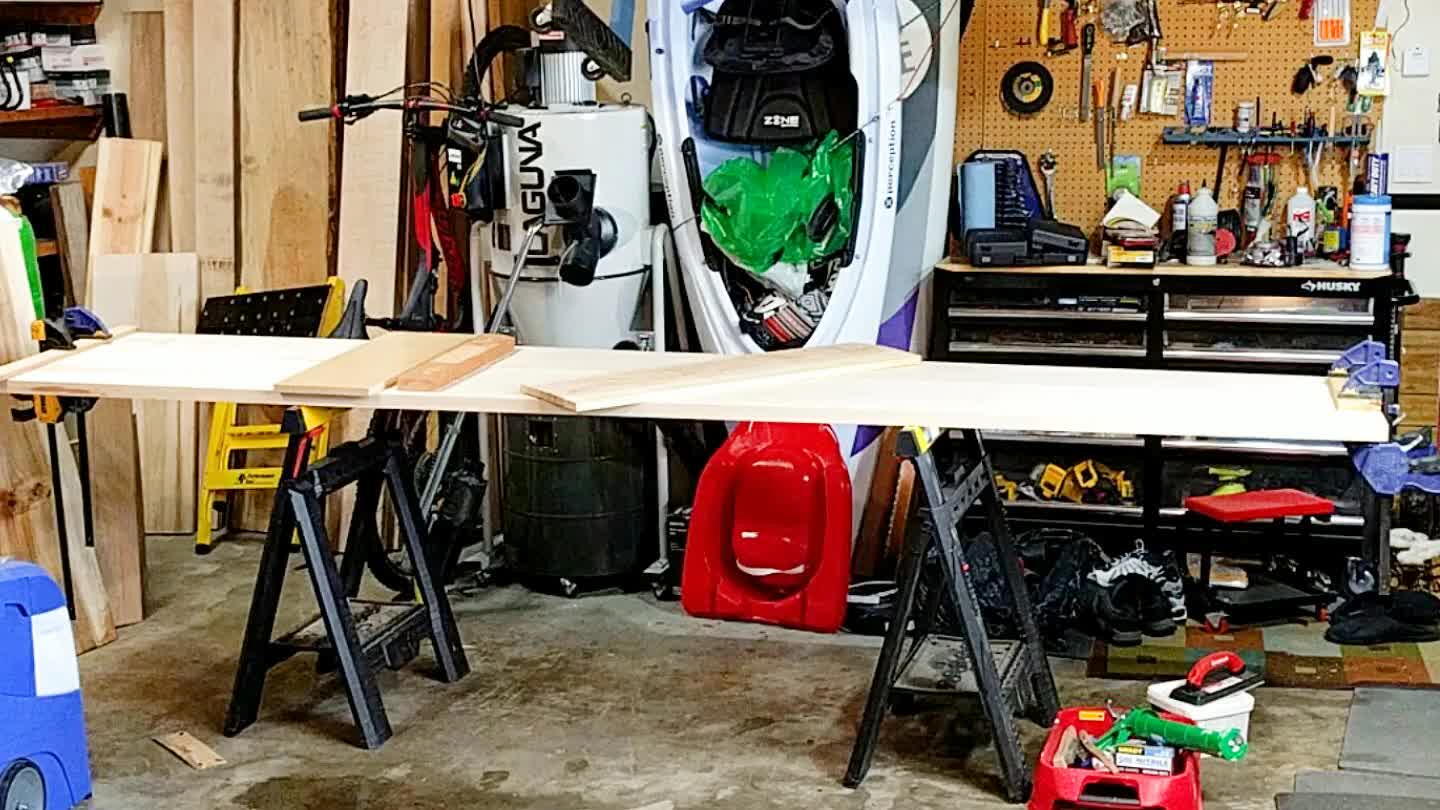
Put your pieces of wood in a saw horse and see if they will glue nicely together, to form one piece.
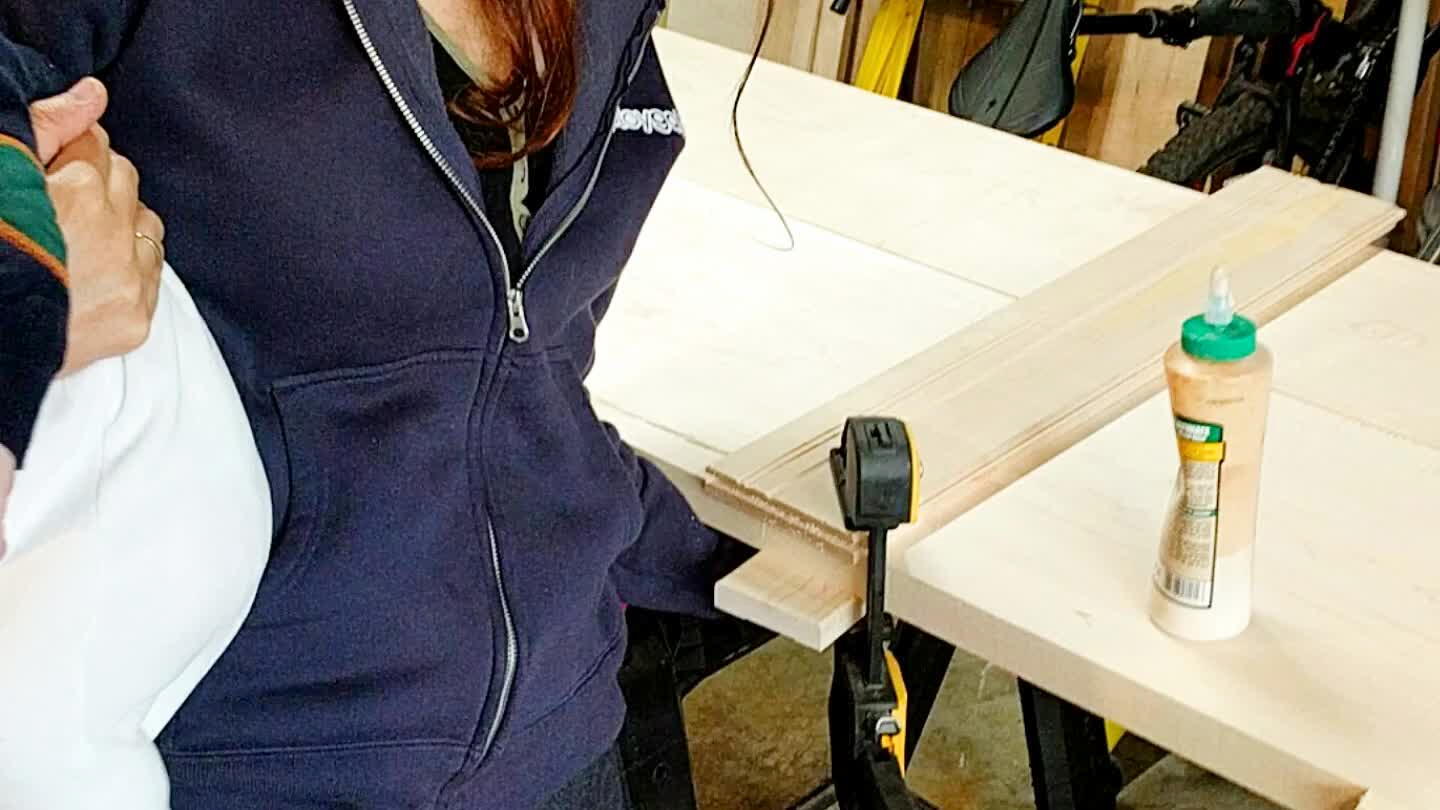
3
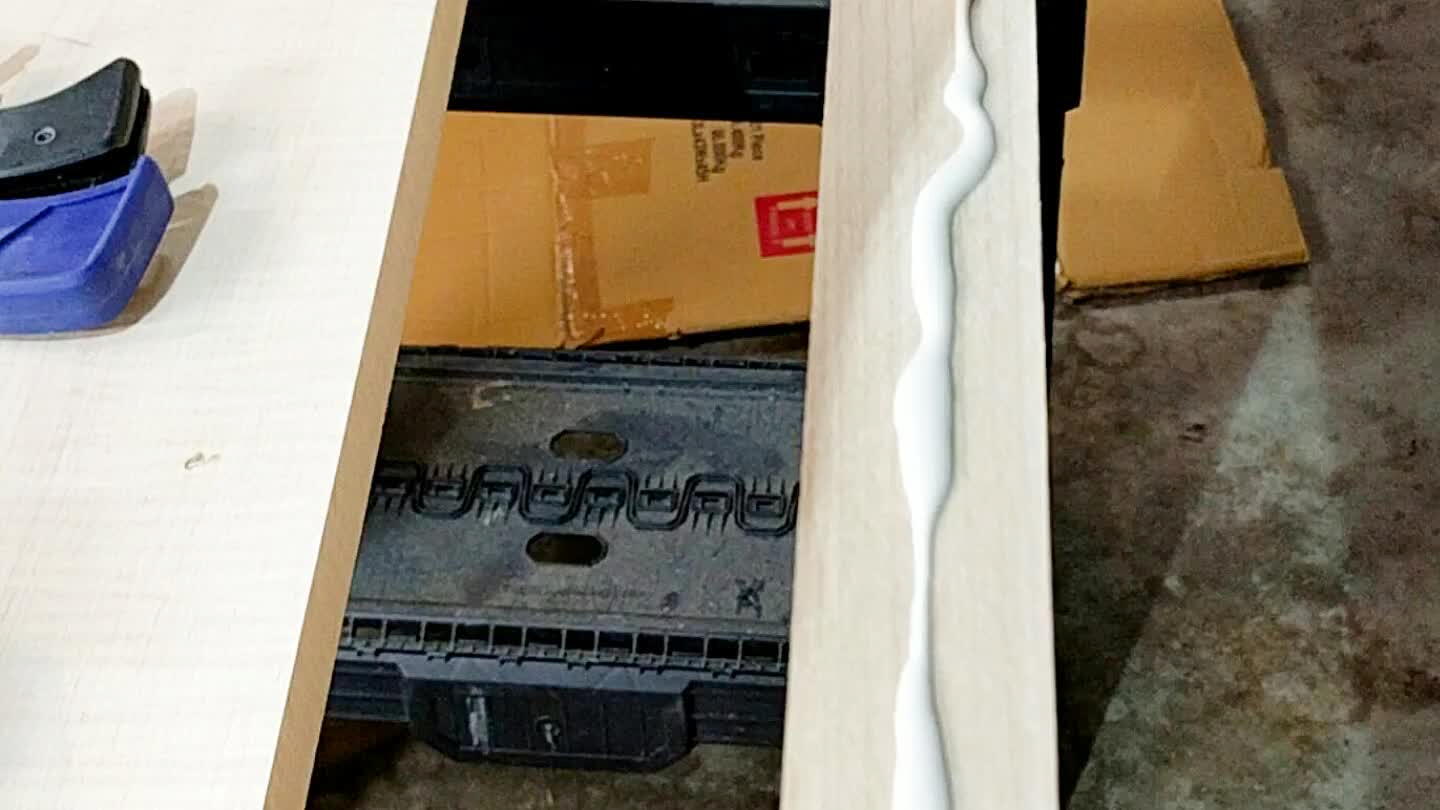
Apply glue in the edges and spread. I used this glue and it takes a minimum of 30 minutes to dry.
4
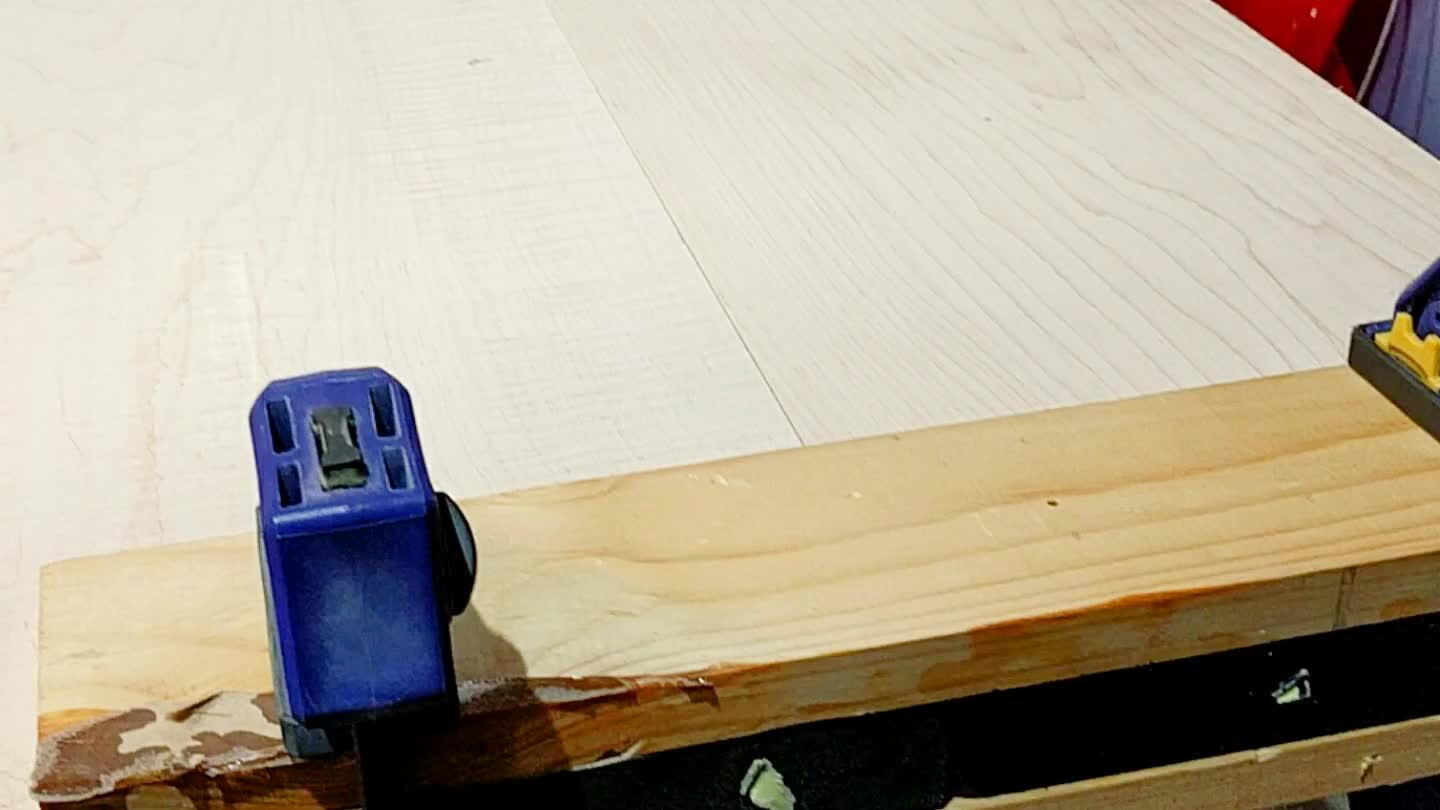
They go in different directions, so you can use pieces of wood to clamp together. We asked the shop who sold the wood to straighten the edges, which is the hardest part in such a long piece.
5
They say the bound between glue and wood is strong than lignin.
6
Use clamps to try to make the boards to glue as straight as possible. It's OK to have a bit of vertical difference, as those will disappear with sanding, but it will definitely make your life easier if they look straight.
7

Remove the clamps after a couple of hours. I left for 18 hours probably.
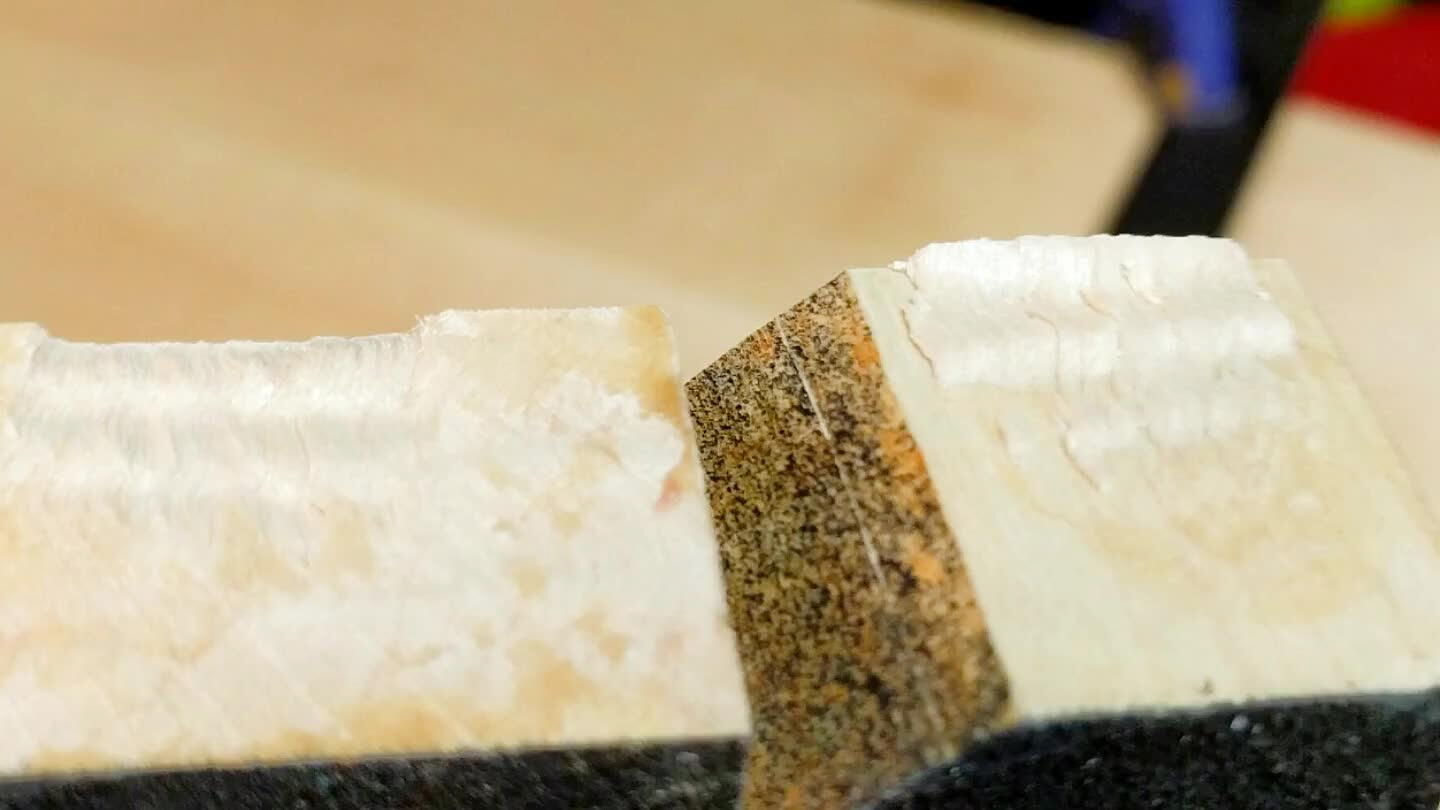
8
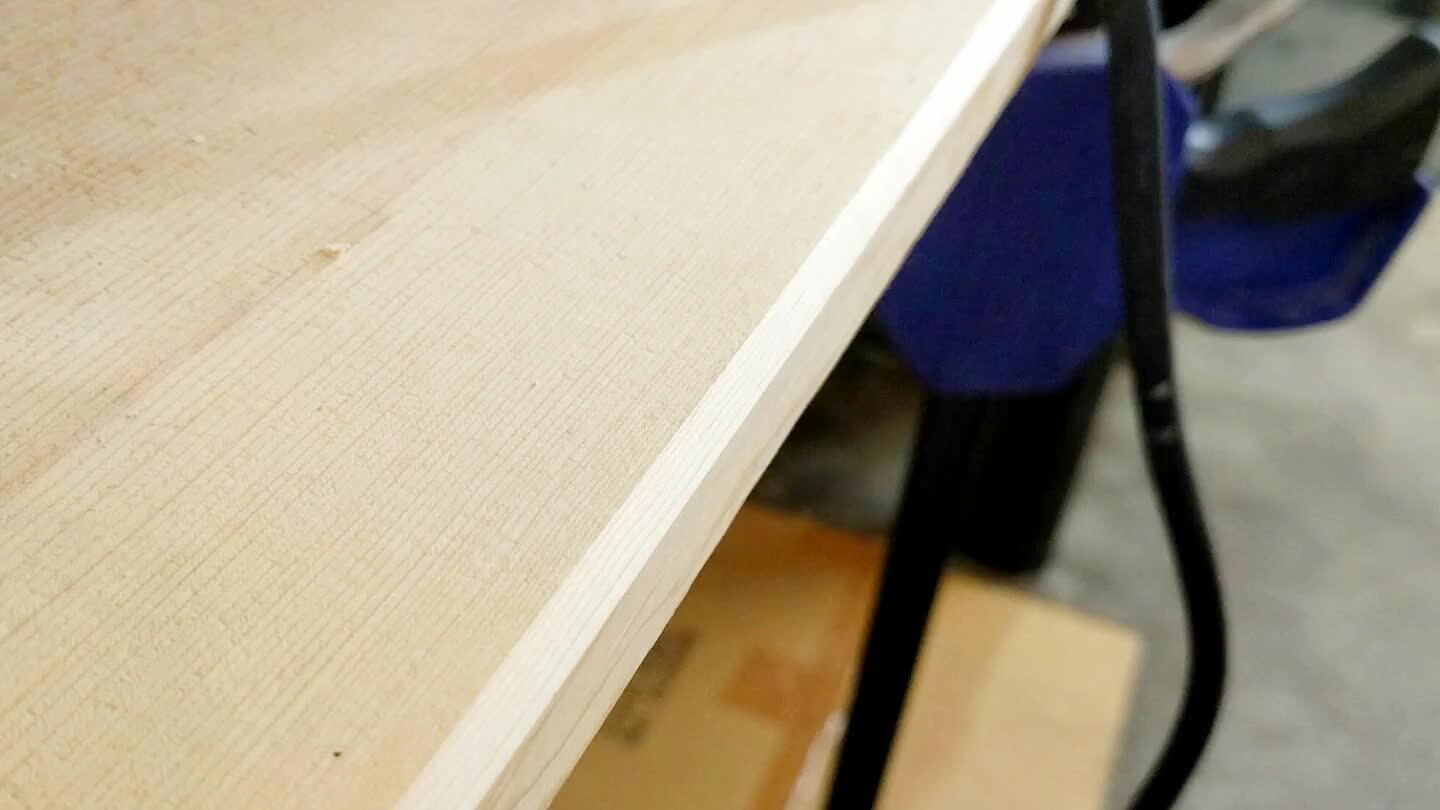
I decided to route the edges, so it has a more pleasant touch when your legs are touching the edge. I used a 45 degree x 5/8" router bit and set it pretty low height setting, just to make it a tiny edge.
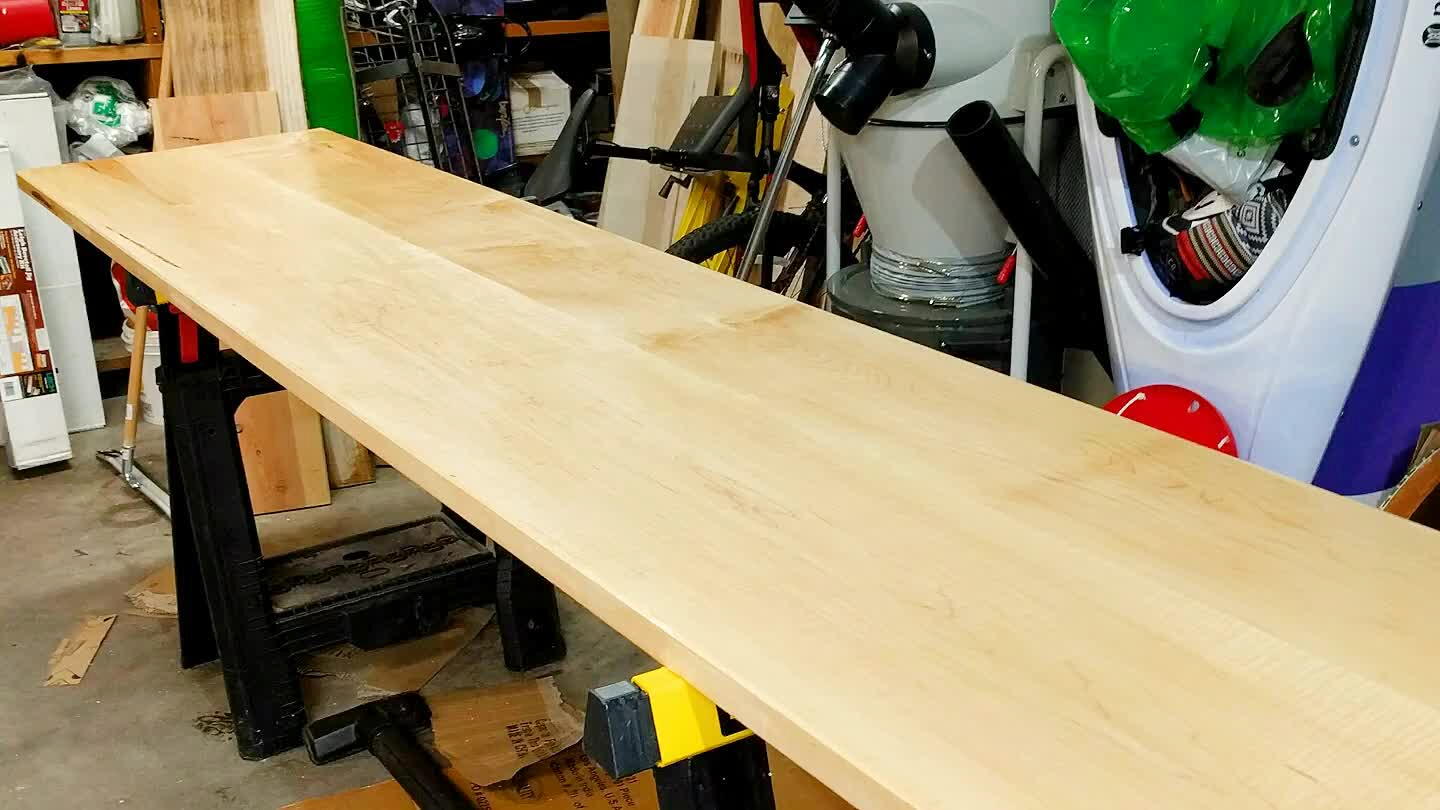
9
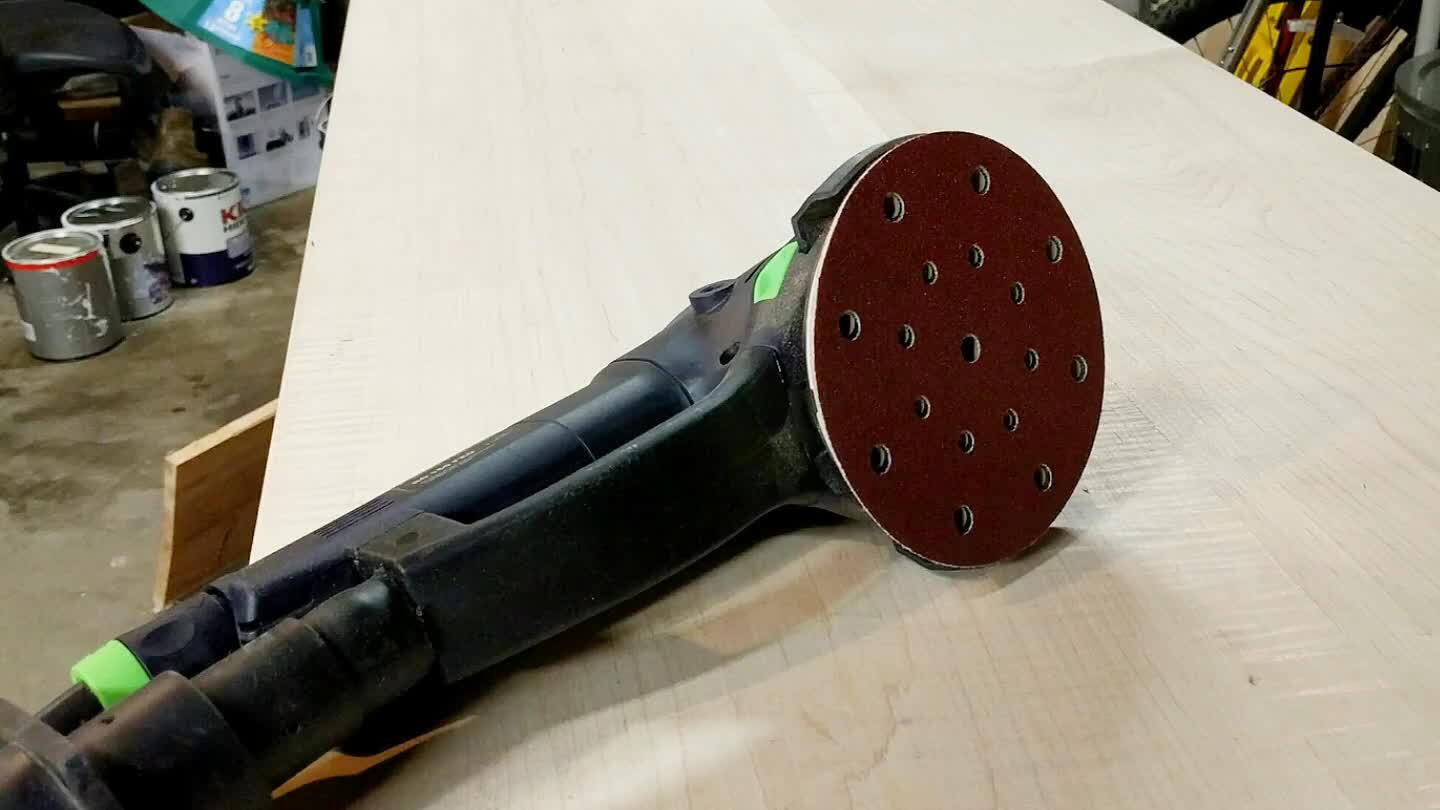
For this maple piece, I started with 80 grit sand paper. Then I used only one pass of 120 grit, because maple is pretty hard and I was already liking the texture. You can probably go till 150, but not recommended to go with more with the oil finish I
10
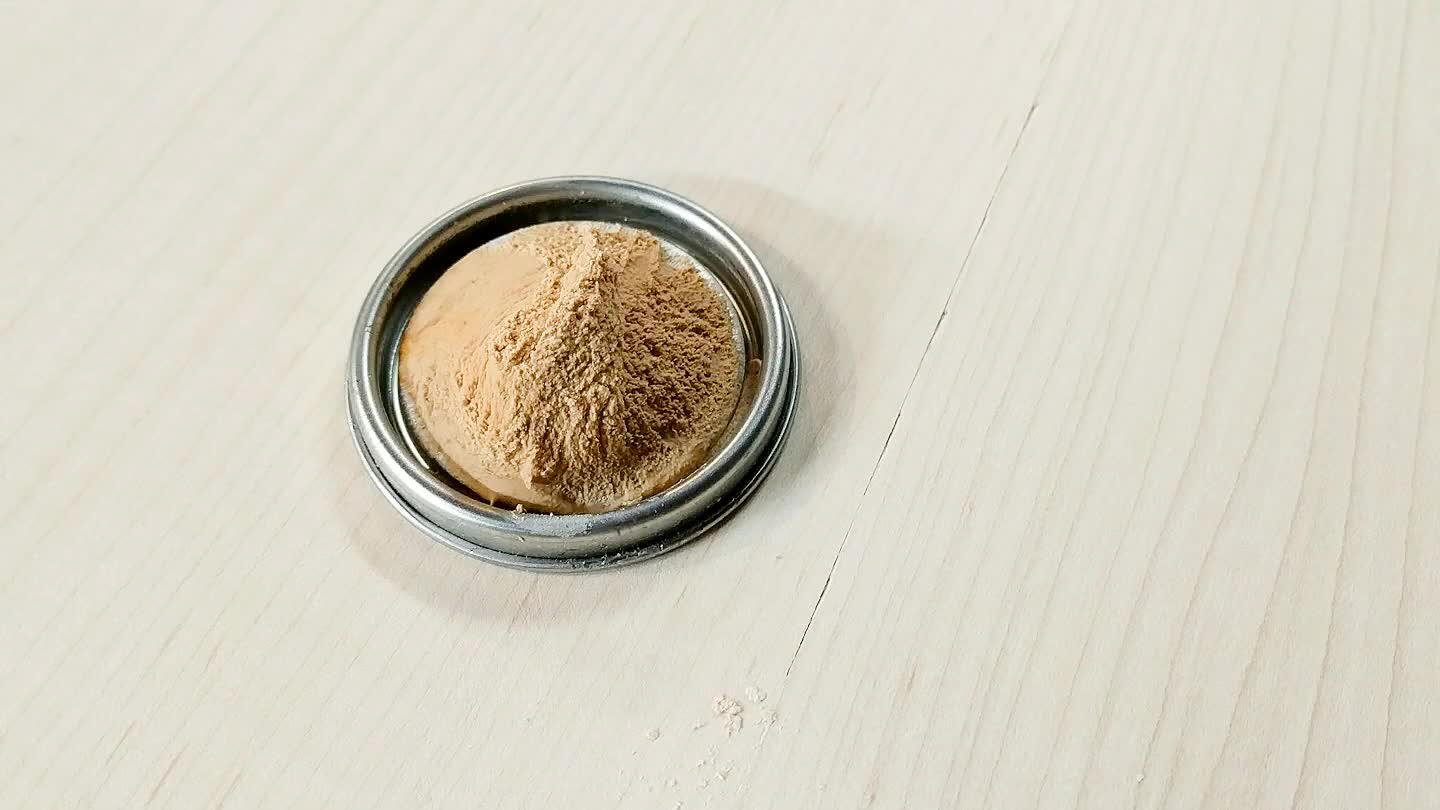
Apply wood filler to hide where the joint is showing some space.
11
Go through with one pass of wood sealer. I used seal-a-cell clear, like on photo below.
12
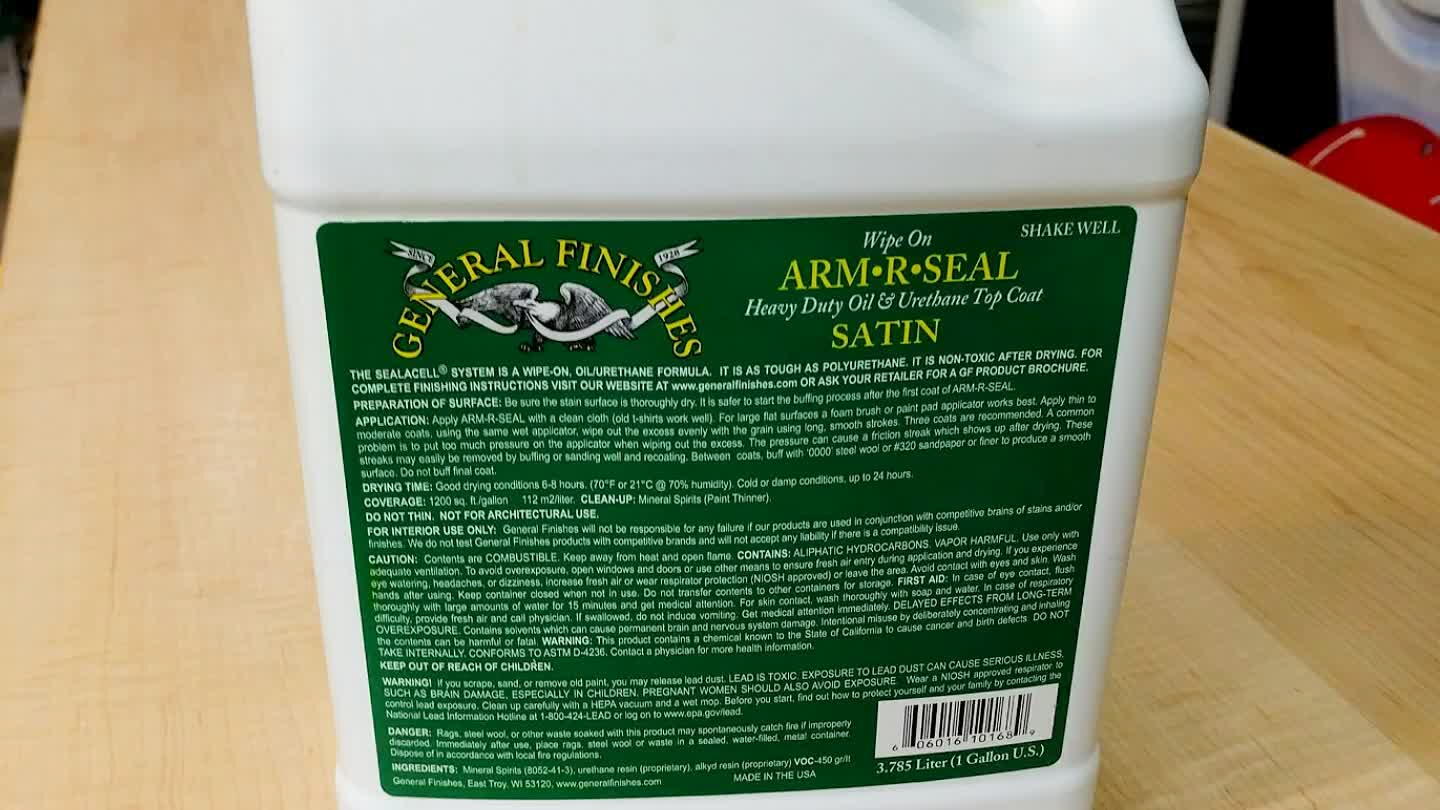
Apply top coat. I used arm-r-seal satin which is a heavy duty oil & urethane top coat that protects and keeps the natural look. Remember to buff with sand paper of 300 grit of higher, between coats, and don't buff the final coat. I used 600 grit for
13
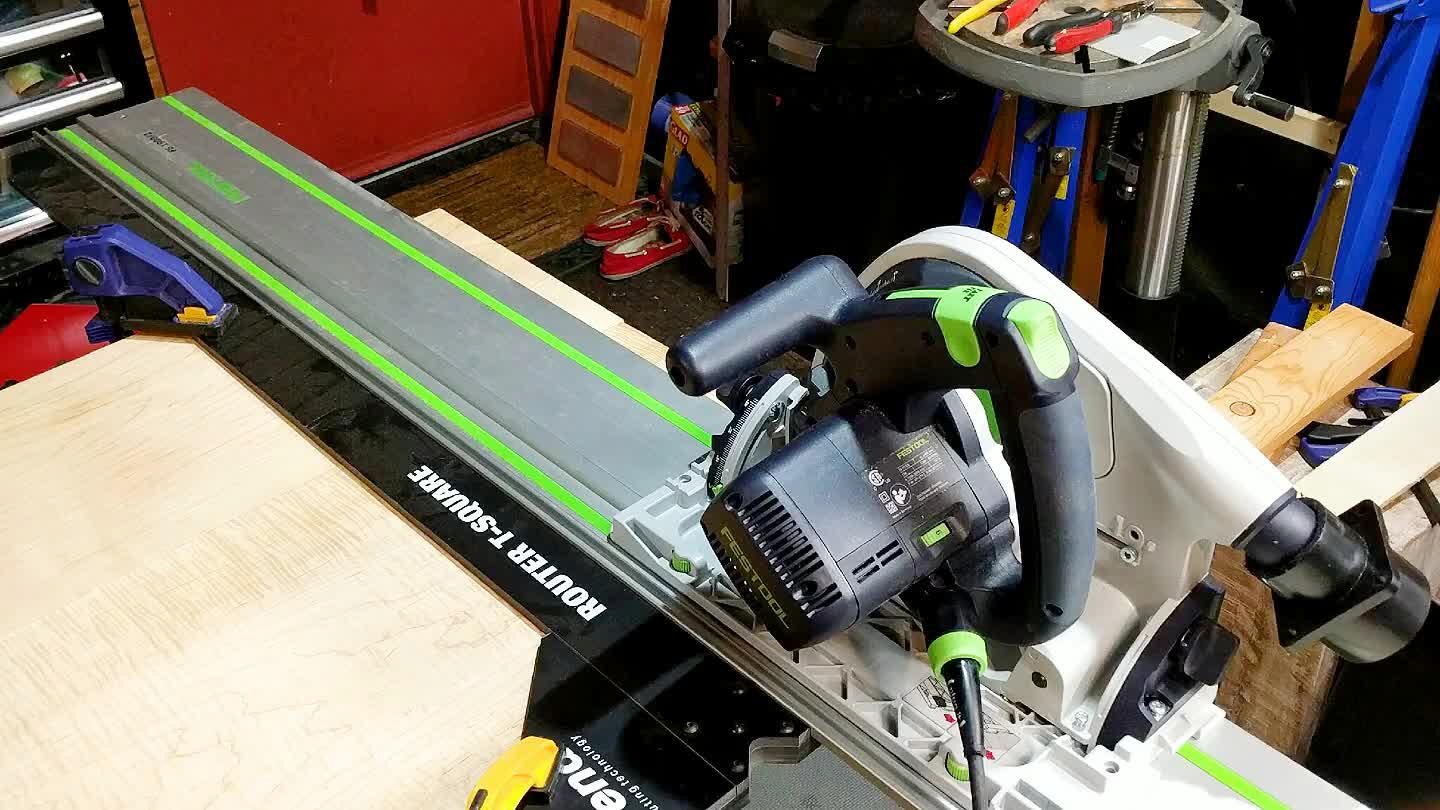
My slabs were 132'', so I had to trim to 122''. I used a track saw with a t square to make it square against the edge of the wood.
14

I used liquid nails to glue it. Just a line in some spots, so it's easy to remove later if necessary.
15
If you need, add caulking to fill the gaps under the wood and drywall.
16
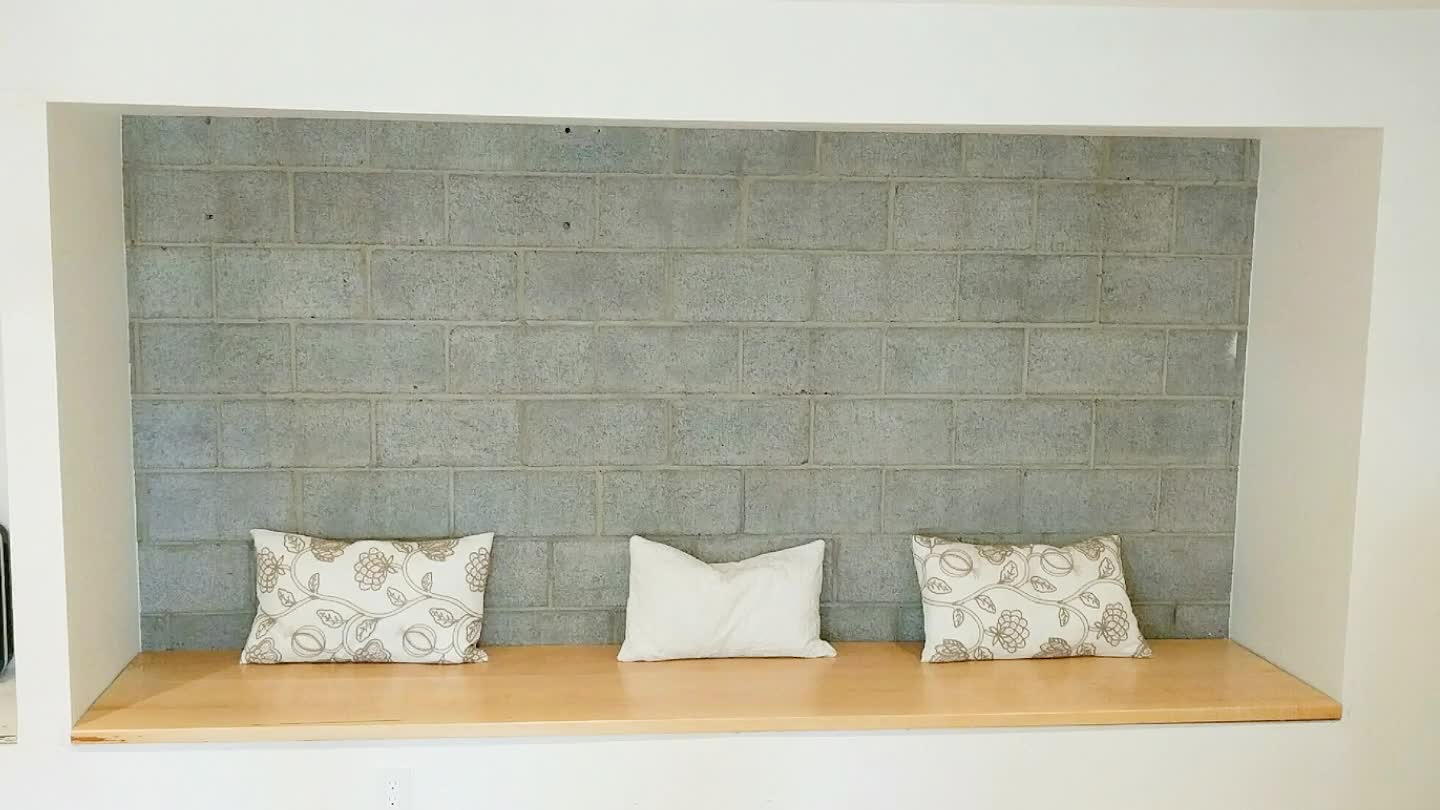
This is the final product. We liked it a lot and definitely more fun than a couch.
Comments