
36" Large Rustic Wall Clock
Easy project for beginners


What you will need
Safety
Safety glasses
Ear protection
Materials
1×6 Pine boards
Stain
2 colors of chalk paint
Crackling Solution
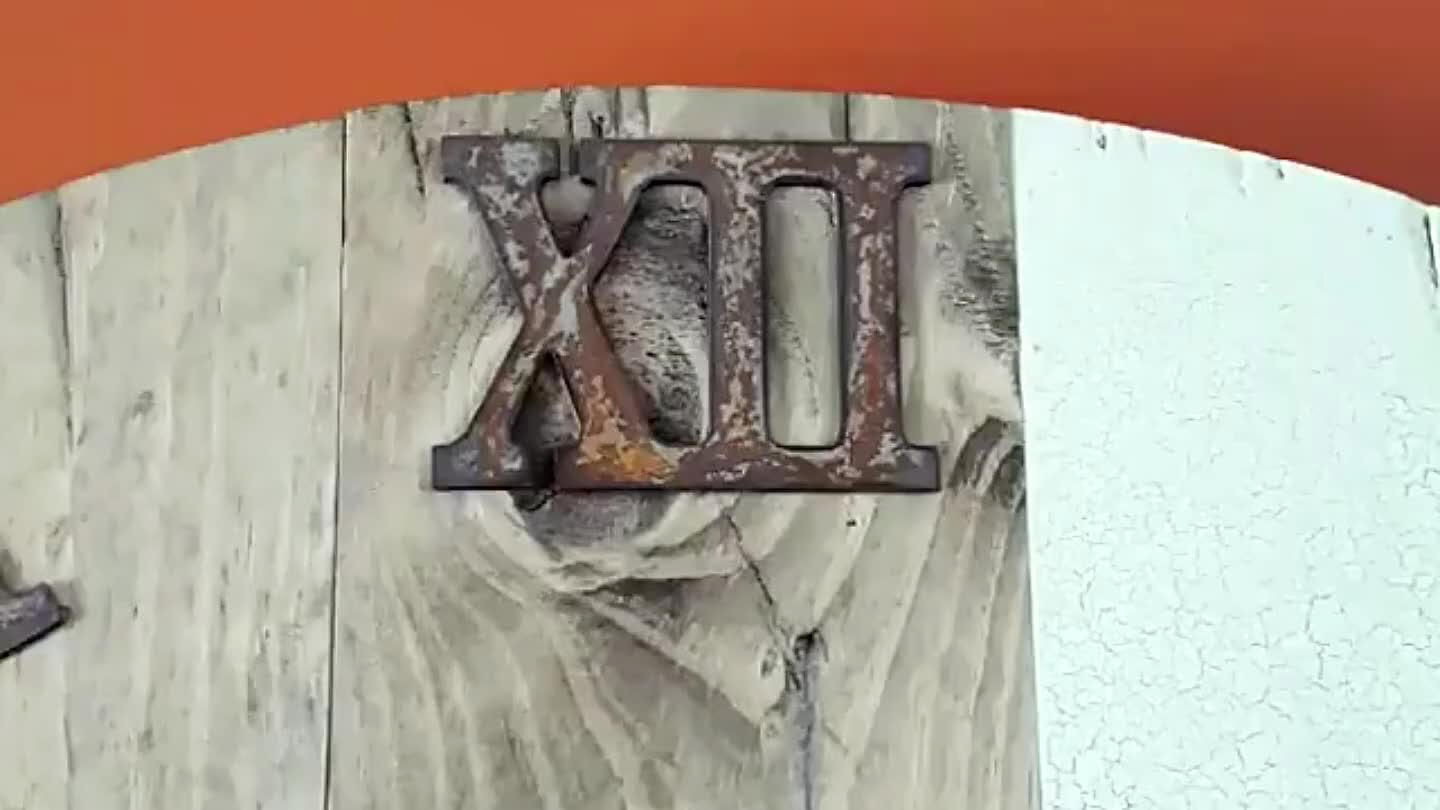
Clock numbers 3" - I ordered mine from a guy in Canada off Etsy. They came exactly how you see for $12.00 great deal.
High torque clock motor
17.5" clock hands
Epoxy
Spar Urethane Matte Finish
Tools
Miter saw or circular saw
Drill
Clamps are nice but not necessary
Palm router w/straight bit or drill w/fostner bit
Paint brush
Jig saw
How to do this project
1
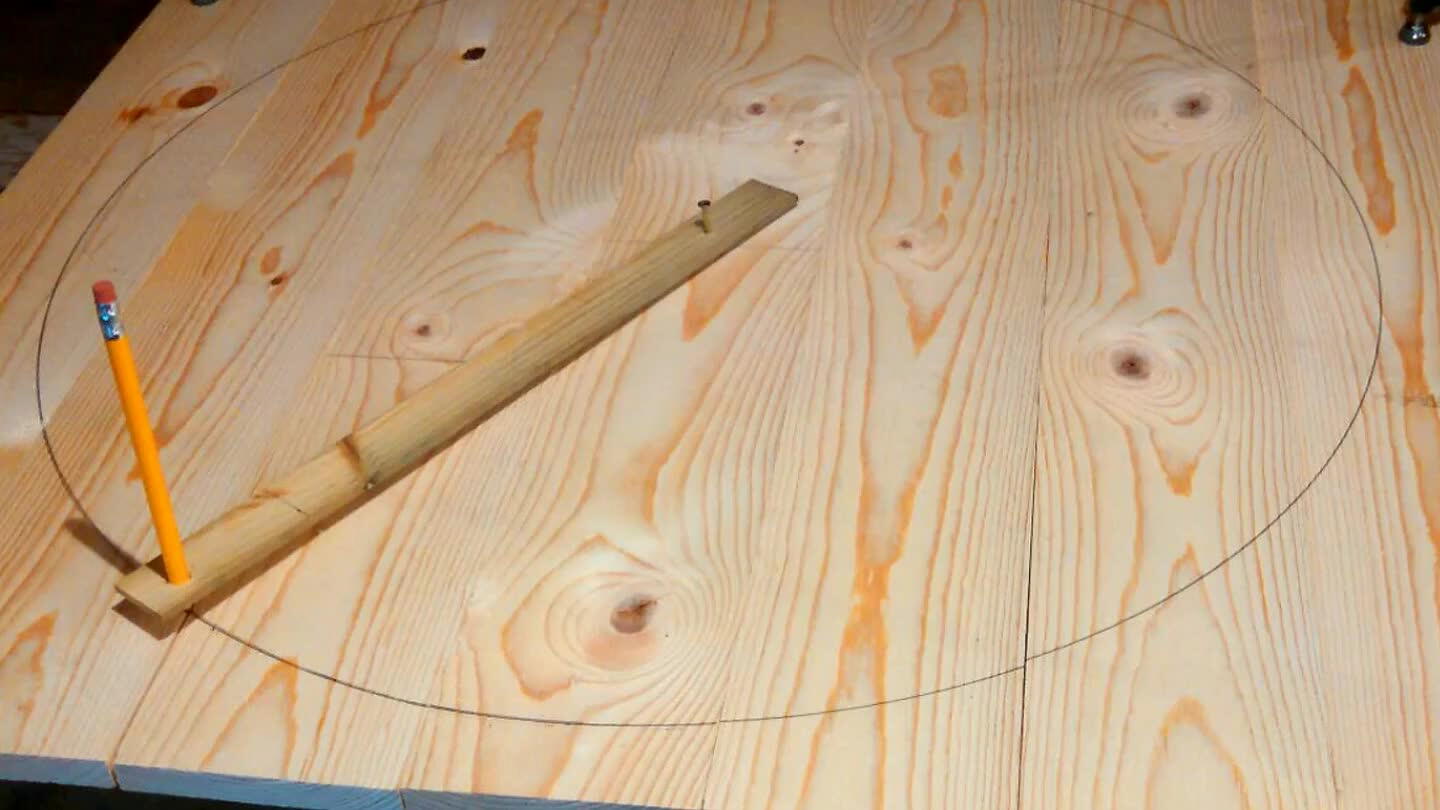
Cut pine boards down to (7) 6"x37". Lay cut boards out and drawn 36" diameter circle. I made a makeshift compass out of scrap wood, nail, and pencil.
2
Cut out the circle with a jig saw.
3
To make the new pine boards look rustic beat the boards up with any misc tools. I used hammer, nails, screws, chain, whatever i had available.
4
On the back of the center board trace the clock motor and cut it out with palm router ot drill with fostner bit. Drill hole for clock hands stem.
5
Lay out the clock numbers and clock hands to make sure you like the look before moving forward.
6
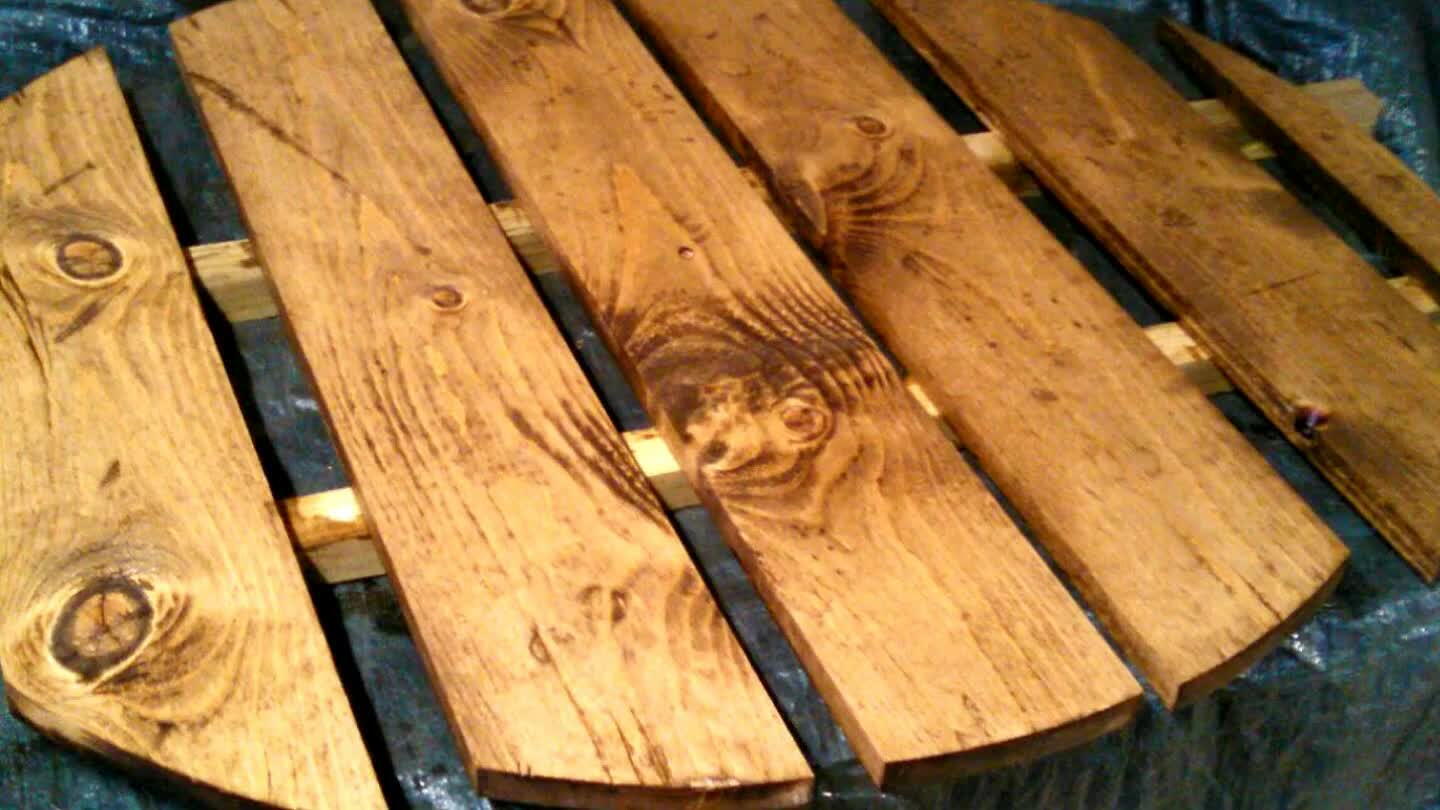
Stain all of the wood clock pieces. I used Minwax stain called Jacobean. I diluted it with mineral spirits till i found the color i liked.
7
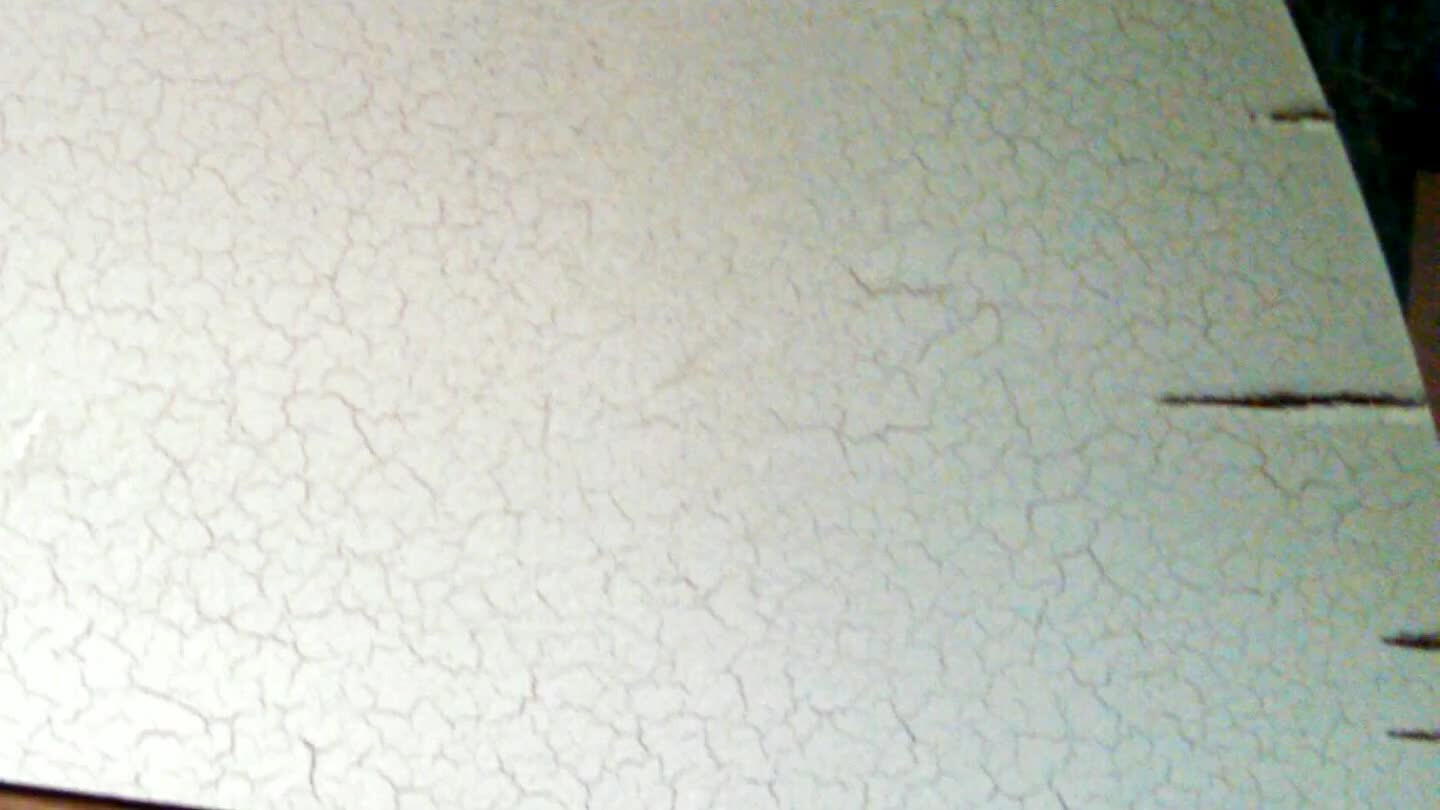
Choose the pieces you want to paint. I wanted my painted pieces to look weathered so i applied crackling glaze first then painted over it with chaulk paint. I was pleased with the outcome. Many people apply a dark wax to the dried crackeled paint to represent aged dirt but when i tried it looked horrible on test pieces so I didnt use it on my clock boards.
8
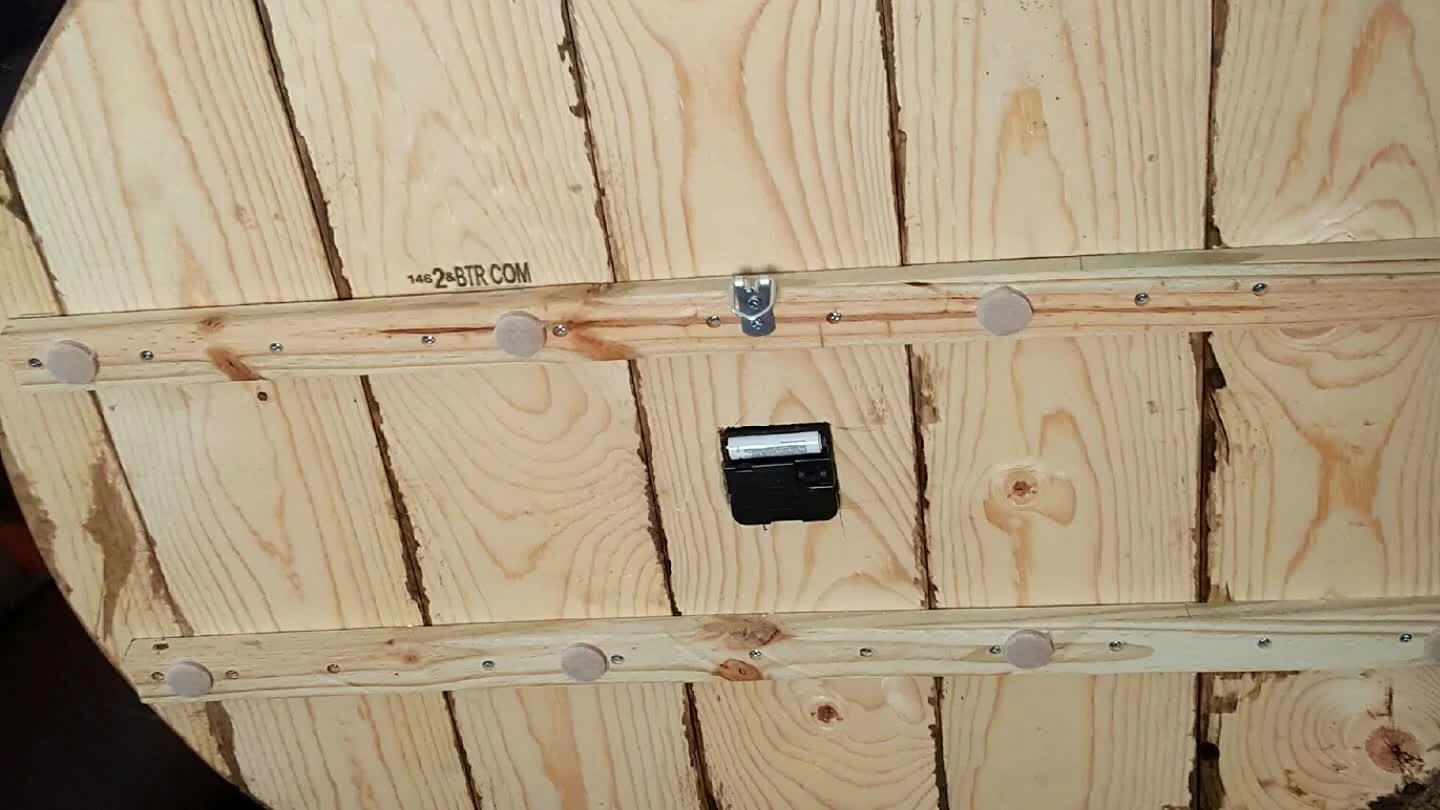
Cut a 2 small strips of wood as a backers to screw the individual cloack boards to. This allowed for movement and makes the face pieces uneven. I want this to make a more rustic look. As long as a piece didnt stick out far enough to impede the rotation of the clock hands.
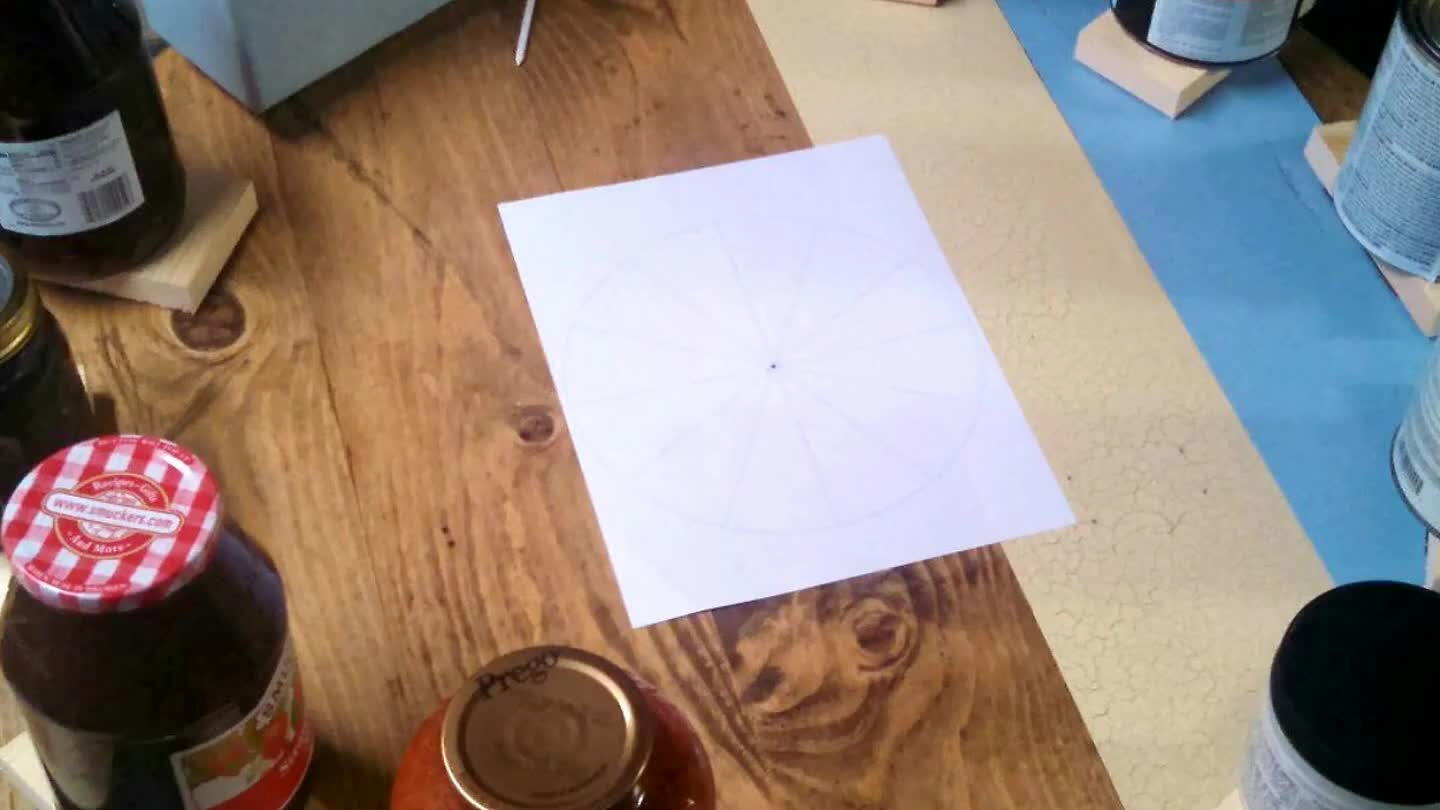
9
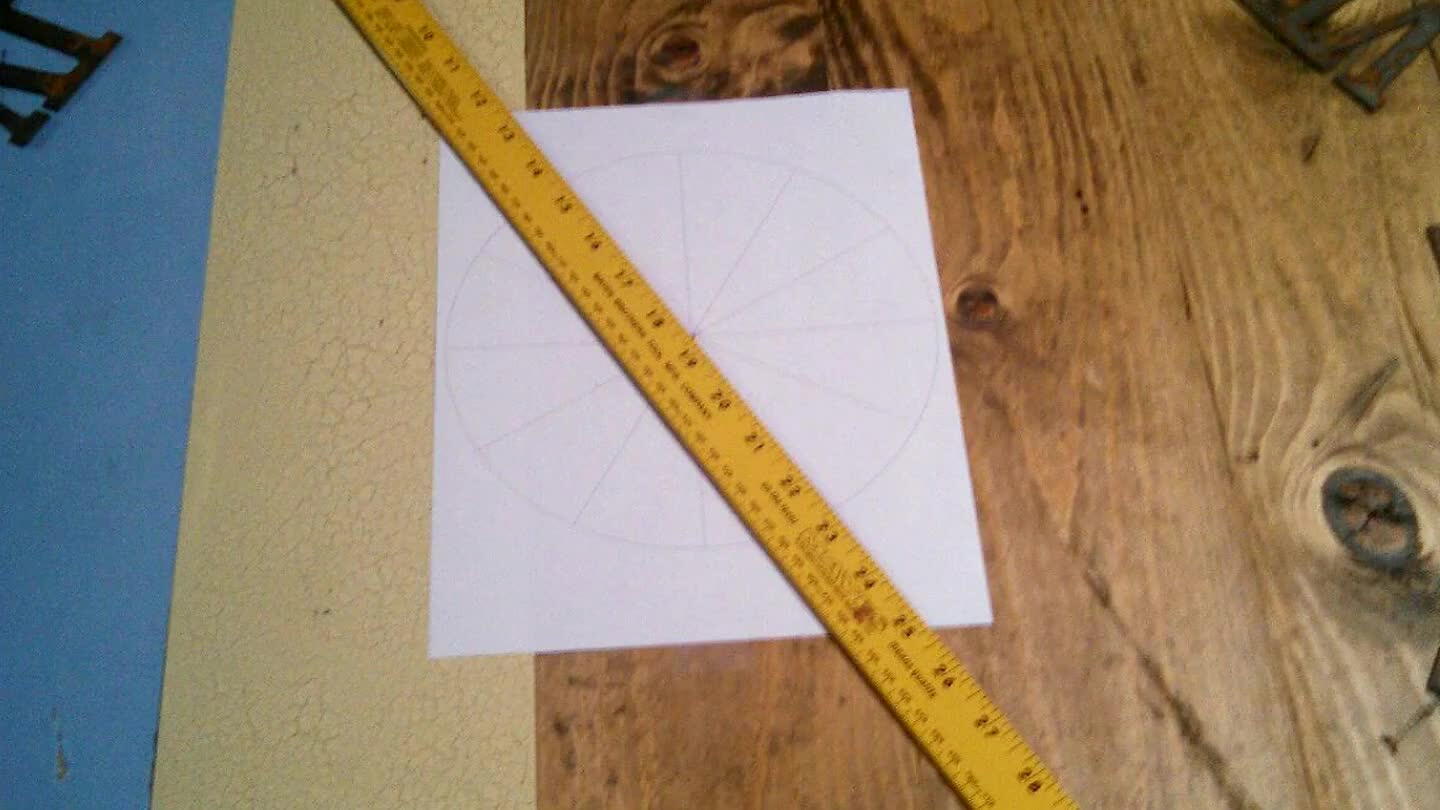
Determine the placement of the clock face numbers. There are lots of degree templates on google images. I printed one off and used a yard stick to extend my lines.
10
Glue the clock numbers down with epoxy. I tried super glue first and it wouldnt hold. Clamp numbets down to wood so the don't move. A friend had borrowed all my 6" clamps so I just cut blanks and found items to set on the numbers to hold them in place. Warning...wife gets mad if you take items from food pantry for this. Use at your own risk!
11
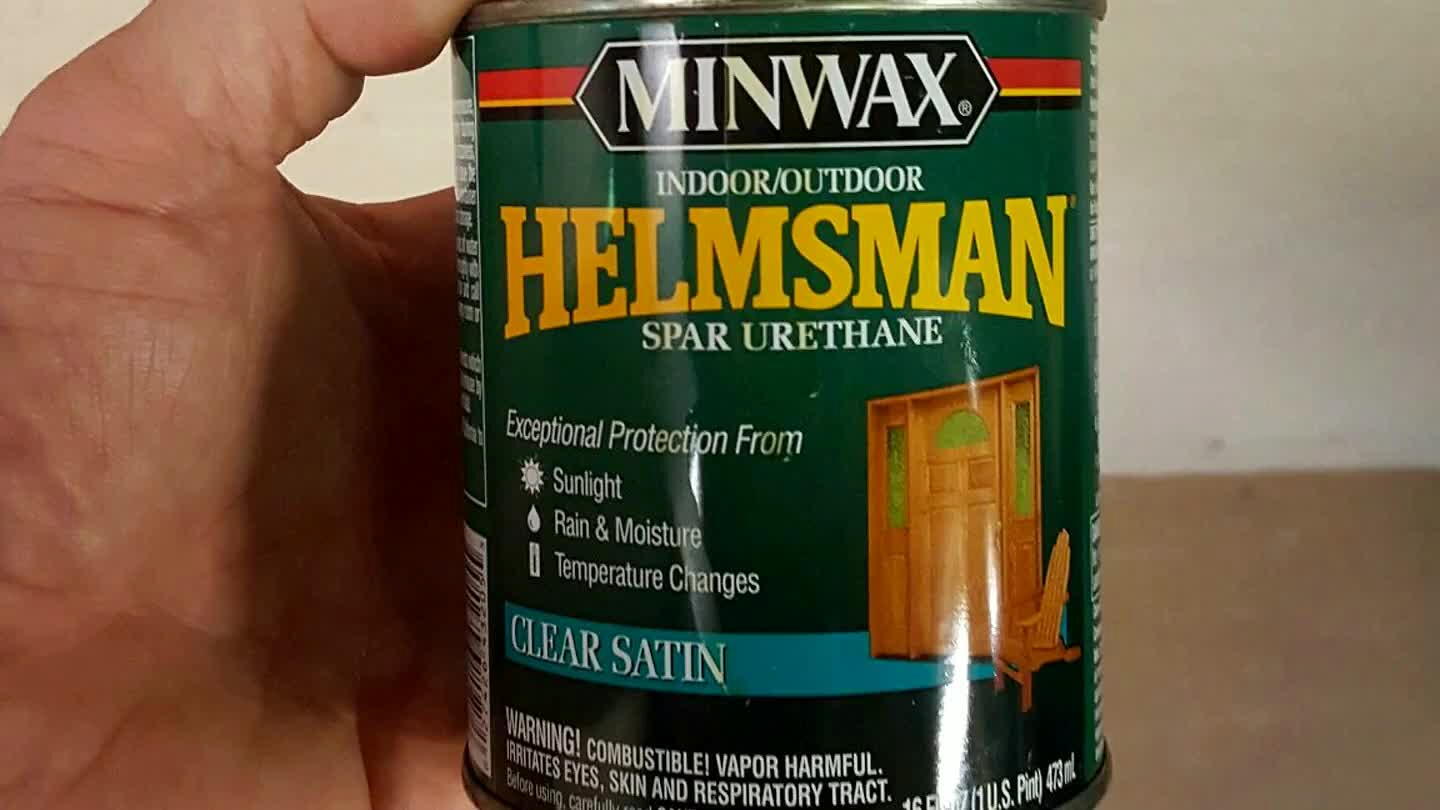
Once numers are dry brush 3 final coats of spar urethane sanding lightly with 220 grit sandpaper in between coats. I was told to use this spar urethane rather than poly because it wouldnt affect the chalk paint.
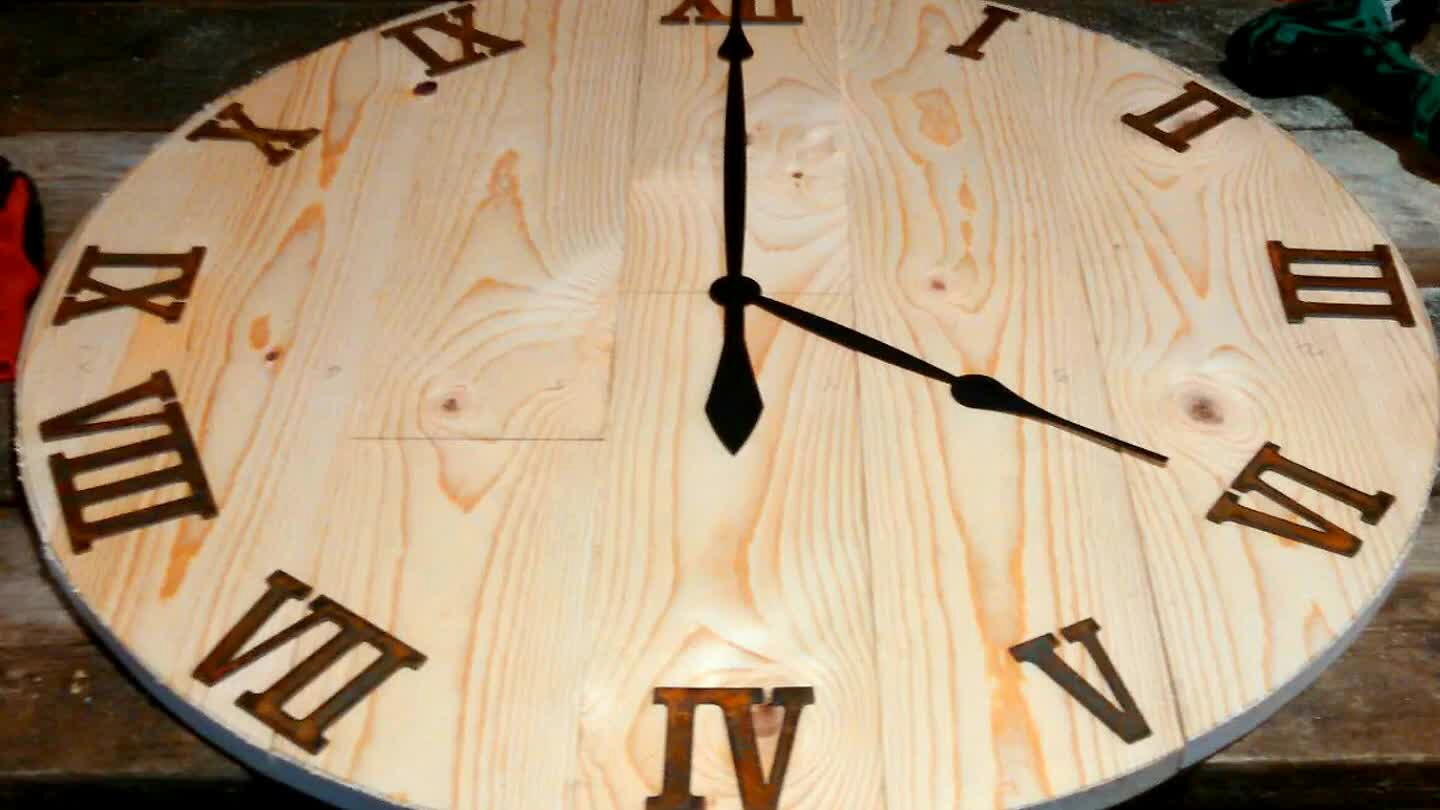
12
Attach clock motor and hands. Attach a hanging bracket in back and youre done!
Comments