
Coffee Table Made From Reclaimed Lumber
Distressed lumber


Using lumber from a 75 year old demolished house, built a coffee table for my son who enjoys the distressed lumber look.
What you will need
Enough old lumber to build a table
Pocket screws
Glue
How to do this project
1
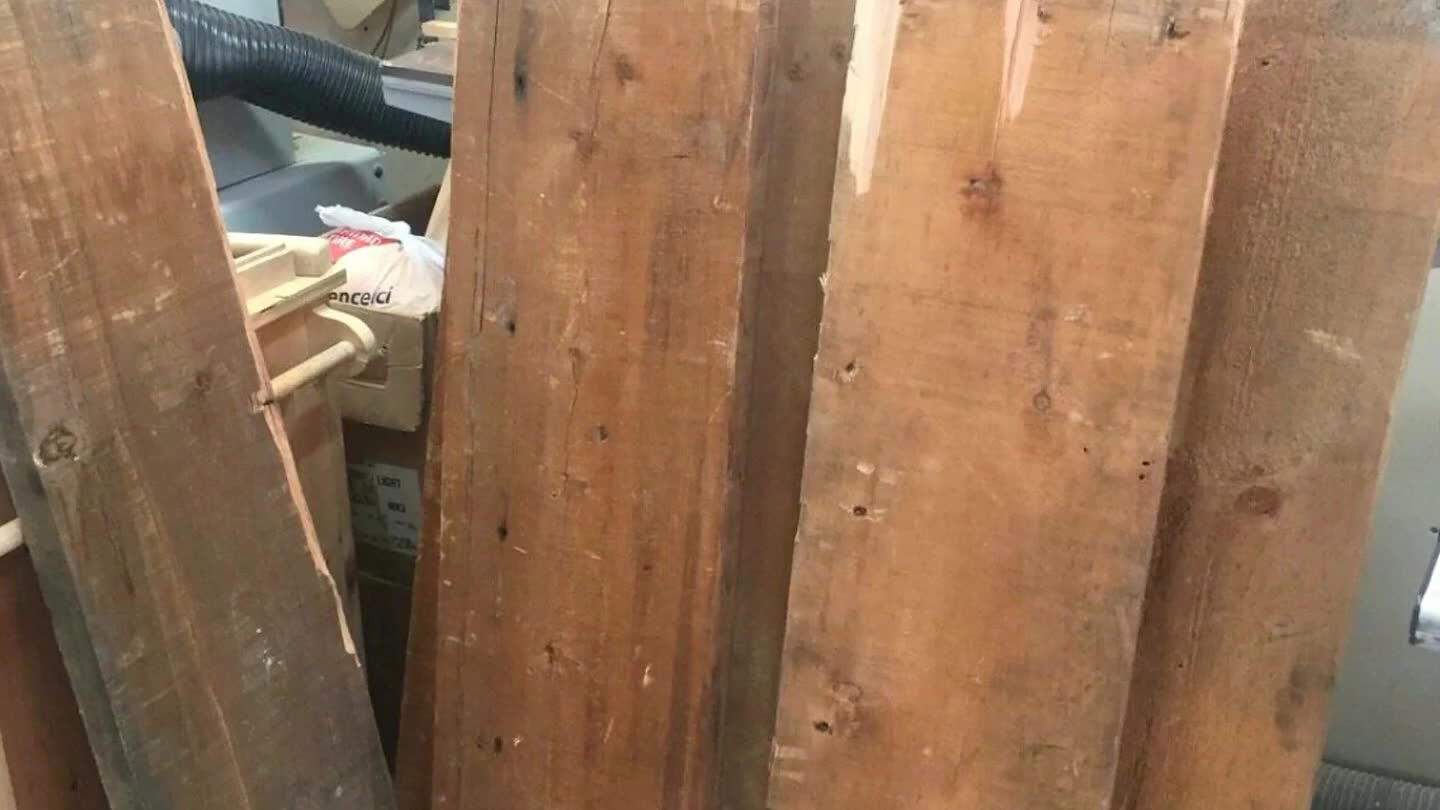
Gather the materials needed. In my case, i had access to demolition lumber pine boards, up to 2 inches thick, of varying lengths, widths and thicknesses
2
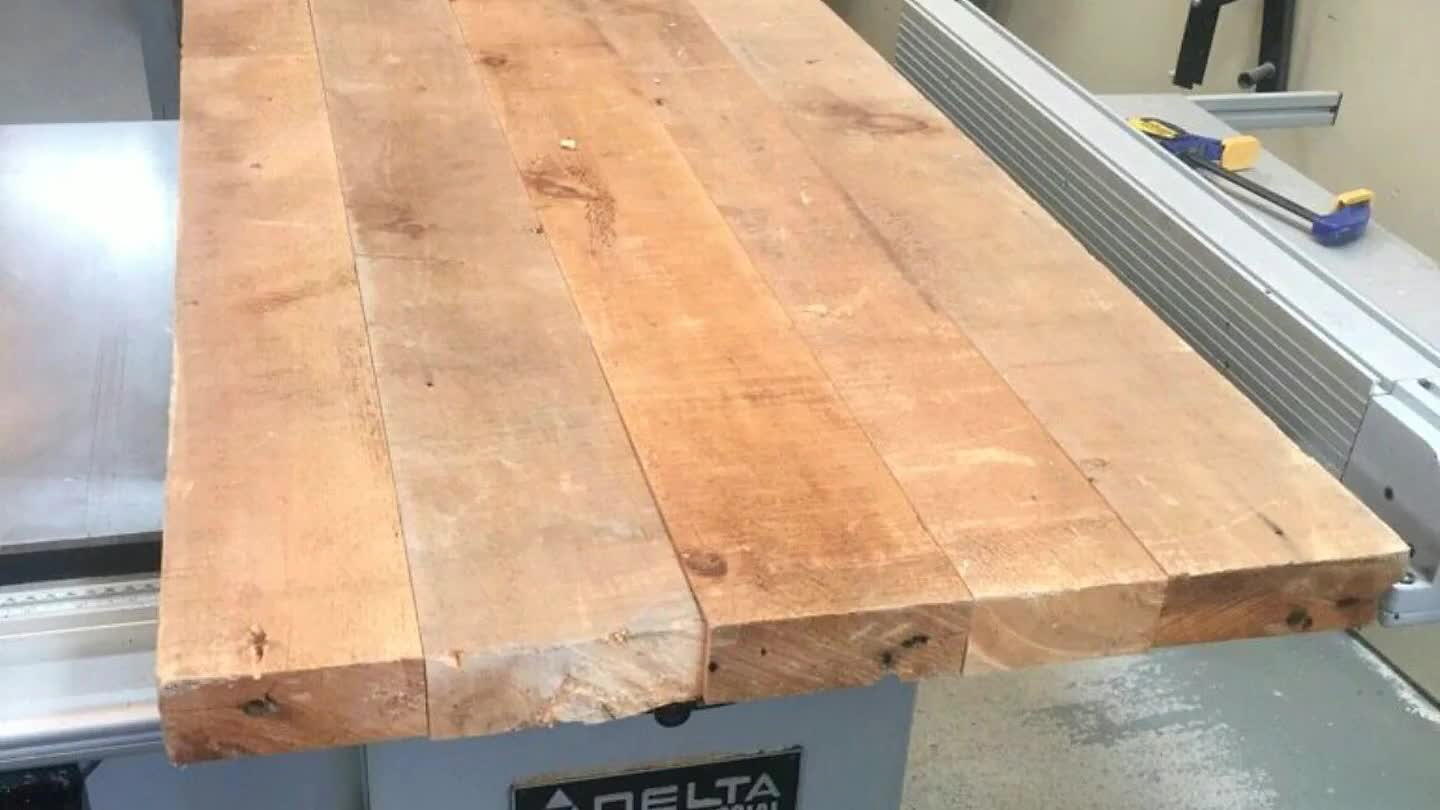
Remove all nails and fasteners. I am lucky to own a metal detector to help find any imbedded nails. Once this is done, rip the boards into 5 inch wide boards. Since the original boards were 12 inches wide, cutting them down to 5 inches is to prevent the table top from warping.
3
Determine which side of each board has the most character to be used as the table surface. I like nail holes, dents, scratches, imperfections. Once that is decided, plane the opposite side of each board to achieve a uniform thickness. Ensure that each board edge is 90 degrees to the planed side. I kept the 2 outermost edges of the table top in their rough state.
4

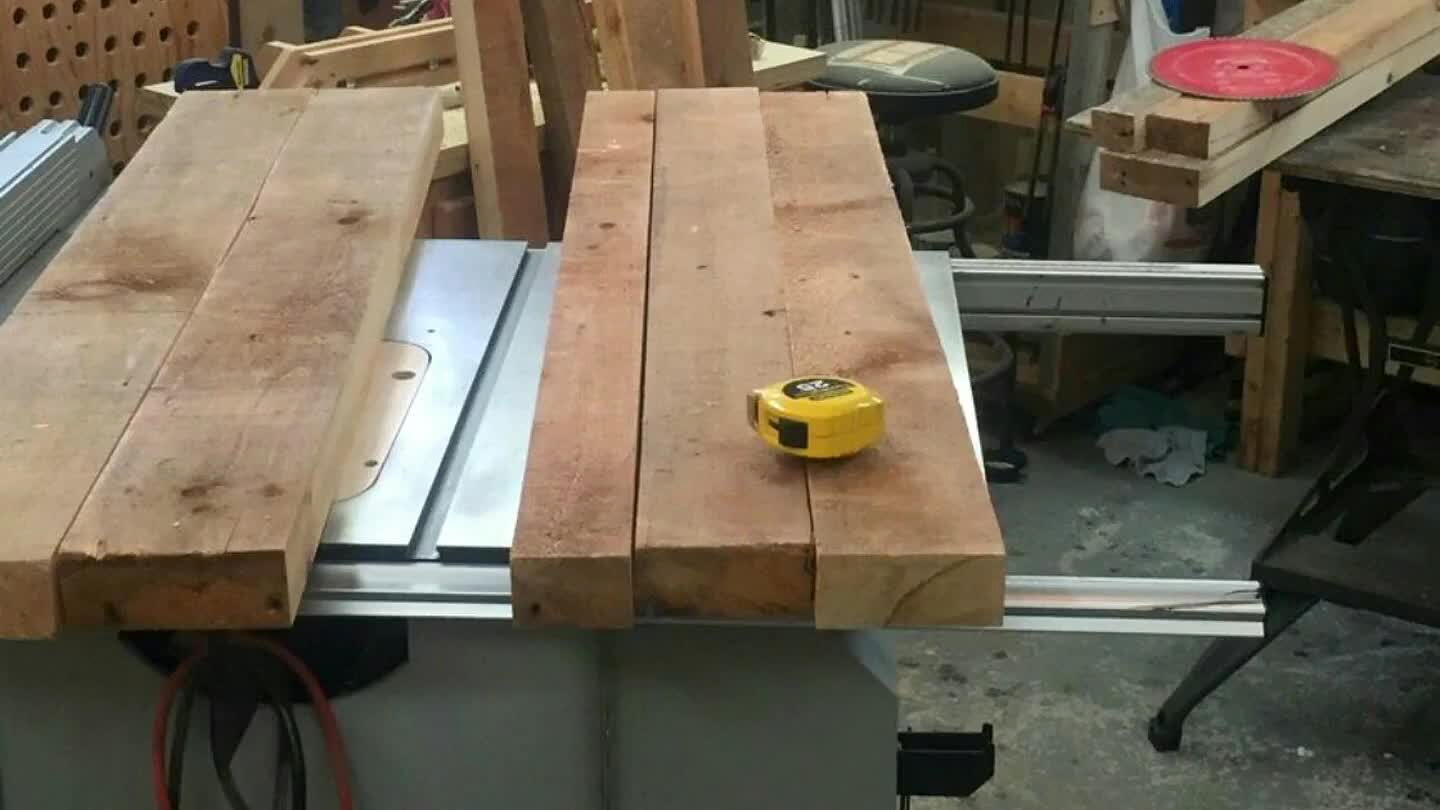
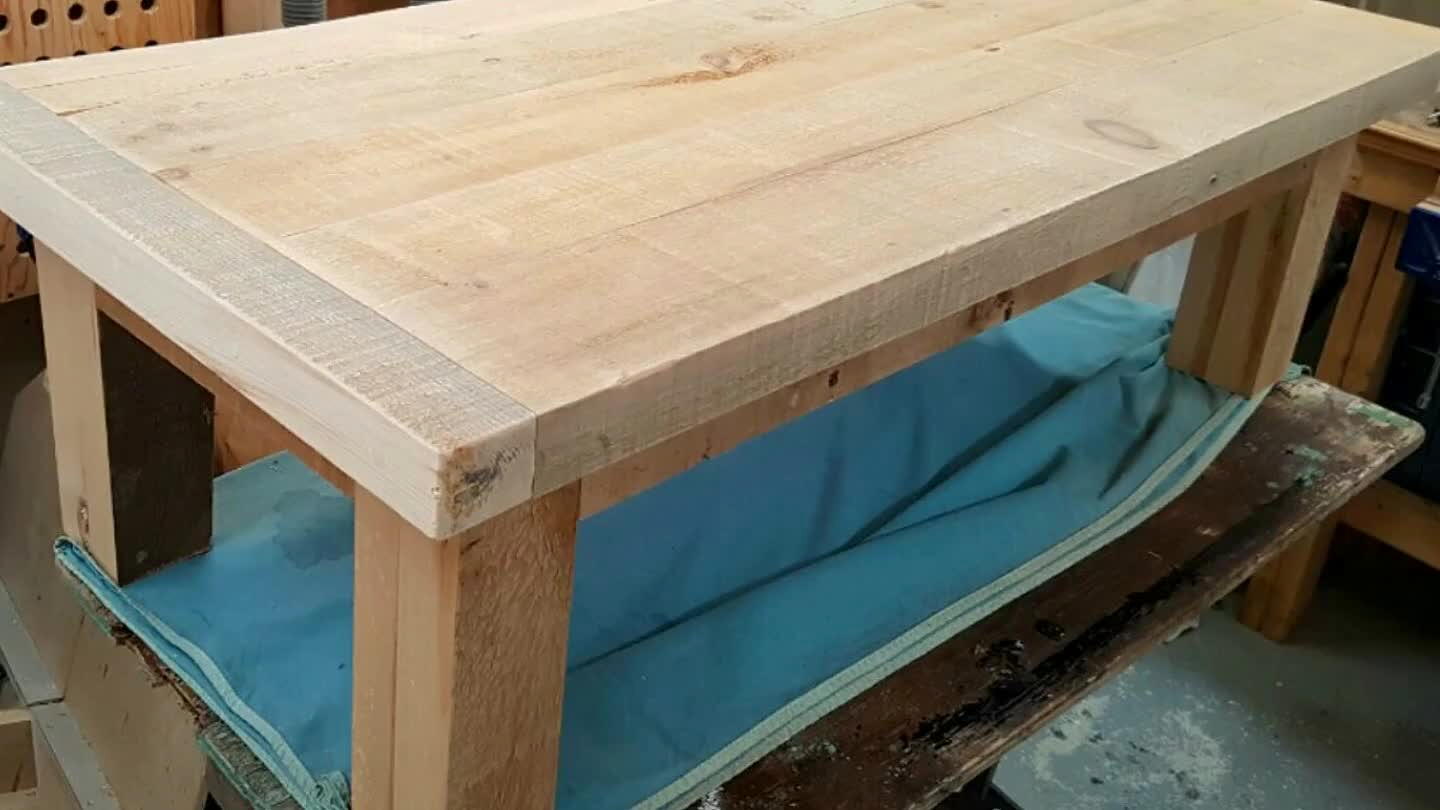
Dry assemble the boards to see how to best arrange the boards to form the table top.
5
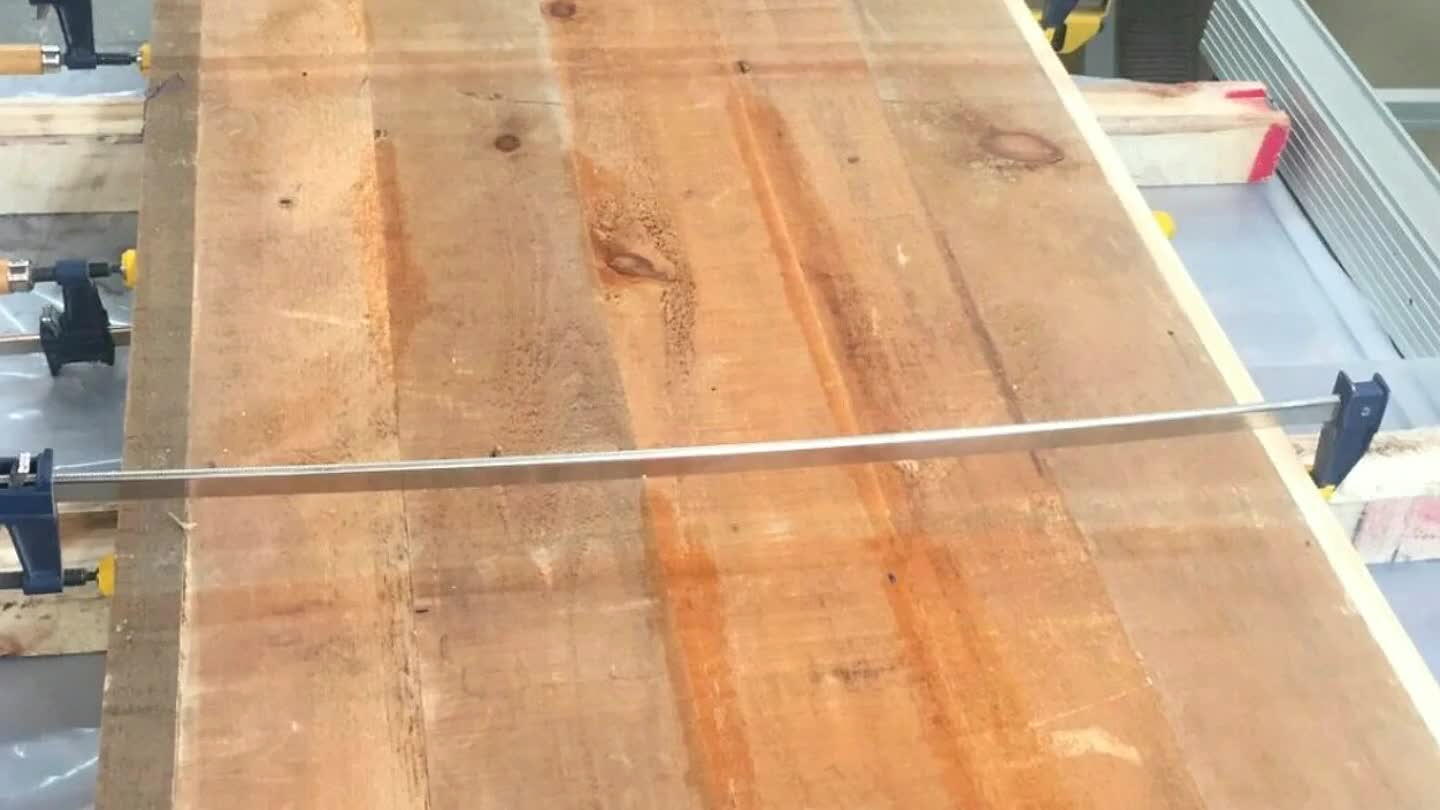
Glue the boards together being careful not to have any glue squeeze out on the rough top side of the boards.
6
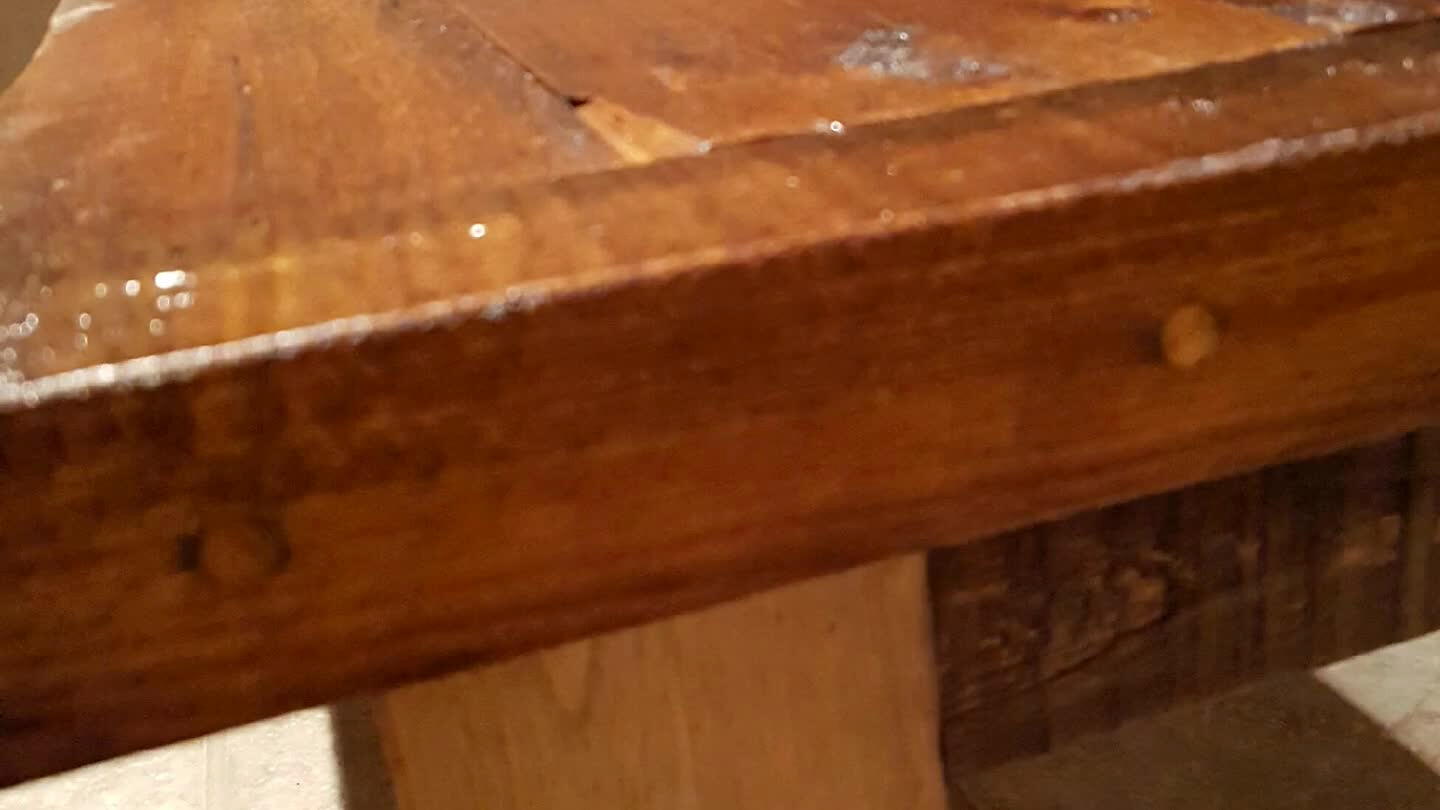
Once dry, cut the assembled wood slab to length to achieve a perfectly square edge at both ends of the table. Attach 2 inch wide breadboard ends made of the same material to hide that clean edge with screws into the ends of the slab with wood plugs to hide the screws.
7
Using Cut-offs, build 4 inch X 4 inch legs by laminating wood pieces and cutting to length.
8
Cut 3 inch wide table apron material and attach the 4 legs to the aprons using 3 inch pocket screws. Attach the table top to the aprons using pocket screws.
9
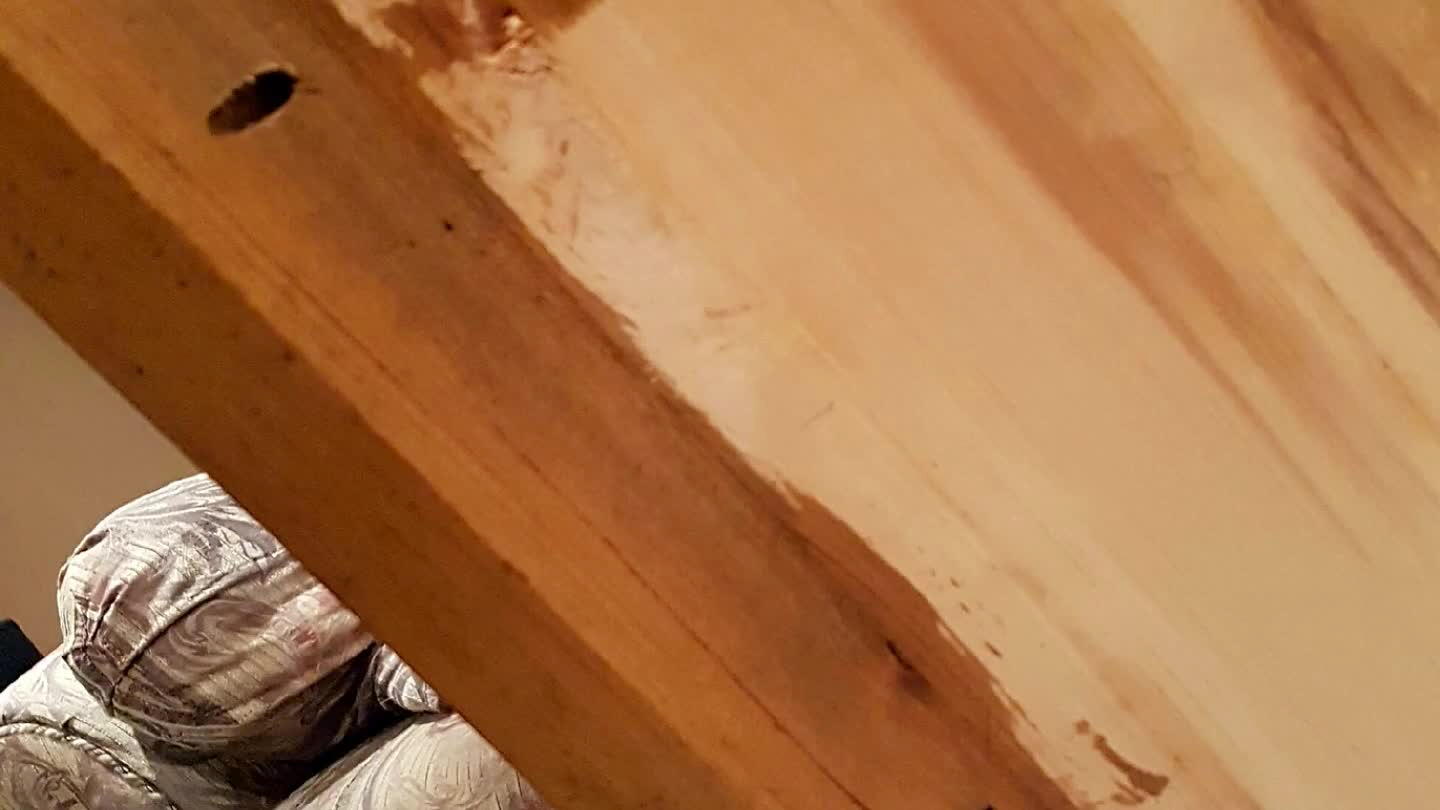
Wire brush the tabletop to remove grit, sawdust and any foreign material. Surface sand the top with 80 grit sandpaper to achieve a fairly smooth top without removing too much of the material. Vacuum the top.
10
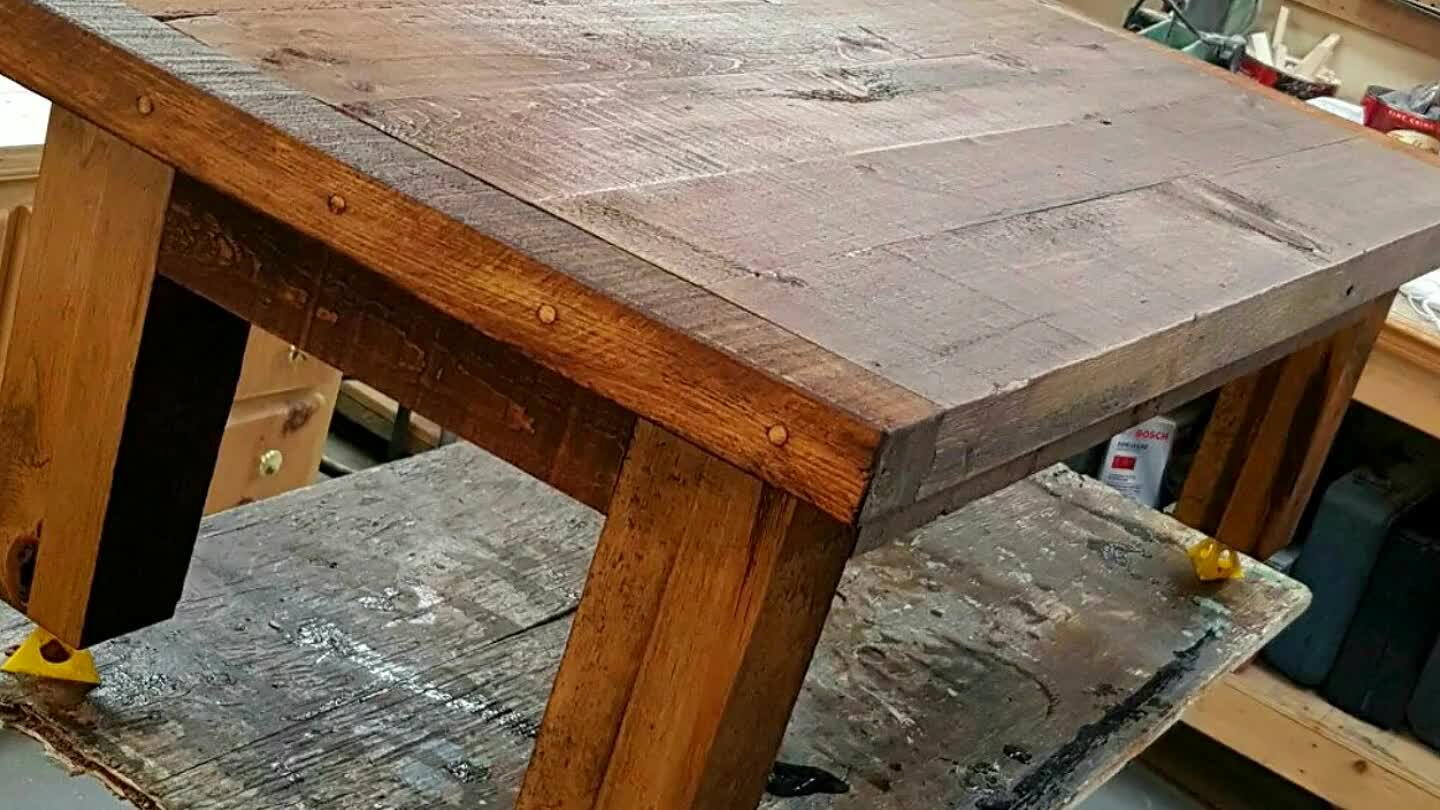
Apply your favourite stain. I then applied 7 coats of satin finish polyurethane.
11
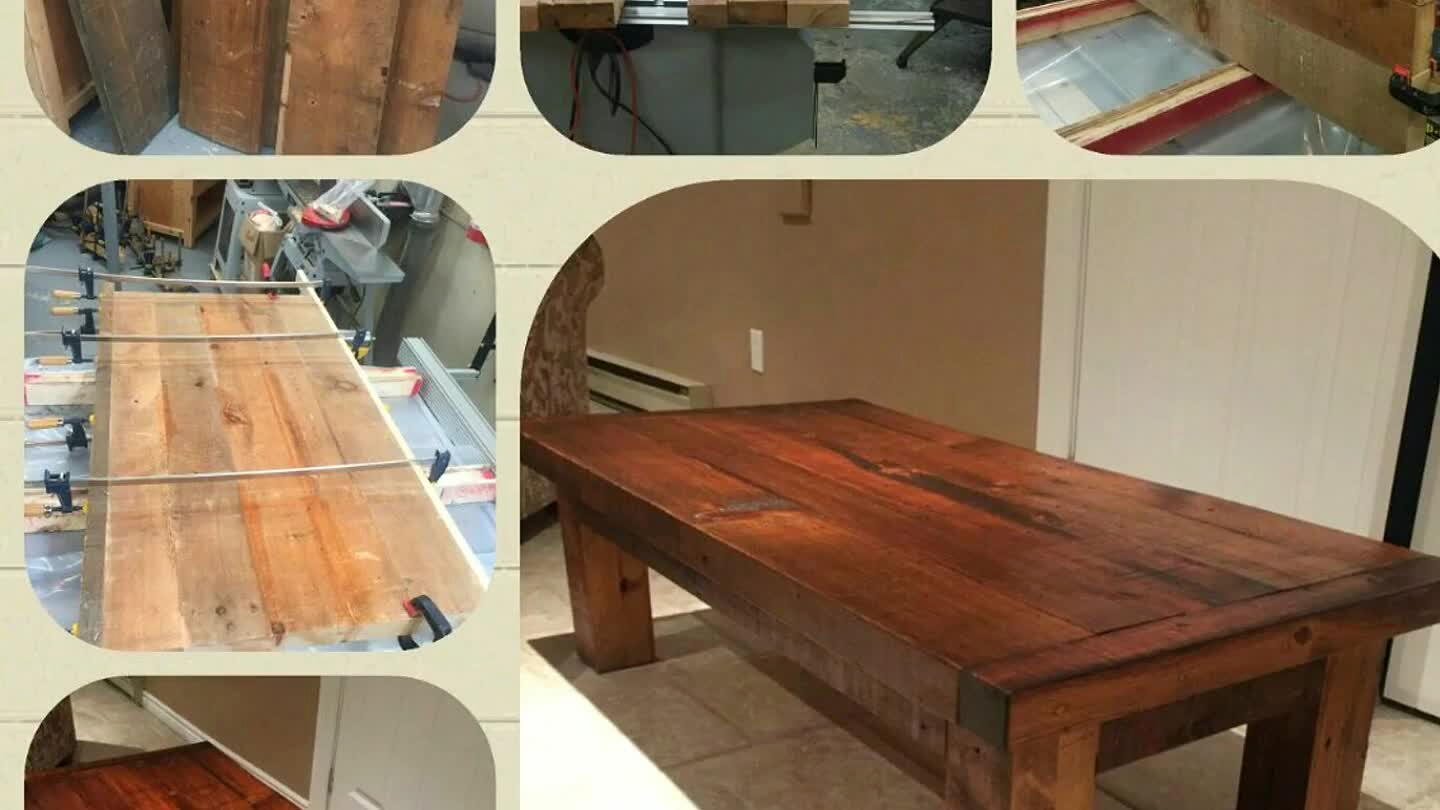
From demolition materials to handsome coffee table
Comments