
Corner Shelves


What you will need
Lumber (knotty pine), screws, wood glue
Bar clamps, straight edge
Table Saw, Router, Biscuit Jointer, Planer, Belt & Orbital Sanders, Jigsaw
How to do this project
1
I made a template that I could follow with the router once my boards were laminated. This should be the first step as it will simplify locating where to put the biscuit joints.
2
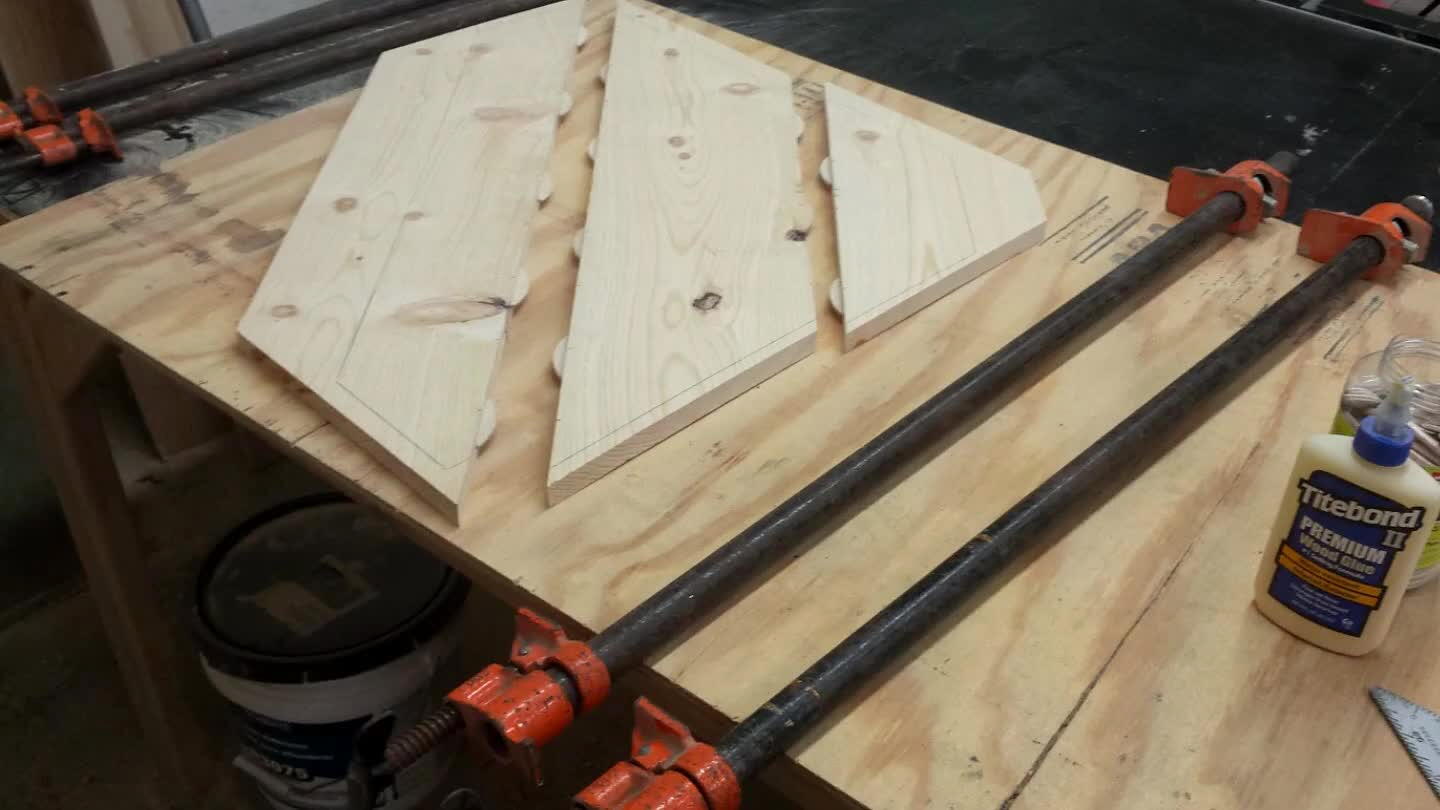
Determine the layout for biscuit joints on the boards to be edge laminated so that they will not show once the final dimensions are cut. This step is not mandatory, but is very helpful when trying to keep things straight during the glue up.
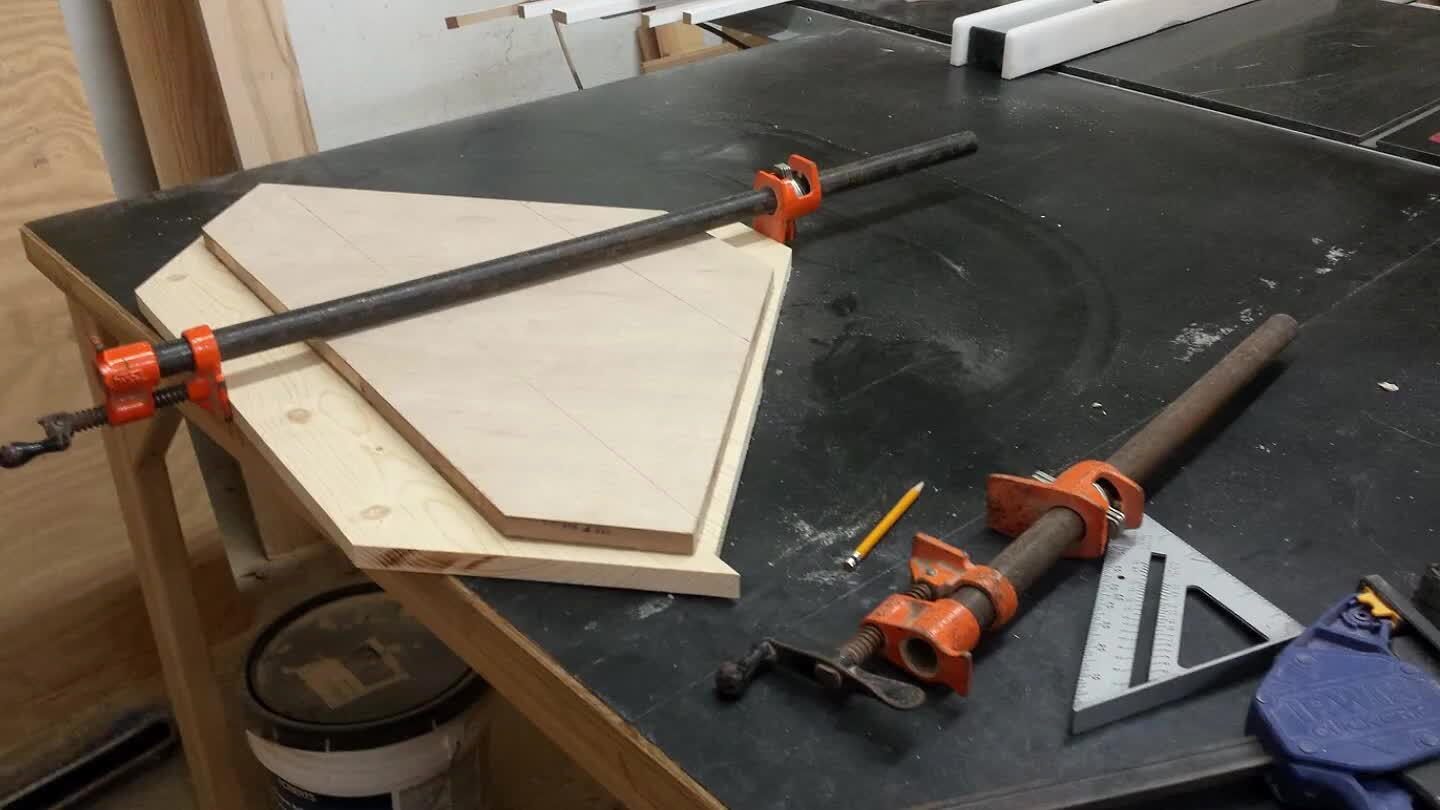
3
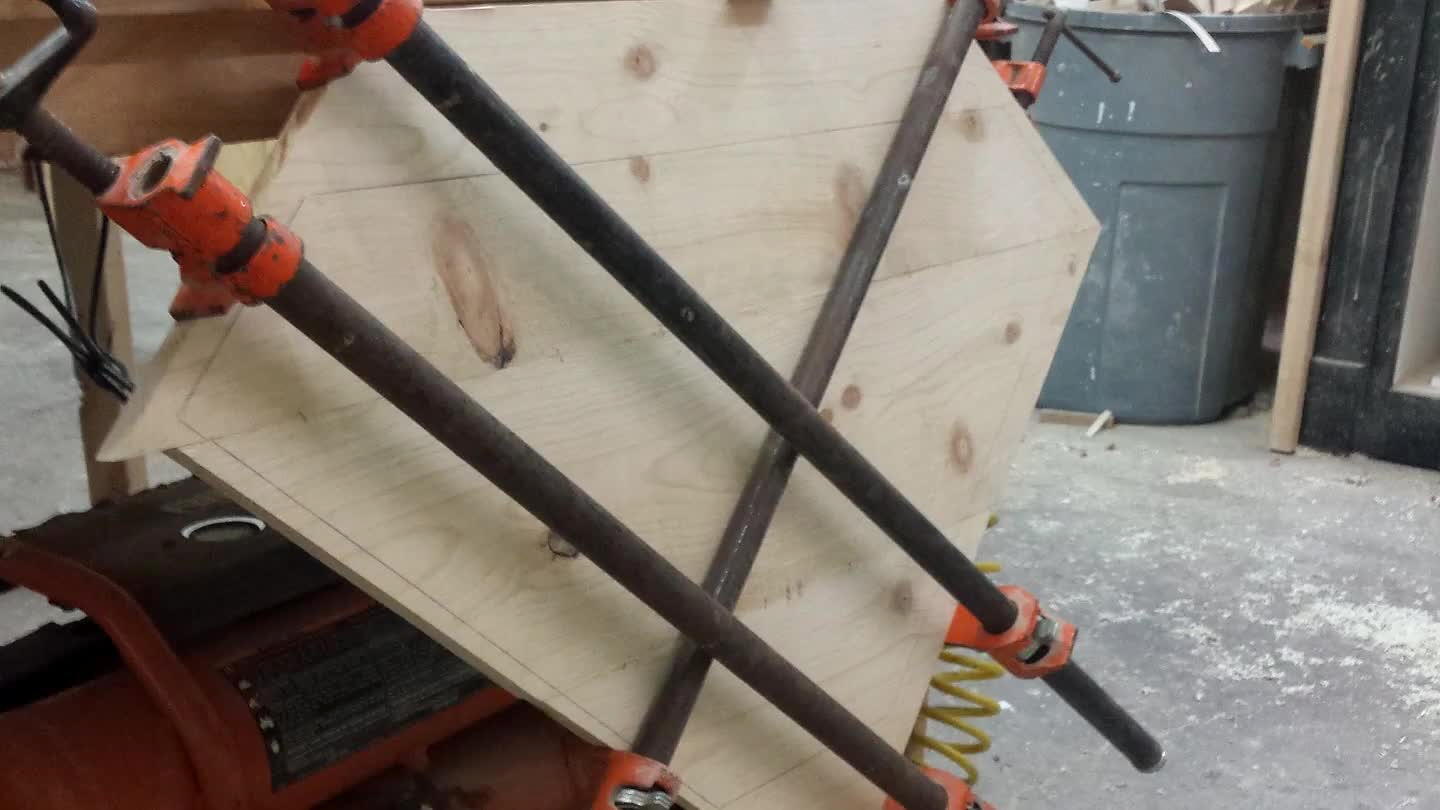
The shape made this odd to clamp, but I made it work. I was originally only going to make one of these shelves, and the only reason they were cut prior to lamination was because it was made mostly of scrap pieces of wood laying around the shop. The other 2 shelves I made were laminated as one piece and roughly cut out with a jigsaw, then finished with the router.
4
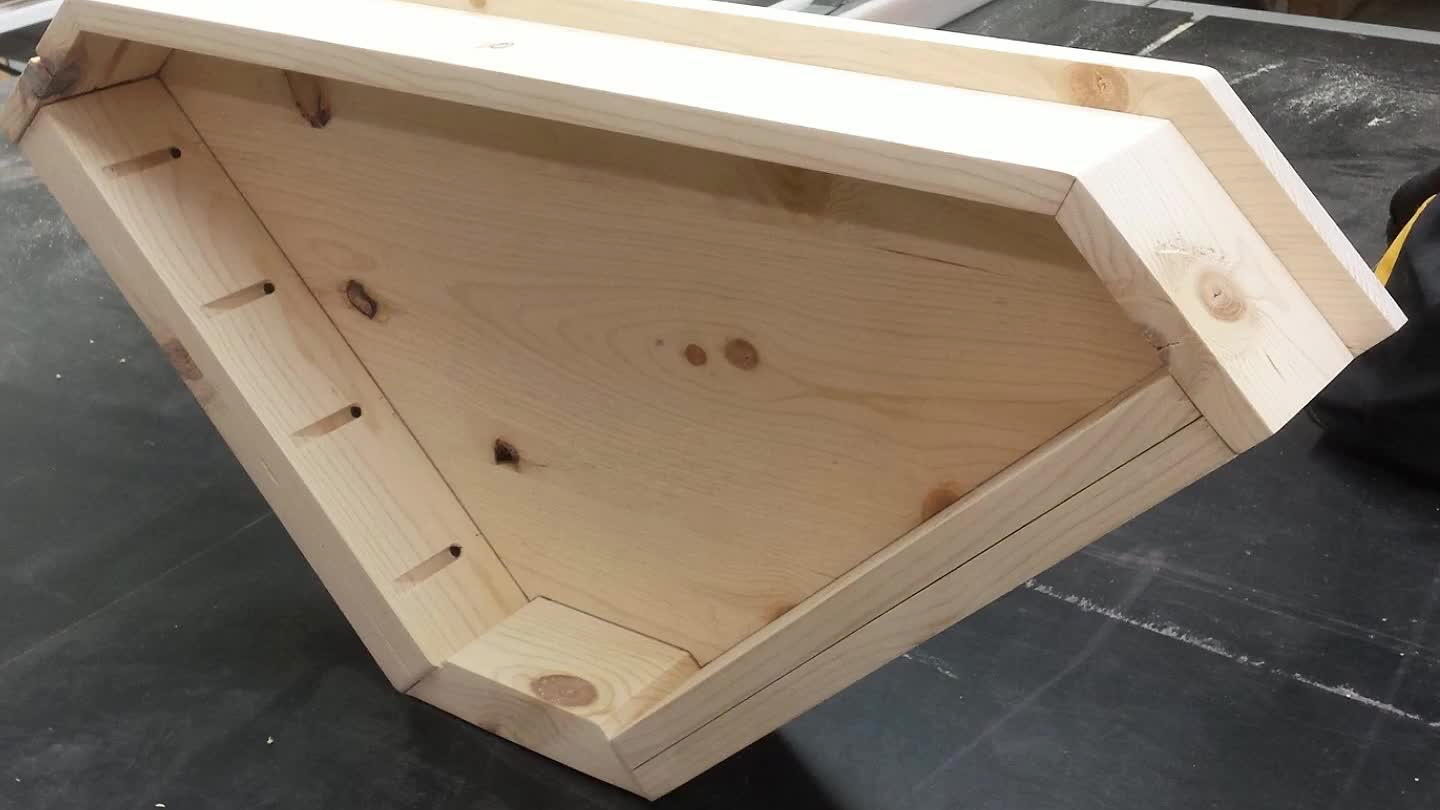
Build the frame and attach with pocket hole screws.
5

Remember to plan prior to cutting the front 3 pieces of the frame in order to get the quality look of continuous grain on the face boards.
Comments