Cosmetic Chest
Six drawer makeup organizer
Finally finished, not sure if I like how the color turned out. Decided to check measurements this time to make it easier for you guys😁
What you will need
1 4'x8' sheet of ⅜ plywood
bradnails
woodglue
table saw
sander
How to do this project
1
![° angle on the sides to make it look better, but I just butted the connections... You will see in next step(sand ALL pieces)](https://craftlog.global.ssl.fastly.net/m/ve/b64-8863643-1583706405022-b3B0aW1pemVGb3I9ZGVza3RvcGhoZCZsYW5ndWFnZVRhZz1lbi1VUyZyZW5kZXJDbGlwU3RhcnQ9MSZyZW5kZXJDbGlwU2l6ZT0x.jpg)
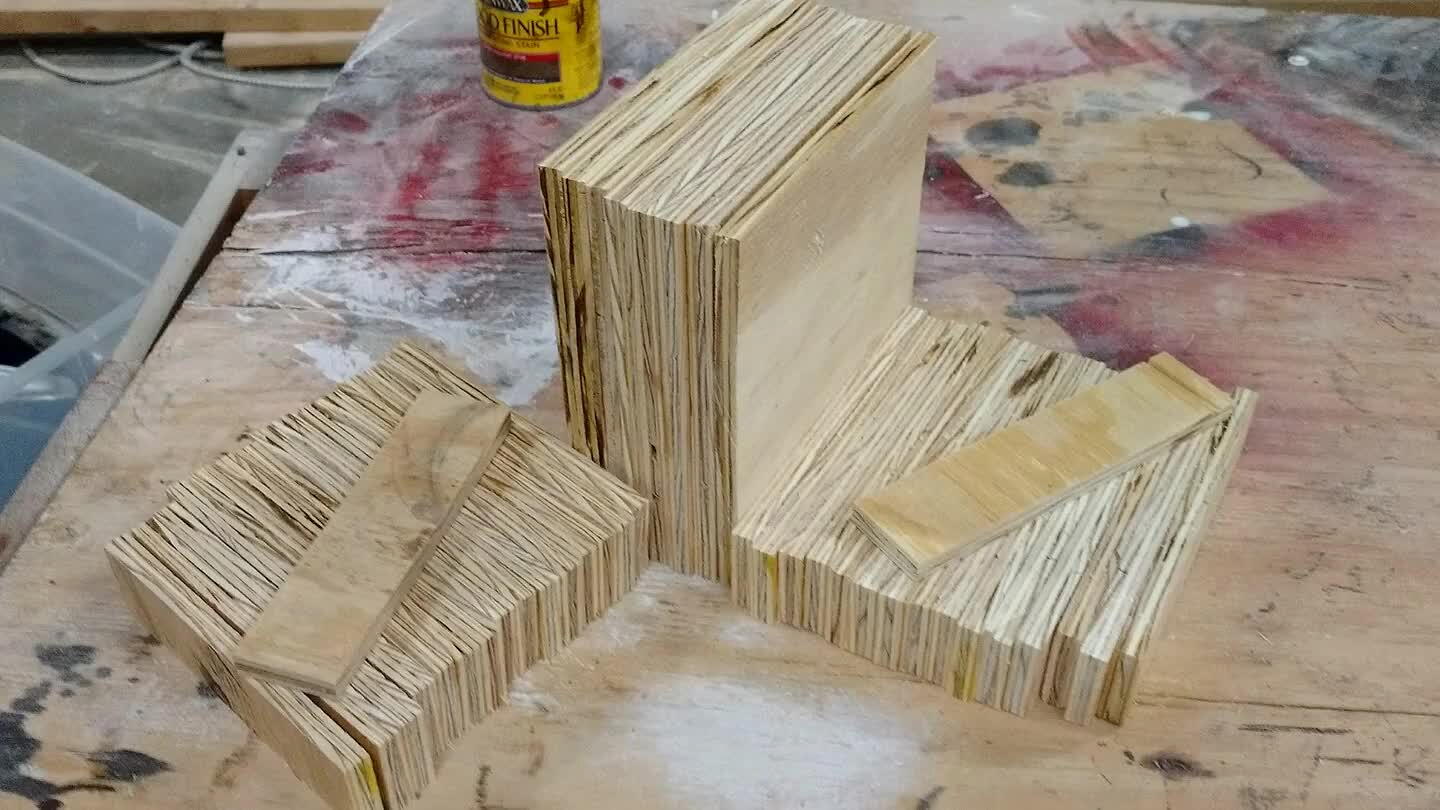
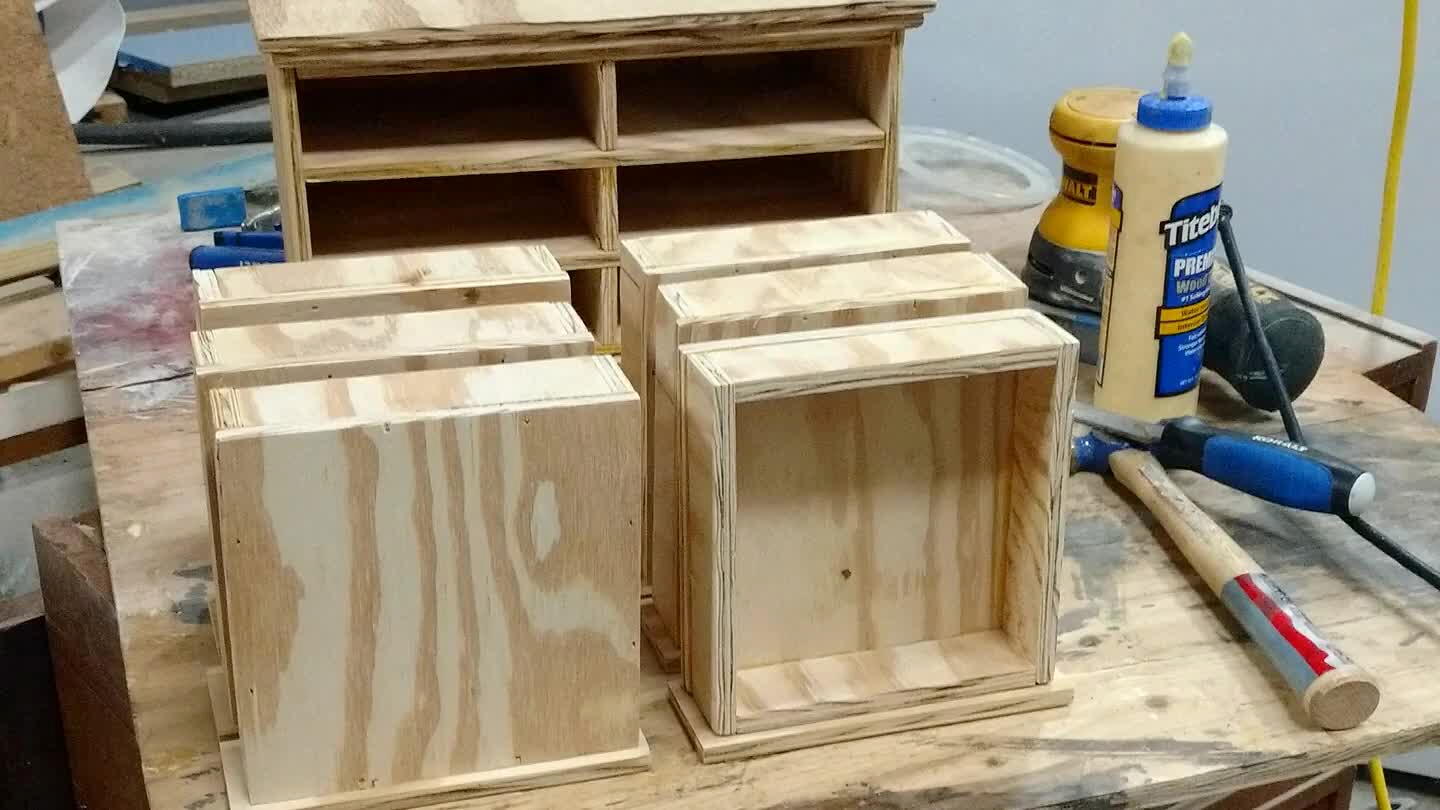
Drawer bottoms are 6½" squares, drawer sides are 1" tall. You could do a 45° angle on the sides to make it look better, but I just butted the connections... You will see in next step(sand ALL pieces)
2
![](https://craftlog.global.ssl.fastly.net/m/ve/b64-8863643-1583706405022-b3B0aW1pemVGb3I9ZGVza3RvcGhoZCZsYW5ndWFnZVRhZz1lbi1VUyZyZW5kZXJDbGlwU3RhcnQ9MiZyZW5kZXJDbGlwU2l6ZT0x.jpg)
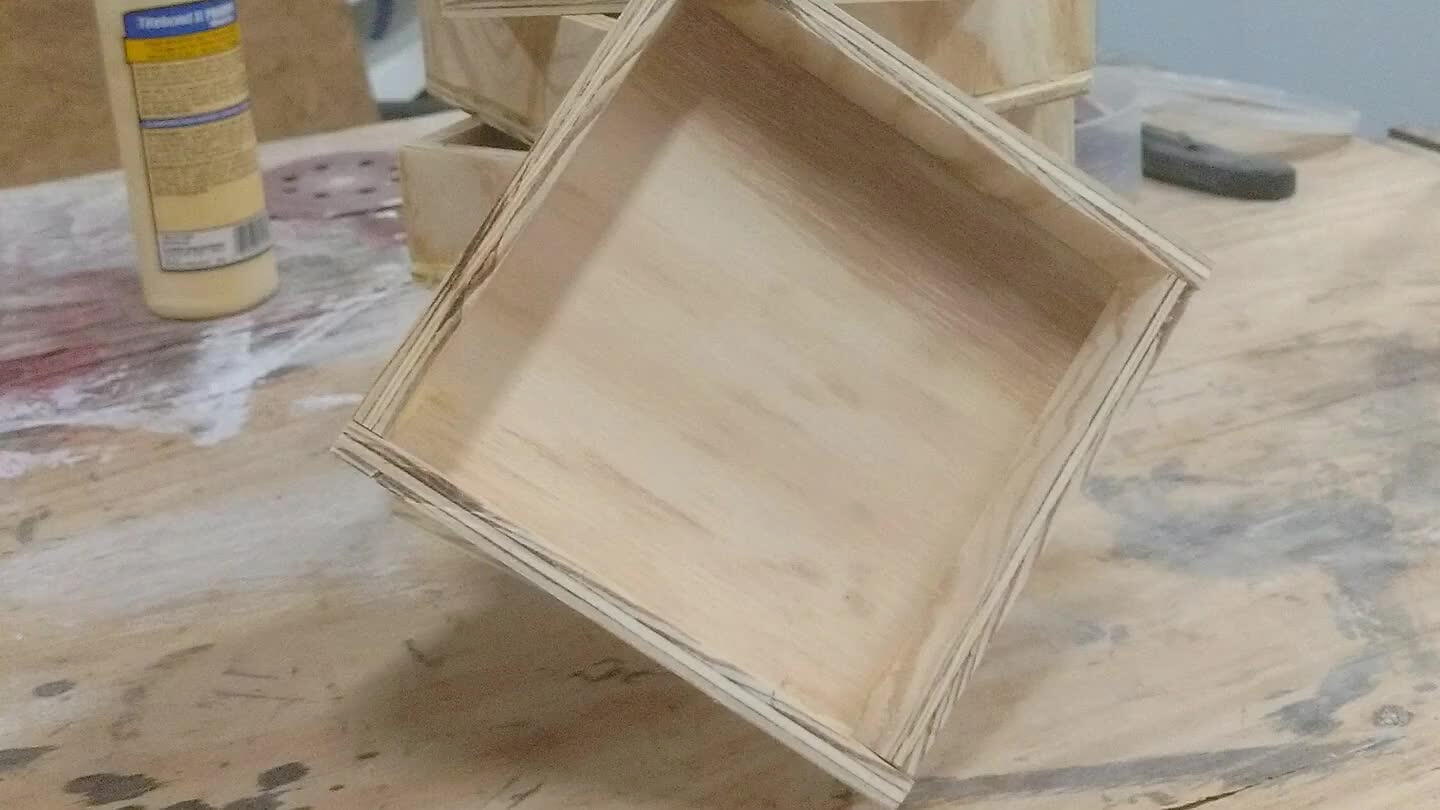
I glued them, then brad nailed them
3
![e drawers. Two side pieces 6½"x7½". And three middle pieces 2"x6½"(sand ALL pieces)](https://craftlog.global.ssl.fastly.net/m/ve/b64-8863643-1583706405022-b3B0aW1pemVGb3I9ZGVza3RvcGhoZCZsYW5ndWFnZVRhZz1lbi1VUyZyZW5kZXJDbGlwU3RhcnQ9MyZyZW5kZXJDbGlwU2l6ZT0x.jpg)
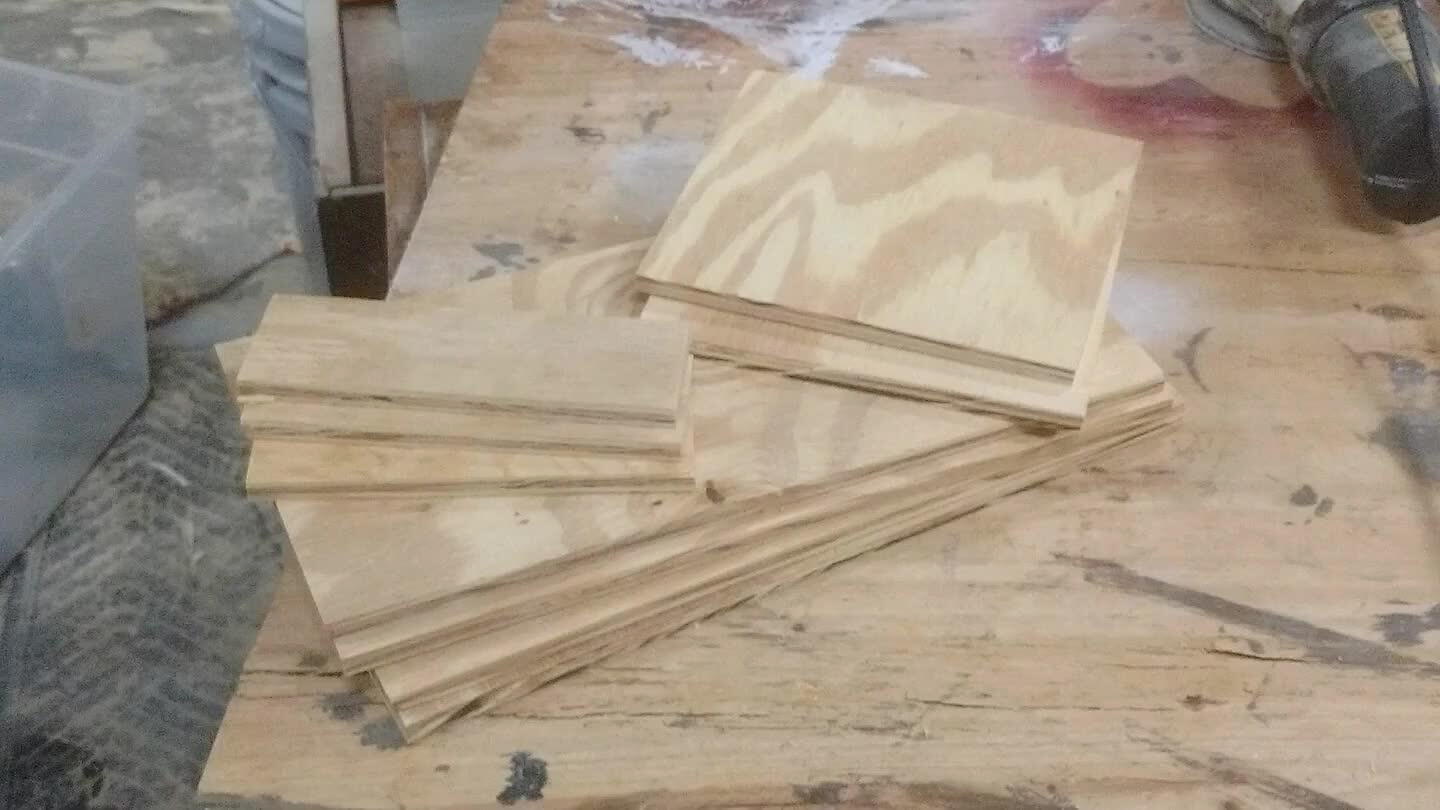
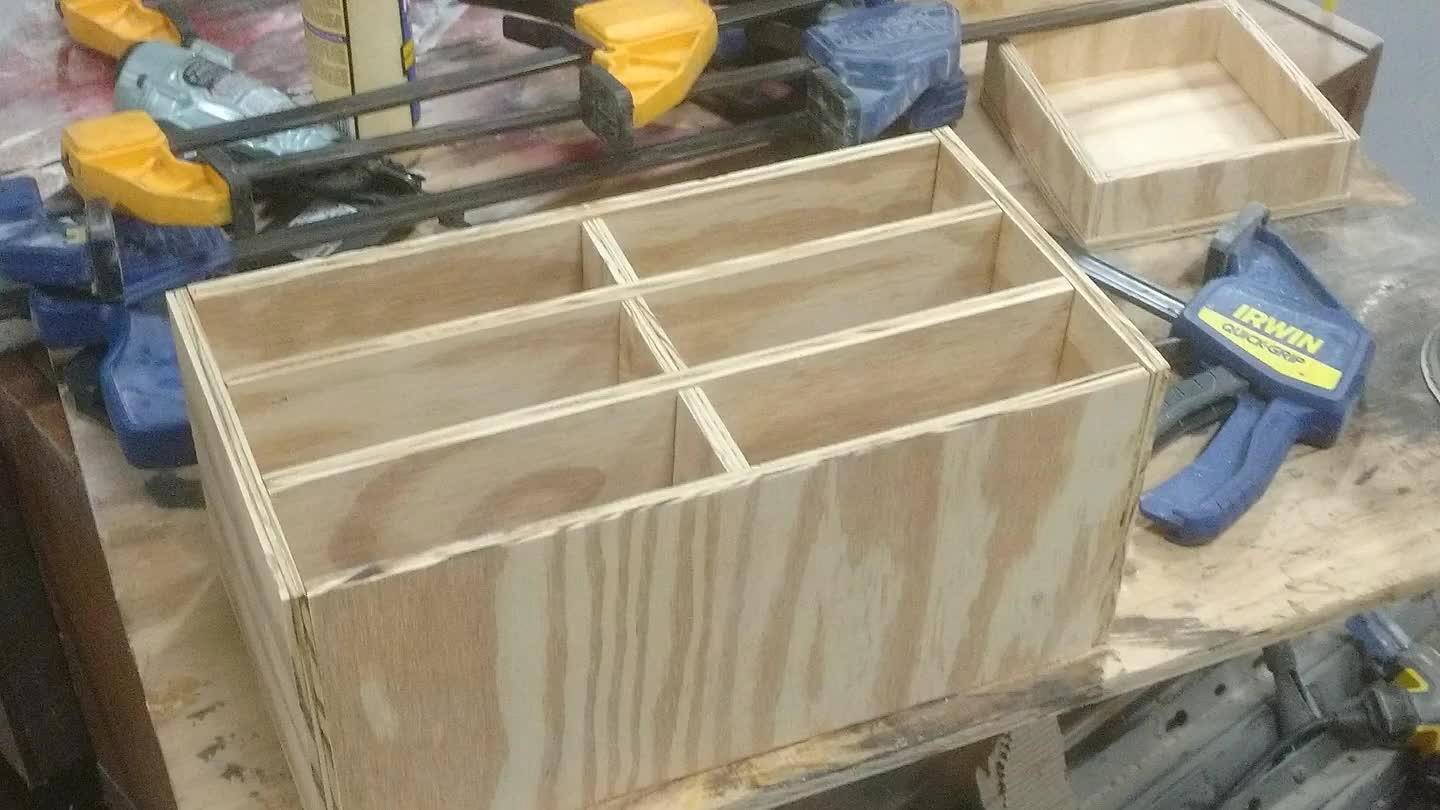
Four 6½"x13 11/16" pieces to go in between, on top, and on the bottom of the drawers. Two side pieces 6½"x7½". And three middle pieces 2"x6½"(sand ALL pieces)
4
![](https://craftlog.global.ssl.fastly.net/m/ve/b64-8863643-1583706405022-b3B0aW1pemVGb3I9ZGVza3RvcGhoZCZsYW5ndWFnZVRhZz1lbi1VUyZyZW5kZXJDbGlwU3RhcnQ9NCZyZW5kZXJDbGlwU2l6ZT0x.jpg)
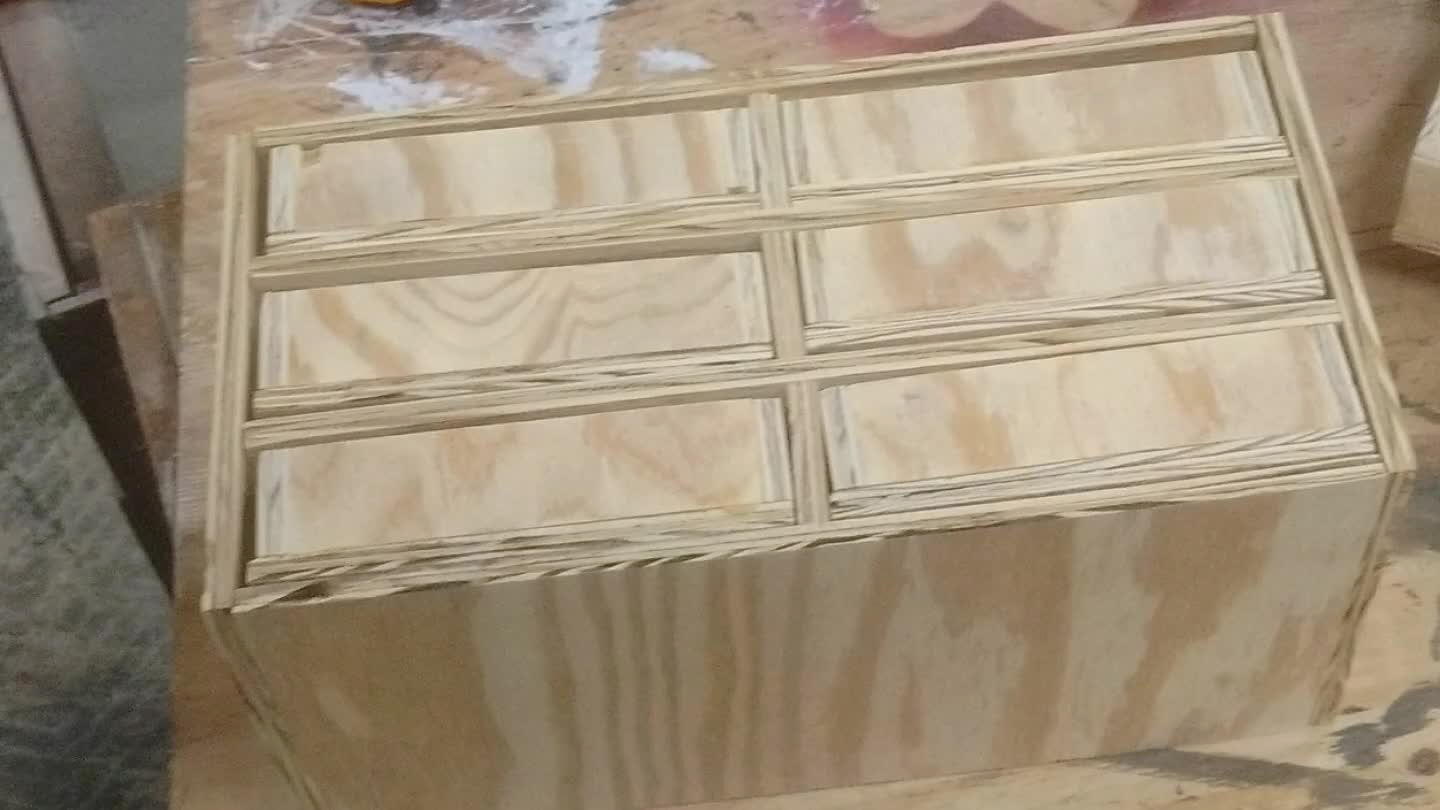
Set pieces together to make sure it all fits well
5
![](https://craftlog.global.ssl.fastly.net/m/ve/b64-8863643-1583706405022-b3B0aW1pemVGb3I9ZGVza3RvcGhoZCZsYW5ndWFnZVRhZz1lbi1VUyZyZW5kZXJDbGlwU3RhcnQ9NSZyZW5kZXJDbGlwU2l6ZT0x.jpg)
Glue and nail together
6
![gether as in picture.(sand)](https://craftlog.global.ssl.fastly.net/m/ve/b64-8863643-1583706405022-b3B0aW1pemVGb3I9ZGVza3RvcGhoZCZsYW5ndWFnZVRhZz1lbi1VUyZyZW5kZXJDbGlwU3RhcnQ9NiZyZW5kZXJDbGlwU2l6ZT0x.jpg)
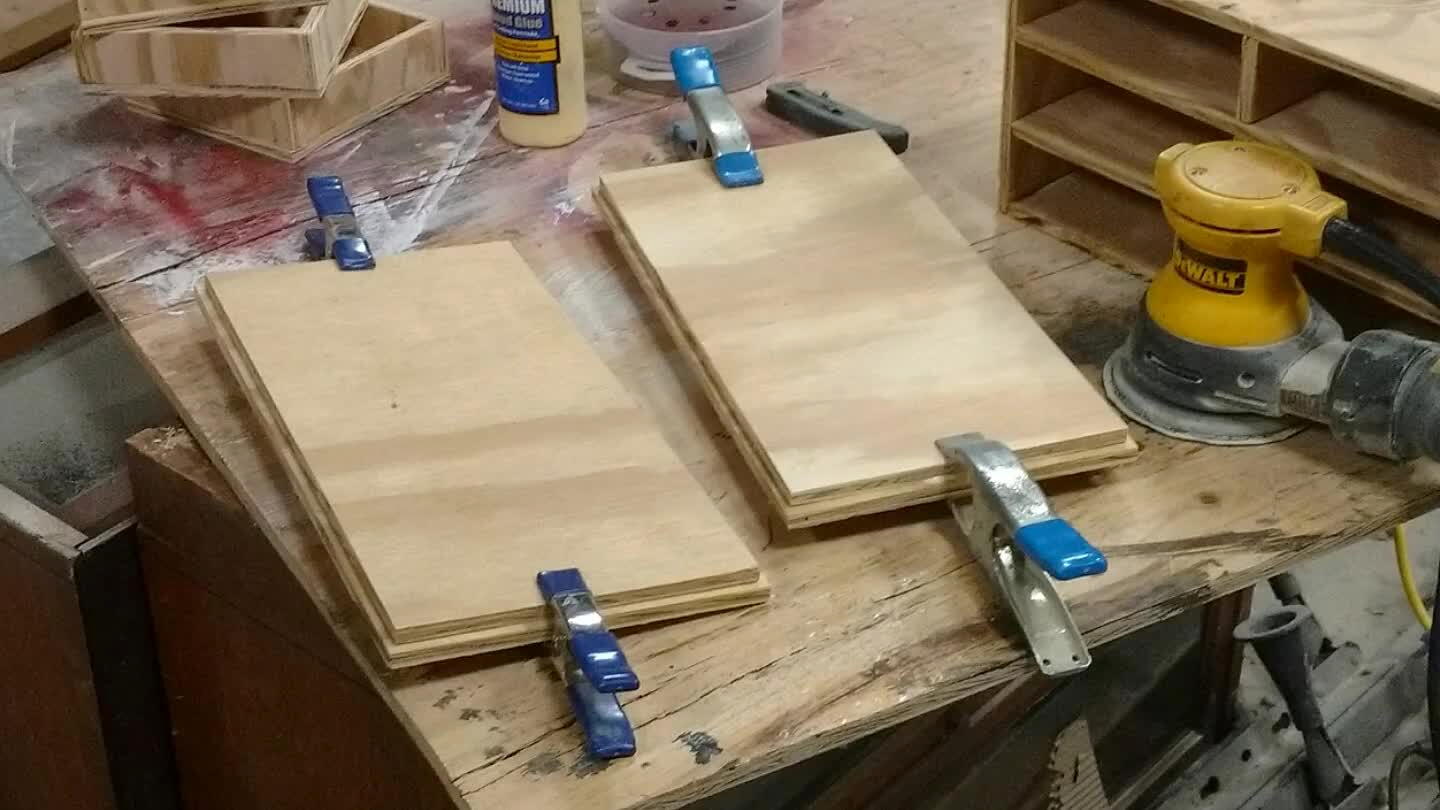
Cut two pieces 7⅞"x15¼" and two pieces 7½"x14¾" then glue opposite sizes together as in picture.(sand)
7
![](https://craftlog.global.ssl.fastly.net/m/ve/b64-8863643-1583706405022-b3B0aW1pemVGb3I9ZGVza3RvcGhoZCZsYW5ndWFnZVRhZz1lbi1VUyZyZW5kZXJDbGlwU3RhcnQ9NyZyZW5kZXJDbGlwU2l6ZT0x.jpg)
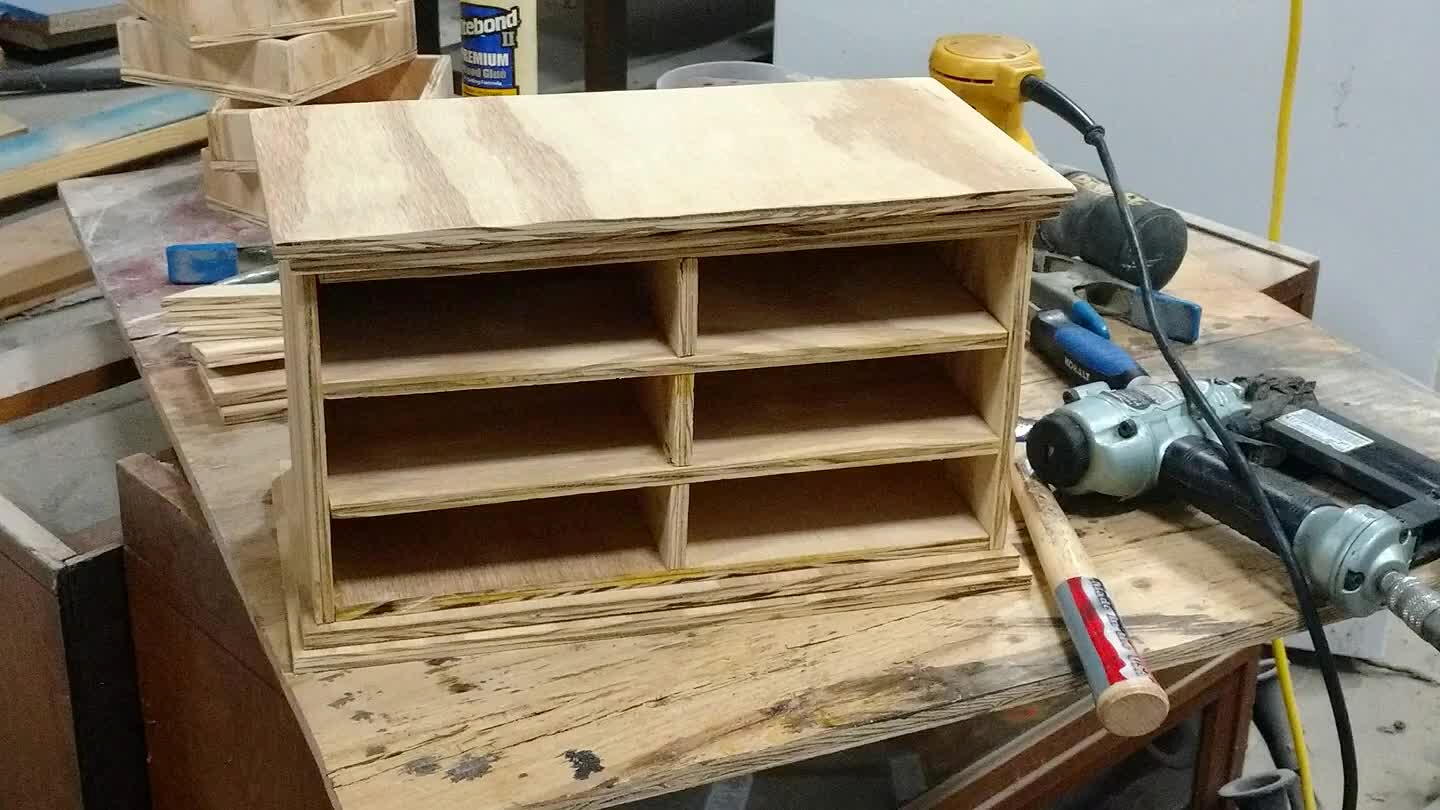
Glue and nail into place
8
![](https://craftlog.global.ssl.fastly.net/m/ve/b64-8863643-1583706405022-b3B0aW1pemVGb3I9ZGVza3RvcGhoZCZsYW5ndWFnZVRhZz1lbi1VUyZyZW5kZXJDbGlwU3RhcnQ9OCZyZW5kZXJDbGlwU2l6ZT0x.jpg)
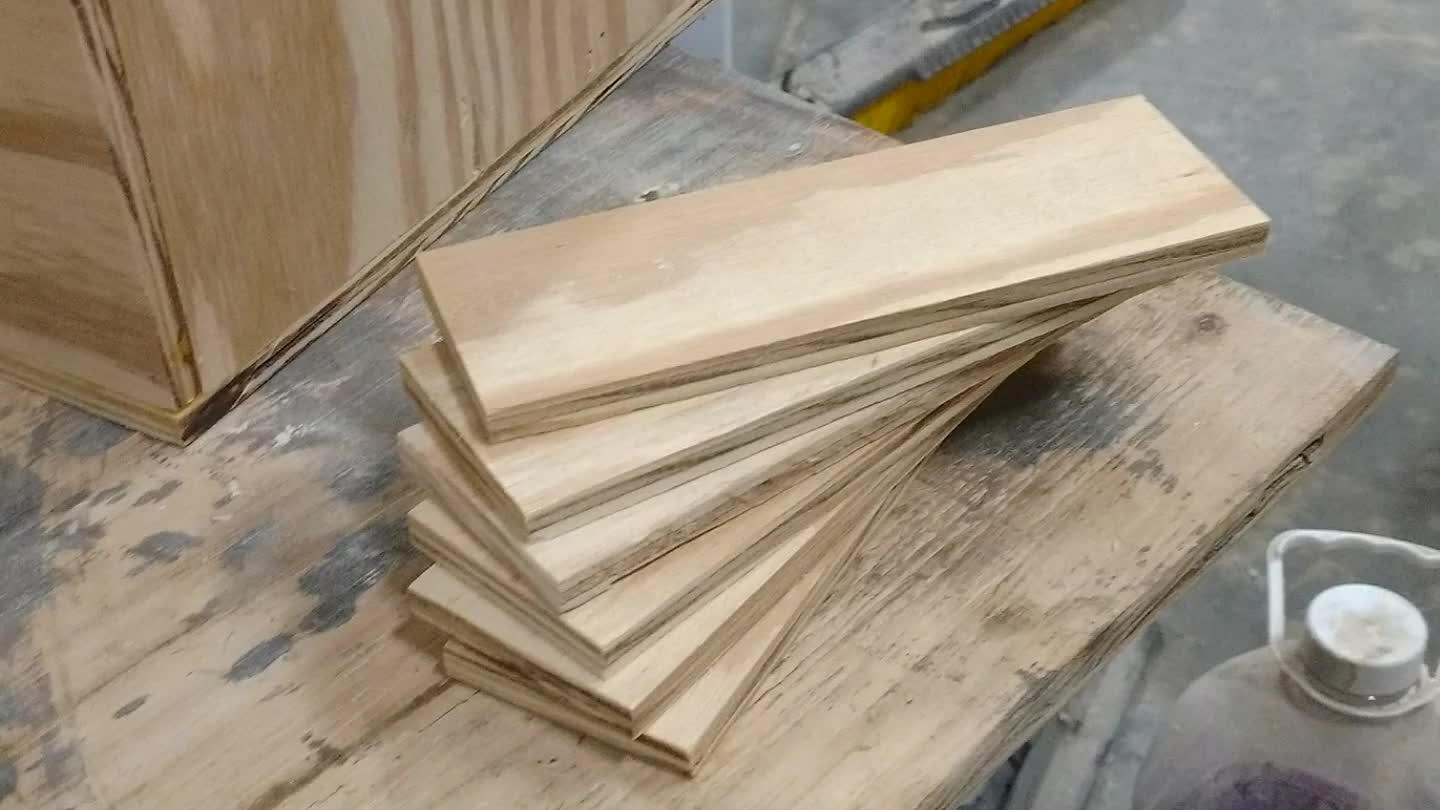
Cut six pieces 7"x2¼"(I sanded a rounded edge on the front)
9
![](https://craftlog.global.ssl.fastly.net/m/ve/b64-8863643-1583706405022-b3B0aW1pemVGb3I9ZGVza3RvcGhoZCZsYW5ndWFnZVRhZz1lbi1VUyZyZW5kZXJDbGlwU3RhcnQ9OSZyZW5kZXJDbGlwU2l6ZT0x.jpg)
Glue into place (do not use nails)
10
![](https://craftlog.global.ssl.fastly.net/m/ve/b64-8863643-1583706405022-b3B0aW1pemVGb3I9ZGVza3RvcGhoZCZsYW5ndWFnZVRhZz1lbi1VUyZyZW5kZXJDbGlwU3RhcnQ9MTAmcmVuZGVyQ2xpcFNpemU9MQ==.jpg)
Voila!
11
![r own variety](https://craftlog.global.ssl.fastly.net/m/ve/b64-8863643-1583706405022-b3B0aW1pemVGb3I9ZGVza3RvcGhoZCZsYW5ndWFnZVRhZz1lbi1VUyZyZW5kZXJDbGlwU3RhcnQ9MTEmcmVuZGVyQ2xpcFNpemU9Mg==.jpg)
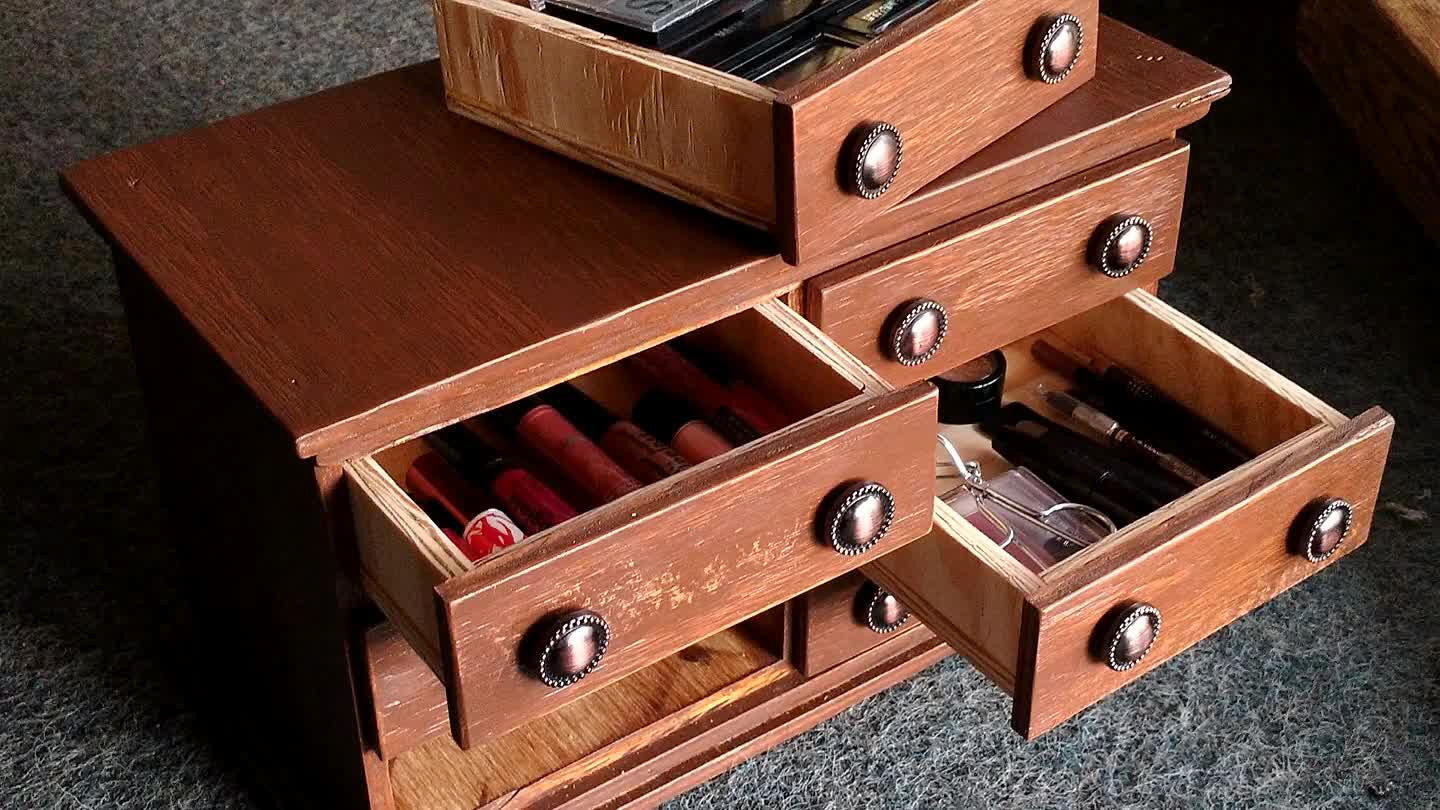
I did a few different finishes, not sure if I like it. Feel free to try your own variety
Comments