
Day Bed
A Platform Day Bed


A twin bed that we modelled after some commercial examples and added some design elements to accommodate some personal requirements for modularity.
What you will need
5/4x6x8 Select Pine (2)
5/4x4x8 Select Pine (5)
1x8x8 Select Pine (1)
1x6x8 Select Pine (5)
1x3x8 Common Pine (15)
4x8 Plywood Sheet [B/C] (1)
#8x1.25 Wood Screws
How to do this project
1
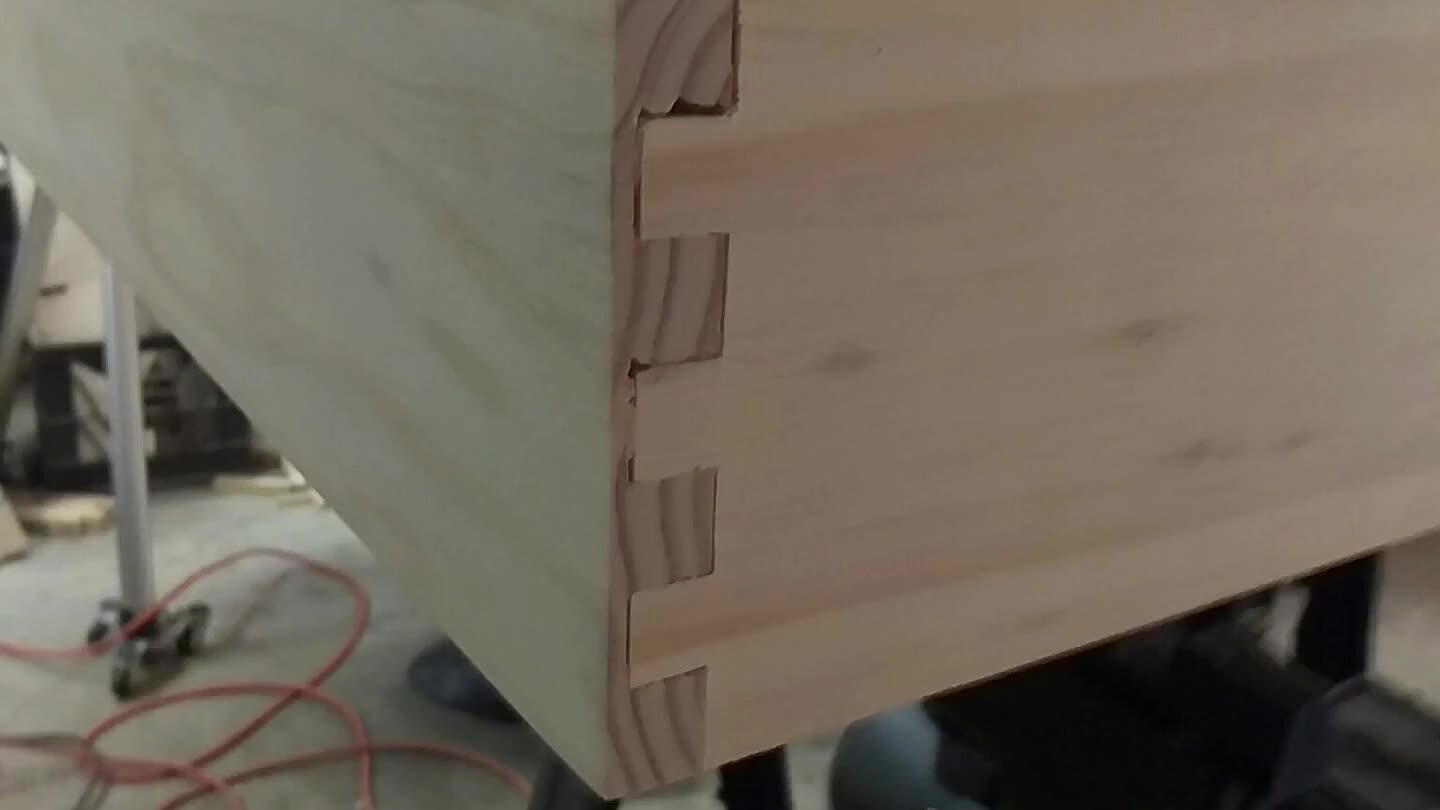
Using 1x6x41 for the ends and 5/4x6x77 for the sides, build a box for the frame. I used a blind dovetail with the pins cut on the sides so the ends were solid. The joint will ultimately be hidden in the final assembly.
2
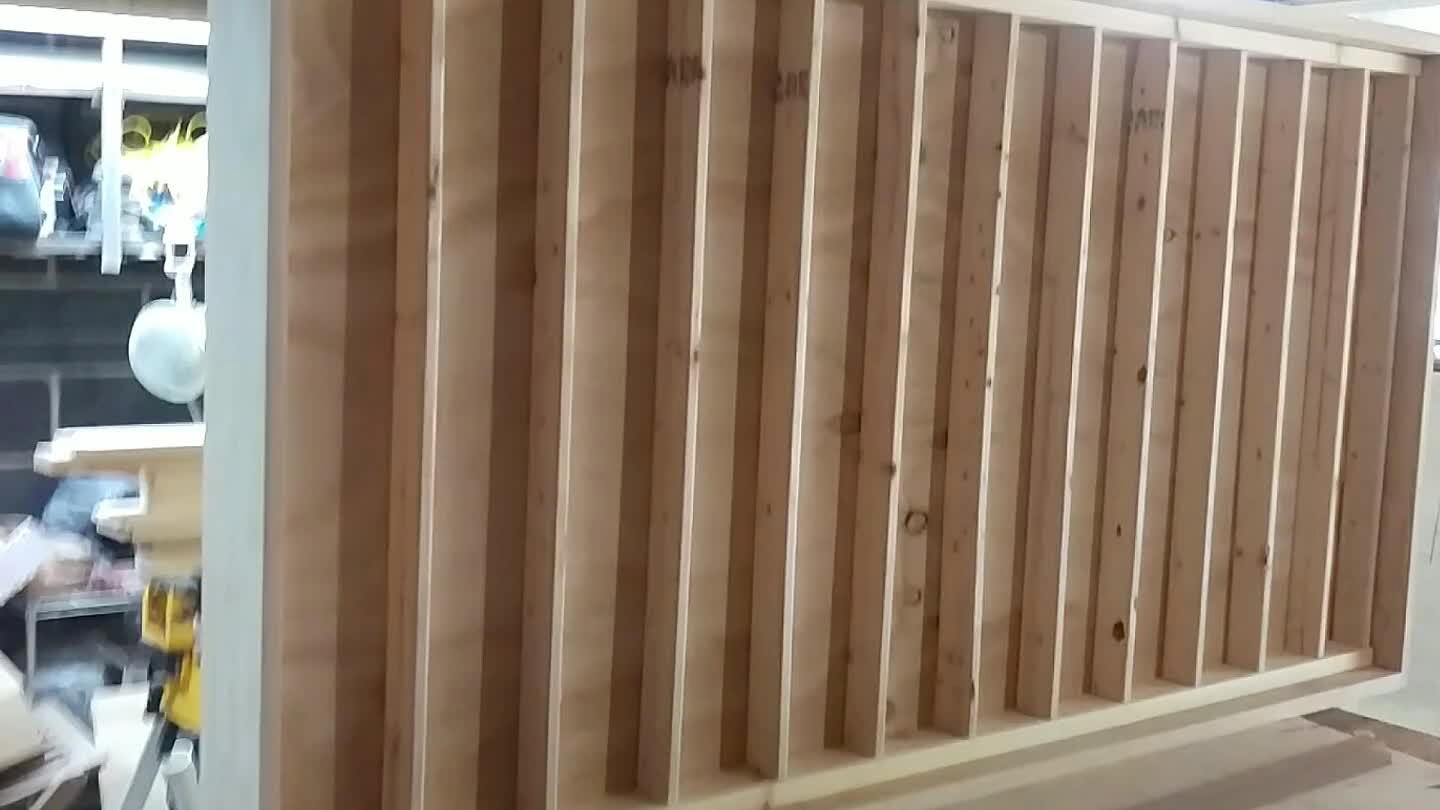
Using the 1x3x8 build a lattice frame to inset into the frame in step 1. Glue and screw into the outer frame. This will provide support for the plywood which makes the platform.
3
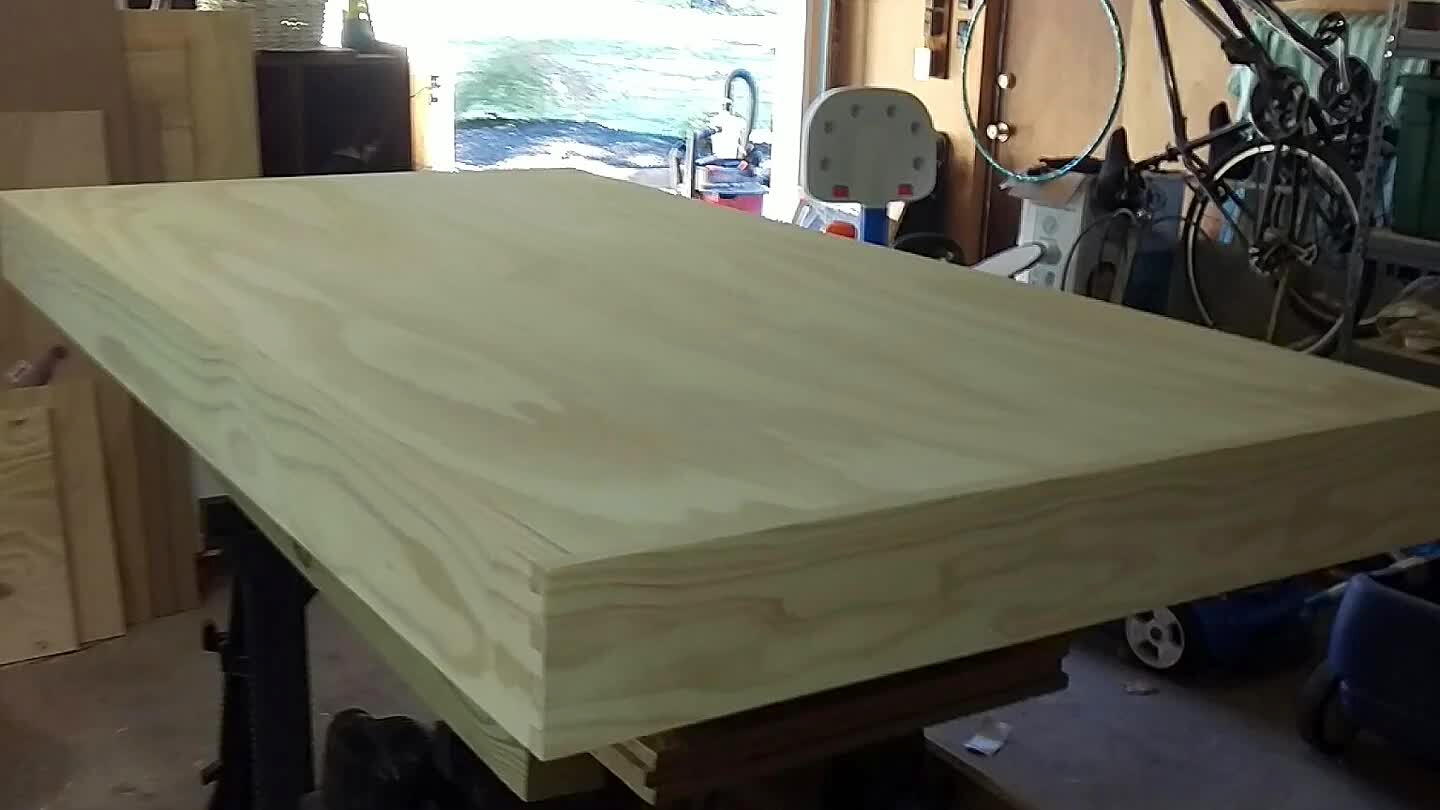
Cut the plywood to size and glue to lattice. Should be flush with the exterior frame edge.
4
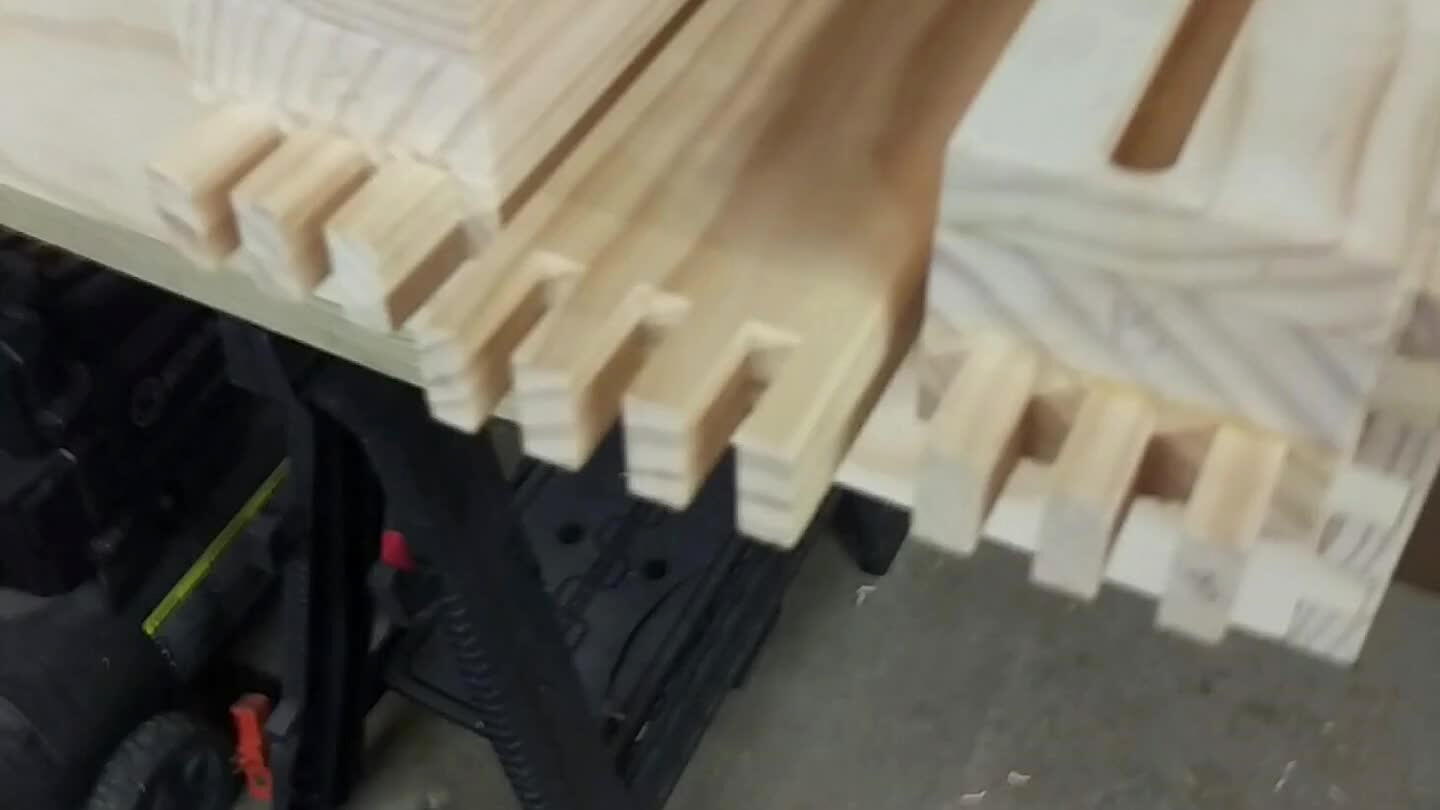
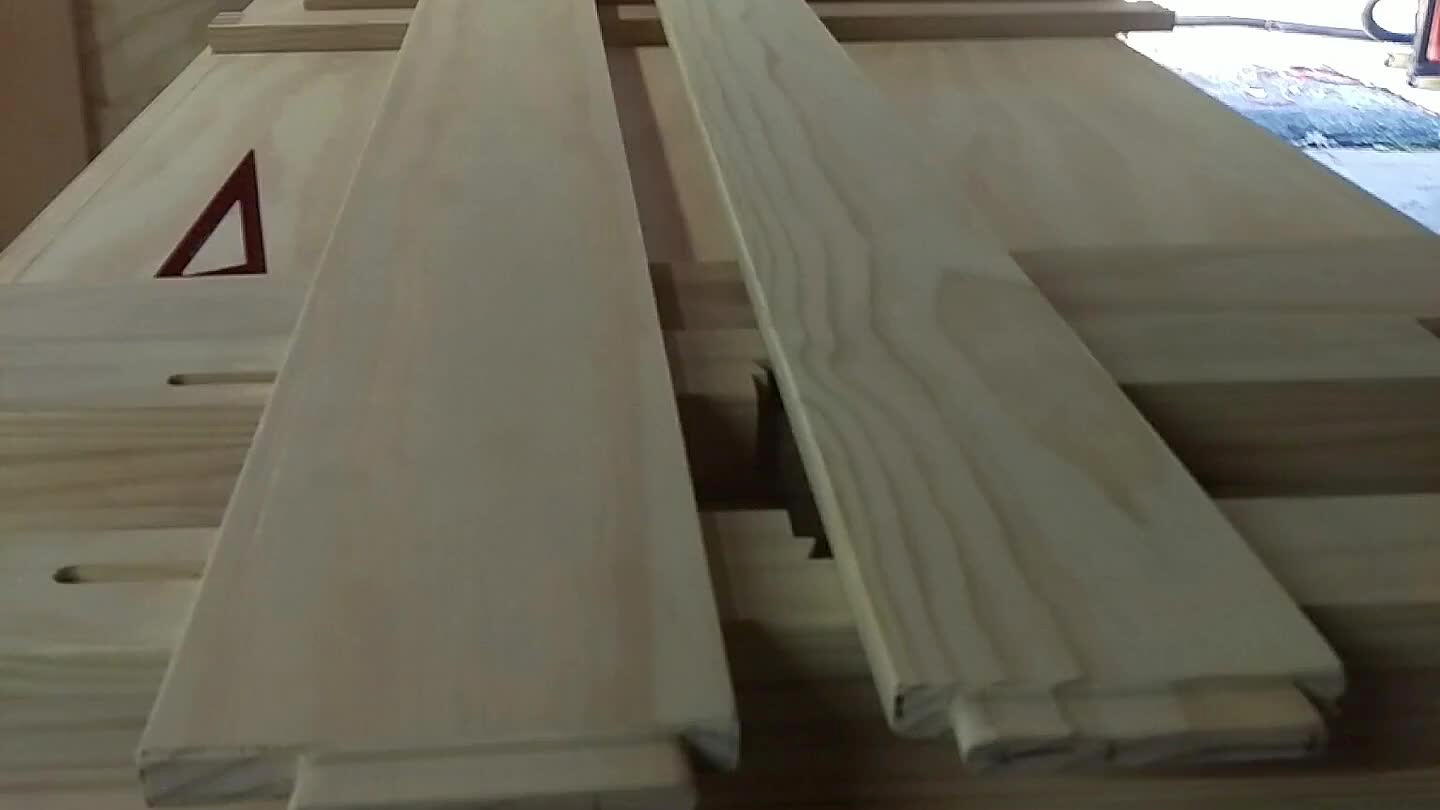
Cut the arms and leg fronts from 5/4x4. Need 2 arms at 43" each and 4 legs at 38" each. Make 1/2" finger joints to join them but do not glue up yet.
5
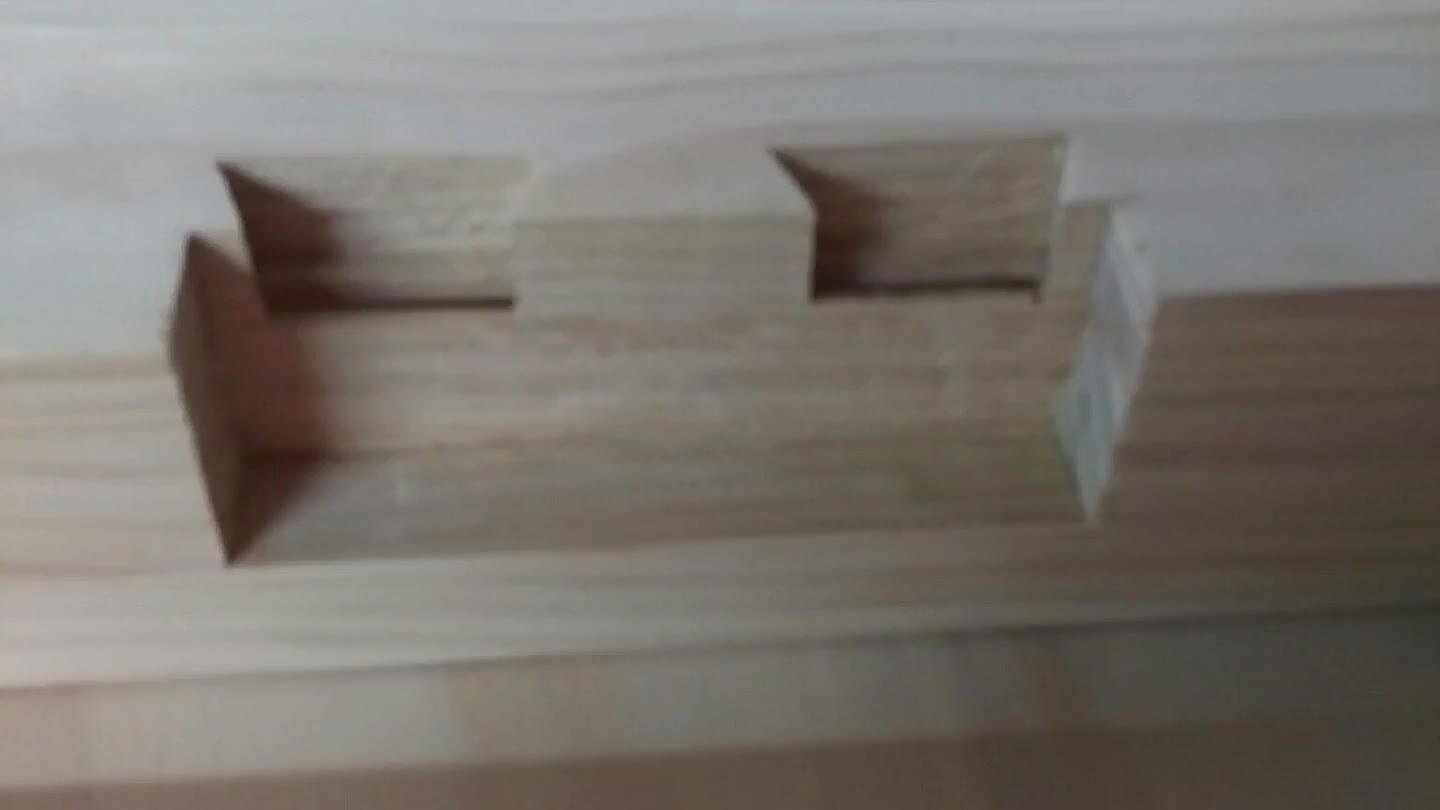
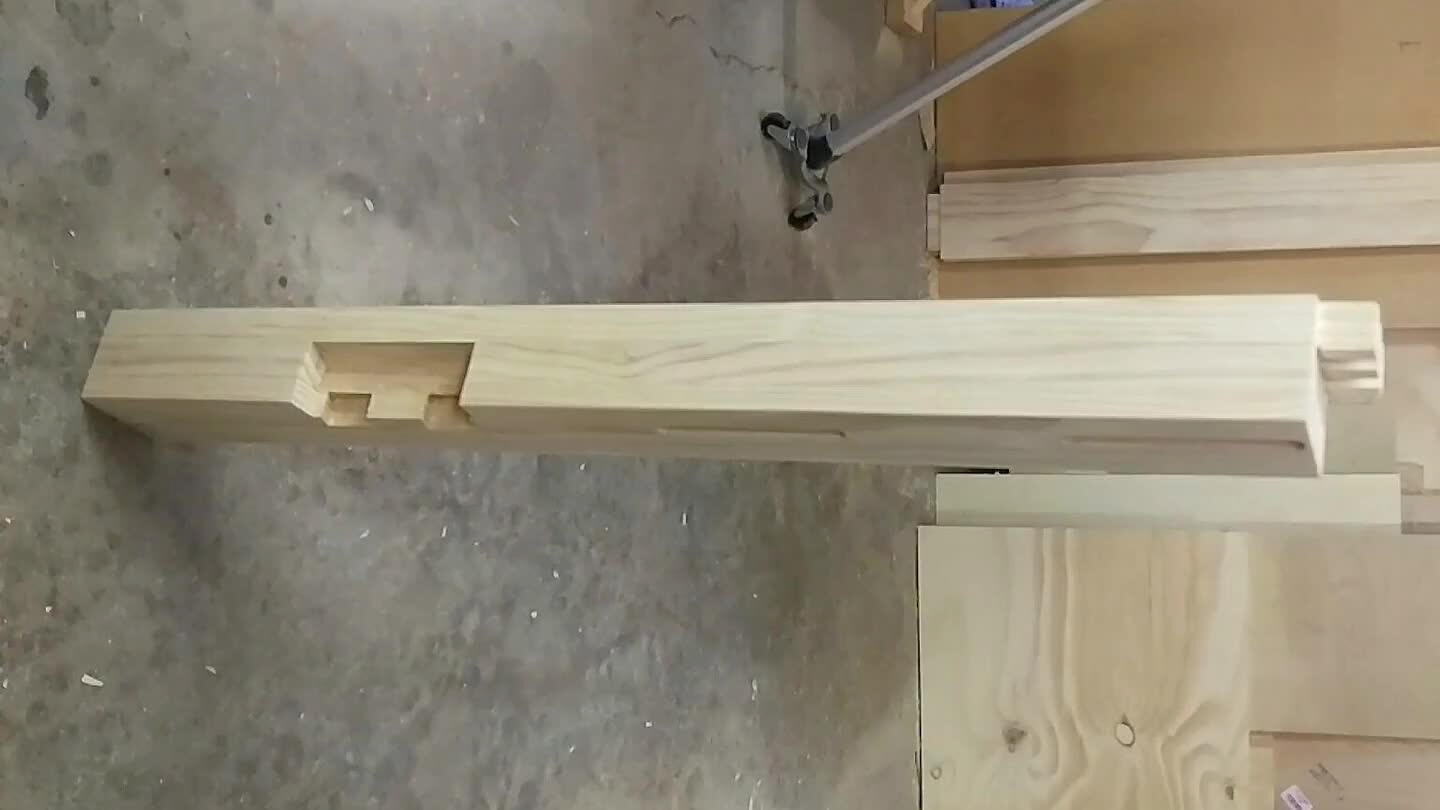
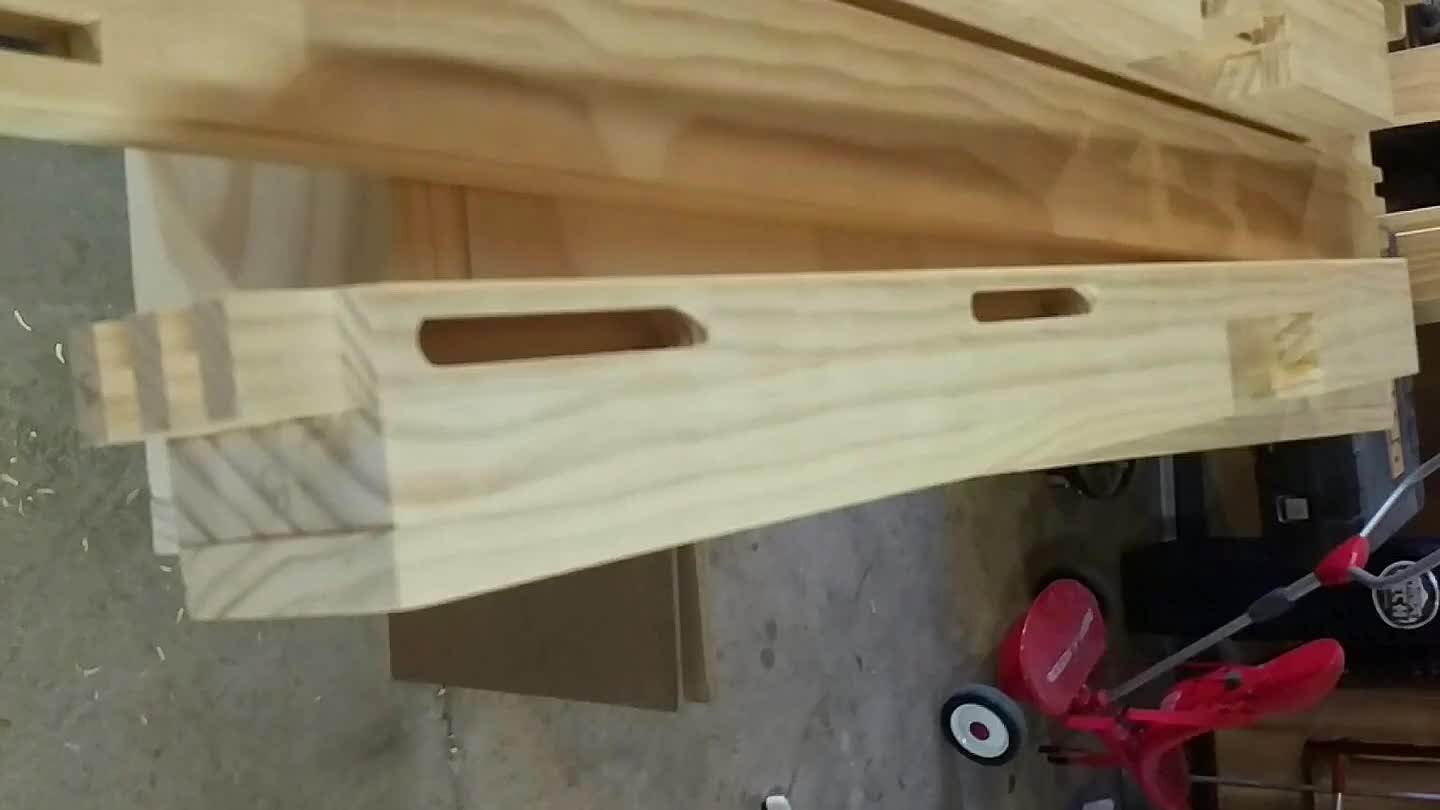
Cut 5/4x4x37 and 1x4x37 and laminate together. Do this 4x for the leg backs. Cut a 5.5 wide by 1.5" deep notch in them to accept the bed frame. (Note: Ignore the dovetails in the photo... not necessary using these instructions.)
6
Laminate the leg fronts and backs together. Be sure the tops of the backs are flush w the base of the finger joints so that they will meet the bottom of the arms when the finger joints are connected. Trim any excess from the bottom to ensure bottoms are flush and grooves are uniform height from bottom.
7
Cut 5 in mortises on the back of the legs to accept the top and side rails. Top rail should be flush with the underside of the arm when assembled. Middle rail should be half way between top rail and bed frame notch. I used a 3/8" mortise that was 1/2" deep. Cut 1x6 (4) to length and make matching tenons on the ends.
8
Dry fit the entire assembly so the final length for the back can be measured. Measure the distance from the top of the arm to the bottom of the top rail (about 6 5/8" for me). Rip the 1x8 to this width to make the top back rail. Measure the length between the arms and add 2" for tenons and cut the 1x8 and a 1x6 (back middle rail) to length.
9
Cut mortises in the legs for the back rails and make matching tenons on the boards cut in the previous step.
10

Sand all parts and dry fit entire assembly.
11
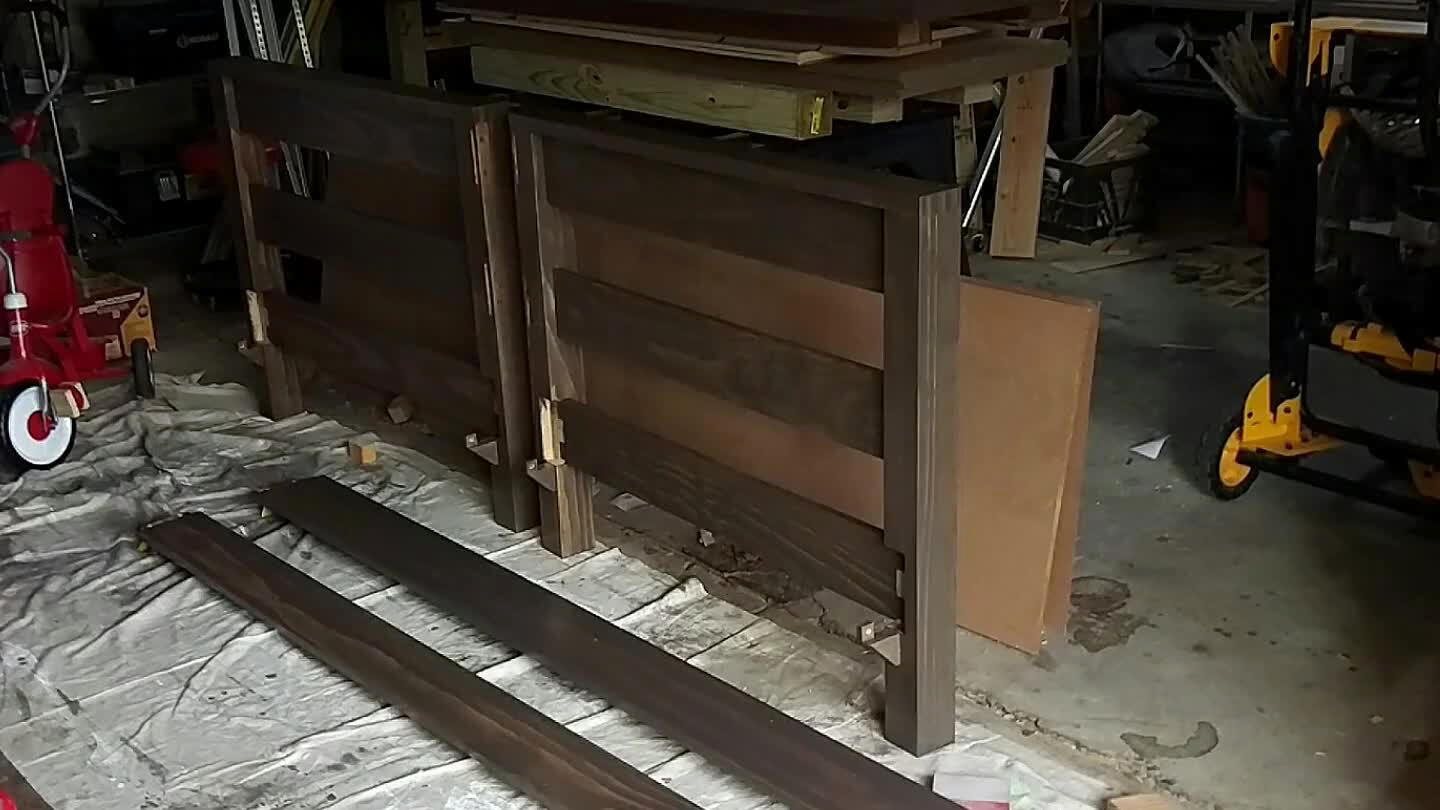
Stain parts then do final assembly (glue up) and poly.
Comments