
Doll Pendulum Cradle
Made from a discarded maple tabletop


To accommodate up to a 22 inch doll
What you will need
A salvaged maple tabletop
Dowel
Screws
Glue
Stain and polyurethane
How to do this project
1
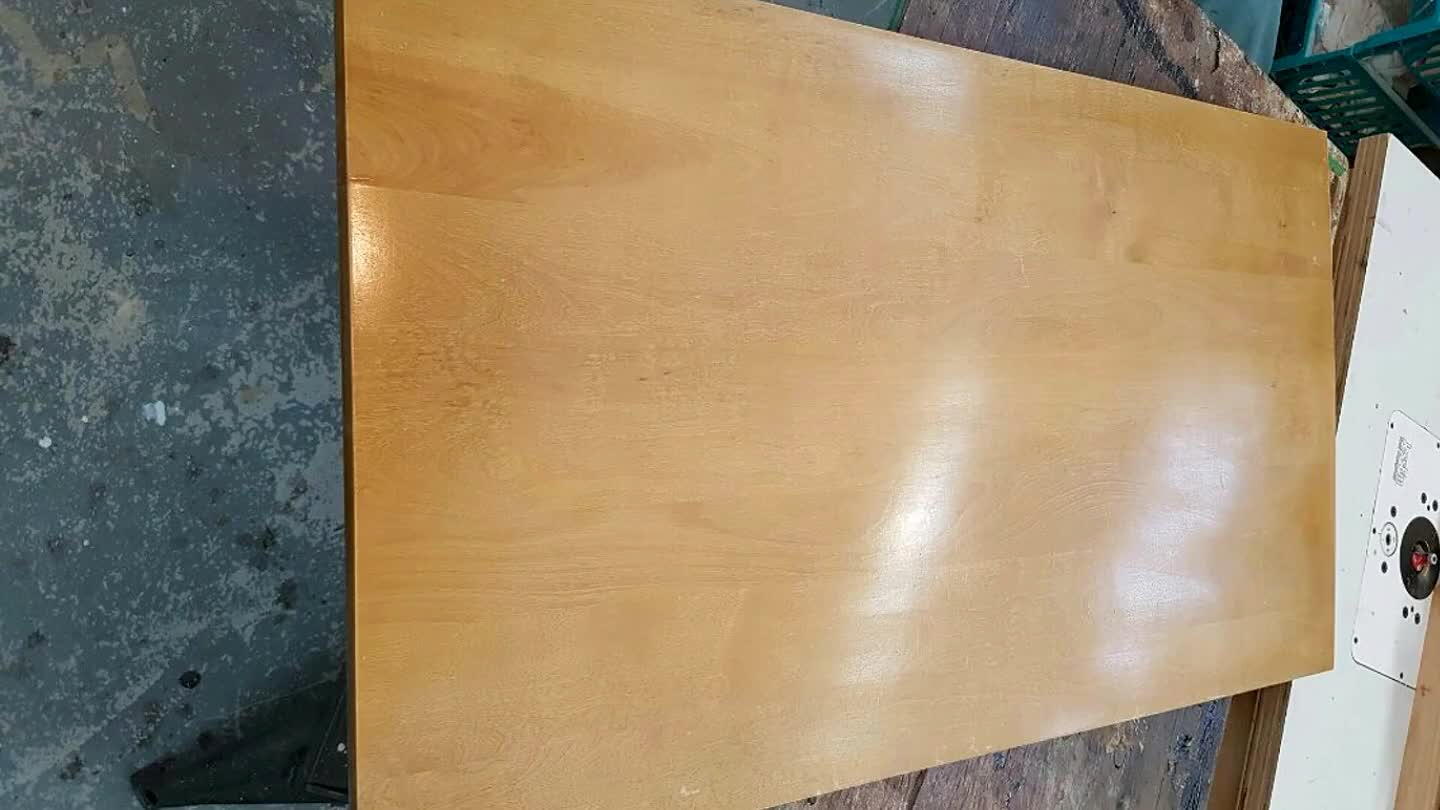
Started off with a solid maple tabletop i salvaged from the curb on garbage day. No shame! Was happy to save this from landfill. Lol
2
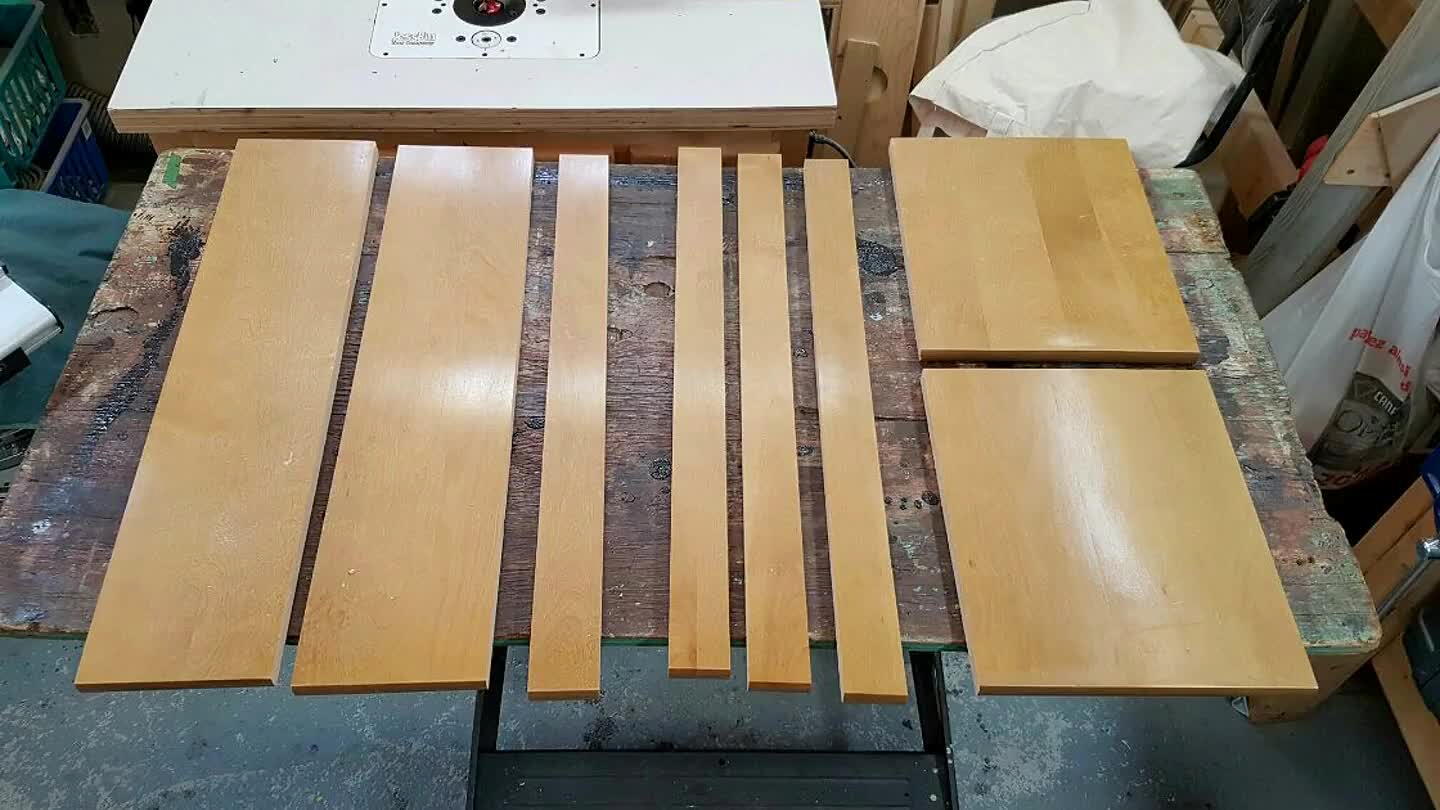
Cut the tabletop into the rough sizes needed for the cradle pieces. 2 cradle vertical supports, 2 feet, 1 stretcher, 2 cradle ends, 2 sides. Will need to get cradle bottom from prior project cutoffs.
3

Pass the parts through the planar to remove the old finish. Only needed to remove a thin layer. Wear a mask.
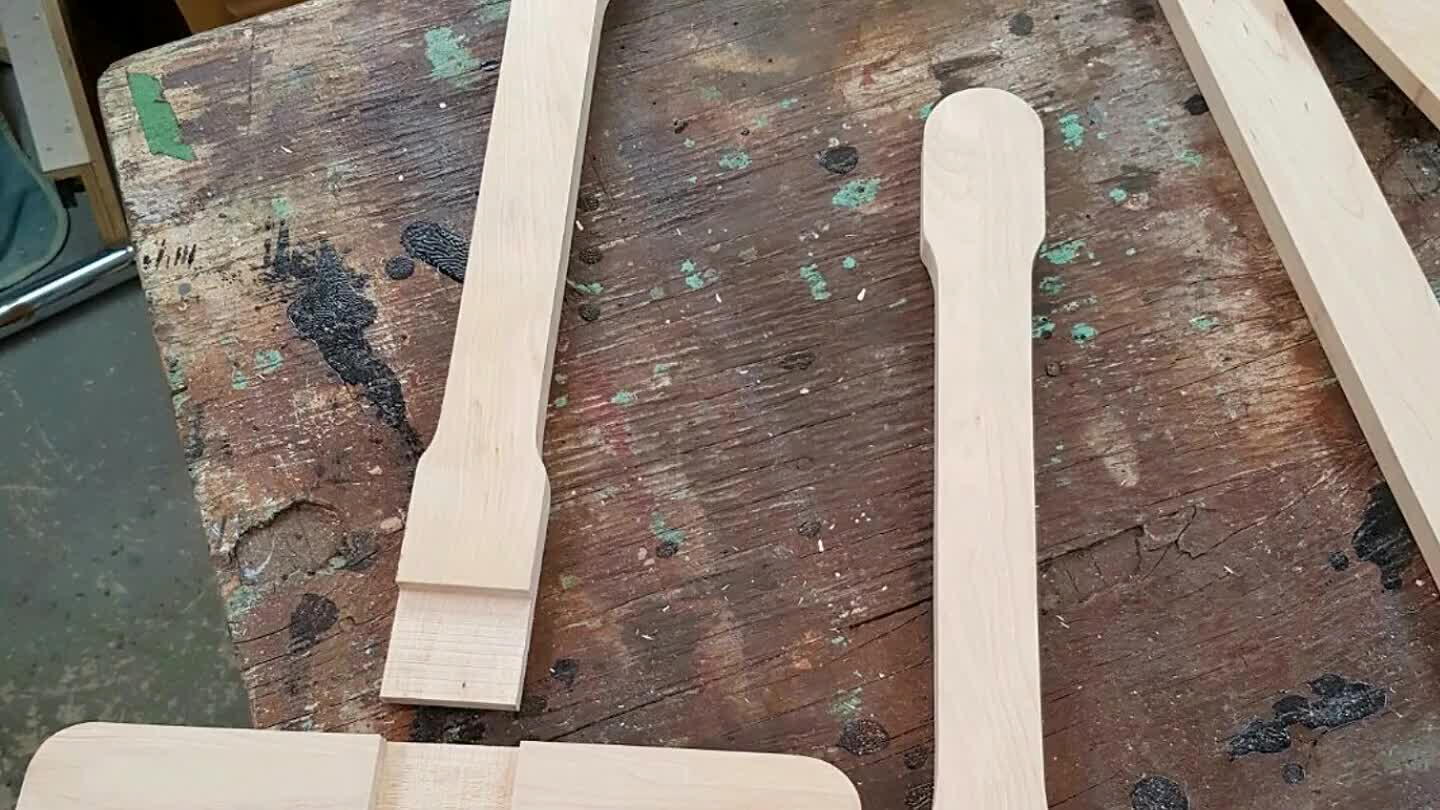
4
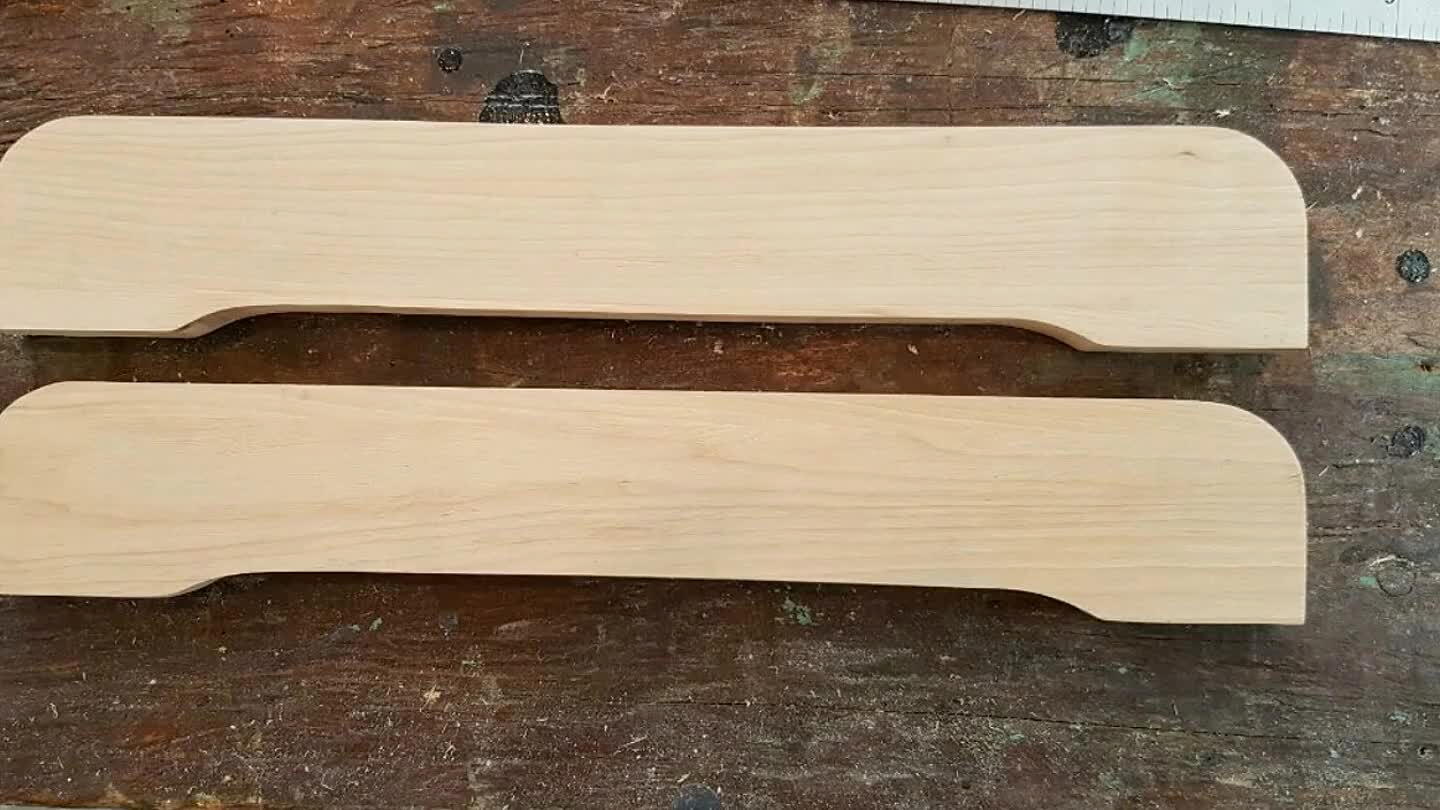
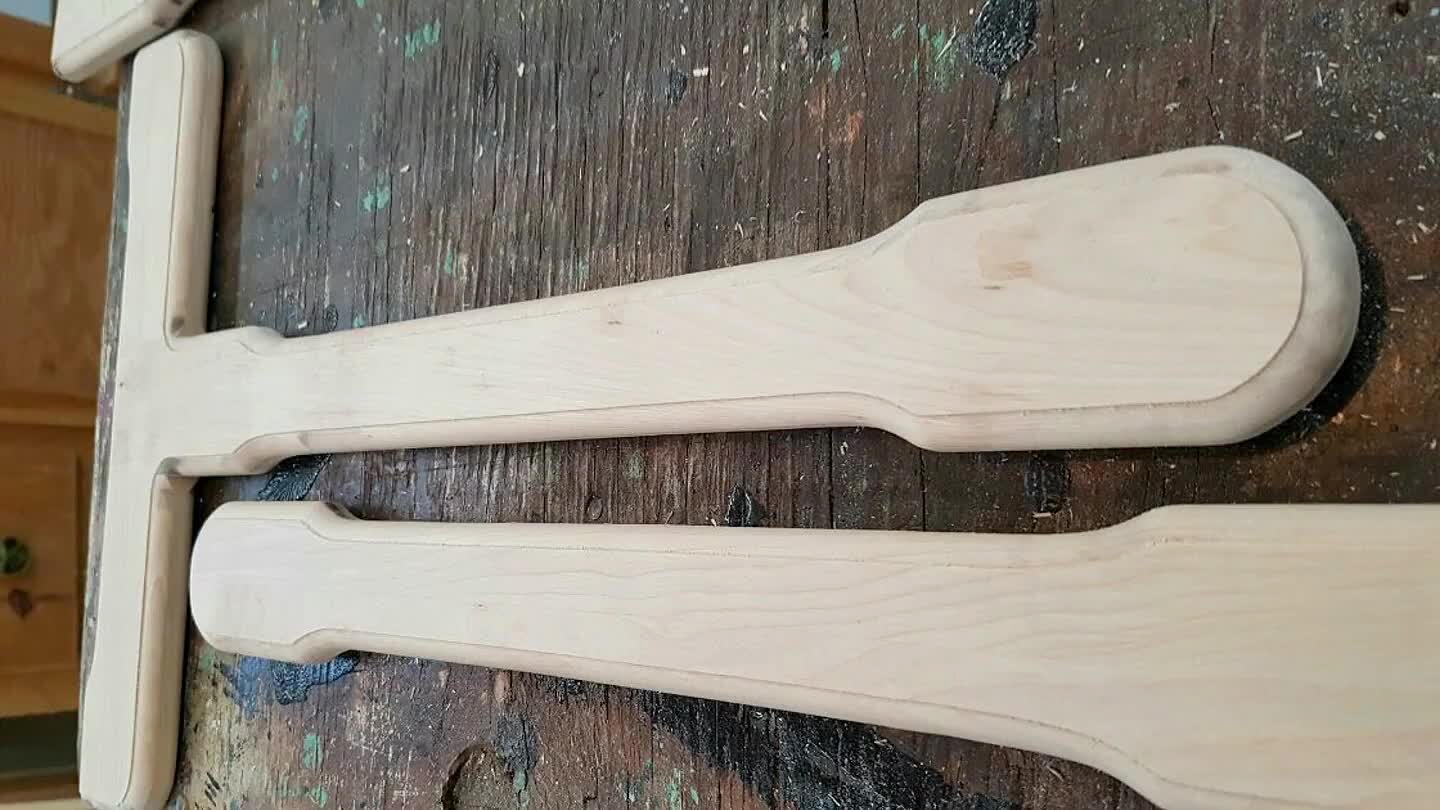
Draw profile, cut and shape the feet
5

Using a French curve to draw the shape of the ends, cut and shape
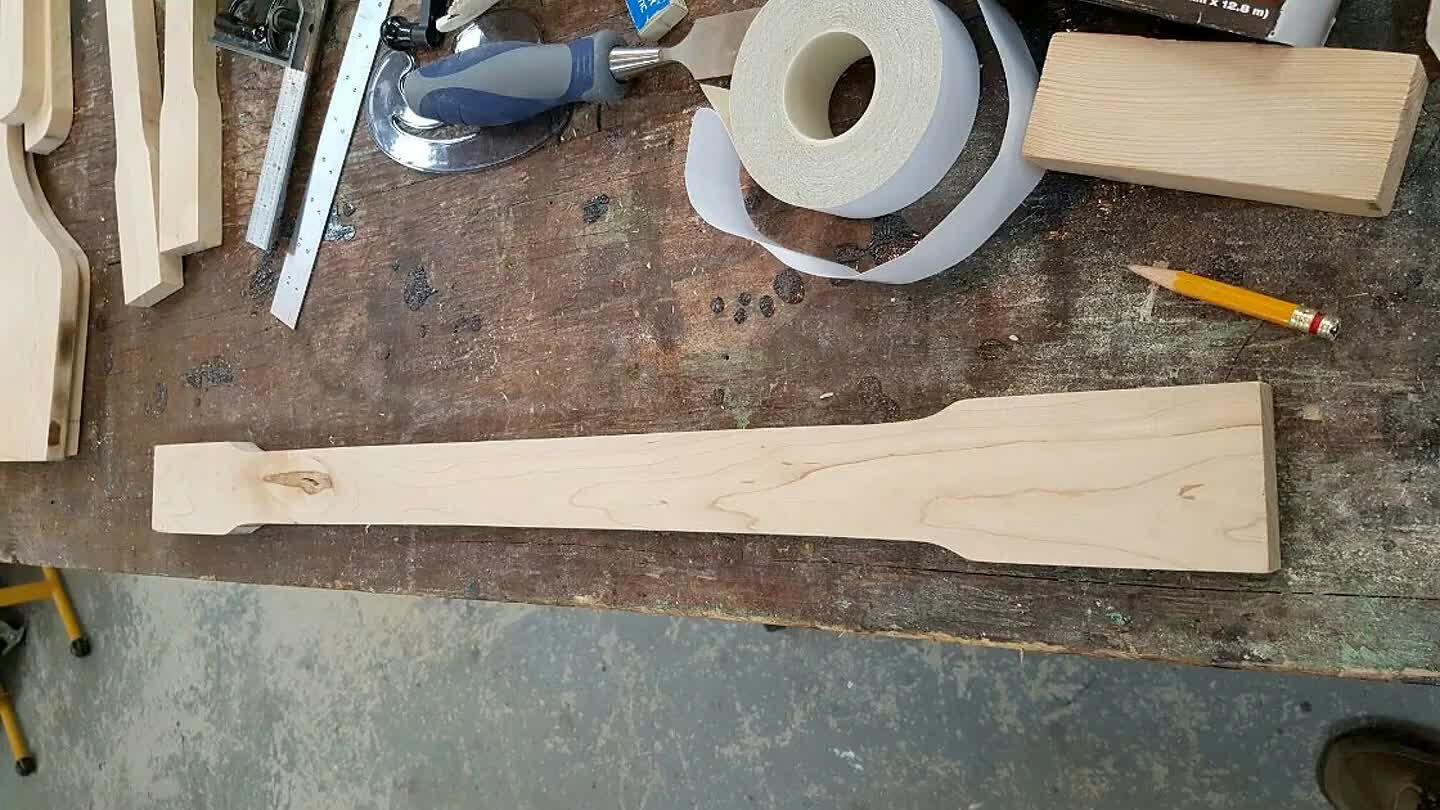
6
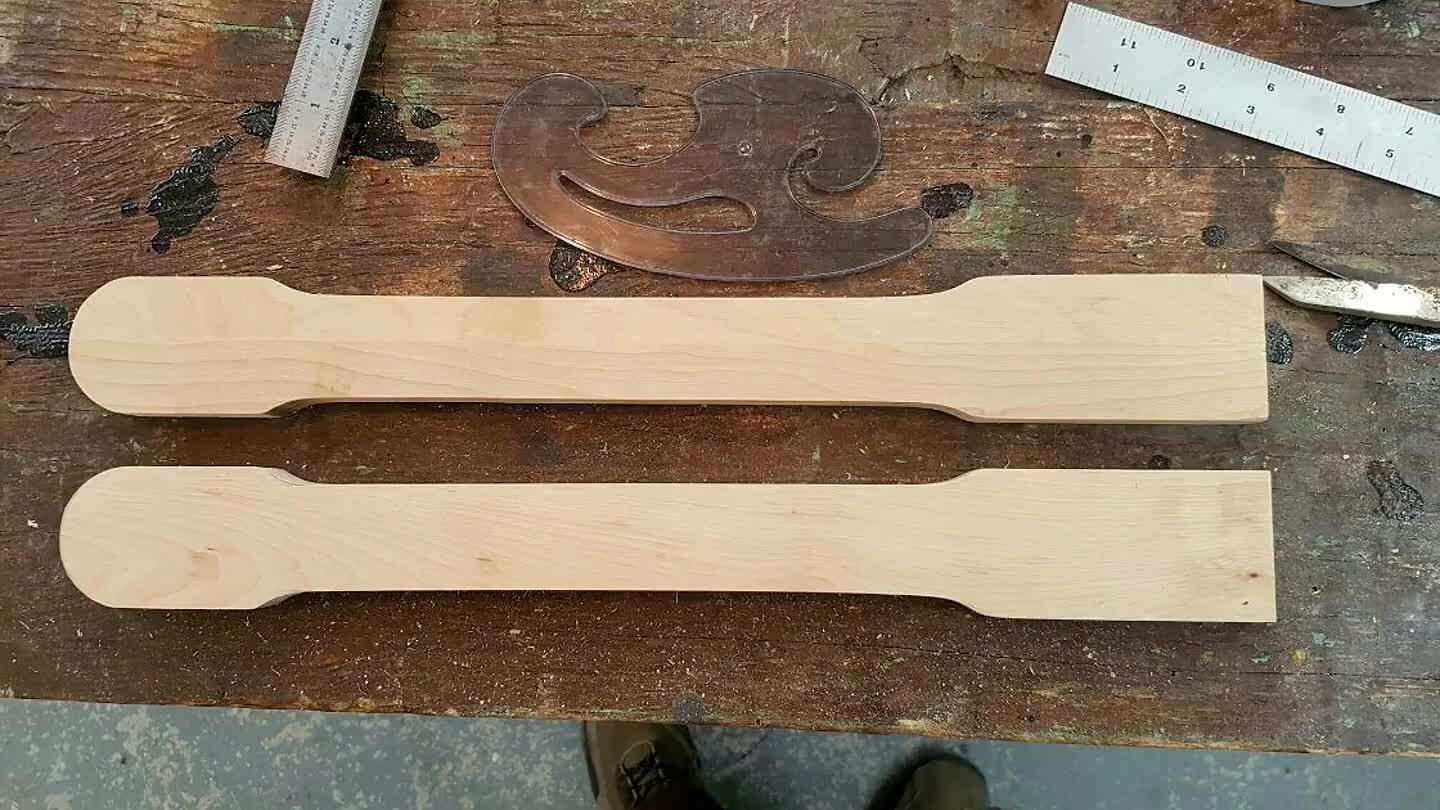
Draw profile, cut and shape the vertical support pieces
7
Draw profile, cut and shape the stretcher
8
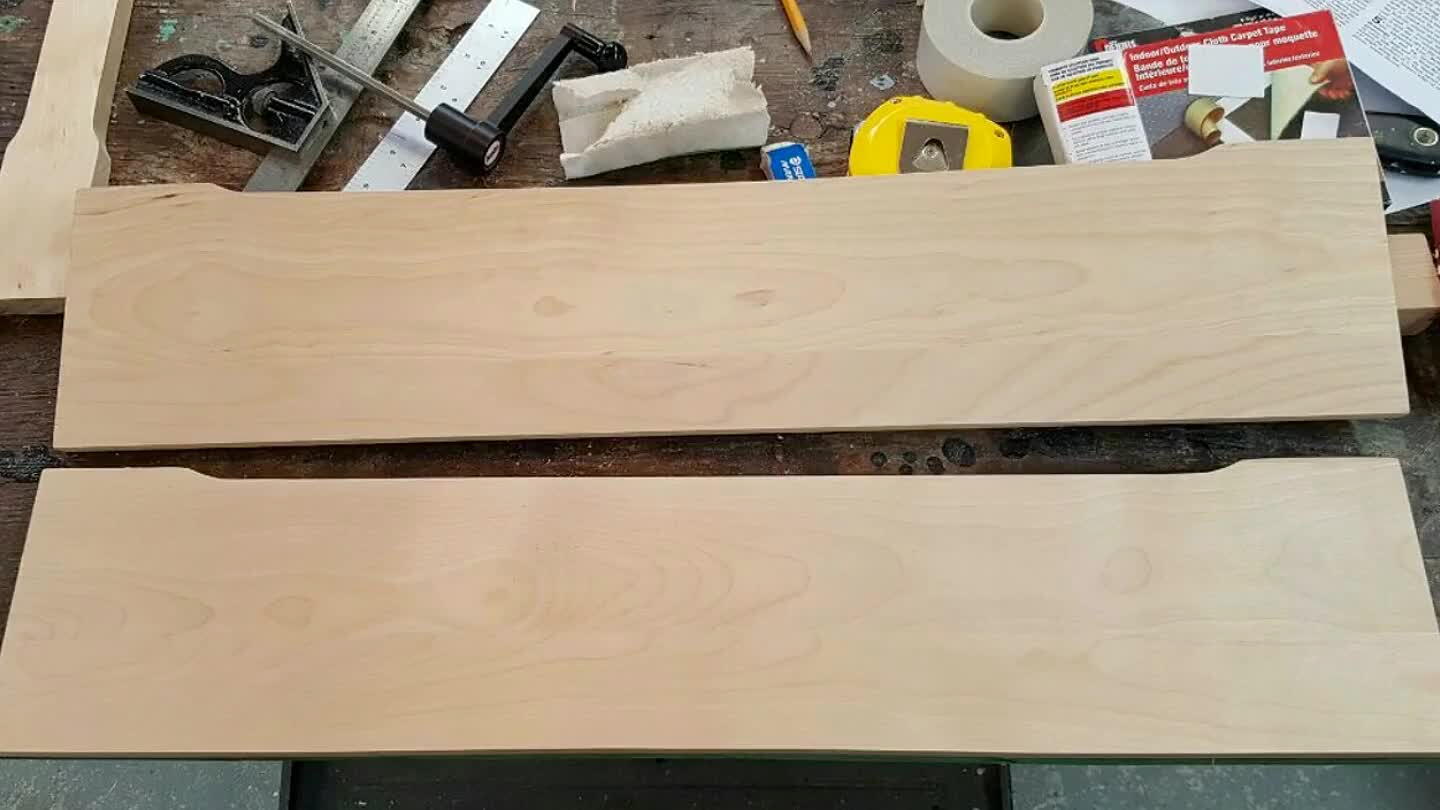
Draw profile, cut and shape the sides
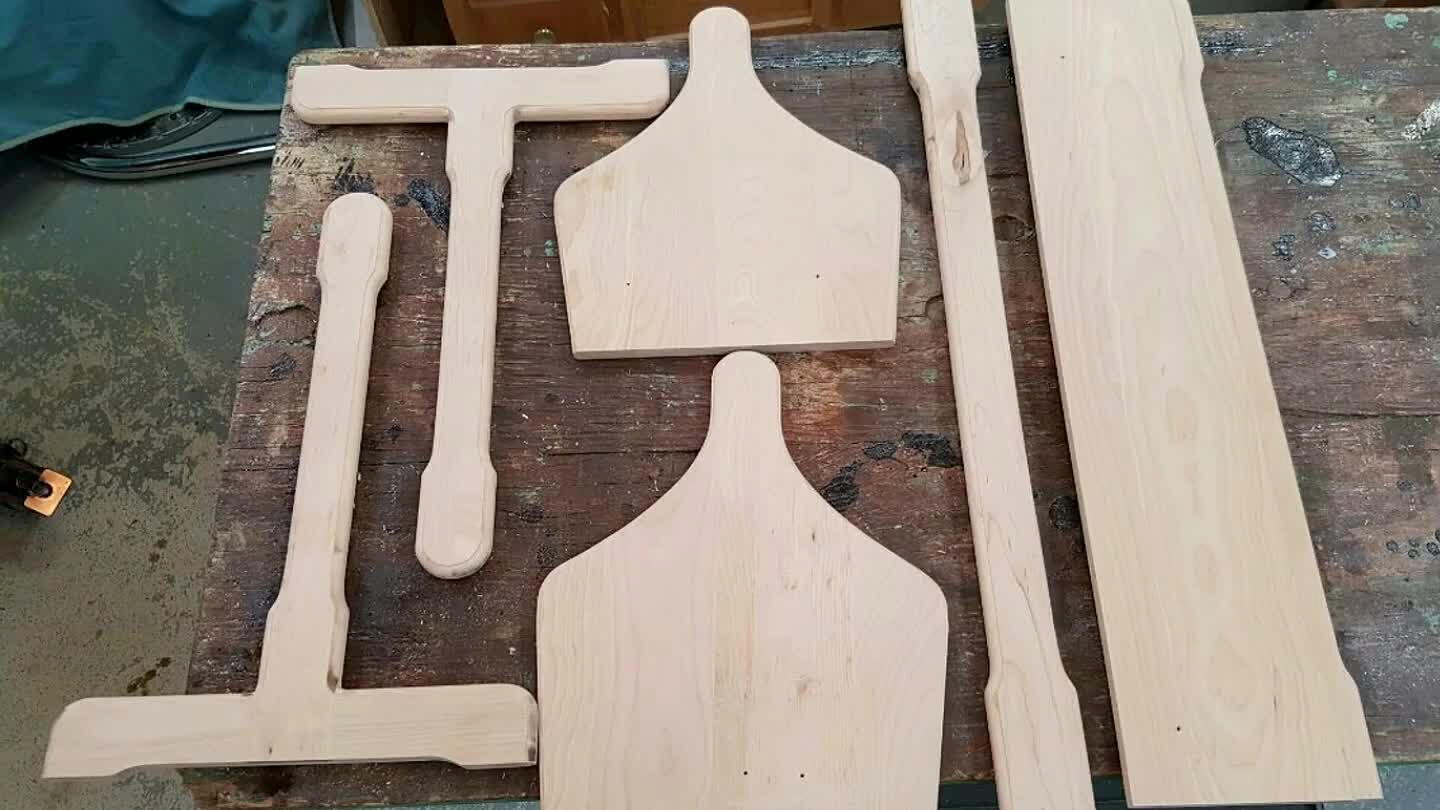
9
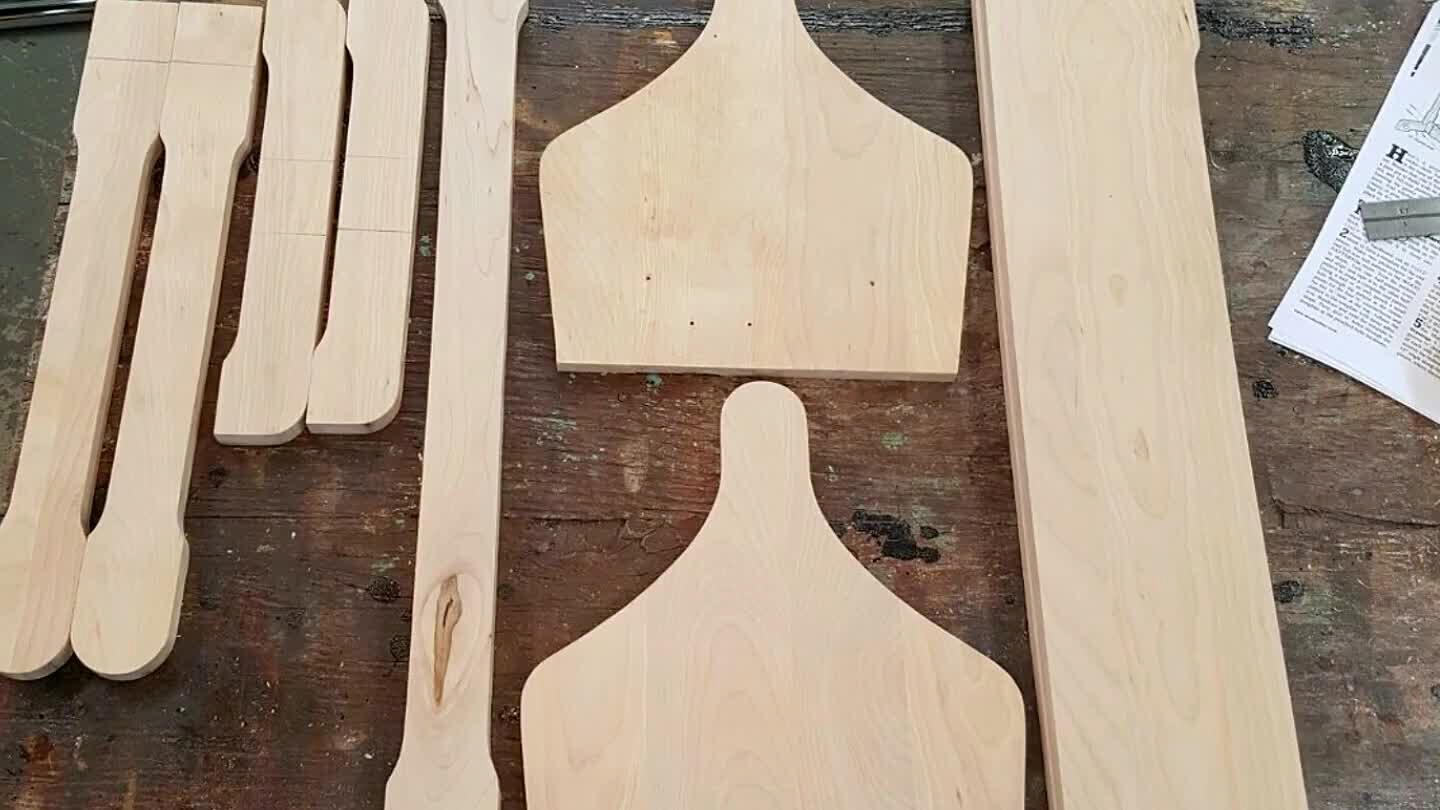
All the pieces prior to routing edges
10
Cut the dados in the feet and vertical side supports where they will be attached together.
11
Rout the edges of the support pieces and feet using corner round bit.
12
All the pieces with routed edges
13
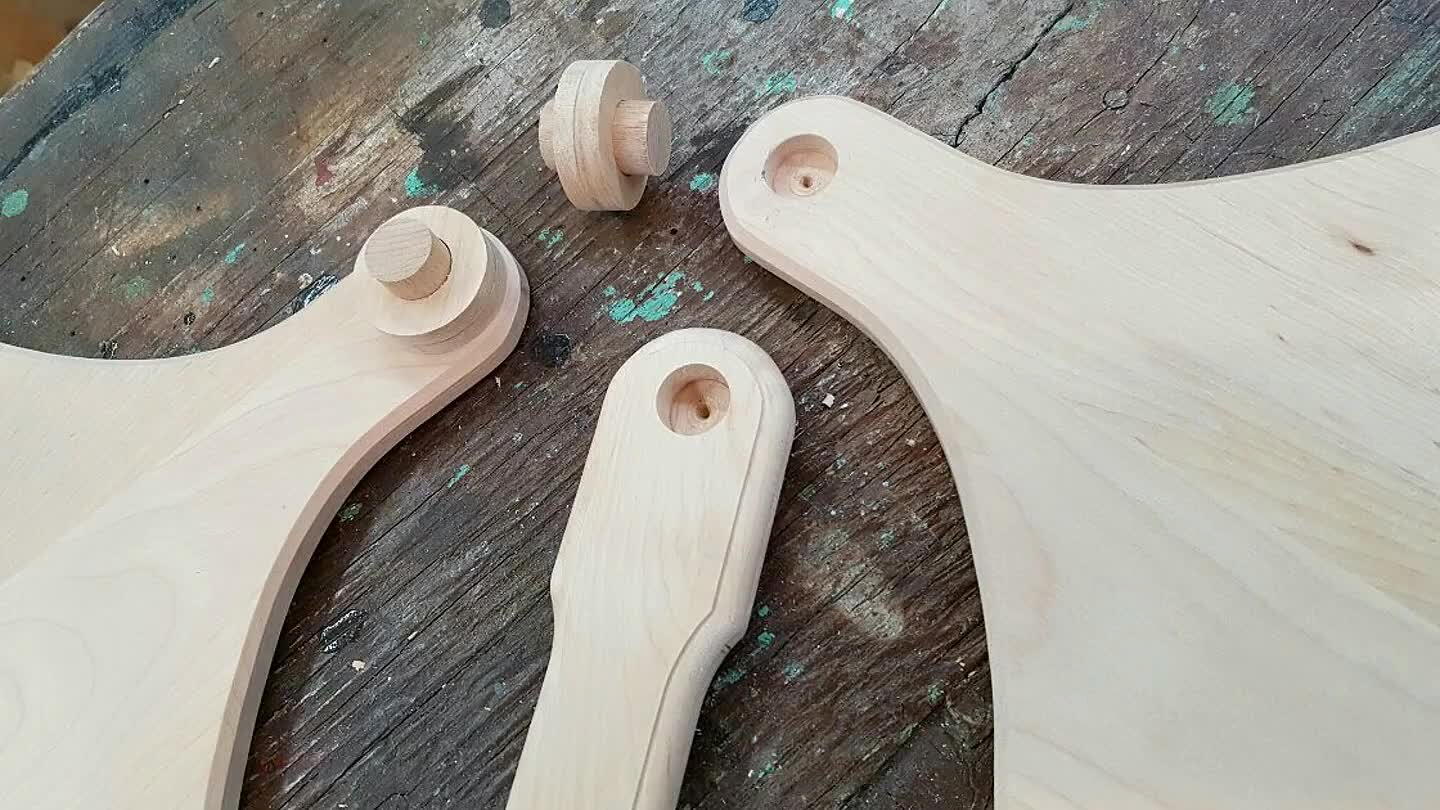
The cradle will swing based on dowels that will seat in recesses in the end pieces and vertical supports made with a forstner bit. Fabricate spacers to keep the cradle from hitting the supports while swinging.
14

Fasten the feet, vertical supports and stretcher together. Screws will be hidden with wood plugs. Dry fit the swinging mechanism
15
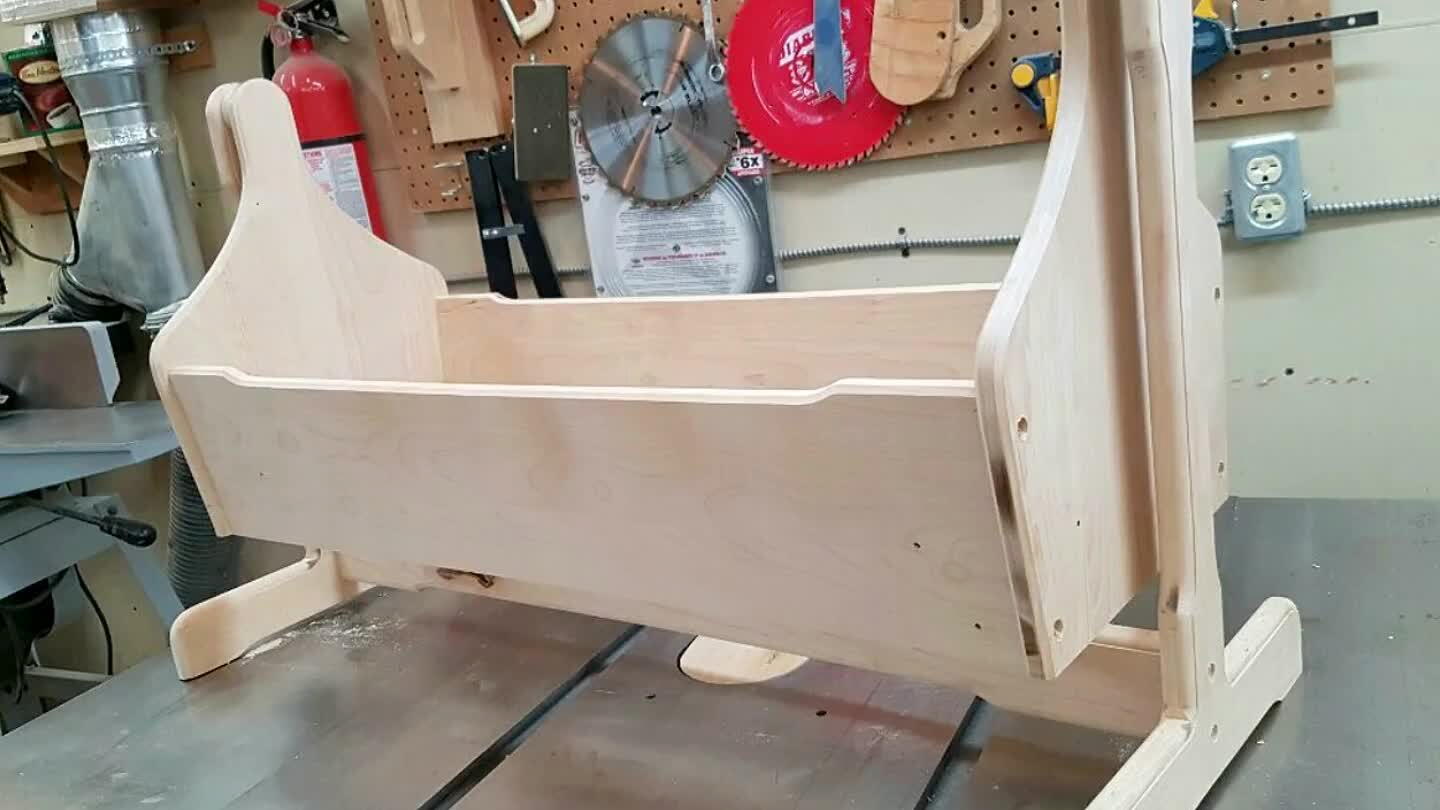
Attach cradle sides to the end pieces with screws that will be hidden with wood plugs. Cut grooves in interior side pieces to fashion a cradle bottom from thin plywood.
16

Looking pretty good
17
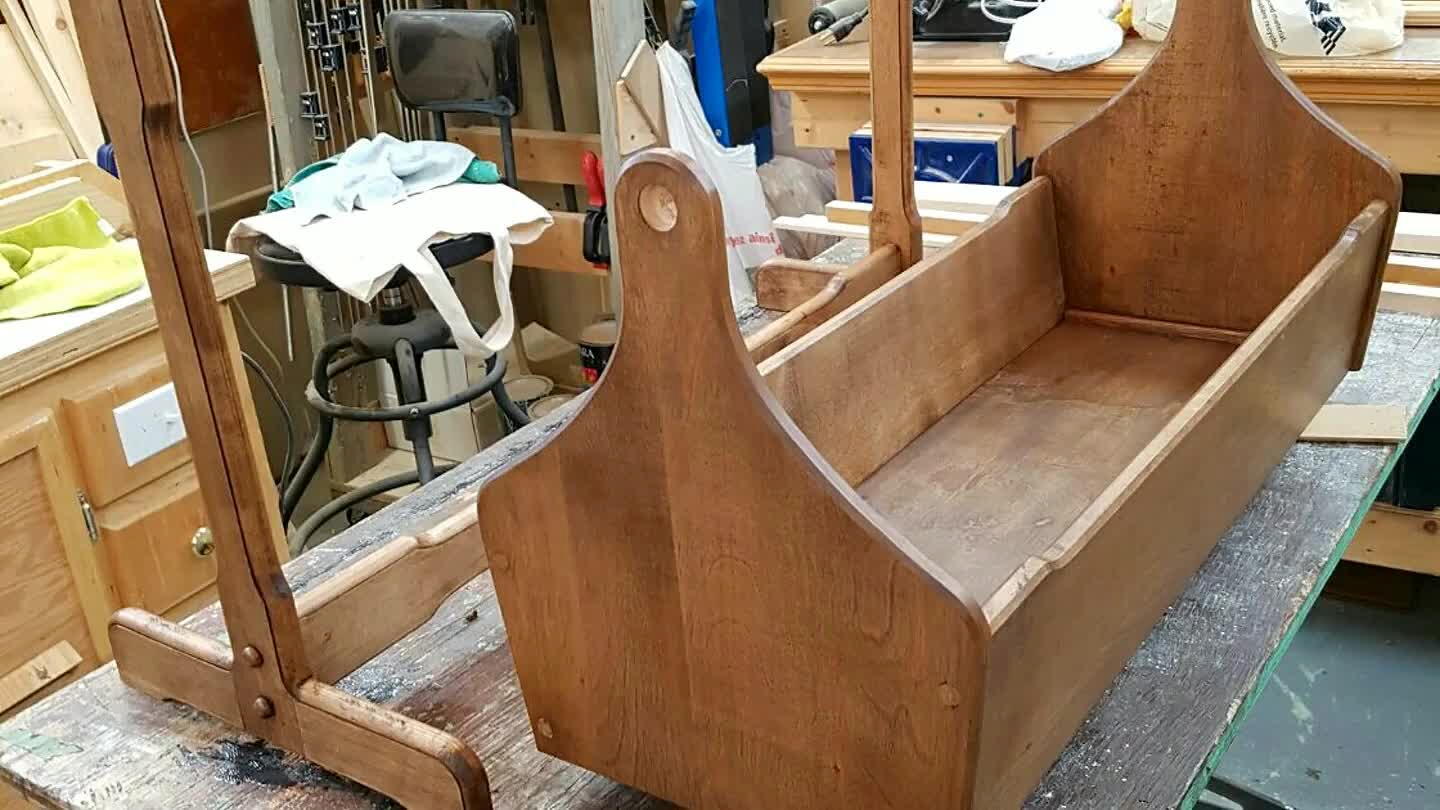
Hide screws with wood plugs and sand everything. Stain time. I chose dark walnut for this project.
18
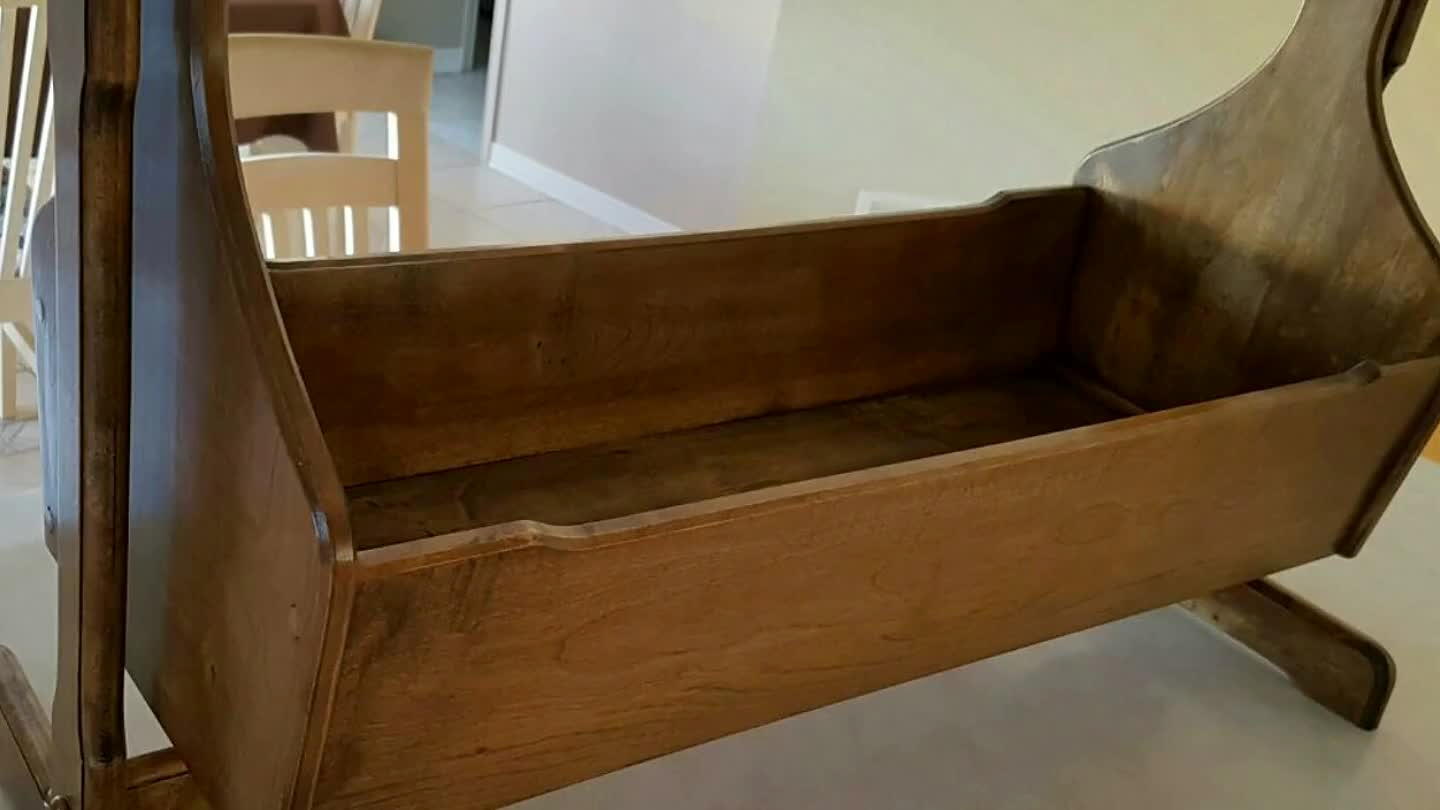
5 coats of wipeon polyurethane and final assembly. Looks more like a cradle for a snake! Lol. Don't think my niece will notice once the cushion is in there.
19
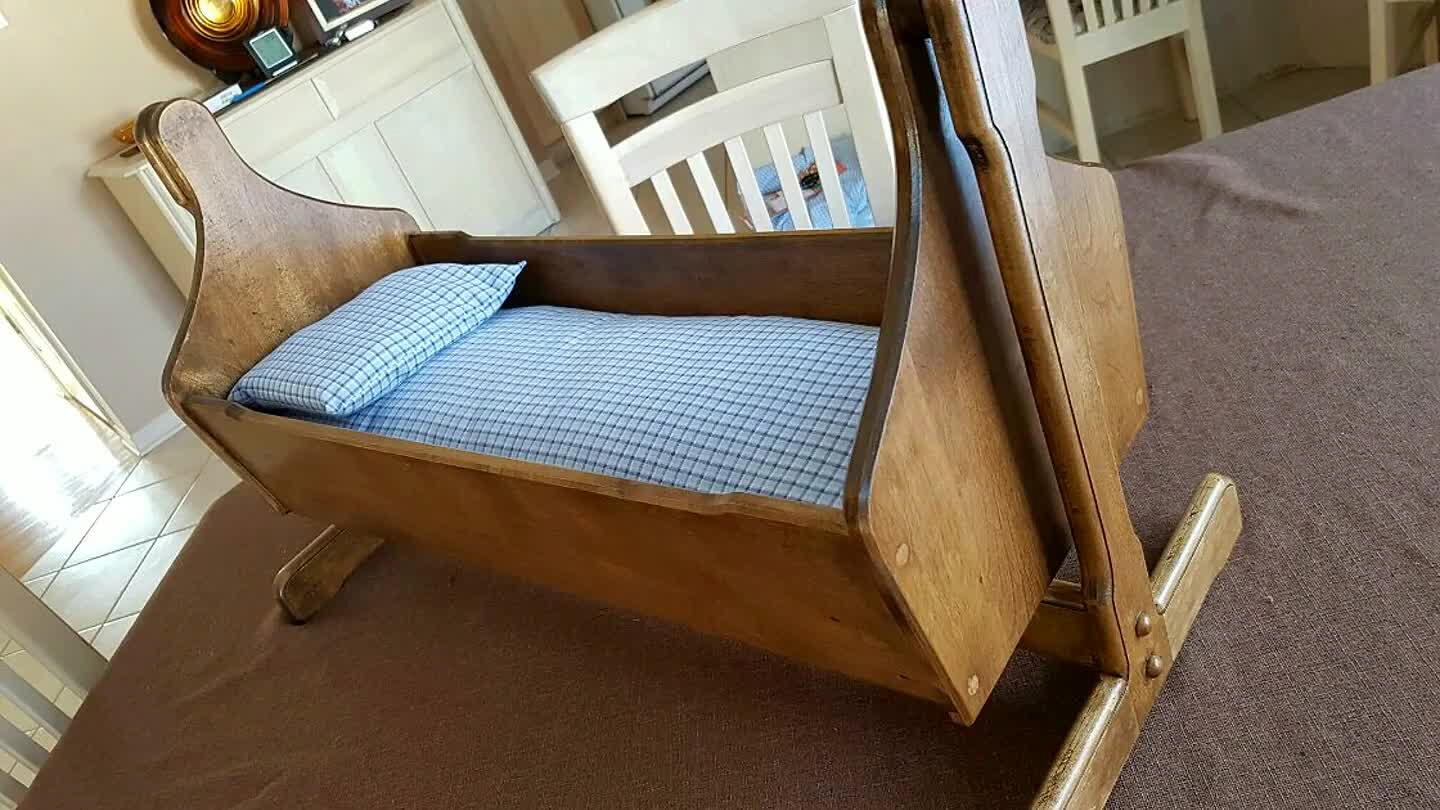
Now need to take out the sewing machine and make a cushion bottom and pillow using stuffing from an old pillow i had. I'm not a seamstress, so here goes nothing... Hopefully my niece will enjoy this gift.
Comments