
Dresser
Building this in the advanced class for school


My teacher is allowing me to do a different type of wood then most students so I am excited to see how it turns out!
What you will need
maple
walnut
pocket screws
glue
clamps
draw slides
draw knobs/pulls
router w/ bit
screws
nail gun w/ nails
miter saw
painters tape
How to do this project
1
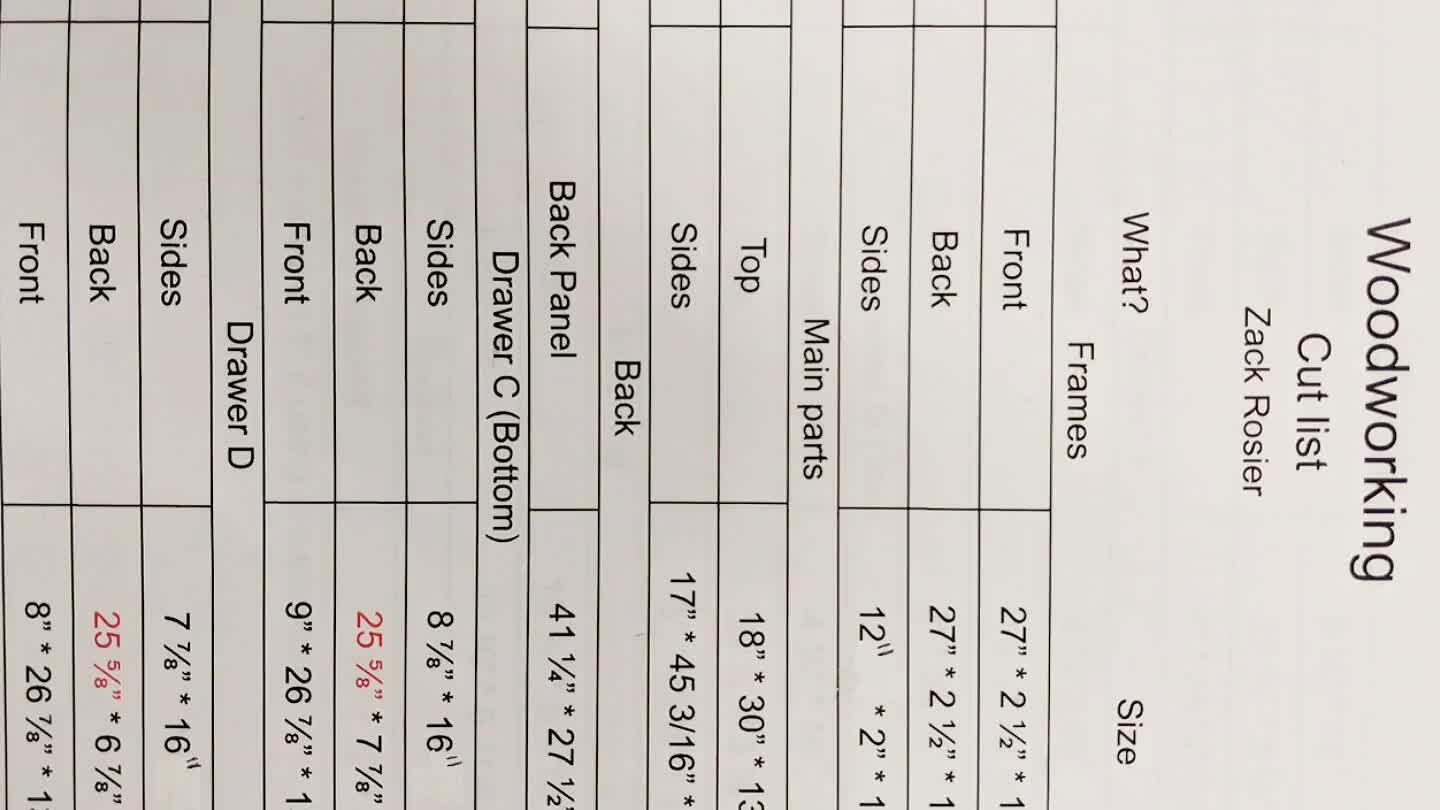
My teacher assigned me to make a cut list for our class
2
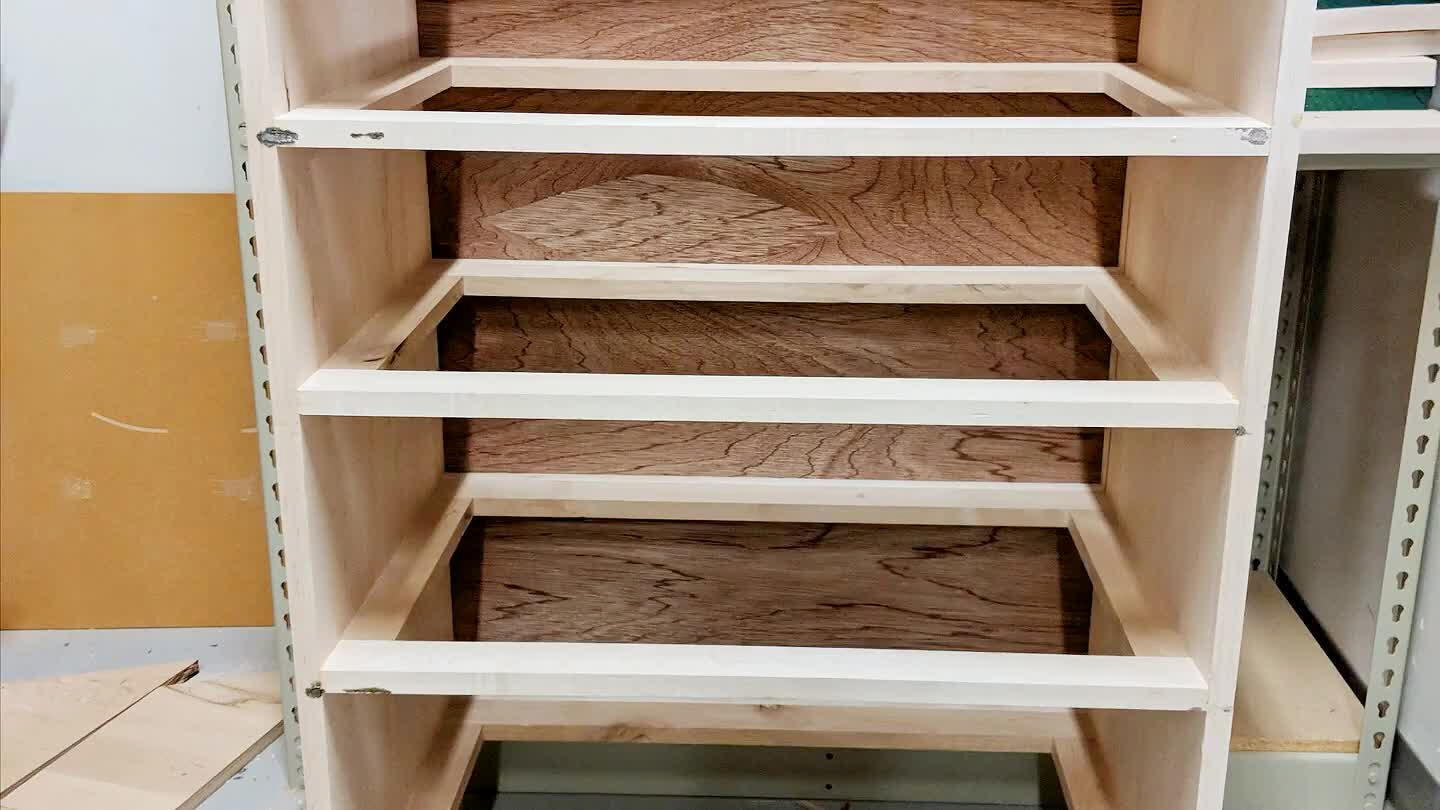
Cut all the web frames to the right size and then I used pocket screws to put it together
3
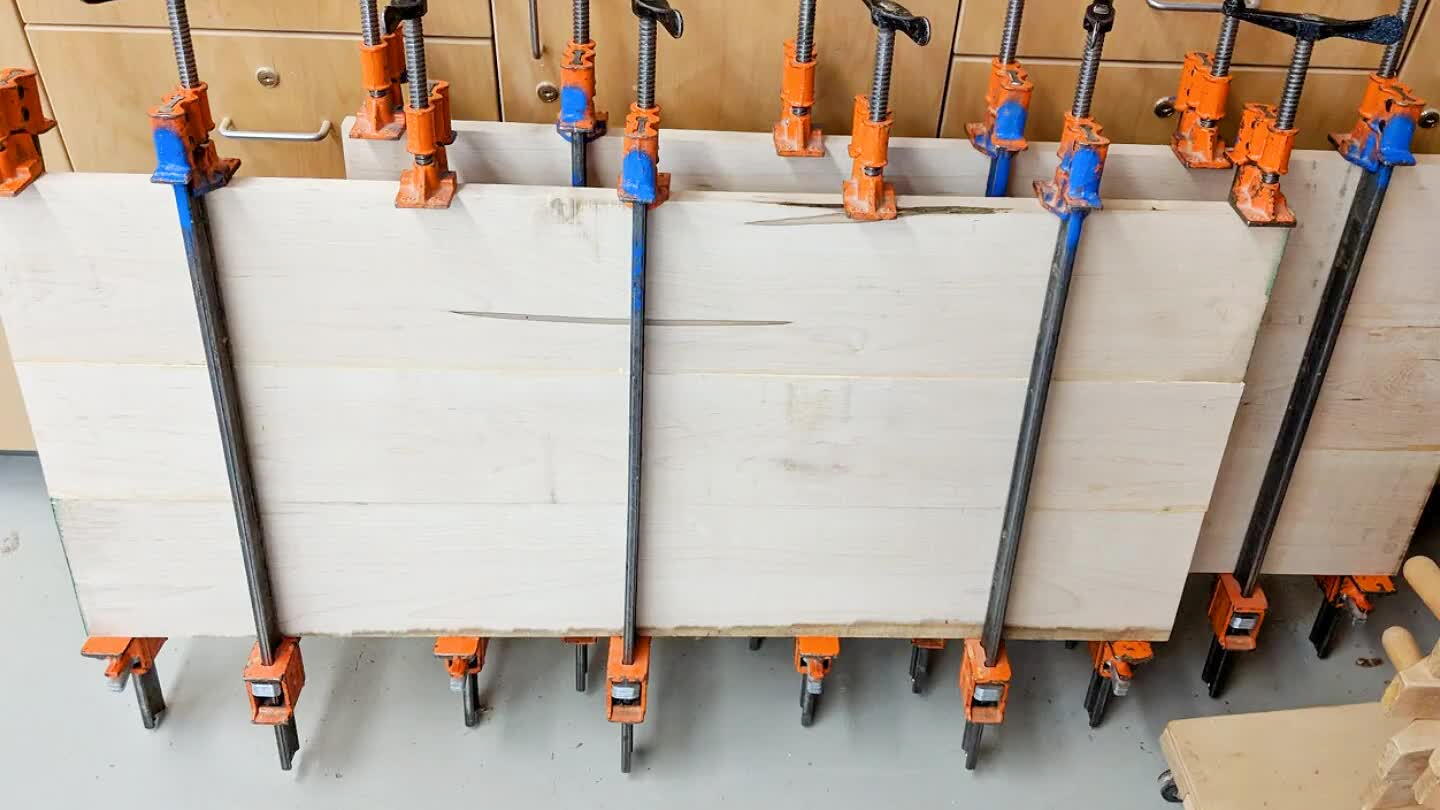
Got the maple and cut it to a rough length and then glued it up
4
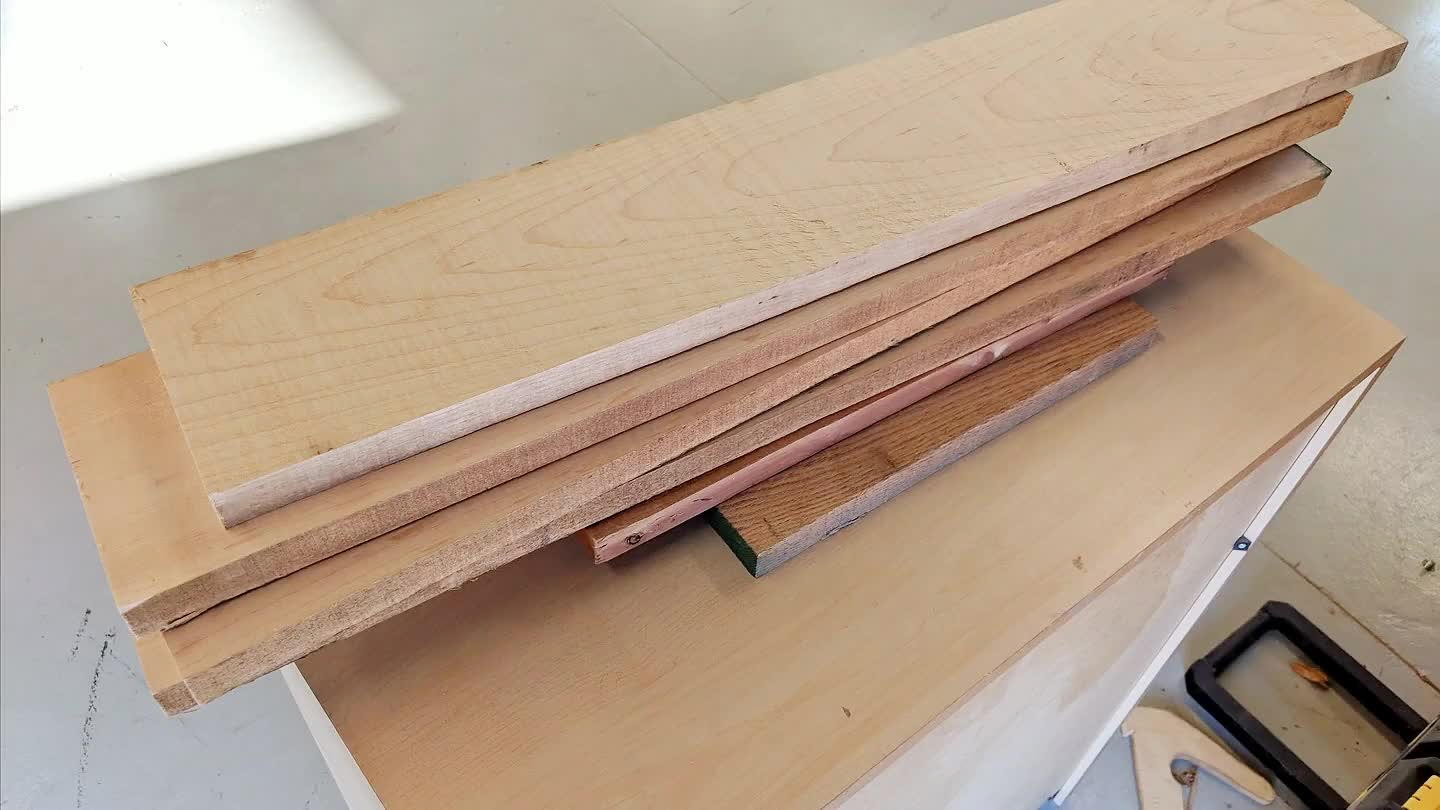
Got maple for the top of the dresser and then cut it to the rough length.
5
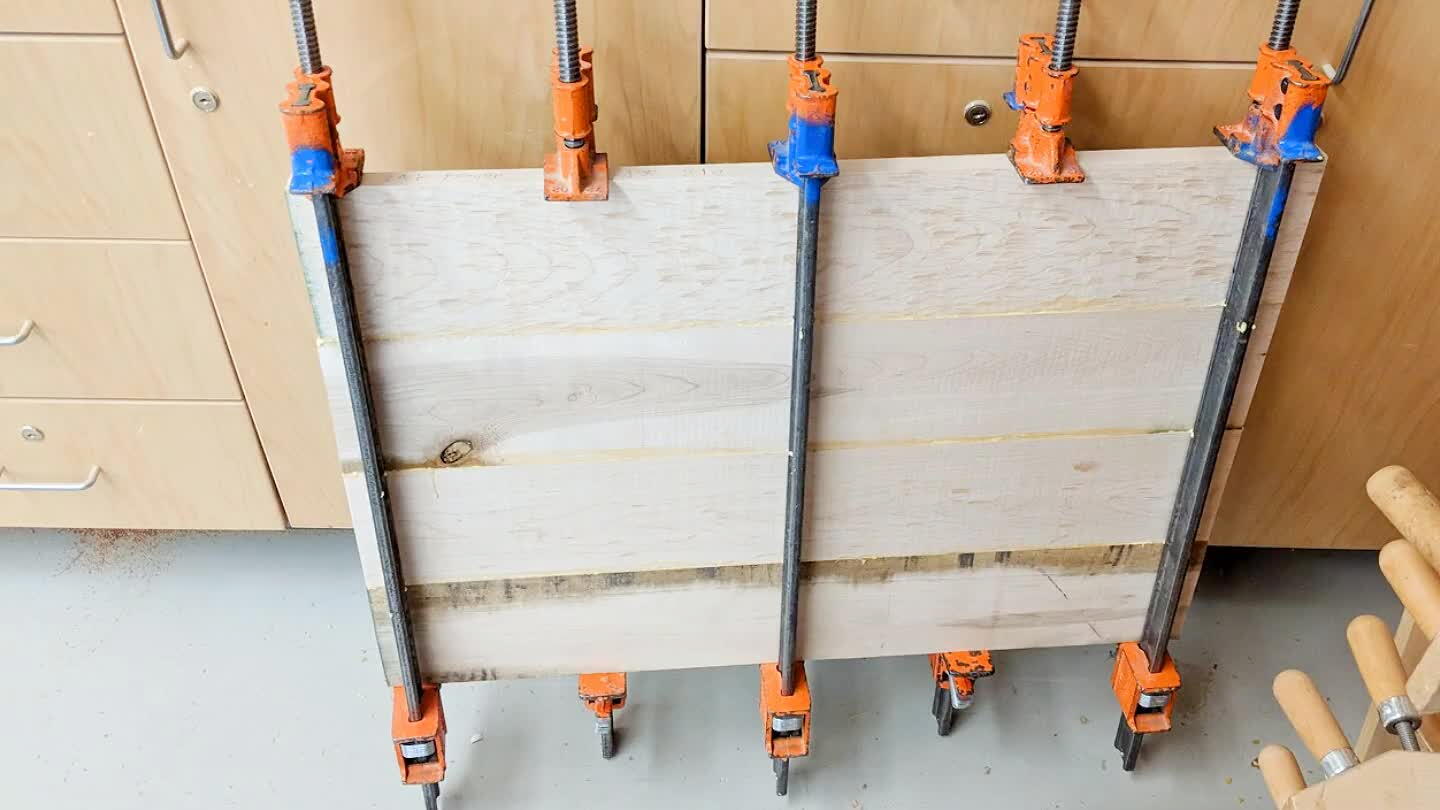
This step I just got glue clamps and then glued it all together
6
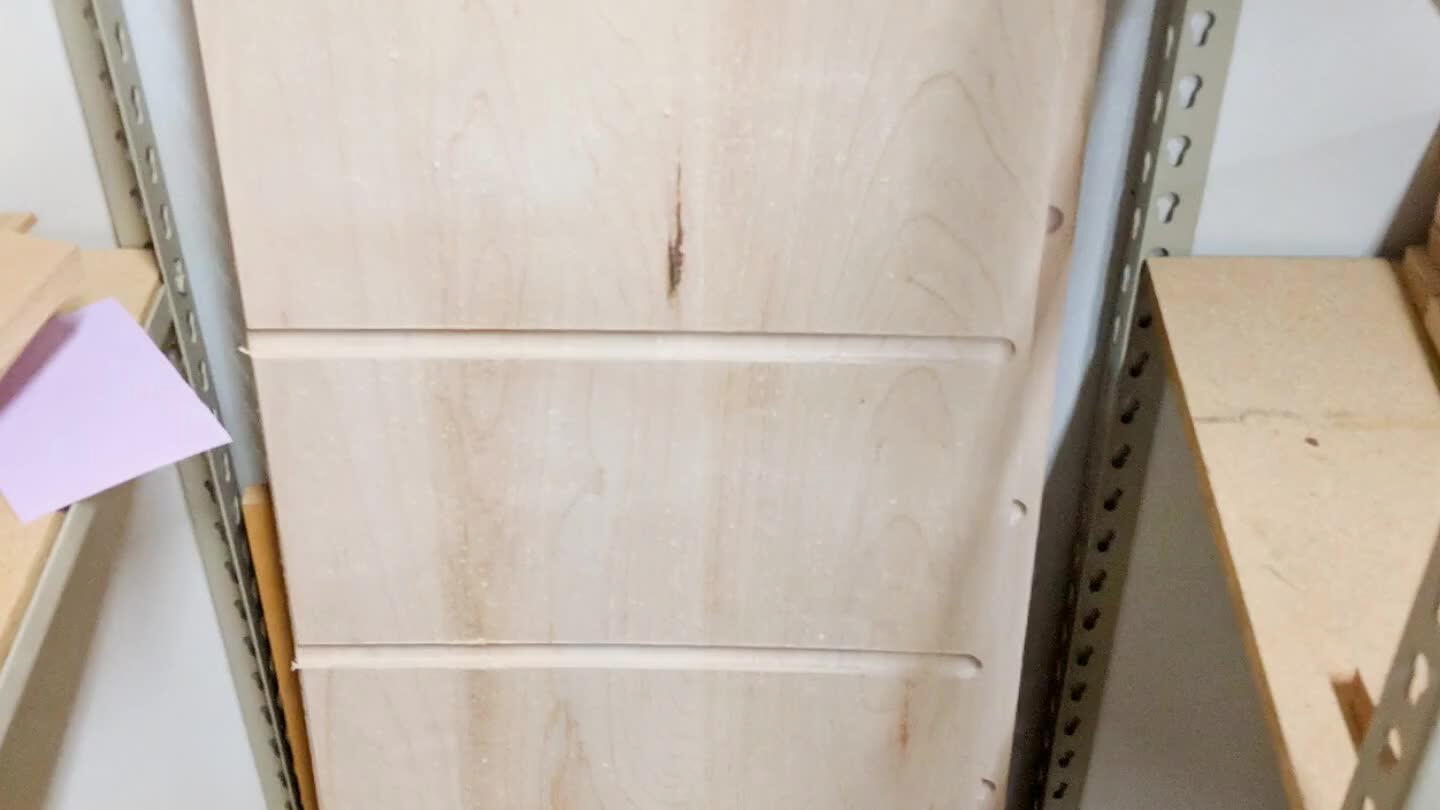
We used the cnc machine to cut the stop dados on the side panels but for the front web frames I used a dado blade on the table saw.
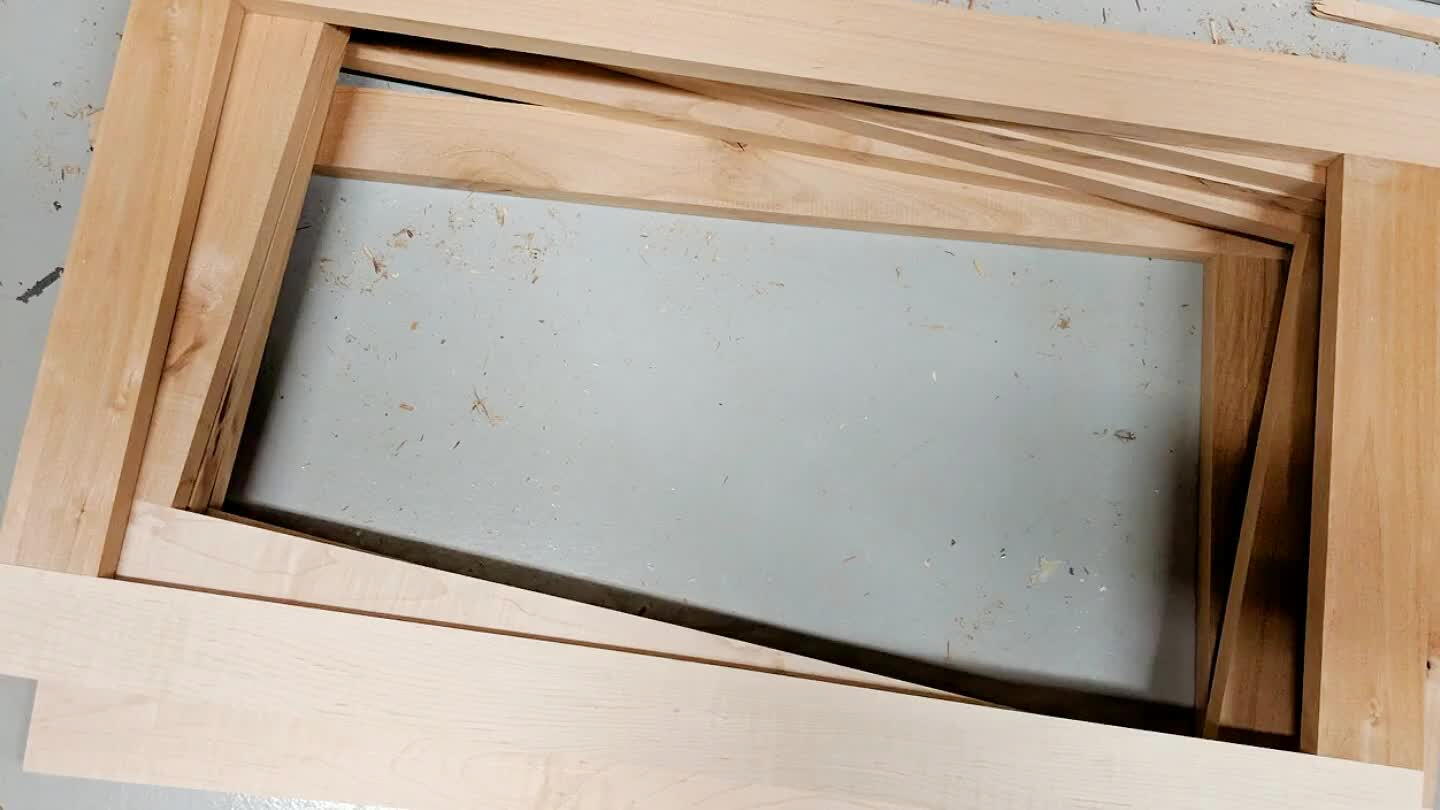
7
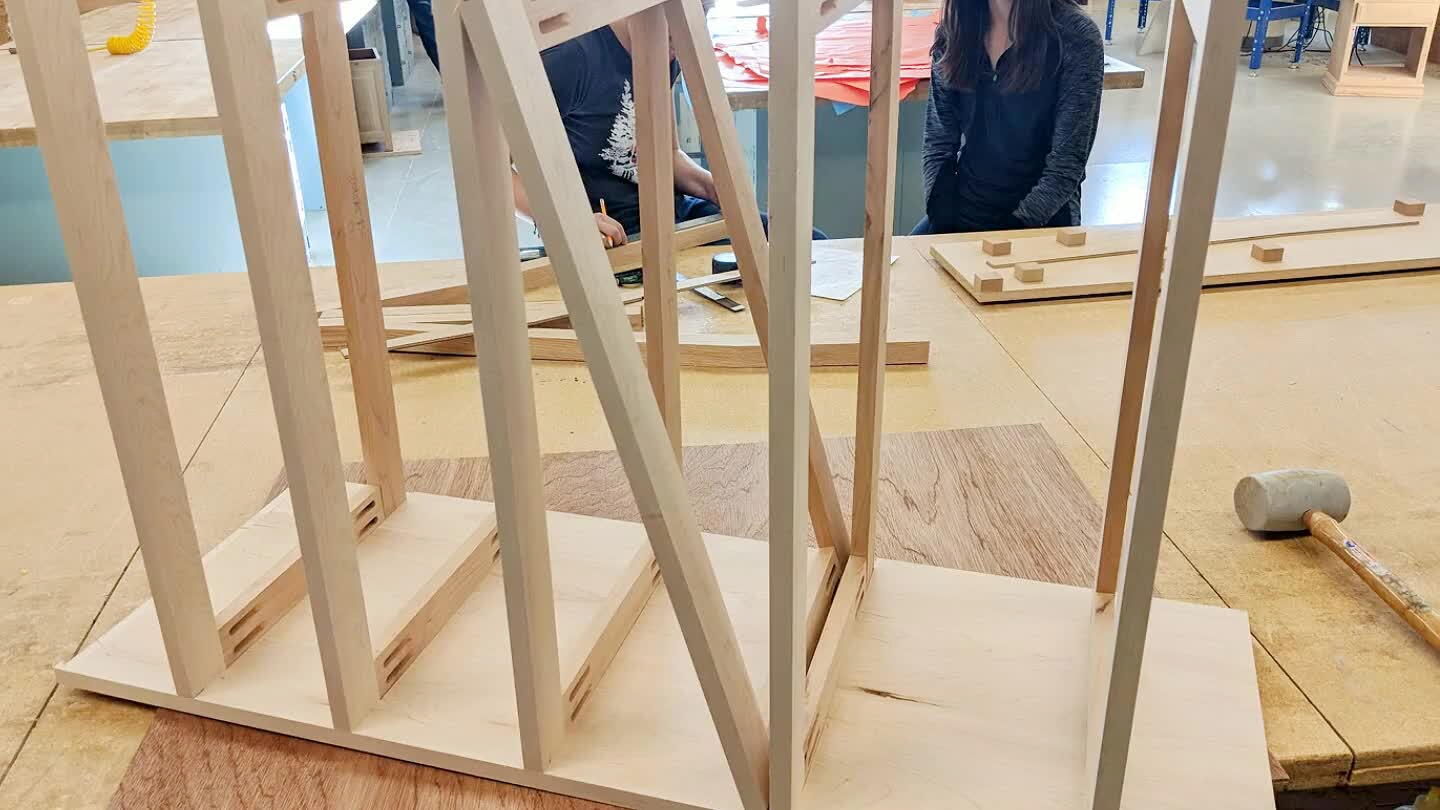
Wanted to make sure everything fit correct so I did a dry fit to make sure that when I glue it everything will fit correctly.
8
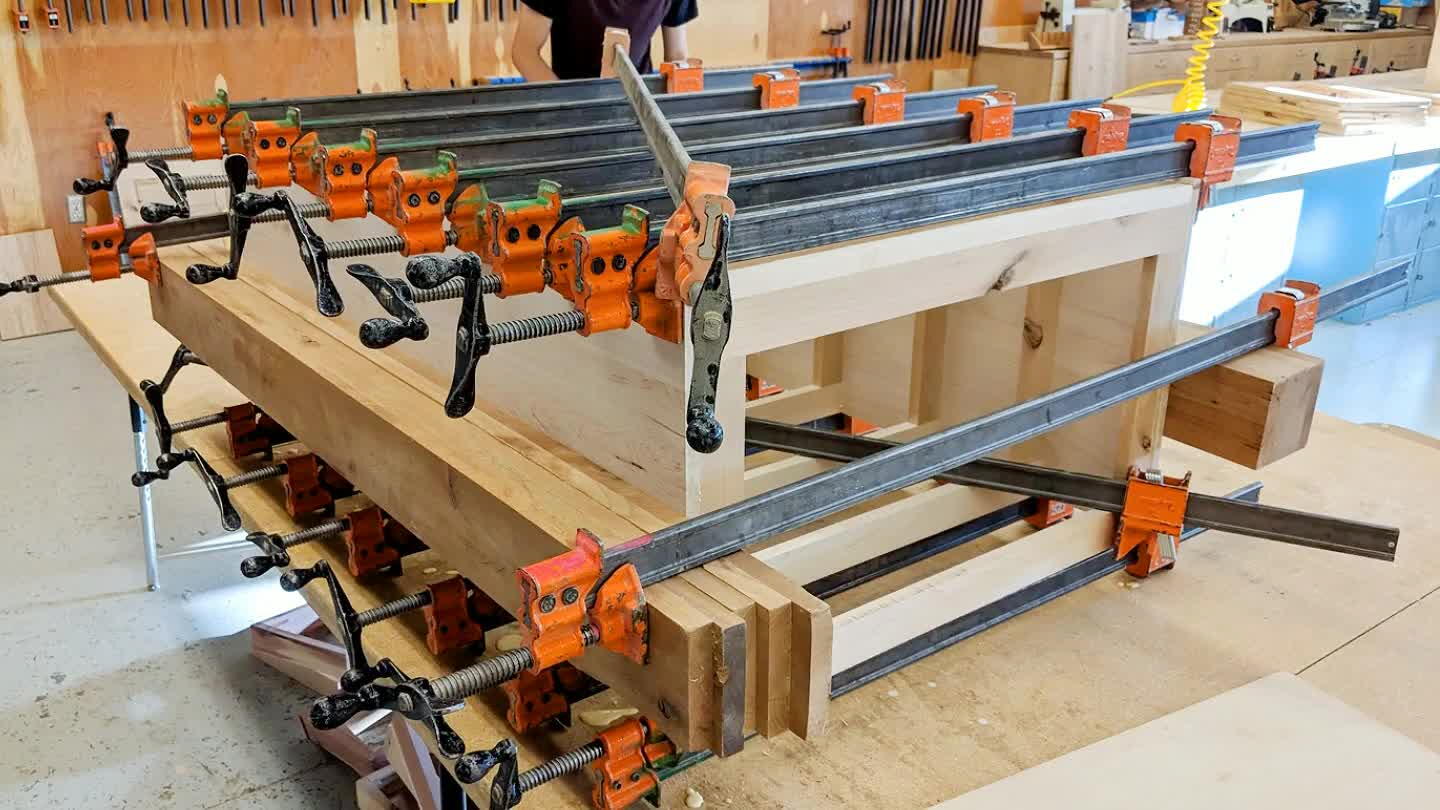
Glue everything together and use clamps to square it up
9
Use staple gun to attach the back panel
10
Cut and glue up the drawer fronts to fit with 1/16th inch on every side
11
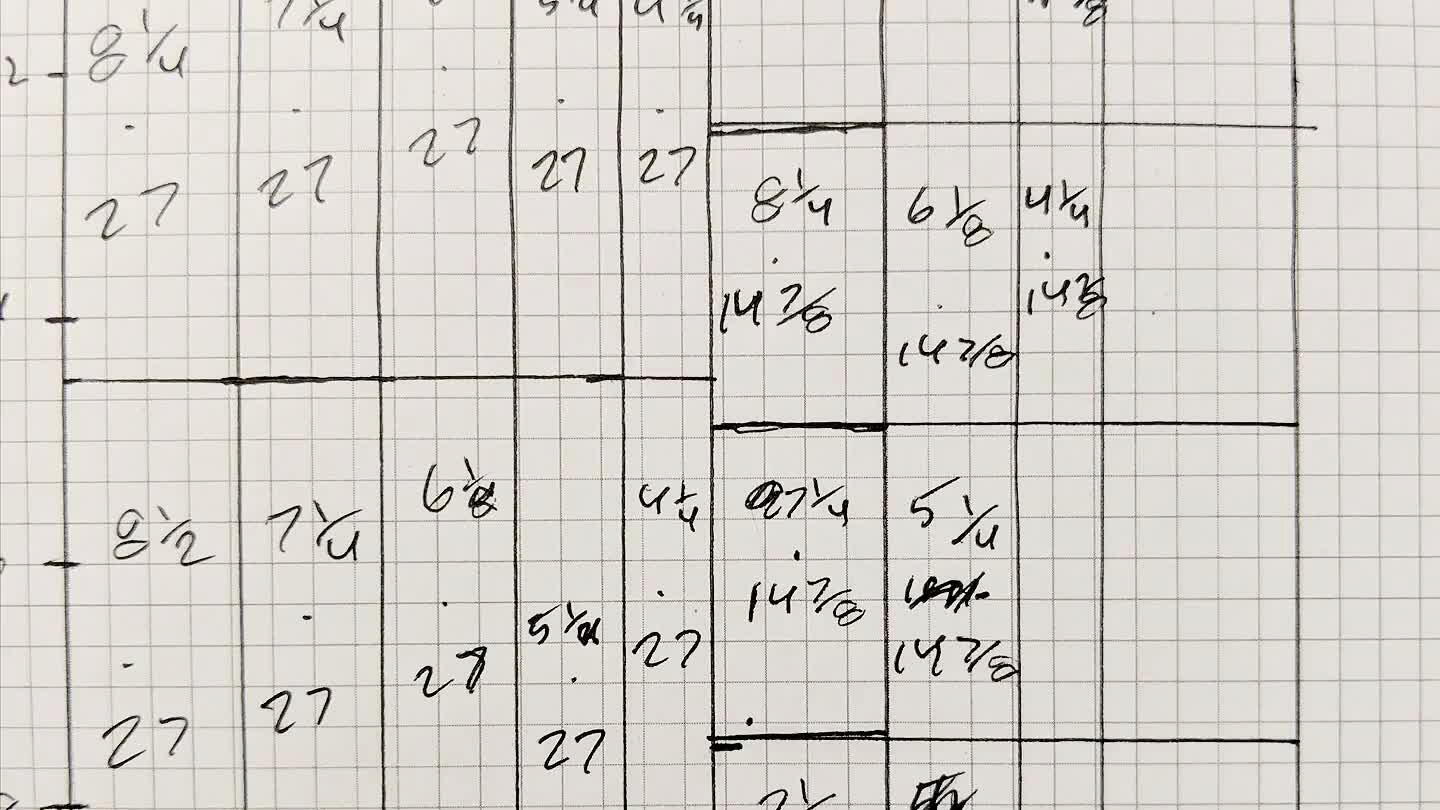
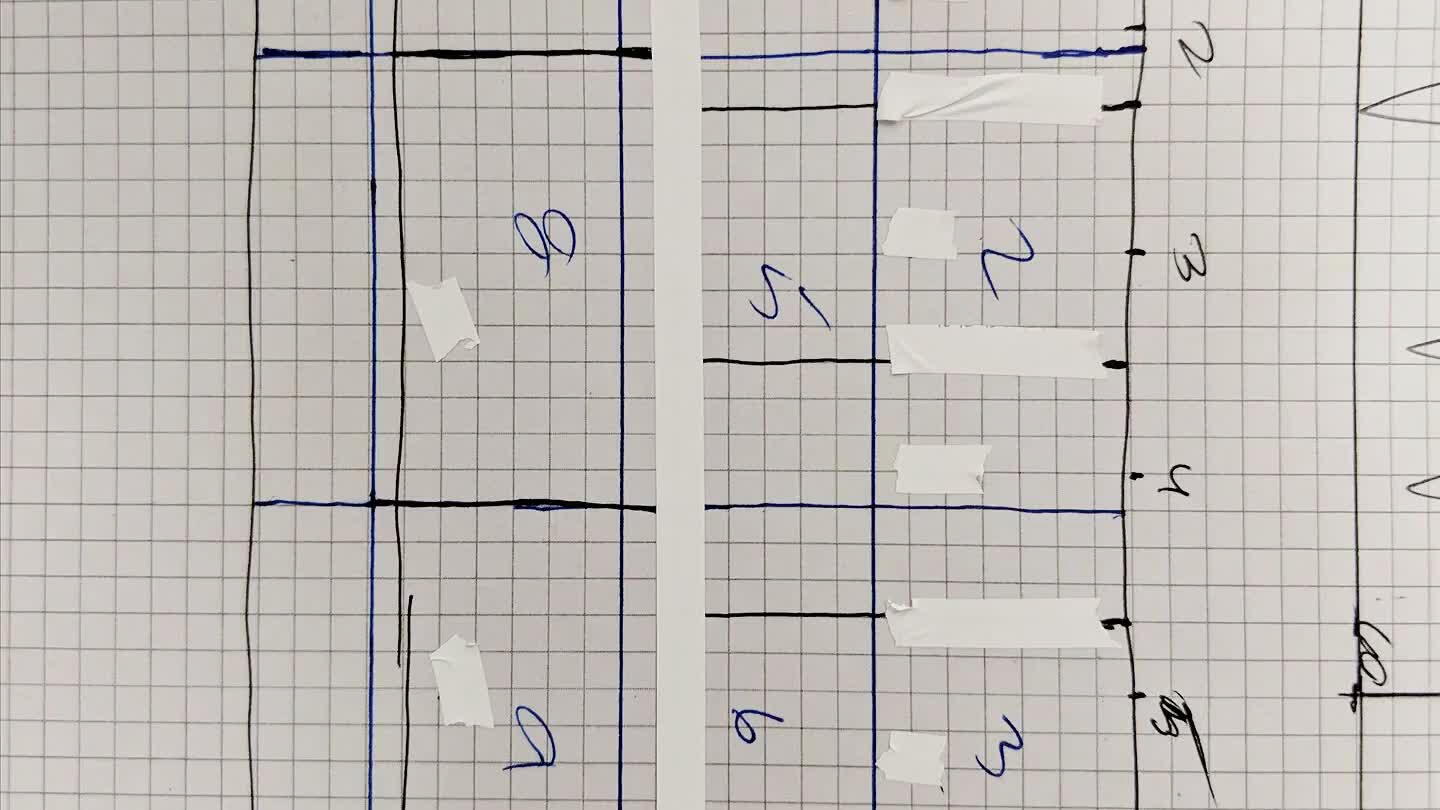
Make a sheet so I can see how to best cut out all the drawers with one sheet then I used a router table to cut all the dados.
12
I cut the drawer bottoms out of a quarter inch peice of MDF then I assembled the bottom drawer and used long mitered peices to strengthen the bottom
13
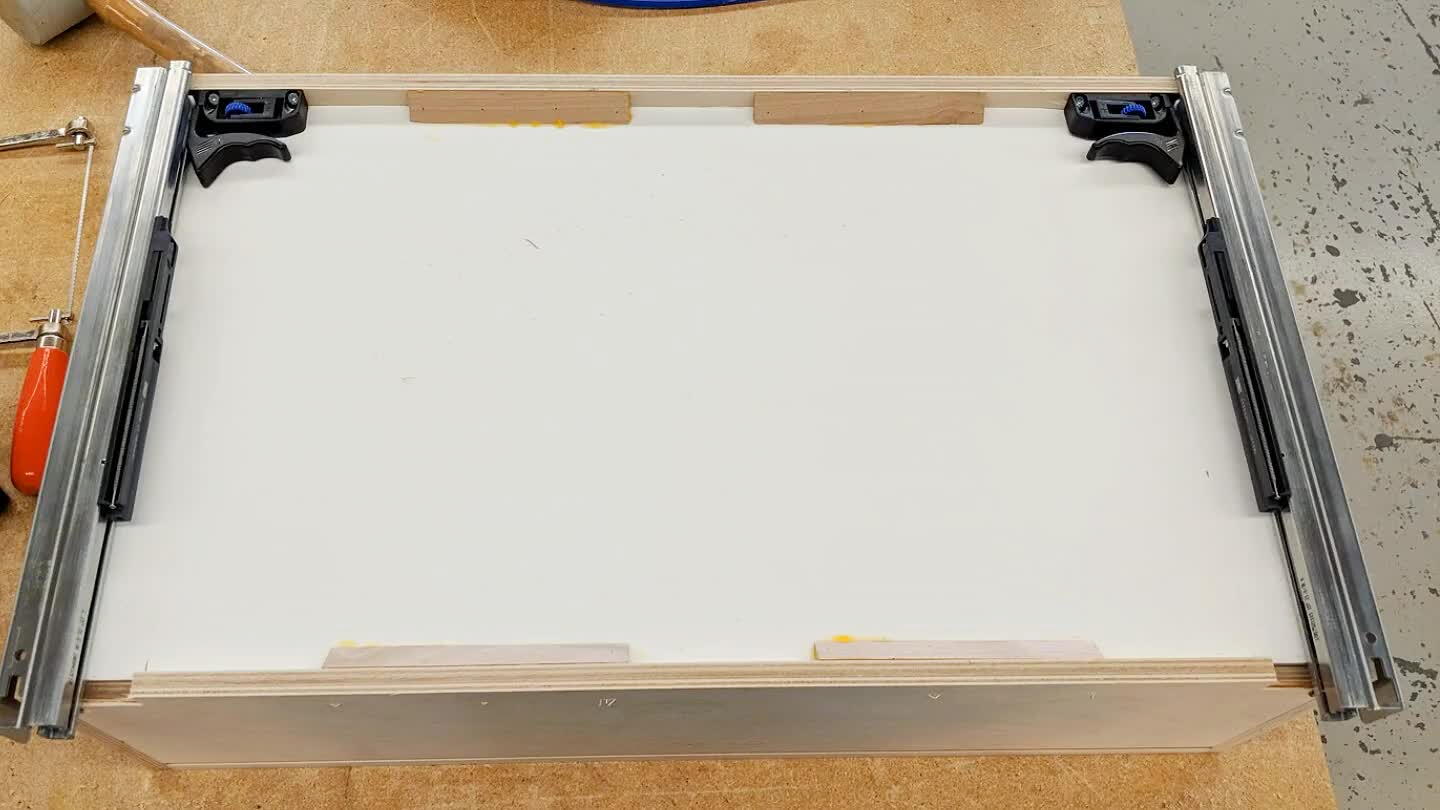
I had to cut a little rectangle out of the bottom of each drawer in both back corners for the slide to sit on. Then I attached the clips with 1/2" screws and drilled a 1/4" hole for the little hooks in the back of the slides.
14
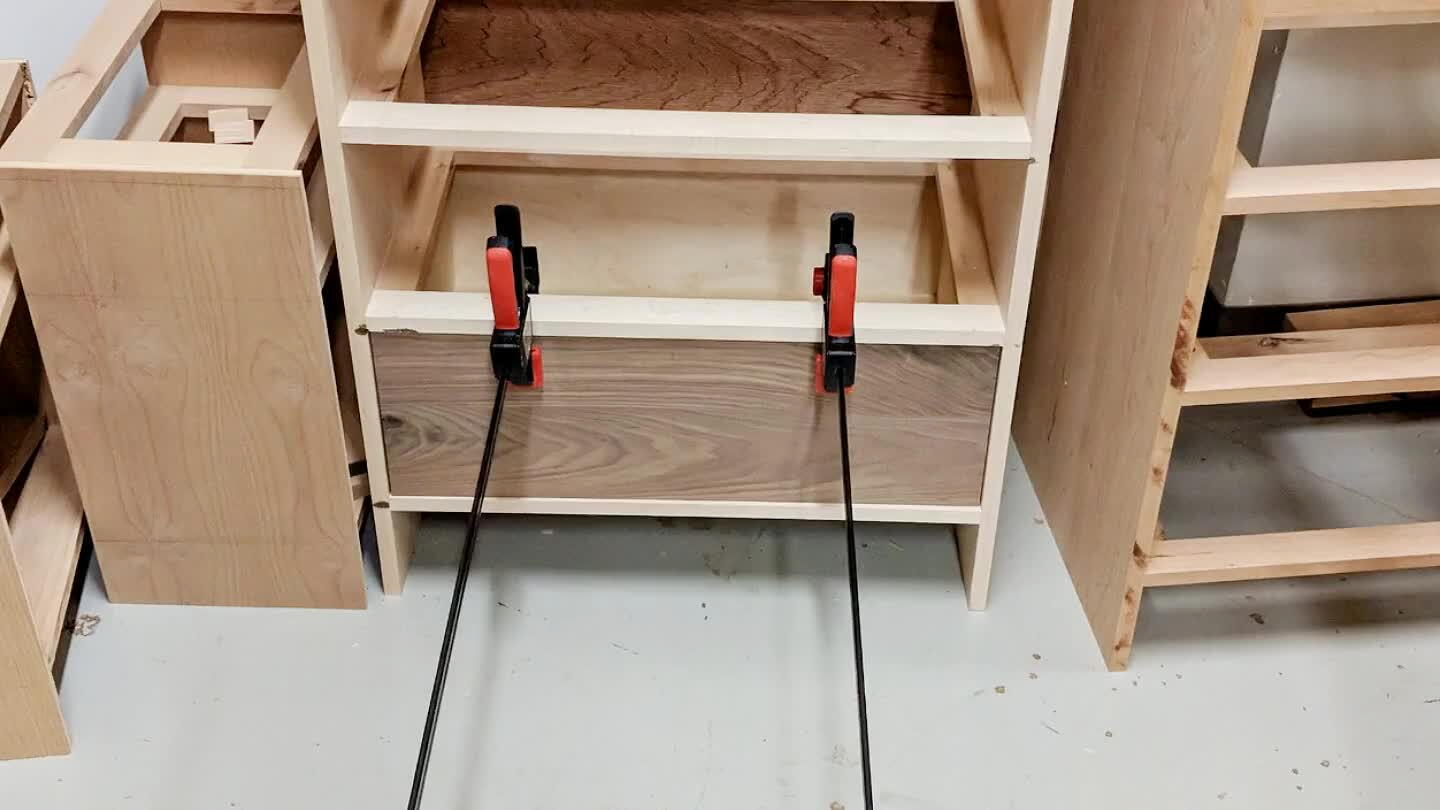
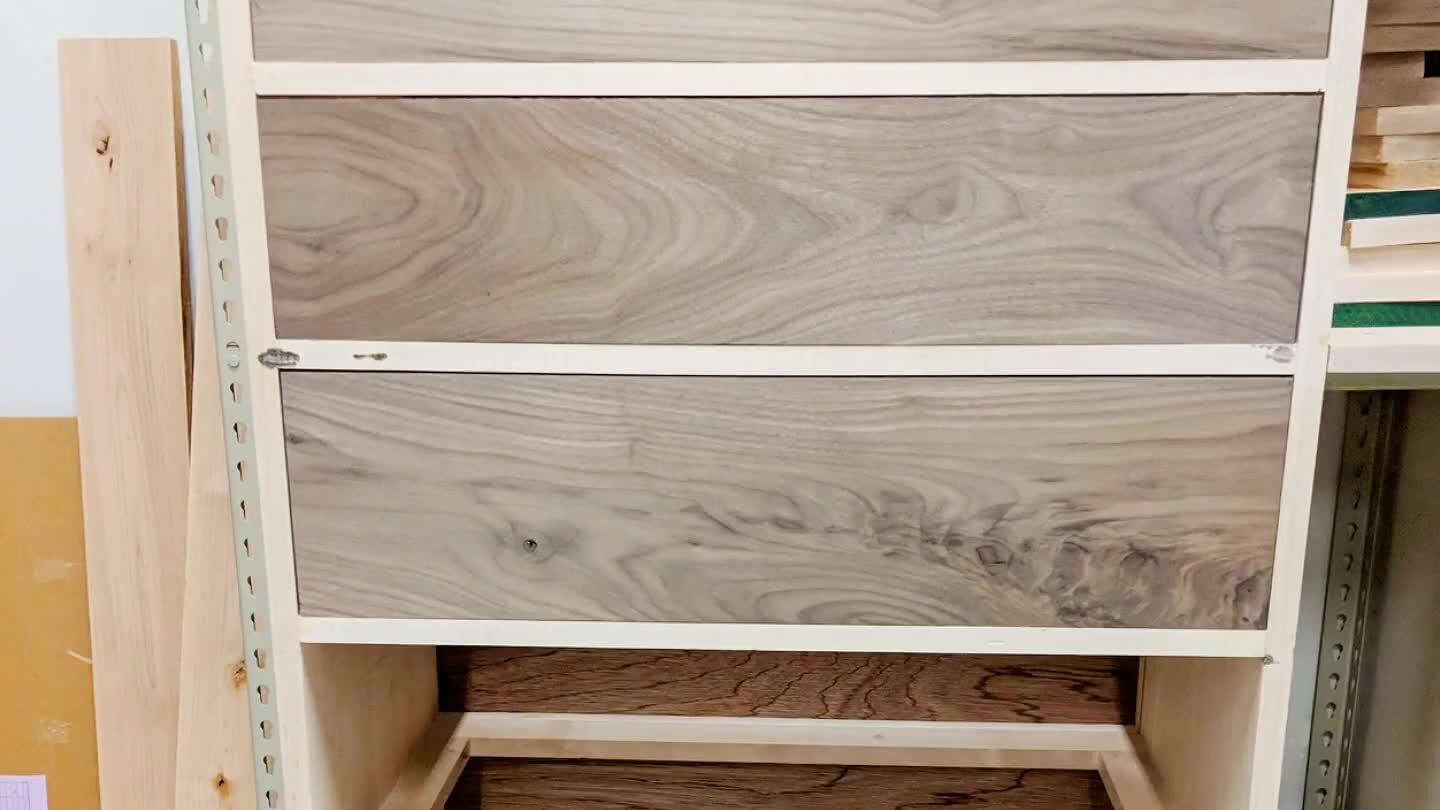
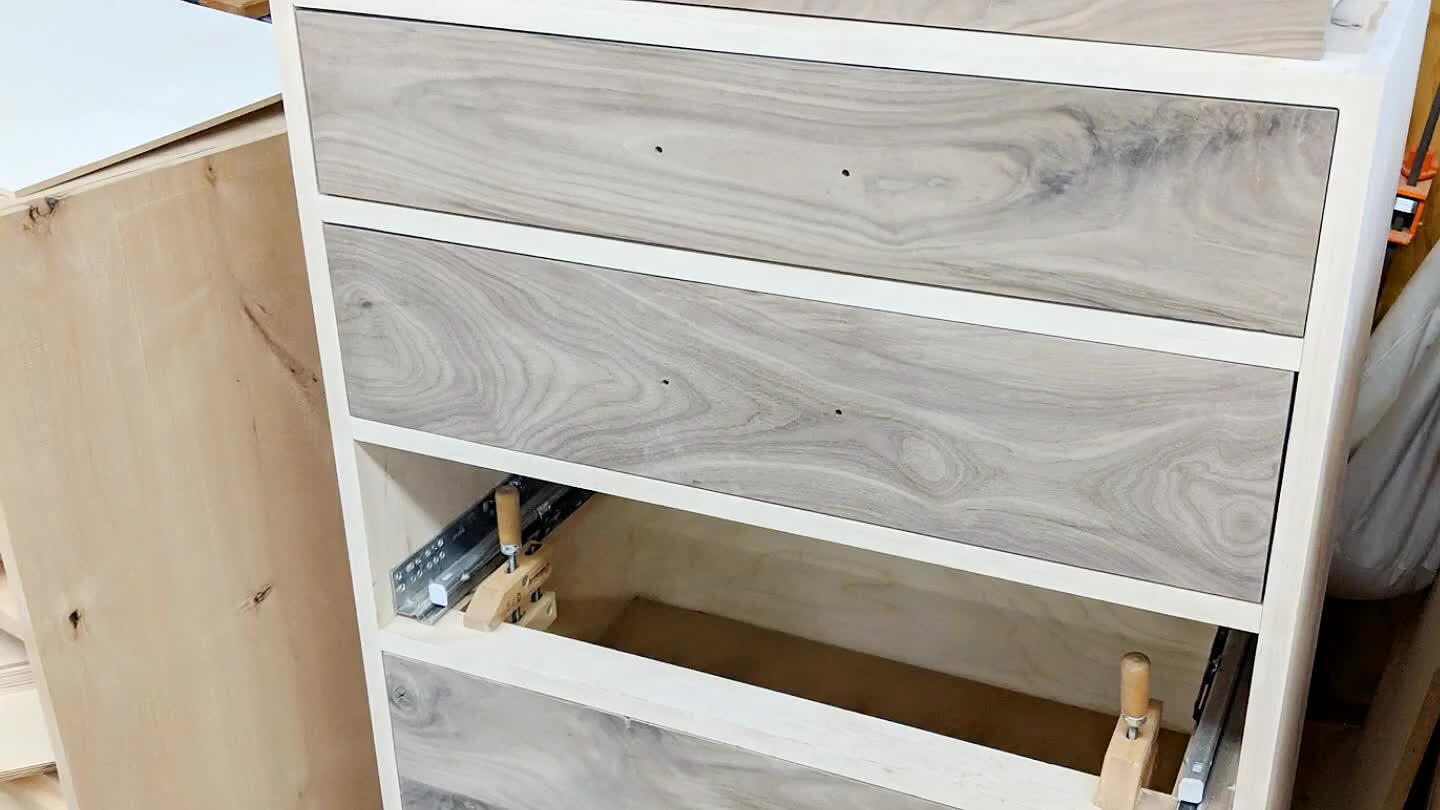
Use the walnut peices I already cut out for the fronts of each drawer. To make sure they had a 1/16 inch gap on all sides I used a penny on the bottom and two sides. Then I used some screws and wood glue to make sure that they won't pull apart.
15
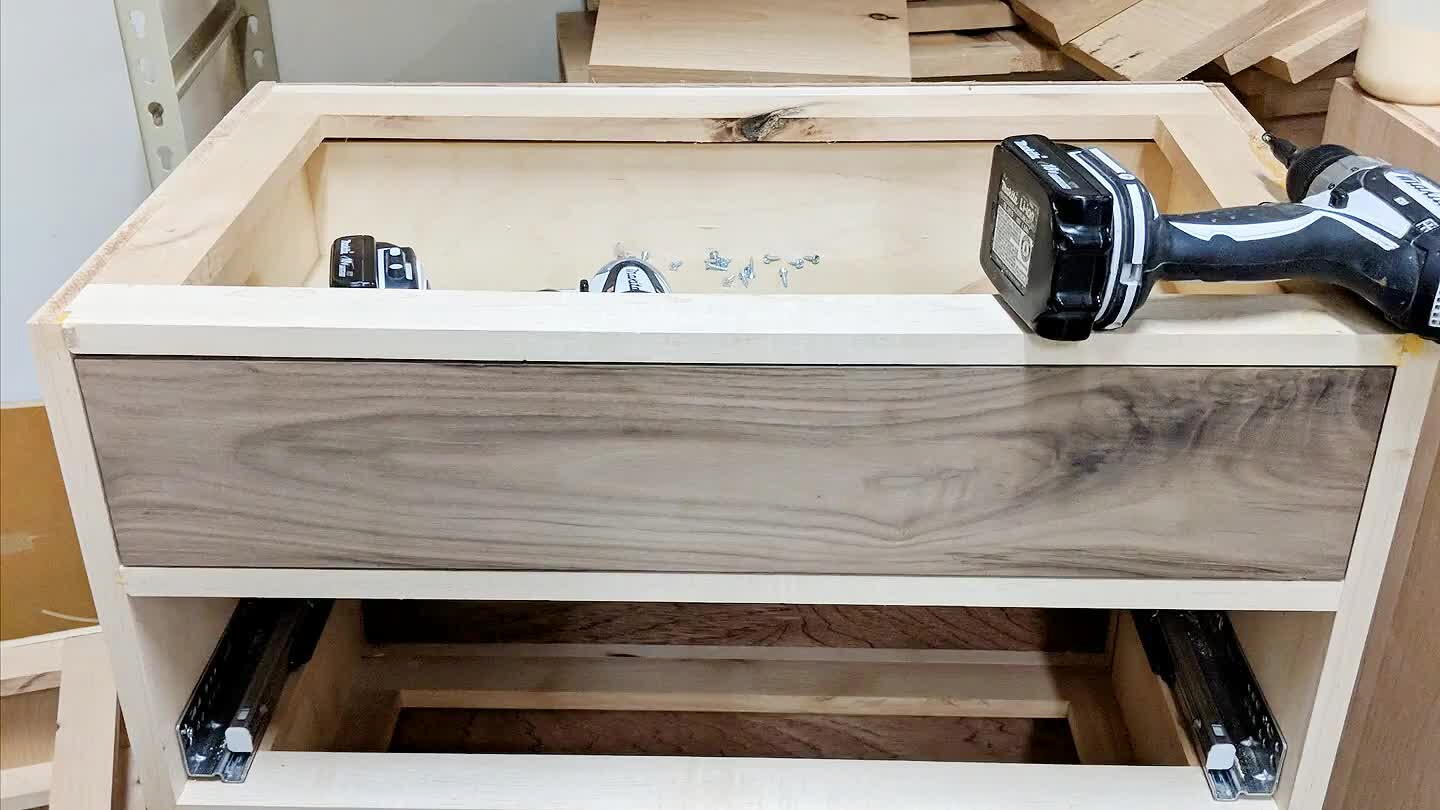
Had to attach each drawer slide to the dresser and make sure that the fronts had even spaces on all 4 sides and that they were flush which took longer then expected.
16
I used scrap peices of wood to test out some router bits and decided on the middle one so then I cut some wood to the rough length and then cut it to width and used the router bit on the top edge.
17
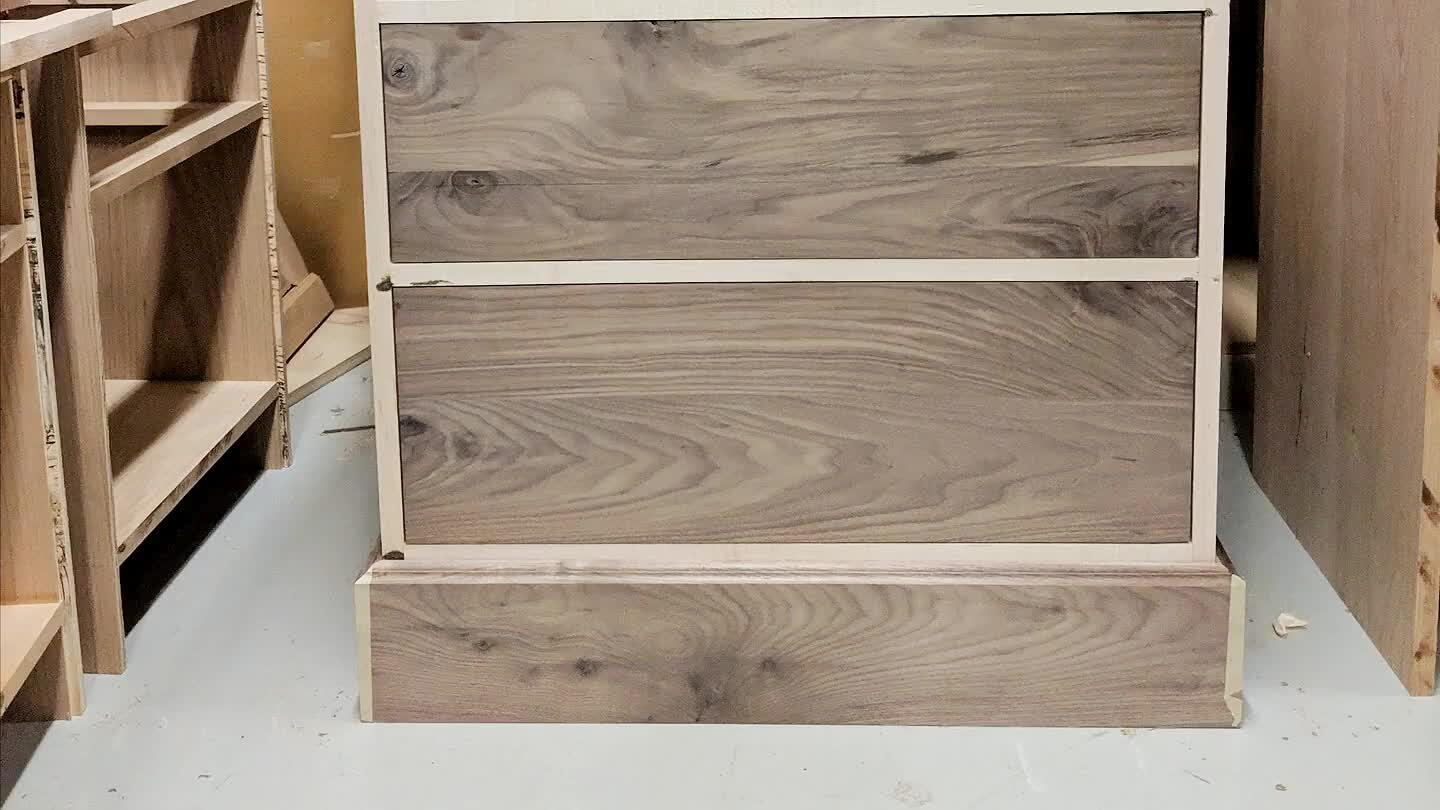
Use glue and very small nails to put the mouldings on and some clamps to keep it in place
18
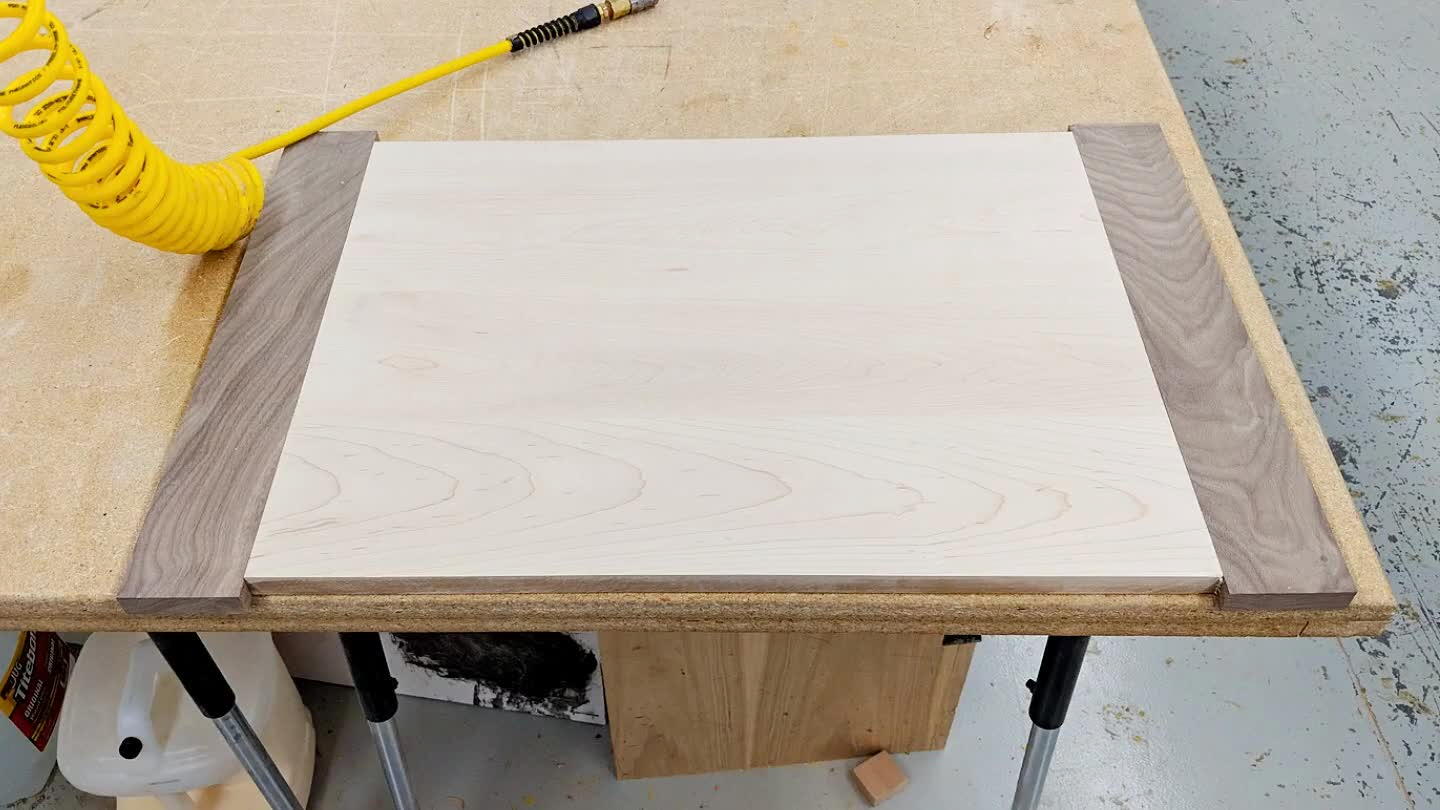
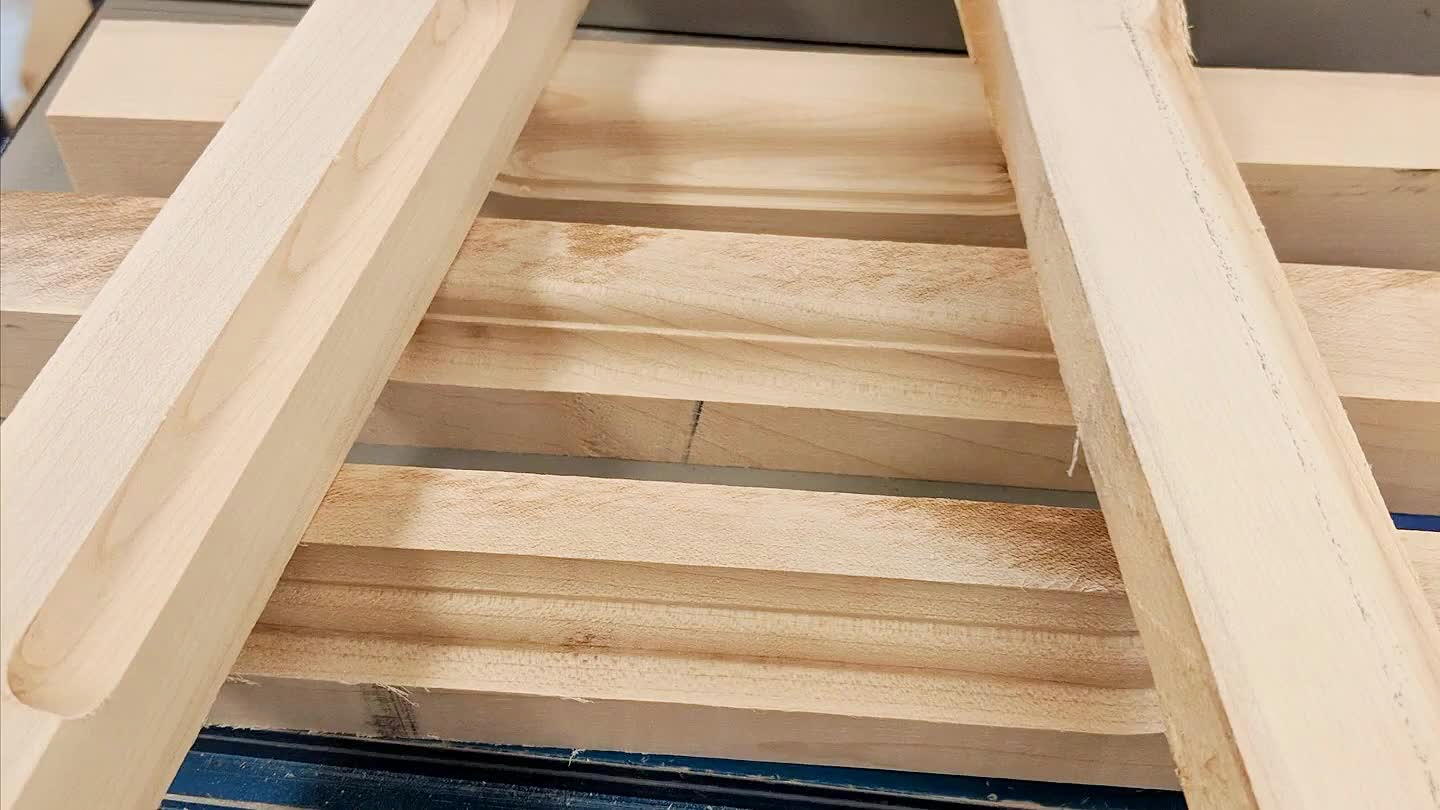
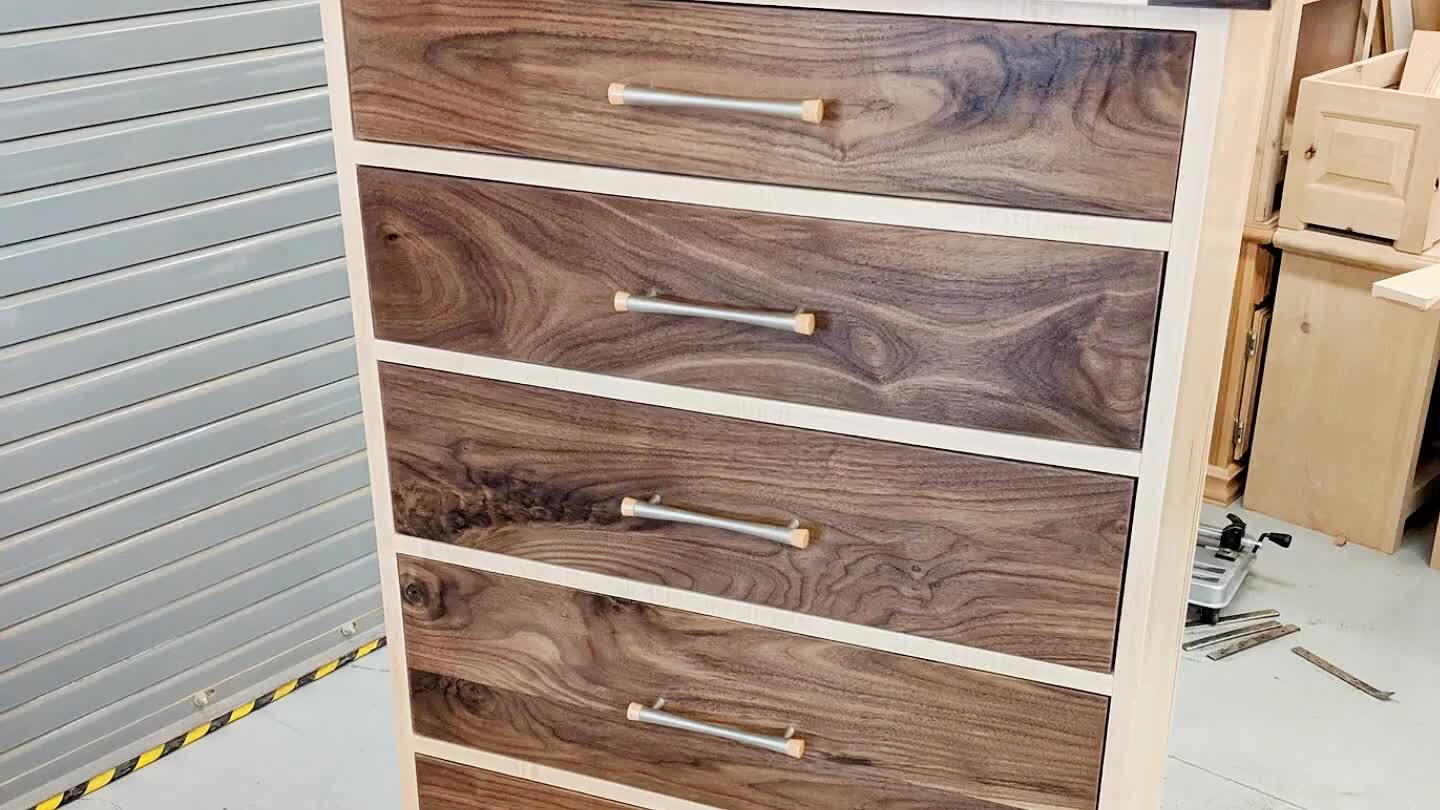
I cut 3 inch strips of walnut to contrast the maple and I also put it going 90 degrees from the rest so that it will help prevent it from warping or twisting.
19

I made a template so that I could easily drill and hook the drawer handles onto each drawer
20
Used a very fine grit sandpaper to do a finish sanding over the entire project.
21
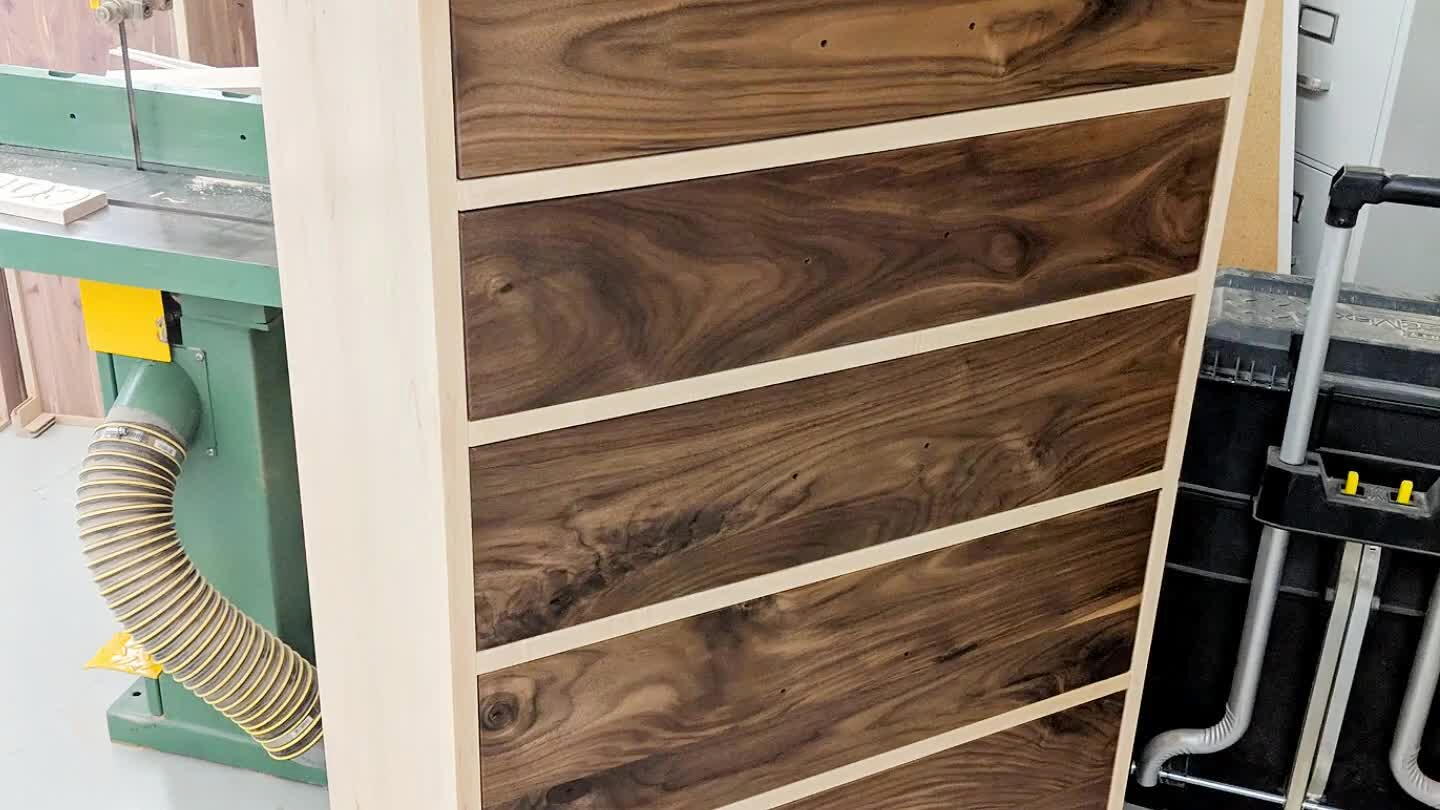
Just lacguered it 3 times with sanding between coats. It really brought out the walnut and made it look even better then before!
22
I used was to smooth out any off lacquer spots so that it would be super smooth and a great look.
Comments