
Flip Top Workbench

What you will need
cabinet. 3/4" plywood. metal pipe. pins to lock in place. 2x4
How to do this project
1

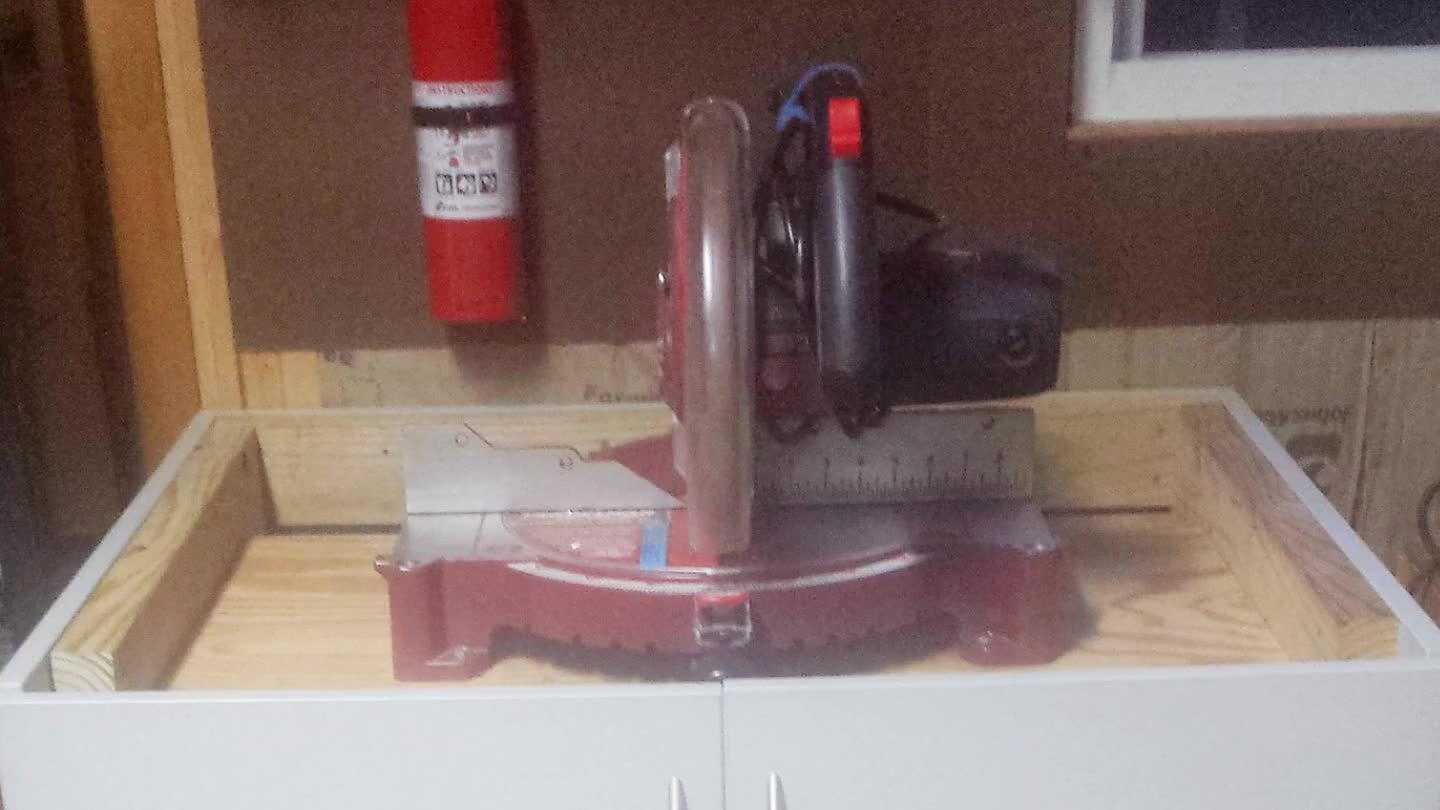
Thought I'd post my flip top workbench before I take it apart. I have upgraded my miter saw and the new one will be too big to fit in there. It served me well over the years but time to make a new bench. I recessed the top so the rest of the bench would support my work piece when using the miter saw.
2

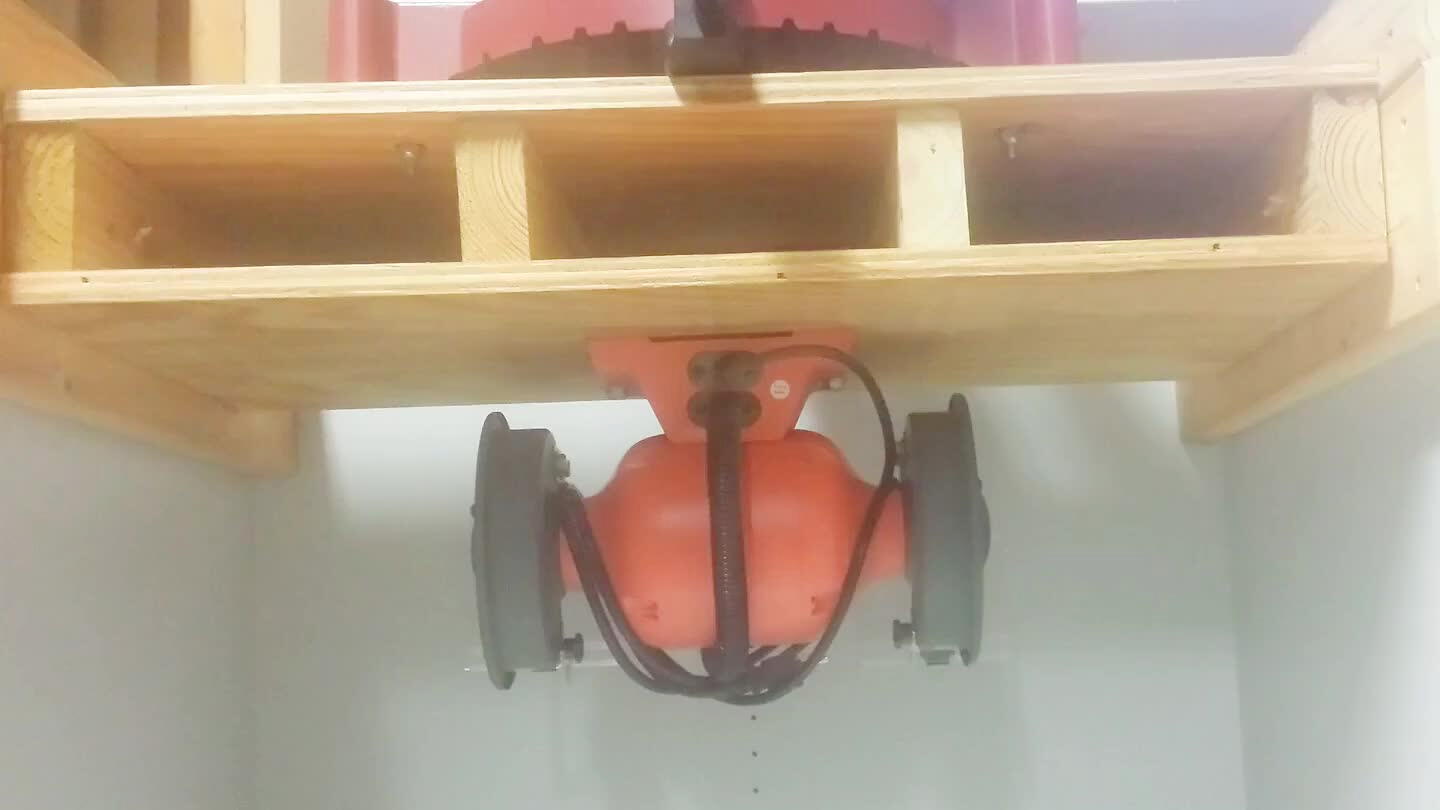
Bench grinder is mounted on the under side. The rotating portion is made of 3/4" plywood with 2x4 spacers.
3

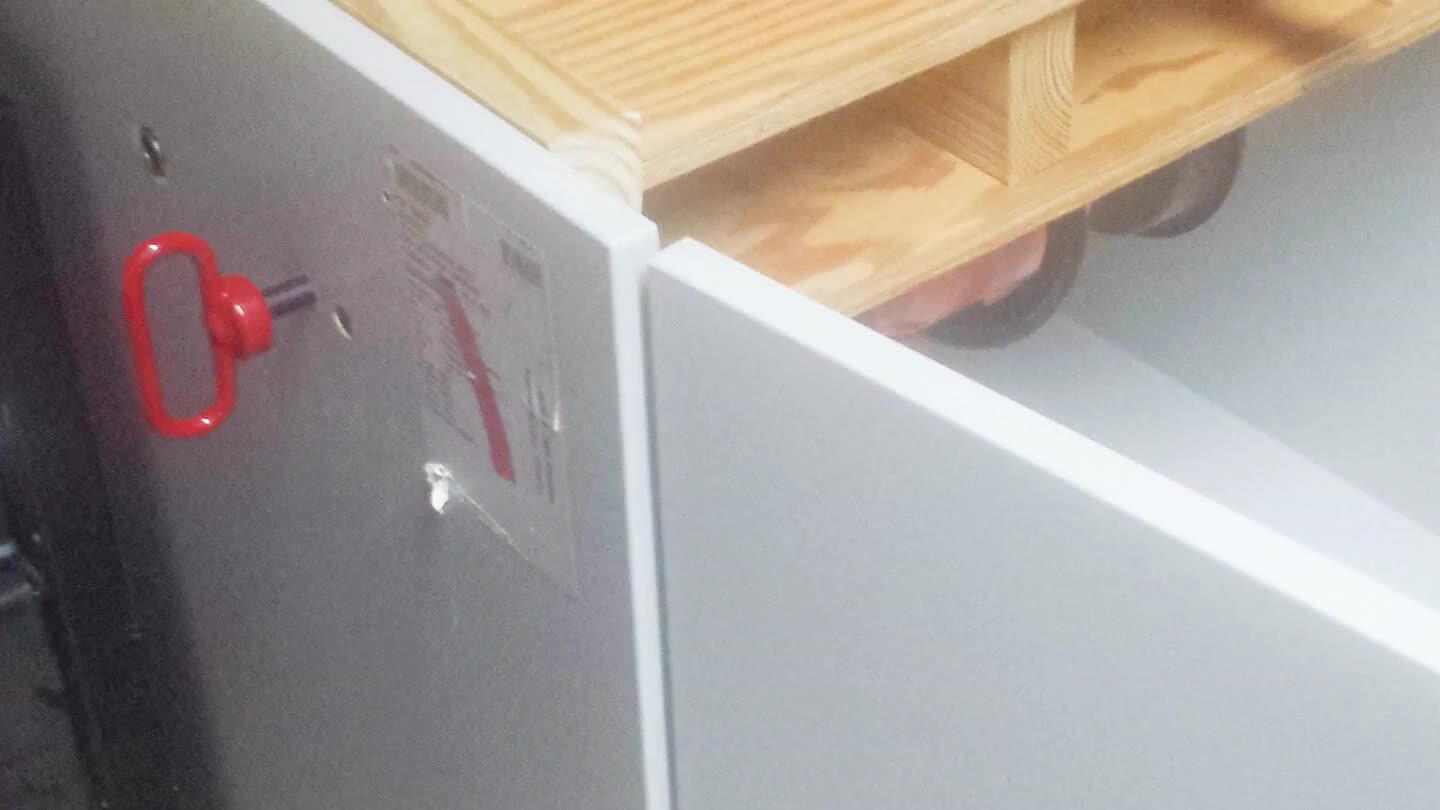
A metal pipe is running through the 2x4 supports on the table. You can see the pipe behind the red pin. I have the red pins on each side of the bench to lock it in place. One would have been sufficient but I had two so I used them.
4

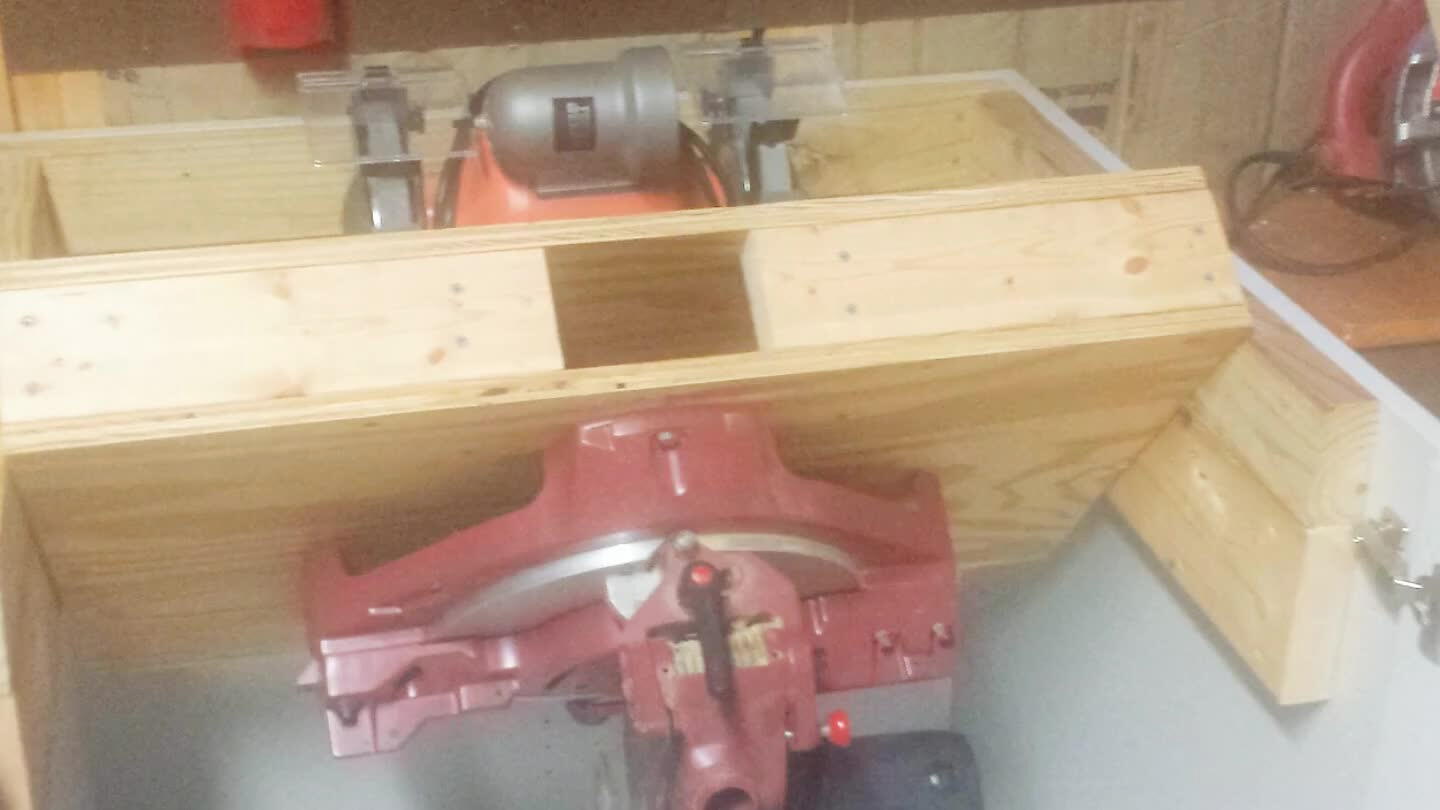
With the pins pulled out, you can flip the workbench to expose the other tool.
5

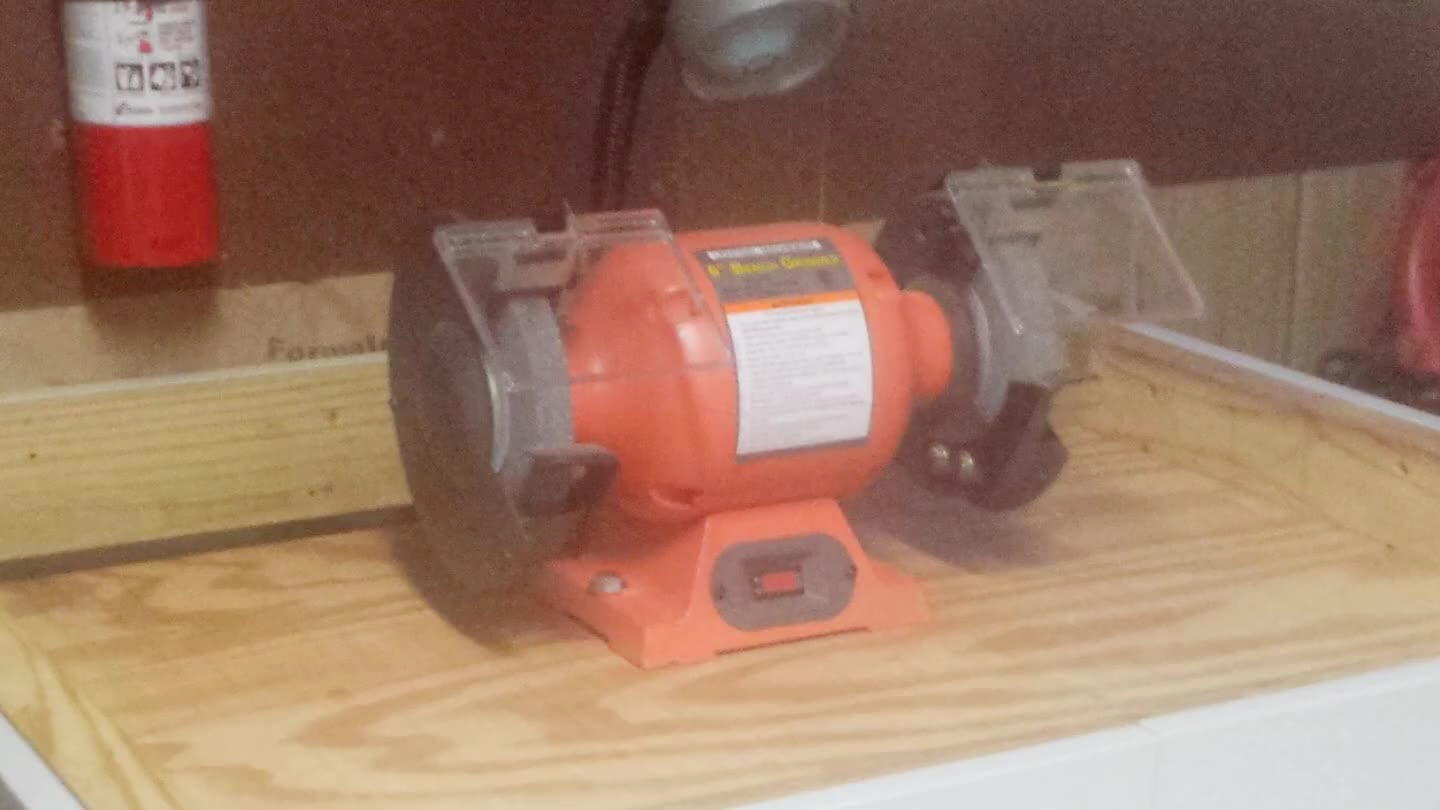
With the red pins replaced, the bench grinder now ready to use.
6

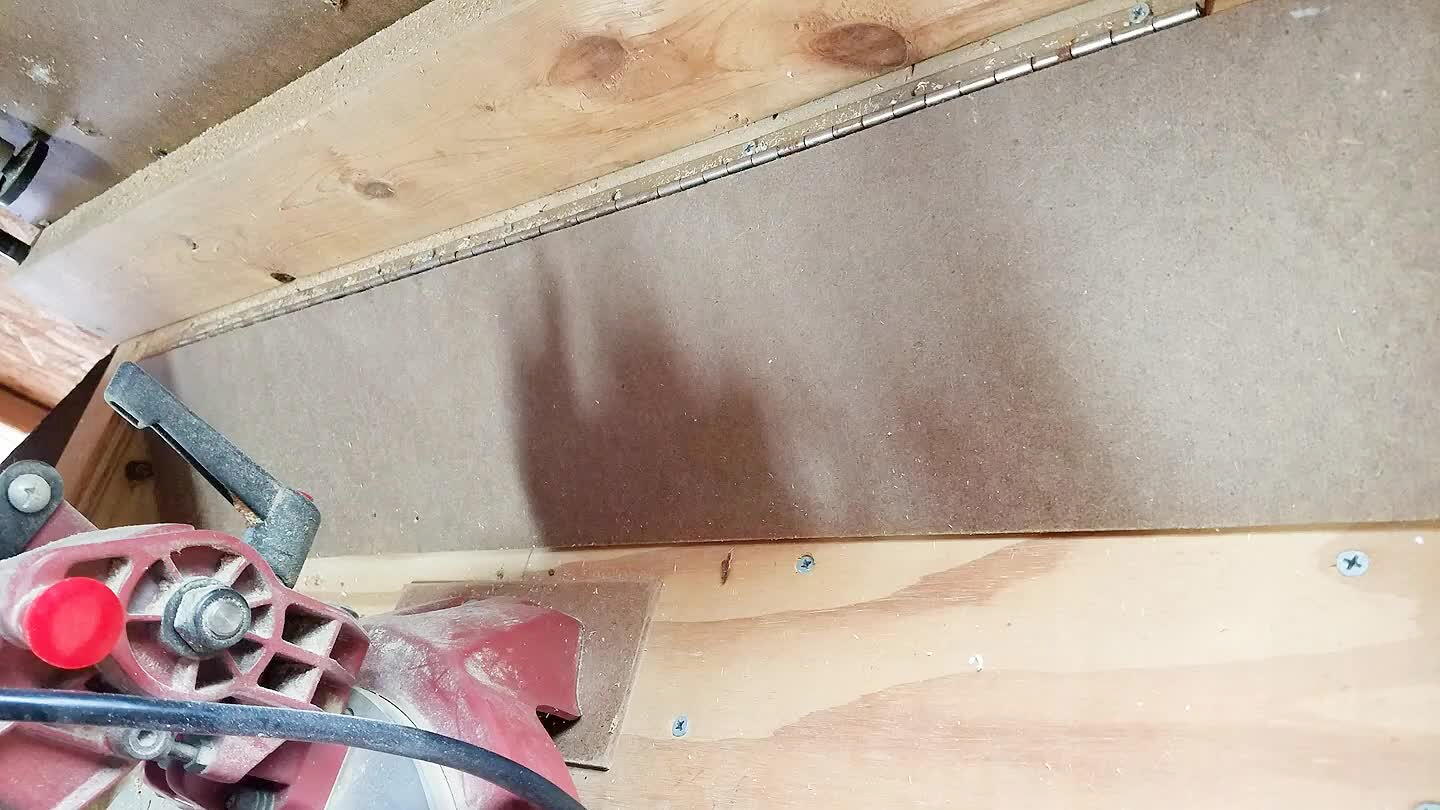
I added a piece of hardboard with a piano hinge to cover the rear gap that is needed for the tools to clear the rear. This prevents sawdust from falling inside the cabinet.
7

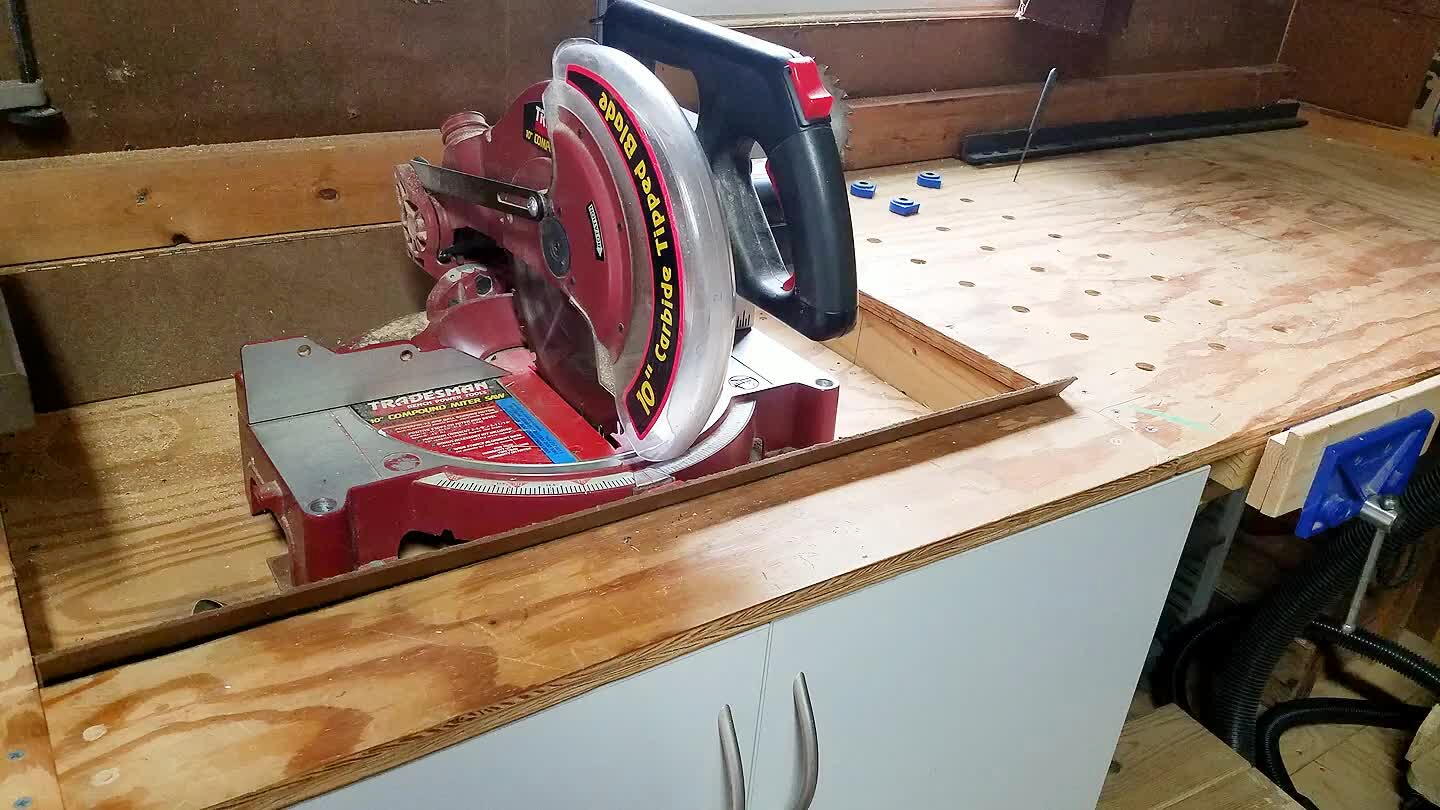
The small strip of plywood in front of the miter saw is connected with dowels and is removable to allow for the space required for the miter saw to fold down.
8
I'm keeping the cabinet in my new workbench but replacing the entire top work surface and removing the rotating bench top. I plan on removing the bottom of the cabinet to allow my thickness planer cart to roll into there for storage.

Comments