
Hamper


This is a pretty quick project that is extremely useful in the house.
What you will need
3 hampers
Southern Yellow Pine (2 2x10x8')
How to do this project
1
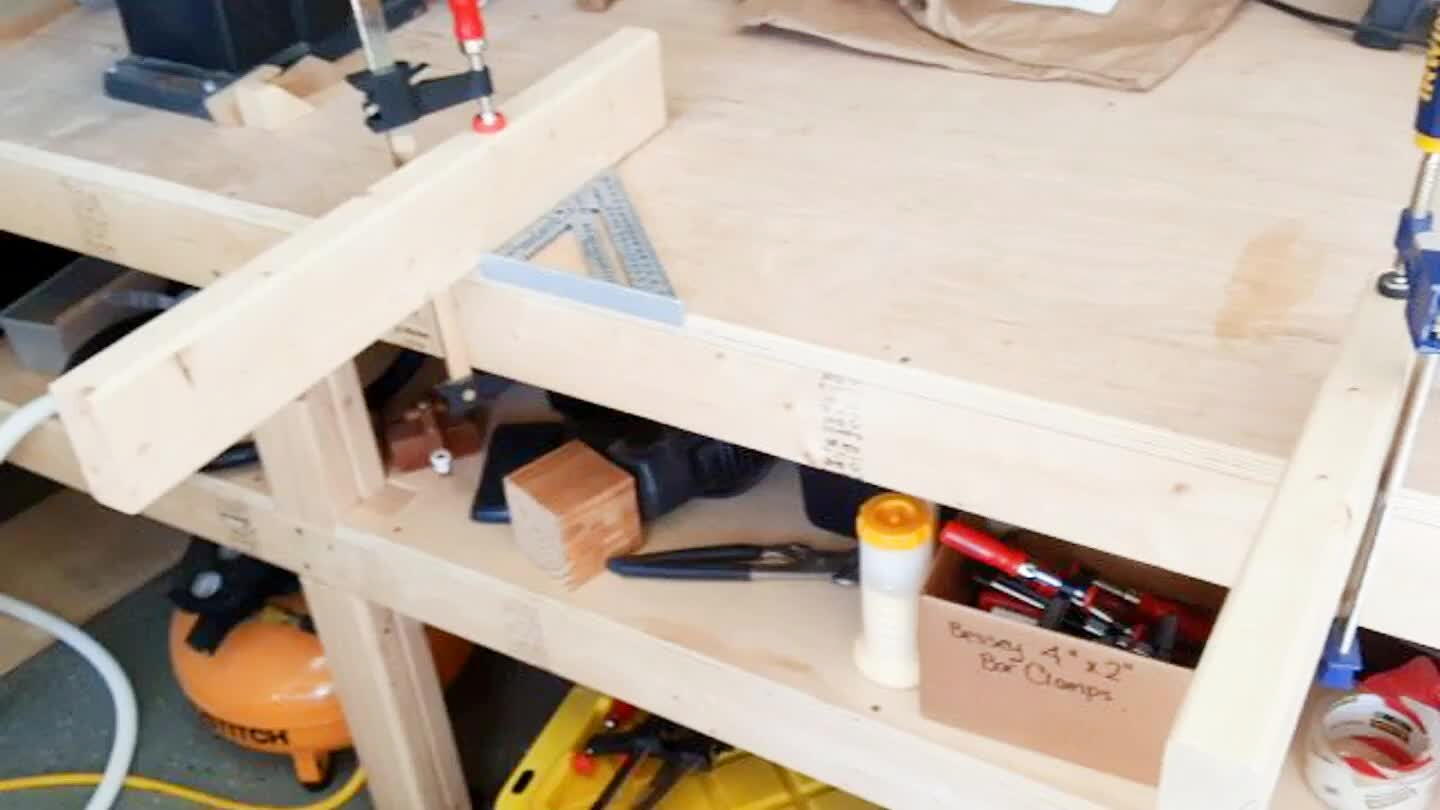
Start by obtaining 3 laundry baskets to use for the project. Clamp some scrap wood to your bench to determine the width of the project. Using 1.5" rails, I found my baskets worked with an even 24" spacing between them.
2
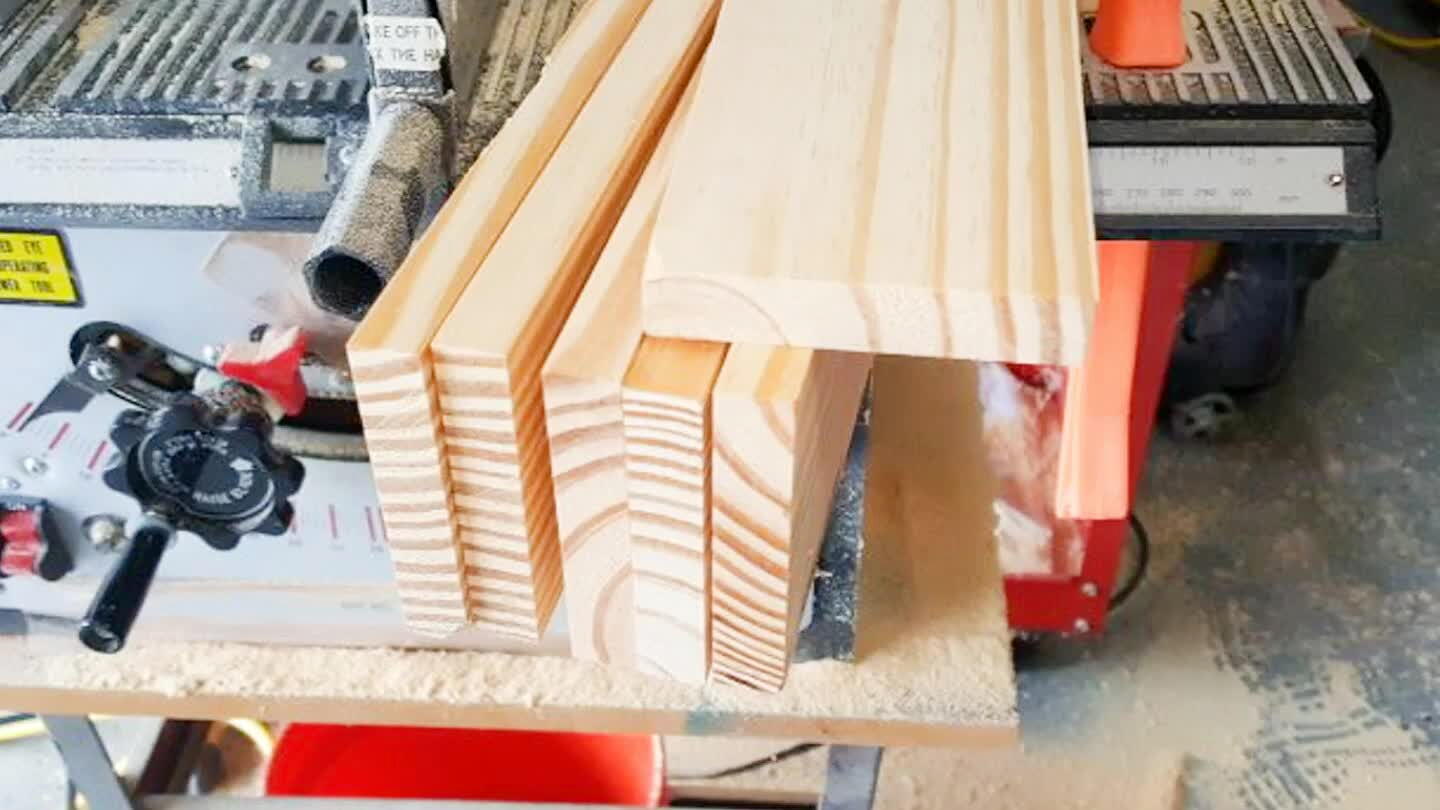
I started by cutting two 27" by 7.5" blanks for the top of the frame.
3
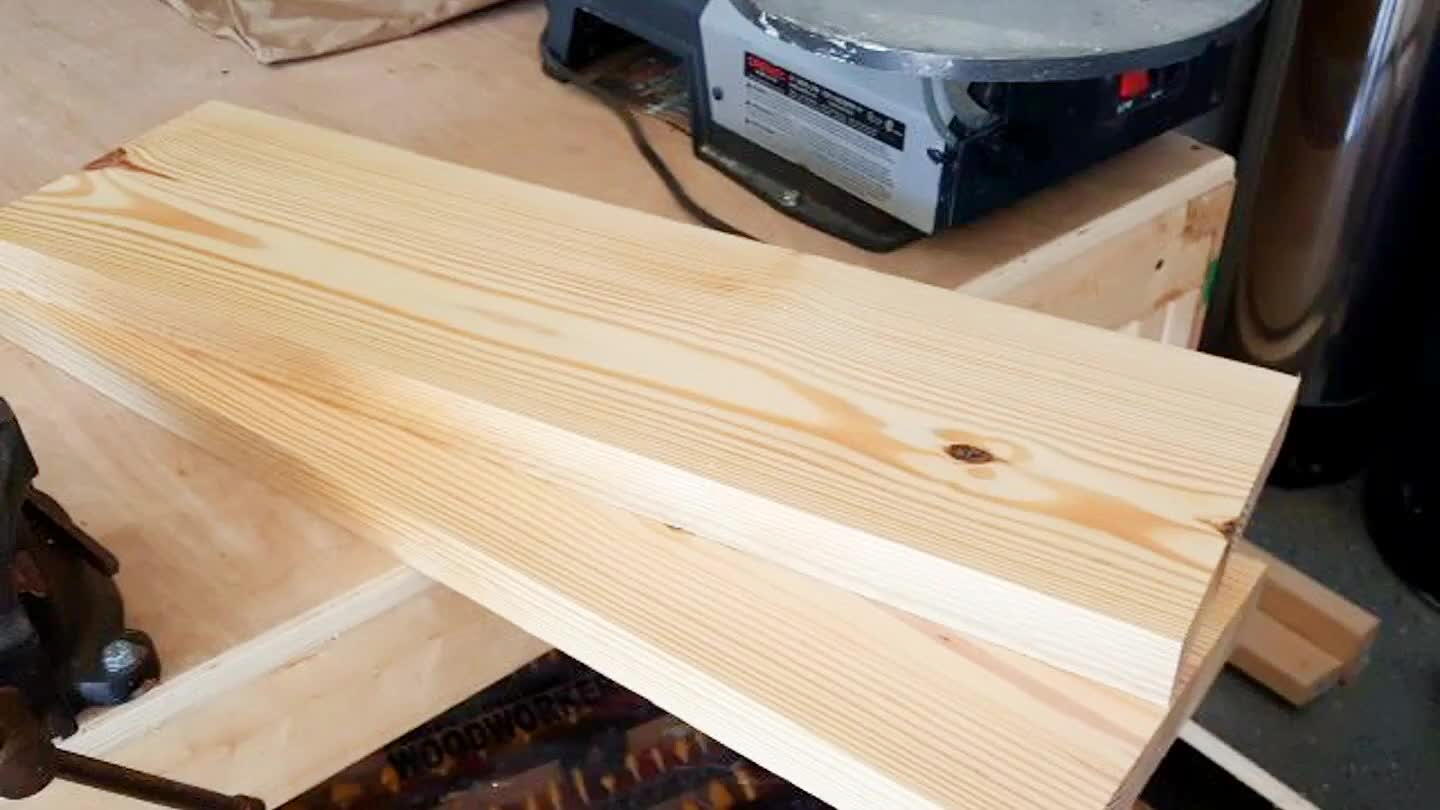
Next I cut 1.5" square blanks that were 15.5" (qty 6) and 24" (qty 3) for the rails and back stop.
4
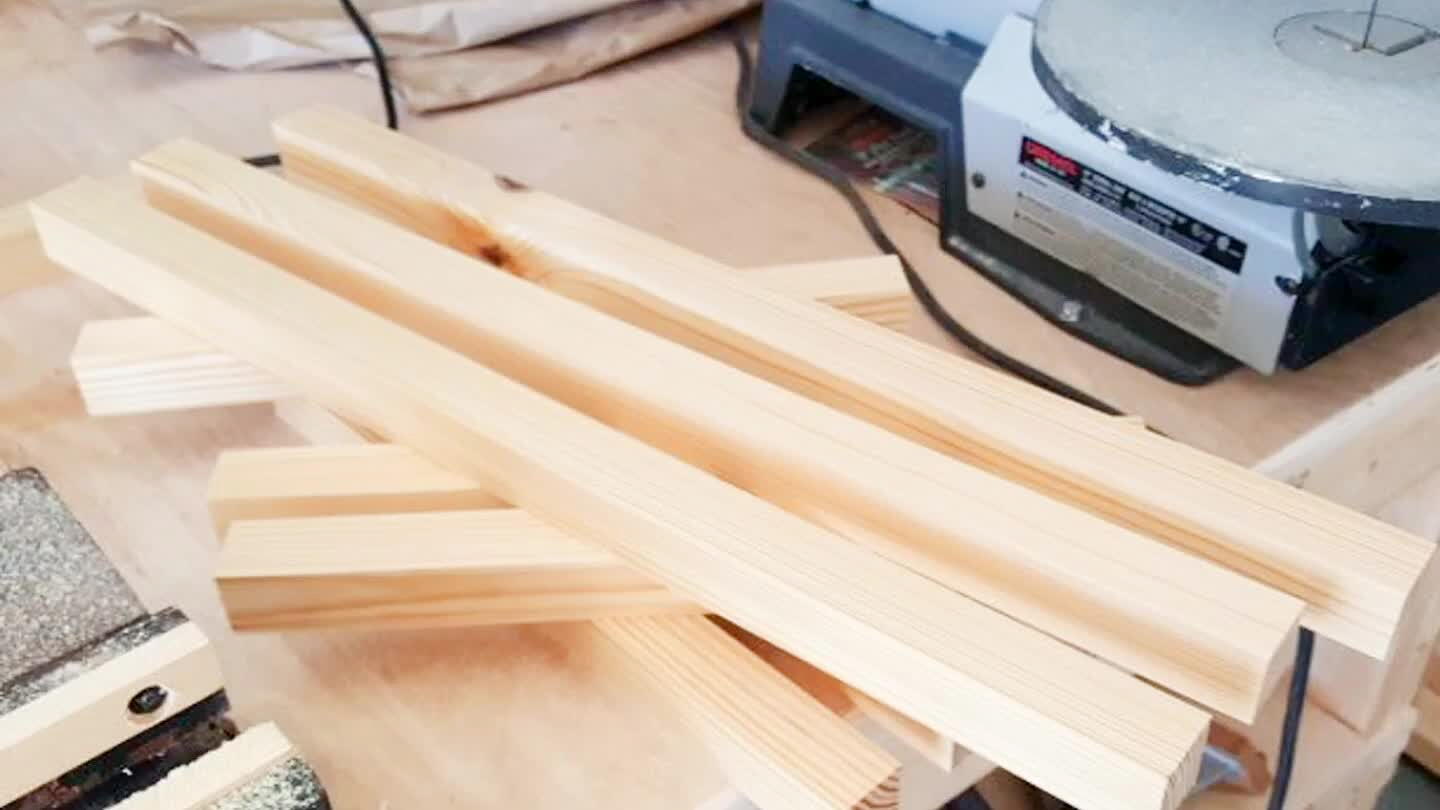
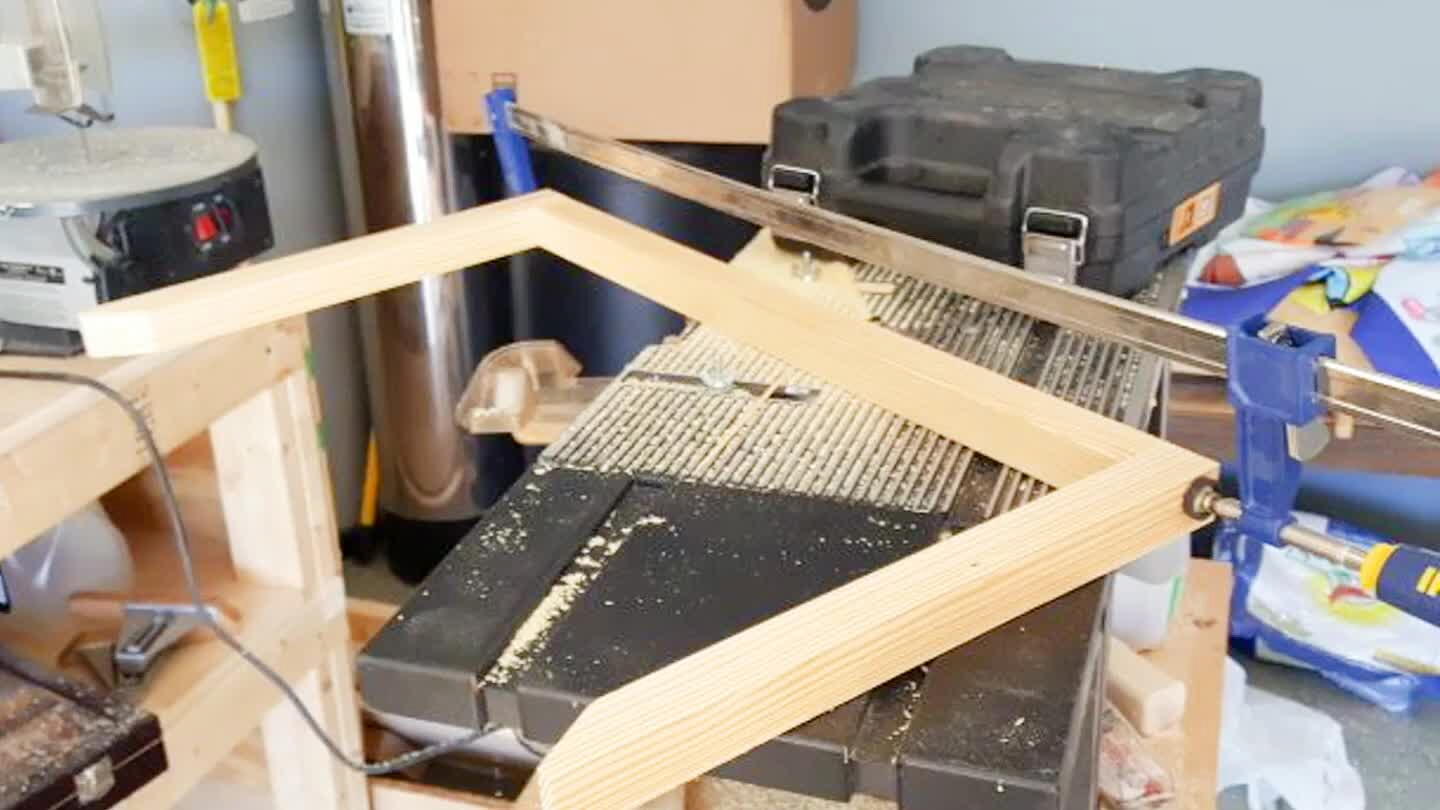
Using my miter saw, I cut 60° cuts leaving a little bit of the square edge on one side of the 15.5" boards. This will allow you to easily slide the baskets in while still holding them firmly.
5
Next glue and nail/screw the rail frames together. You should end with 3 sets, ensuring the cut angles are on the inside.
6
Cut and finish 6 0.5" boards that are appropriate height for your baskets. Mine ended up being 38".
7
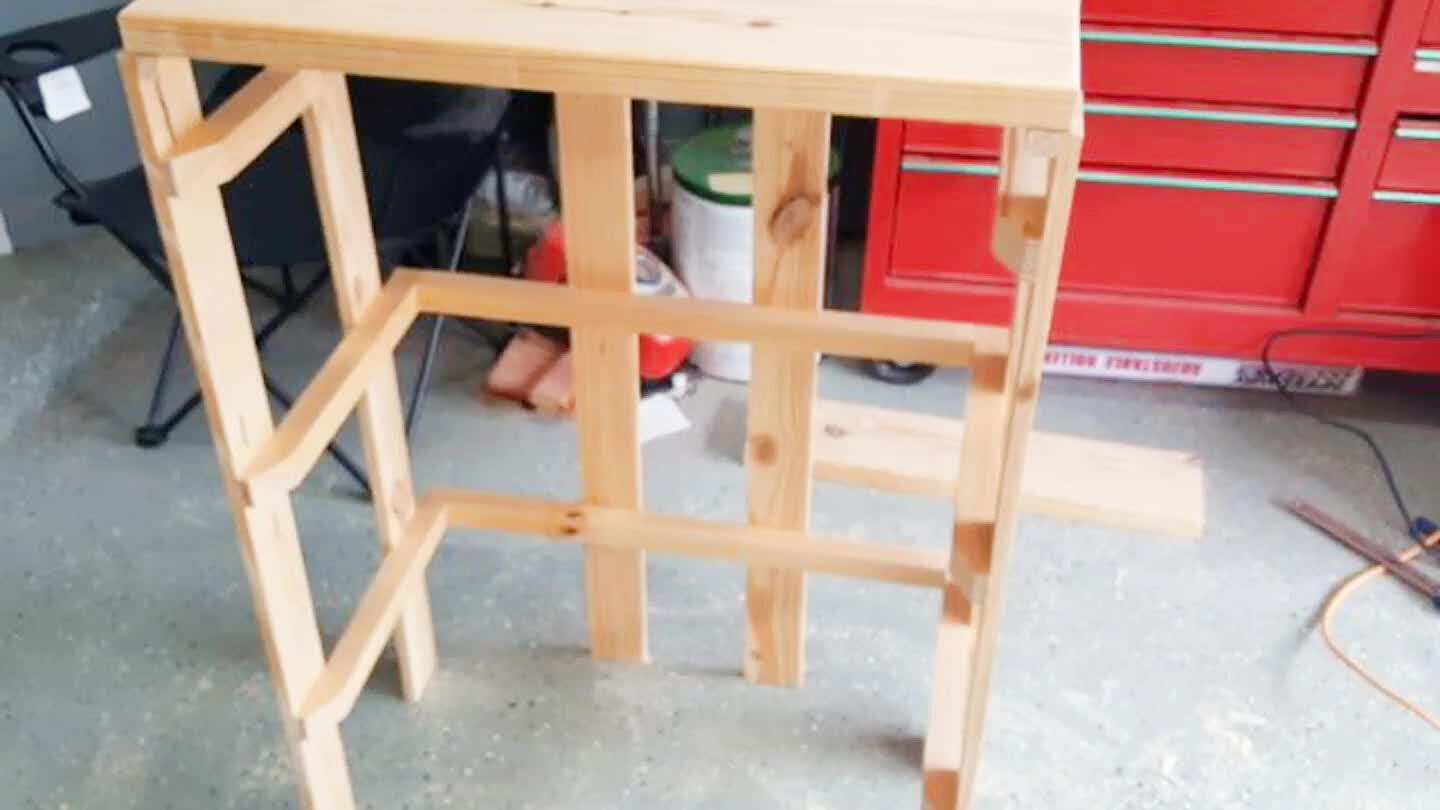
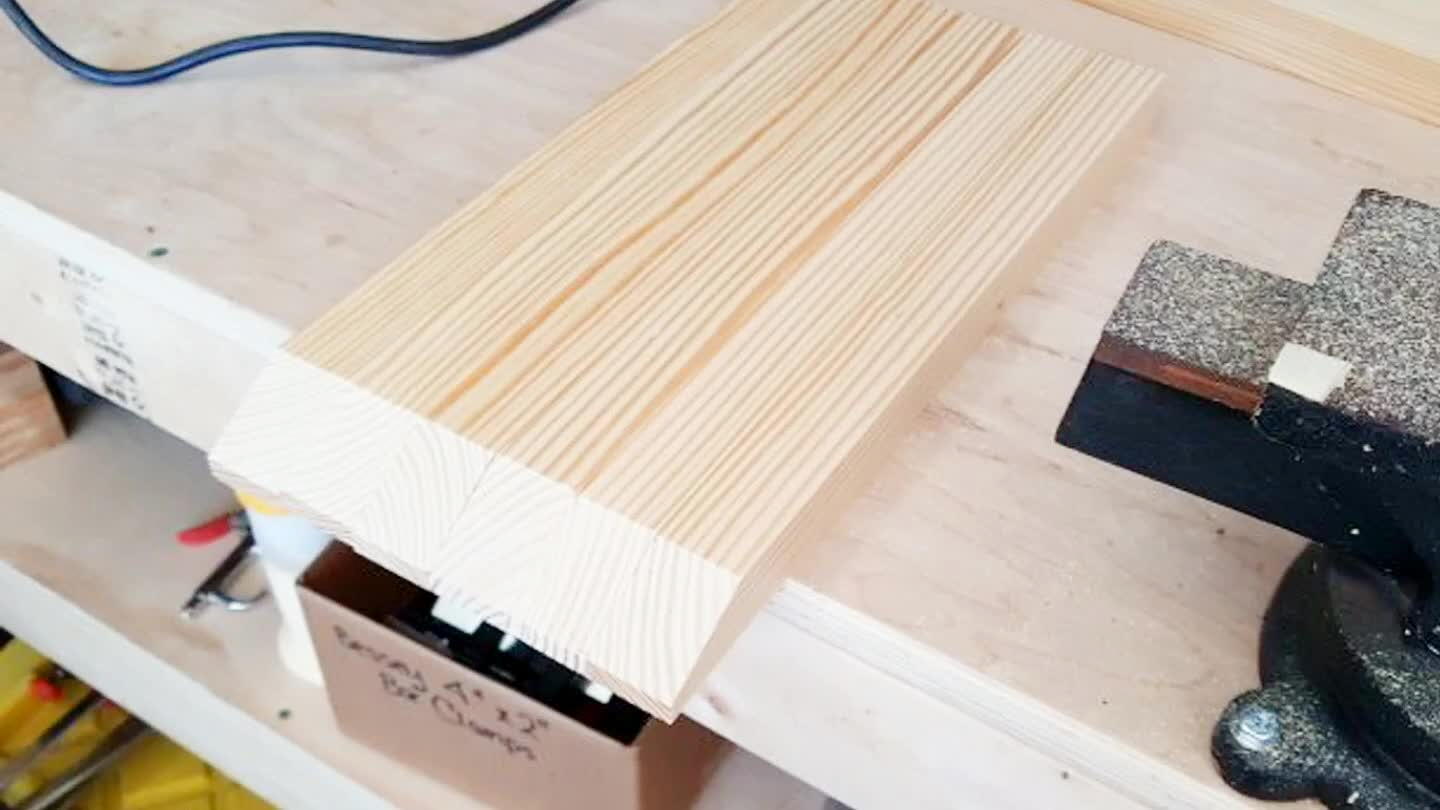
Cut two 0.5" rectangular strips to help support the top. Then nail and glue the frame together as shown and slide the baskets in. Finish as you see fit. I will be staining mine soon. I will add a picture of it stained then.
Comments