
Hybrid Hand Plane
Bespoke Plane


I was in the market for a decent longish plane, but the price was quite eye watering. So, I decided to make one out of scrap bits of old planes and some cheap wood, mainly to see if it would work. I was very surprised with the results.
What you will need
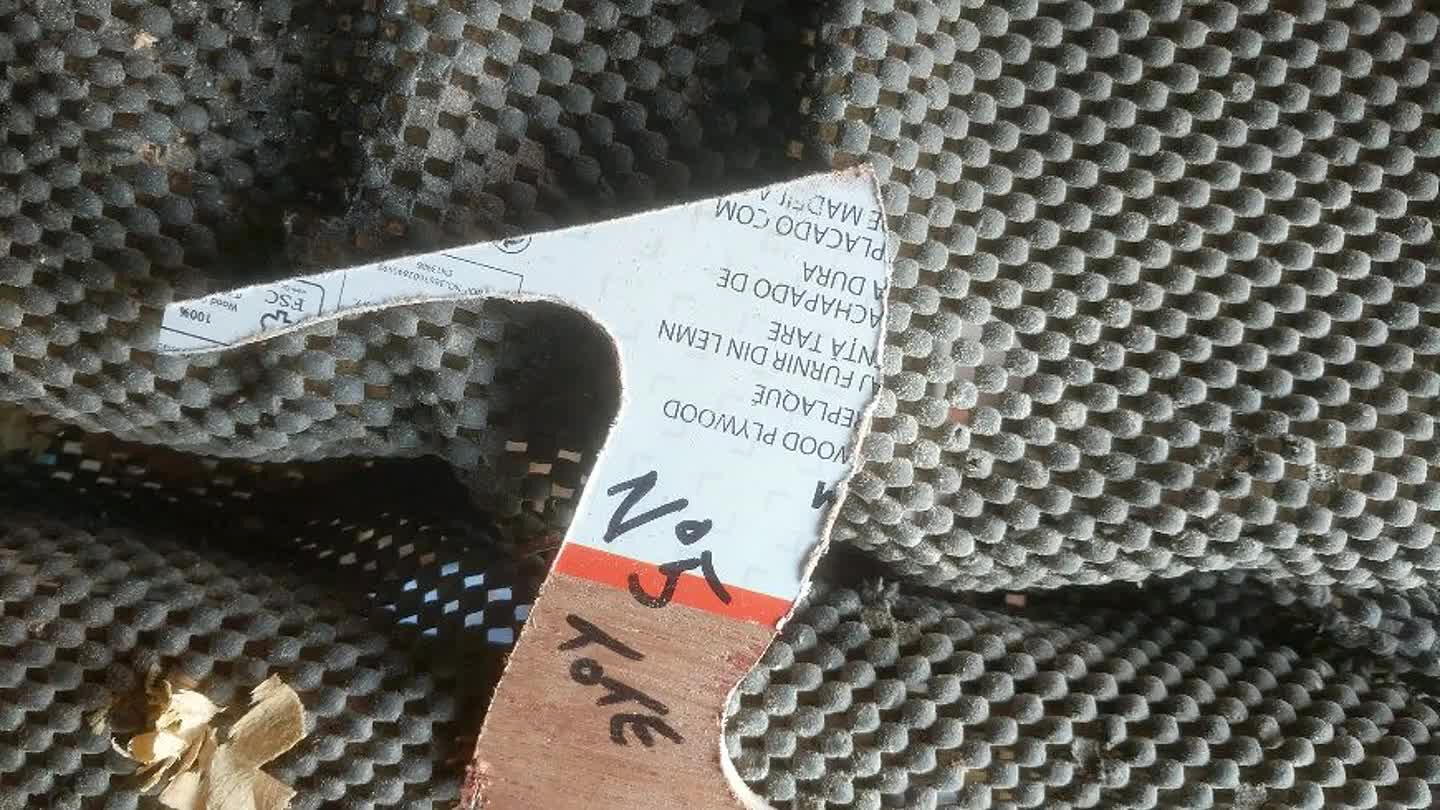
hard wood, the length of the disired plane.
plane frog
plane blade, cap iron and stay
Assortment of files and sandpaper
Hacksaw
How to do this project
1
I have quite large hands, so I thought I would spend a little time getting the Tote right for my grip. First, I made a template, just to get the general shape. Next I laminated Cedar around some scrap Walnut.
2
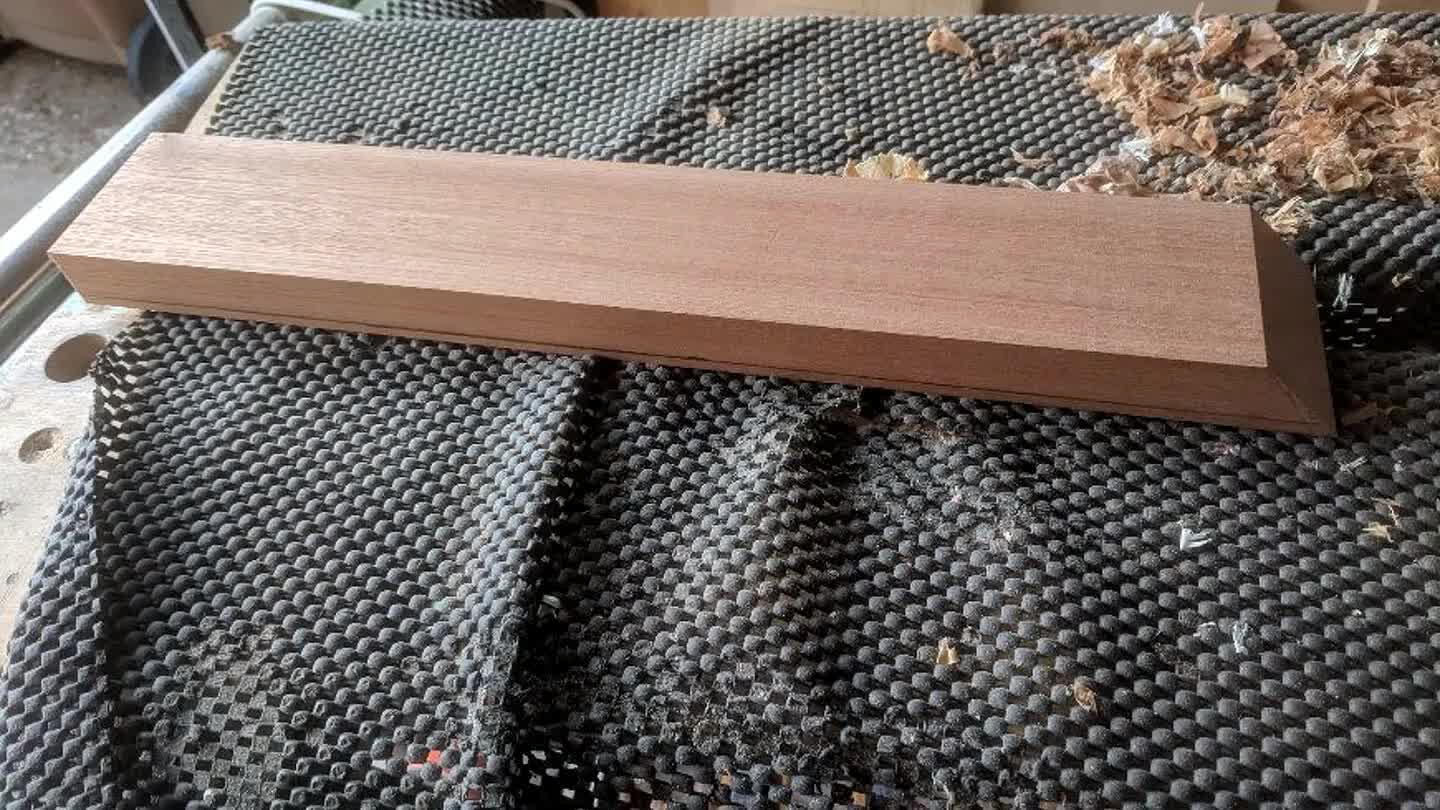
The plane bed needs to be 2mm wider than the frog and be around 30mm thick with a 45 degree angle to accommodate the blade angle when in the frog. The bed can be pretty much any length.
3
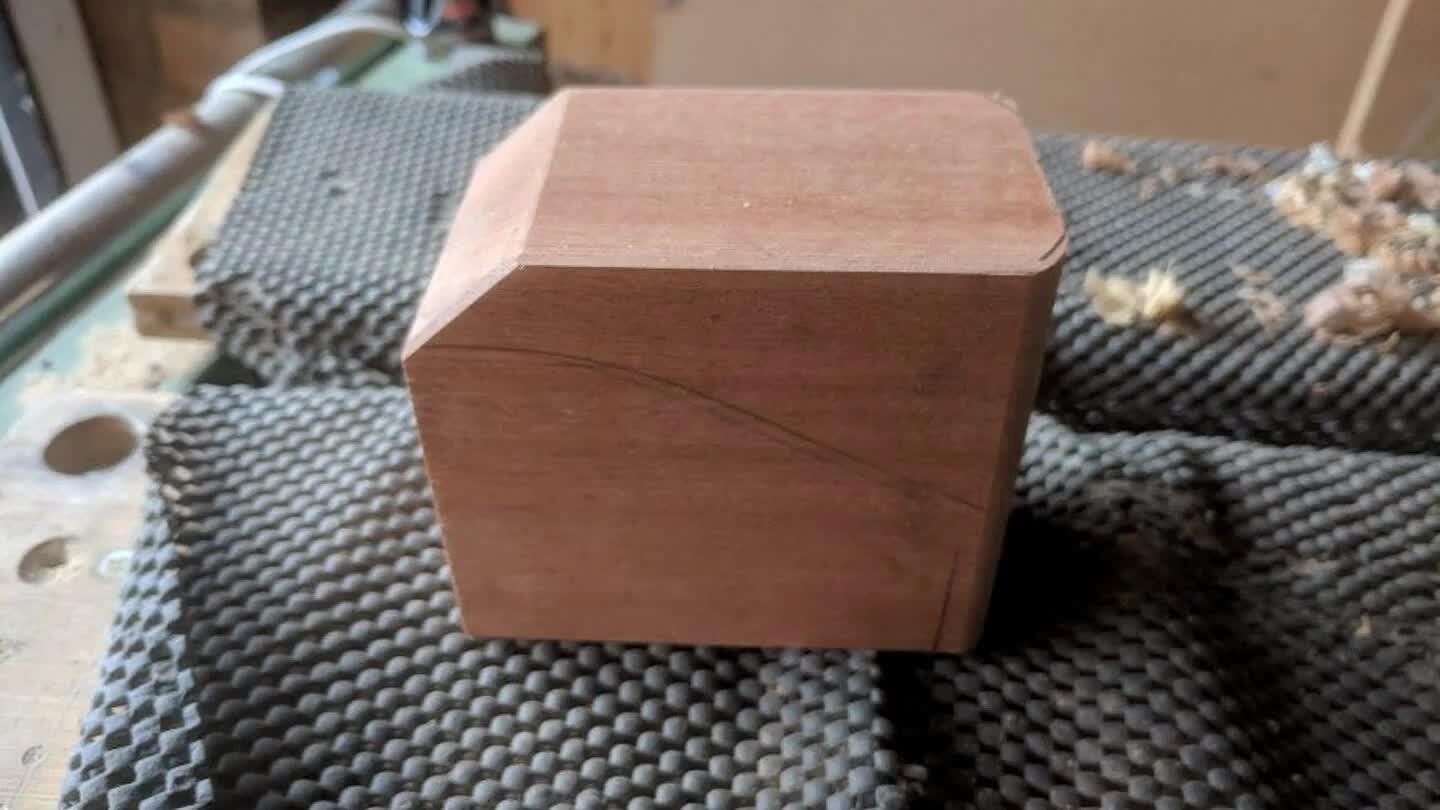
I wanted to go for the traditional style of the for this one. It looks uncomfortable, but, with the sides rolled over, it is fine.
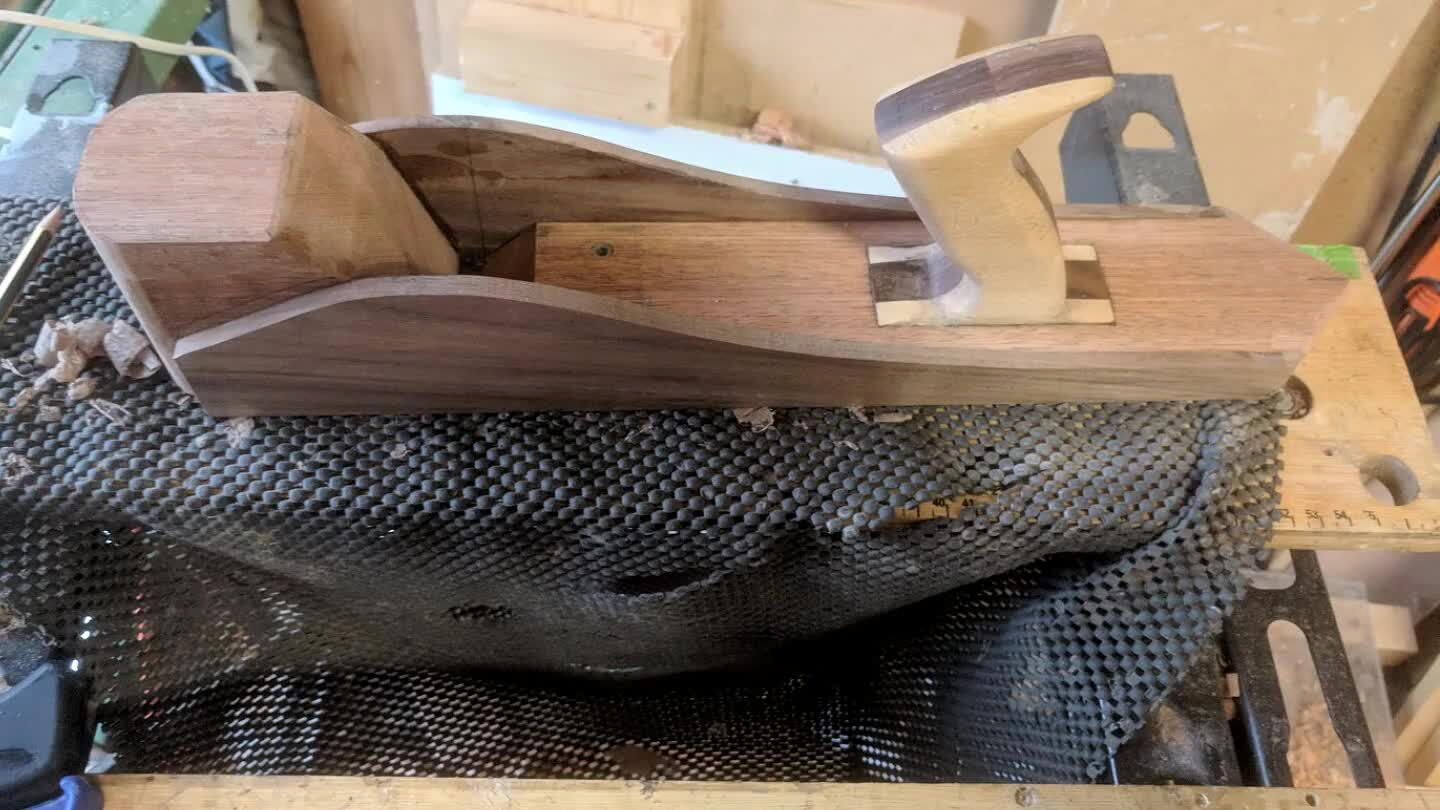
4
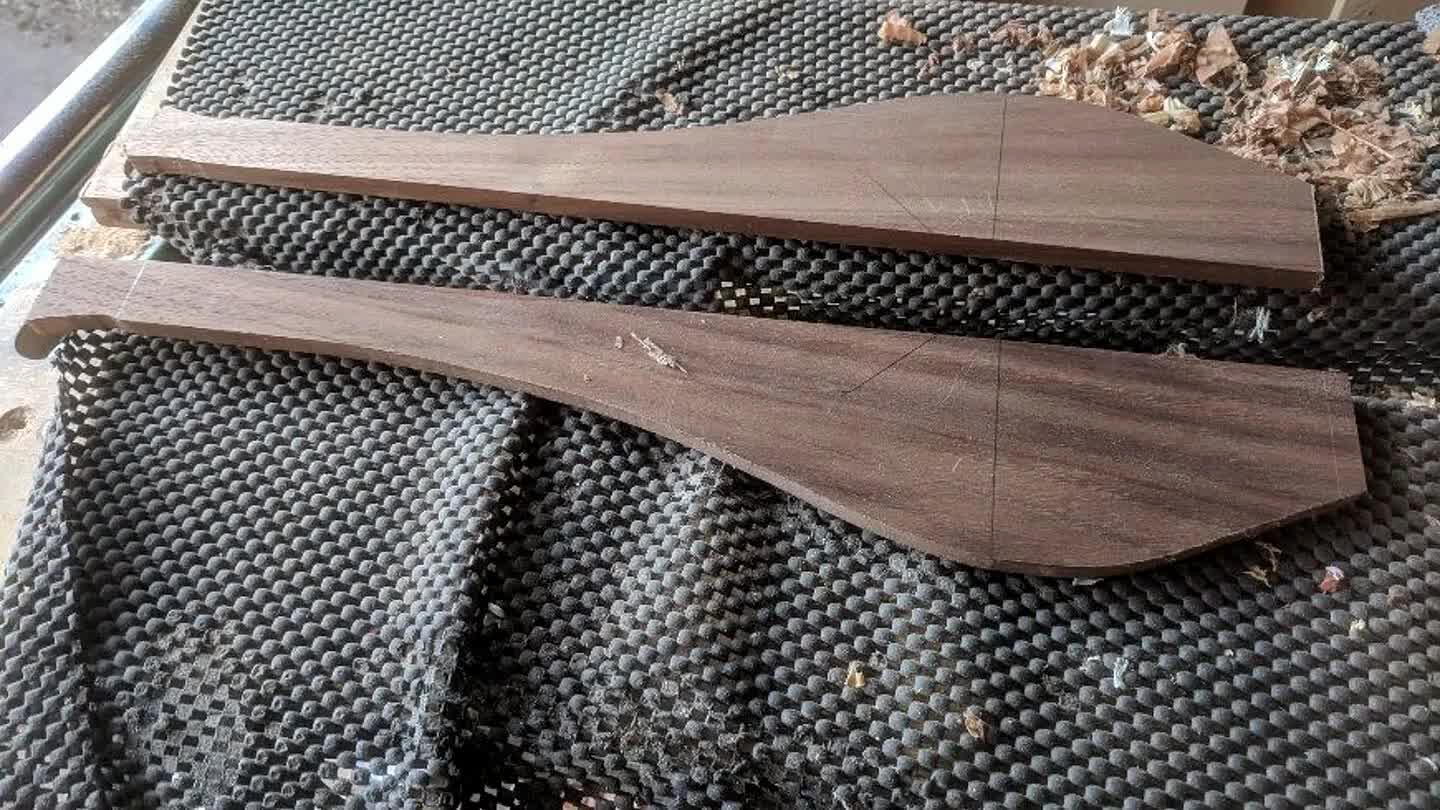
The side walls were made from Walnut, thicknesses to 9mm for a really chunky feel.
5
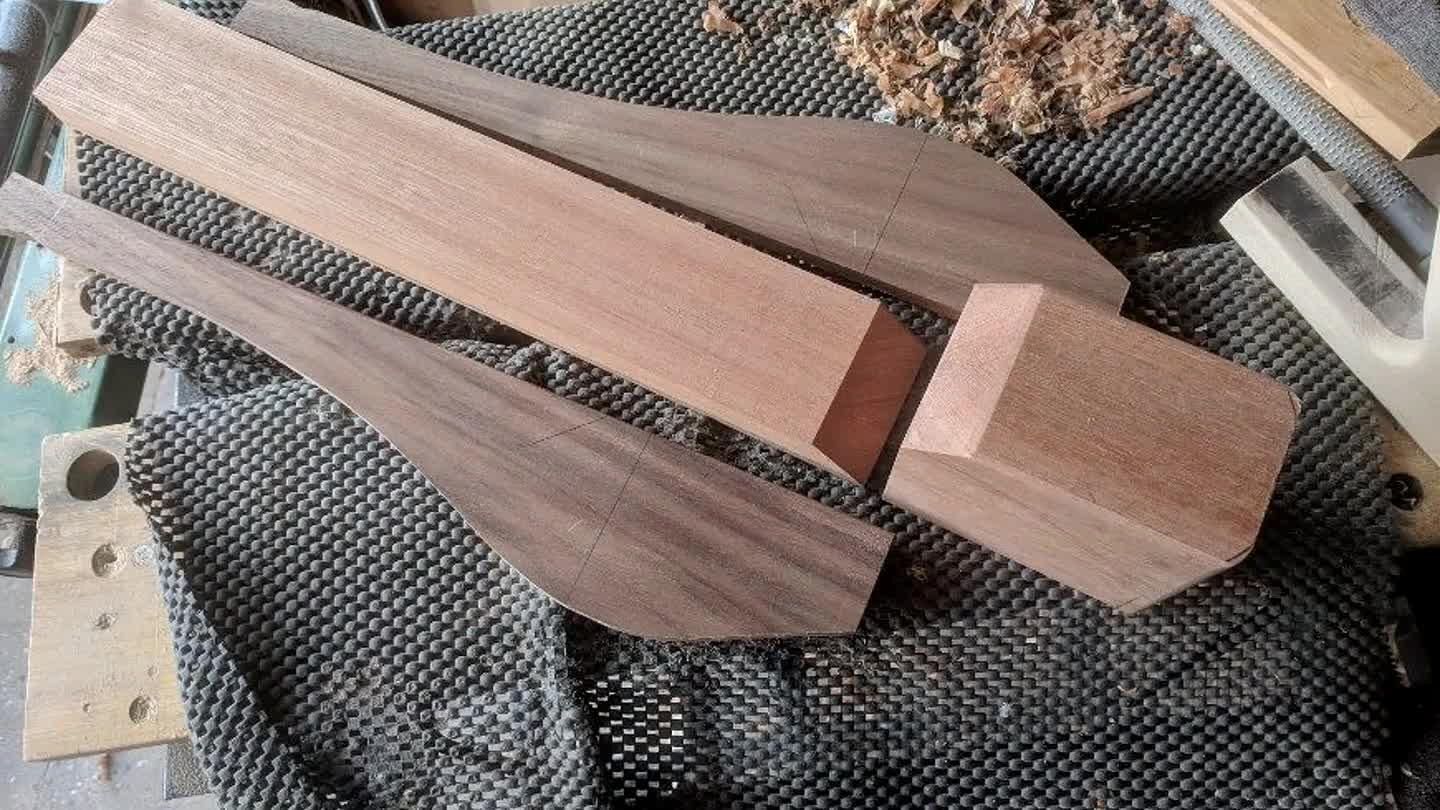
This was one of the most important aspect of this, to make sure the widths of the plane bed and toe match.
6
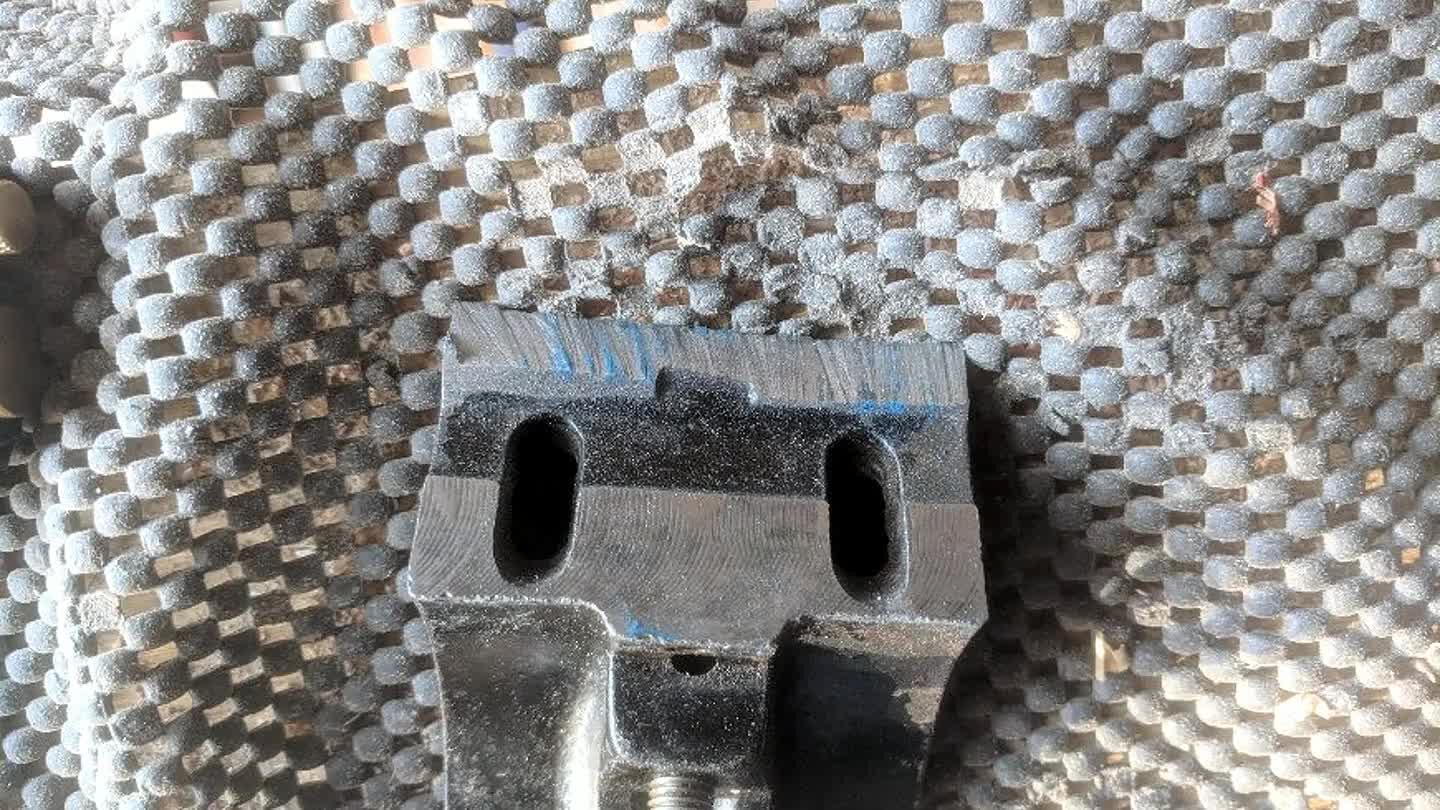
To make the frog fit, you need to cut off the two let parts. This left a rough, uneven surface that had to be filed exactly to match the factory cast.
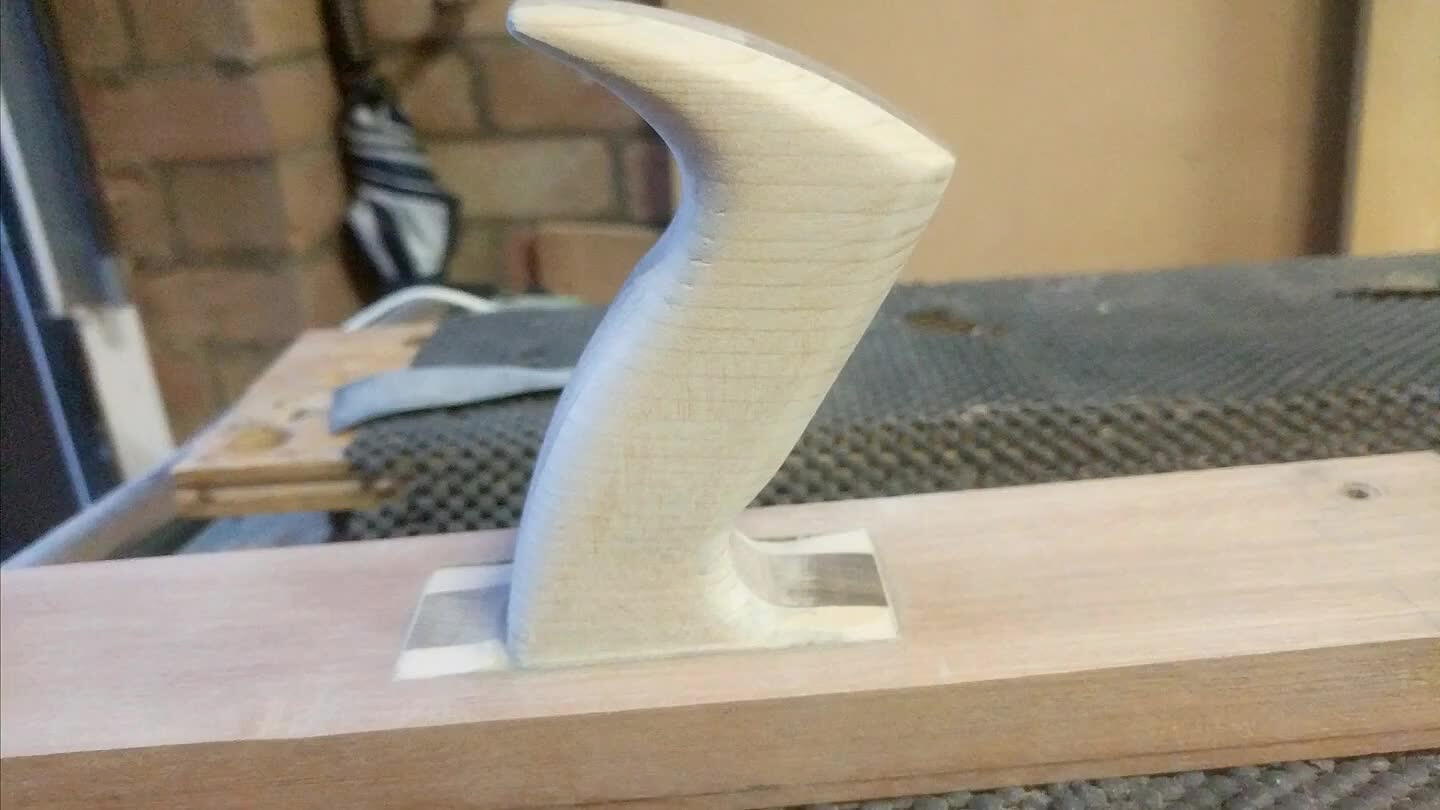
7
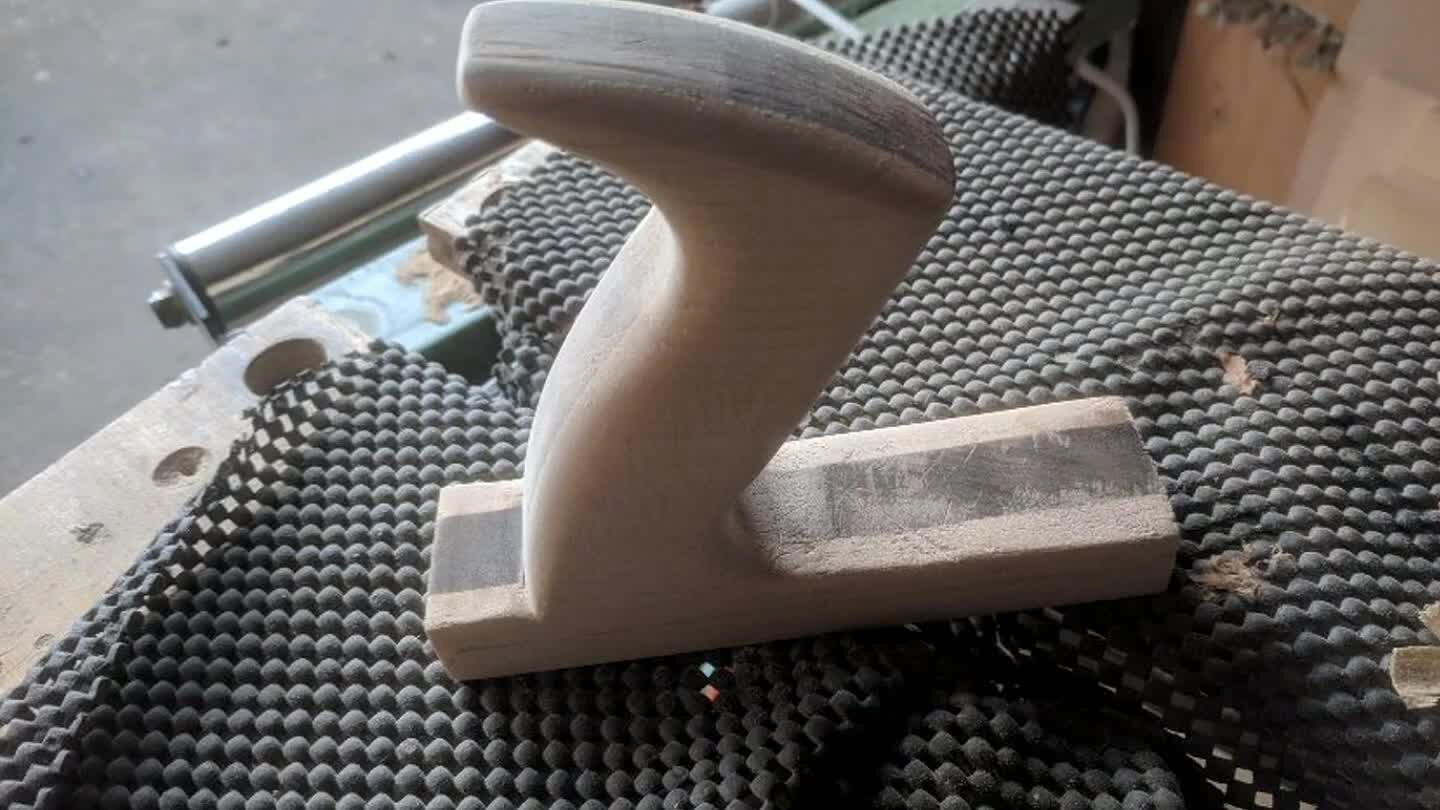
After cutting the basic shape from my template, I shaped with various files and sandpaper until I it fit to my hand and was comfortable. I left a lot of material on the bottom to enable easier clamping.
8
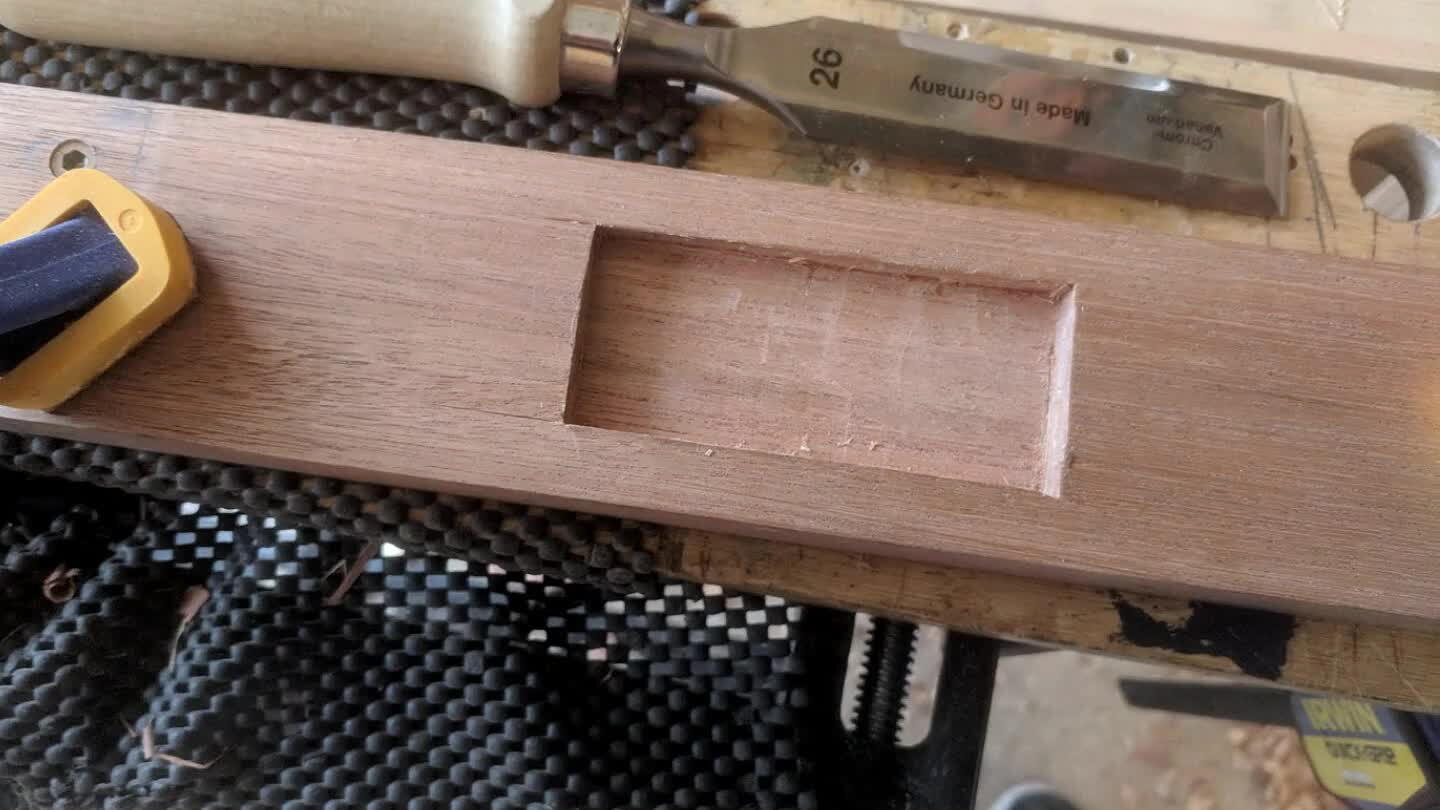
I trimmed the bottom of the Tote handle and temporarily fit the frog to position with the Tote on the base. I scored around it and then chiselled out the mortice just behind the frog.
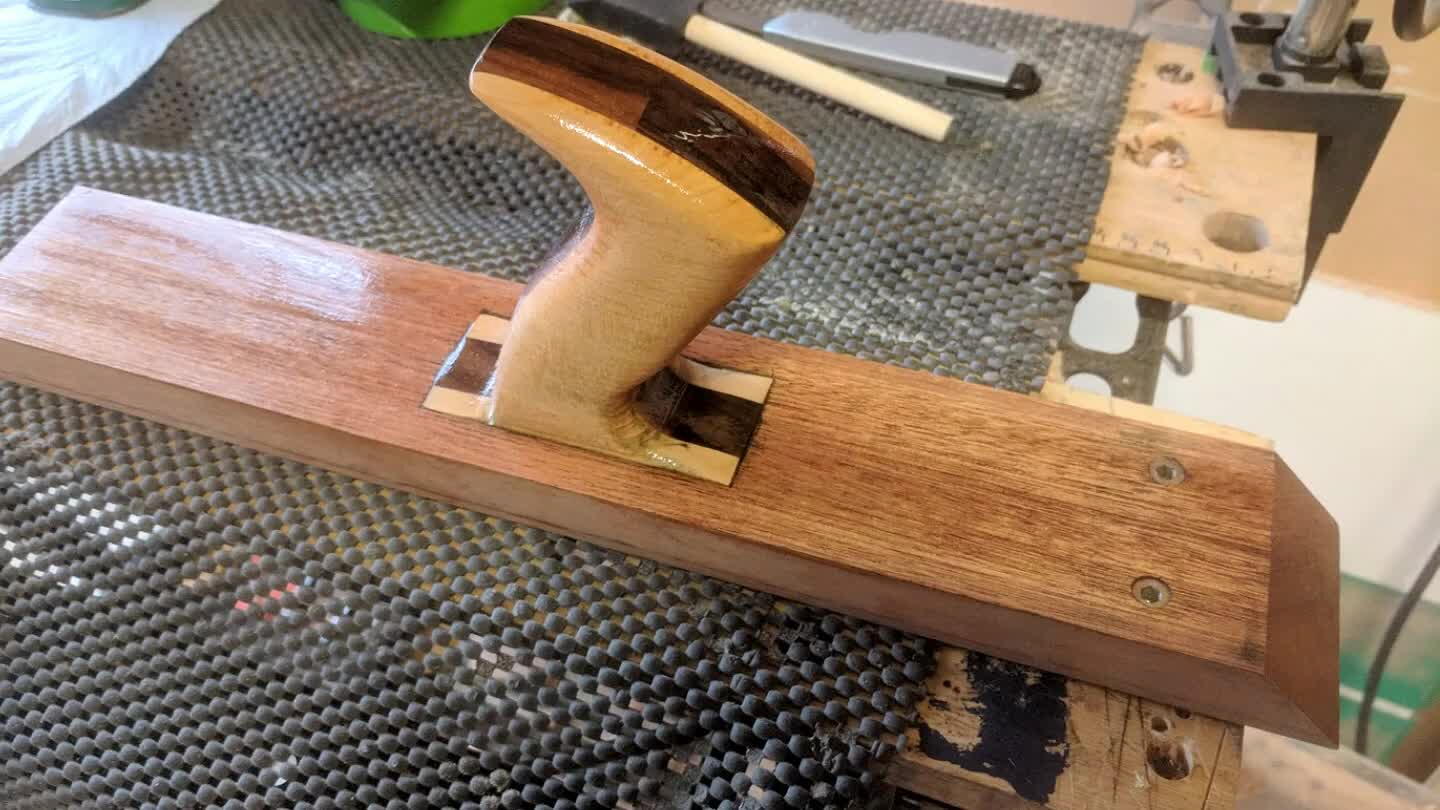
9
I glued the Tote in place and held it in position with tape.
10
Next was the best bit... Applying the finish. For this I used 4 coats of Danish Oil and once dry, I applied Wax. Remember not to apply anything to the sides or bottom at this stage.
11
Gluing it all together was quite easy. You just need to remember to leave enough space in the mouth for the blade and chips to escape.
12
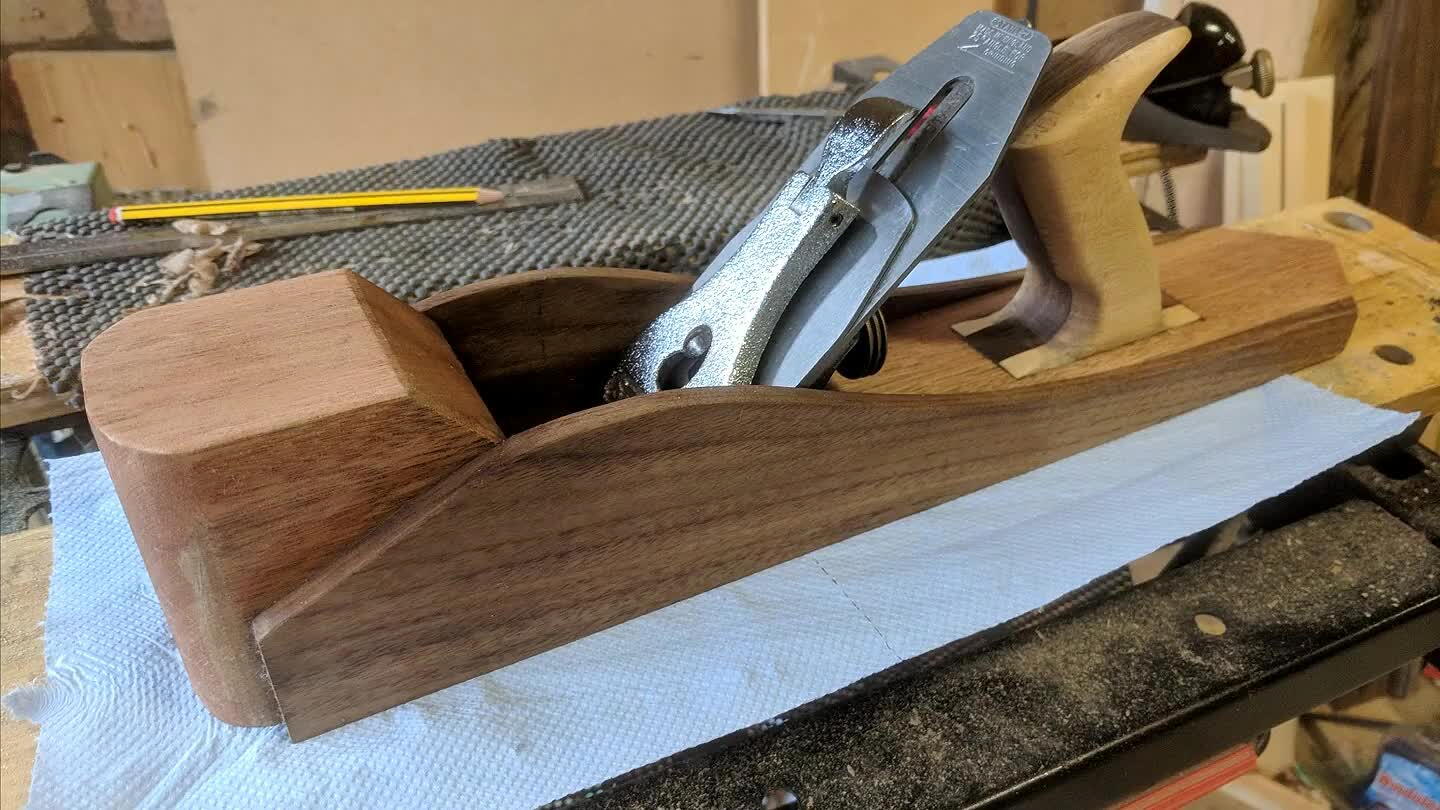
Once glued and thoroughly sanded, I planed the sole perfectly flat, checking for twist etc. Next I applied Wax to all surfaces and gave it a test cut. It worked like a dream...
Comments