
K's Cherry Top Woodworkers Workbench


Beautifully functional
What you will need
1X4X8 Cherry lumber ct determined by tabletop size
7ct 2X4
Pocket hole jig with screws
2 1/2" screws
1 1/2" Screws or nails
2 1/2" Galvanized nails
wood glue
drill
Countersink bit
3/4" spade bit or forstener bit
3/4" oak dowel
Quick Clamps
Table Saw
Miter saw
End clamp hardware (these can be expensive, so I'm building my own)
End clamp: 2 1X4 1/4" Oak bords
End clamp: 1 5/8X10" bolt
End Clamp: 1 5/8 nut
End Clamp: 3/4" Oak dowel
End Clamp: Epoxy
End Clamp: jig saw or scroll saw
End Clamp: Dremel tool
How to do this project
1
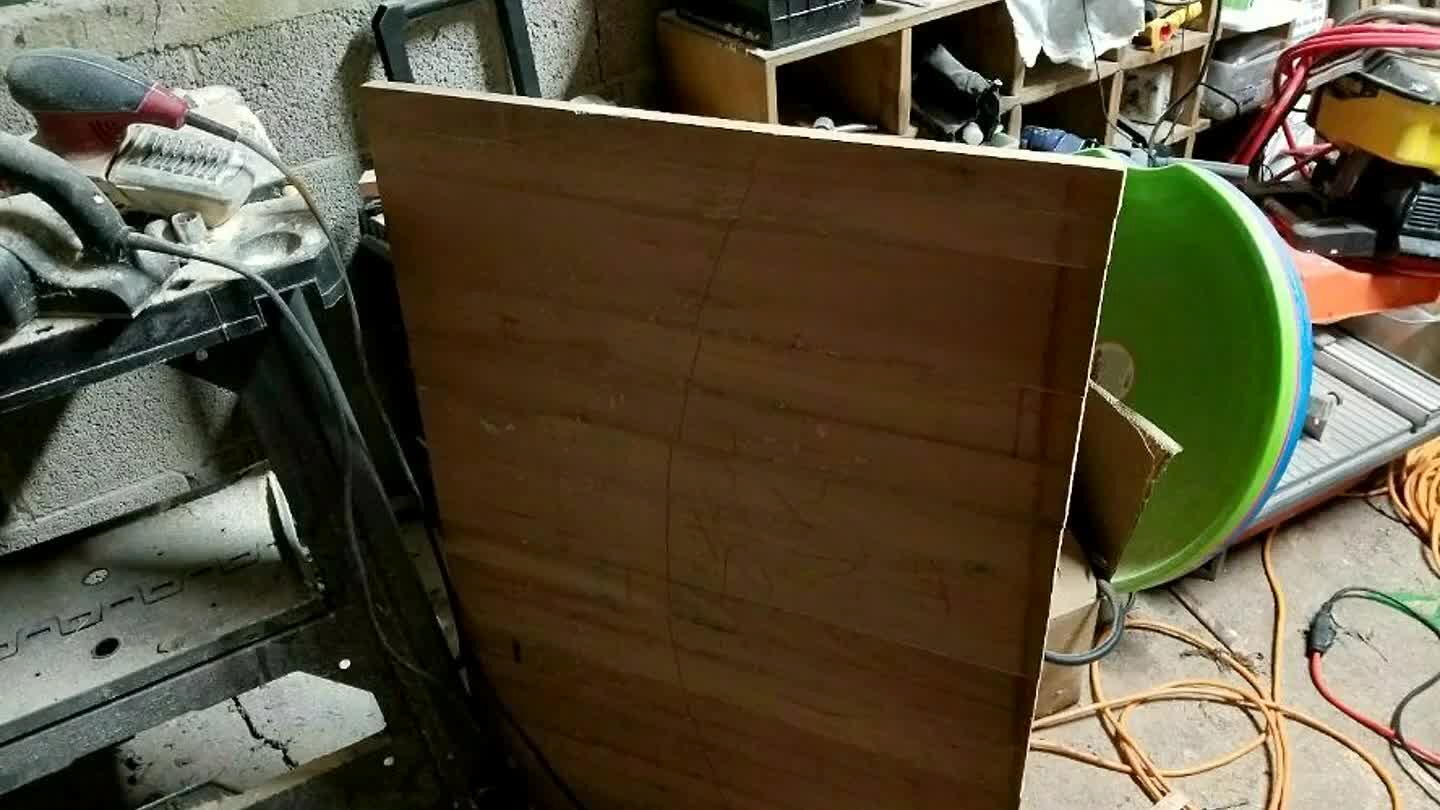
Using cherry lumber, cut into desired lengths (this will determine your benches depth when joined mine was about 30") glue edges and clamp for at least 24hrs. For added strength, you can use a biscuit joiner. I assembled my top in 2 sections.
2
I created my top n 2 sections due to clamp size constraints. Each panel measured approximately 36 3/4" X 30. Using a piece of 32" scrap glue the two panels and attach scrap in the center with 1 1/2" screws. Make certain to leave 2" space on both side
3
Using 2X4's cut the base pieces 2-30" and 2-73 1/2". Miter cut ends to a 45° angle. Using a pocket hole jig, drill pocket holes to join mitered ends (don't join until you've completed the next step)
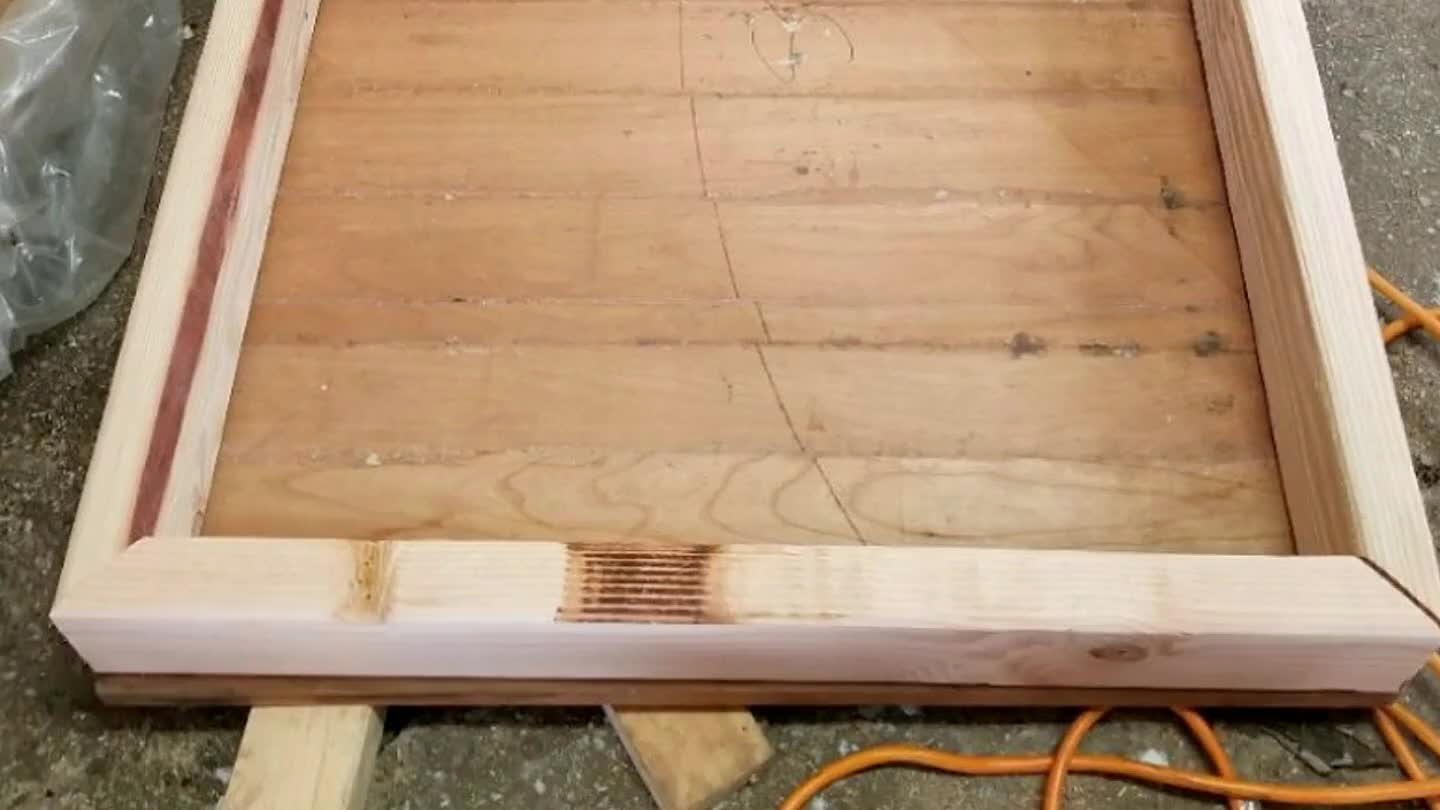
4
Using your pocket hole jig create 3 pocket holes on the 30" sides and 4 pocket holes on the 73 1/2" sides. Use 2 1/2" pocket hole screws and attach framing to your top. Then use pocket hole screws to join the mitered ends.
5
I used my table saw to determine height which was around 36" I cut my legs to 35" to accommodate the 1" thick table top. Attach legs in each of the 4 corners with 2, 2 1/2" pocket hole screws to the table top. Then 2, 2 1.2" screws into the frame.
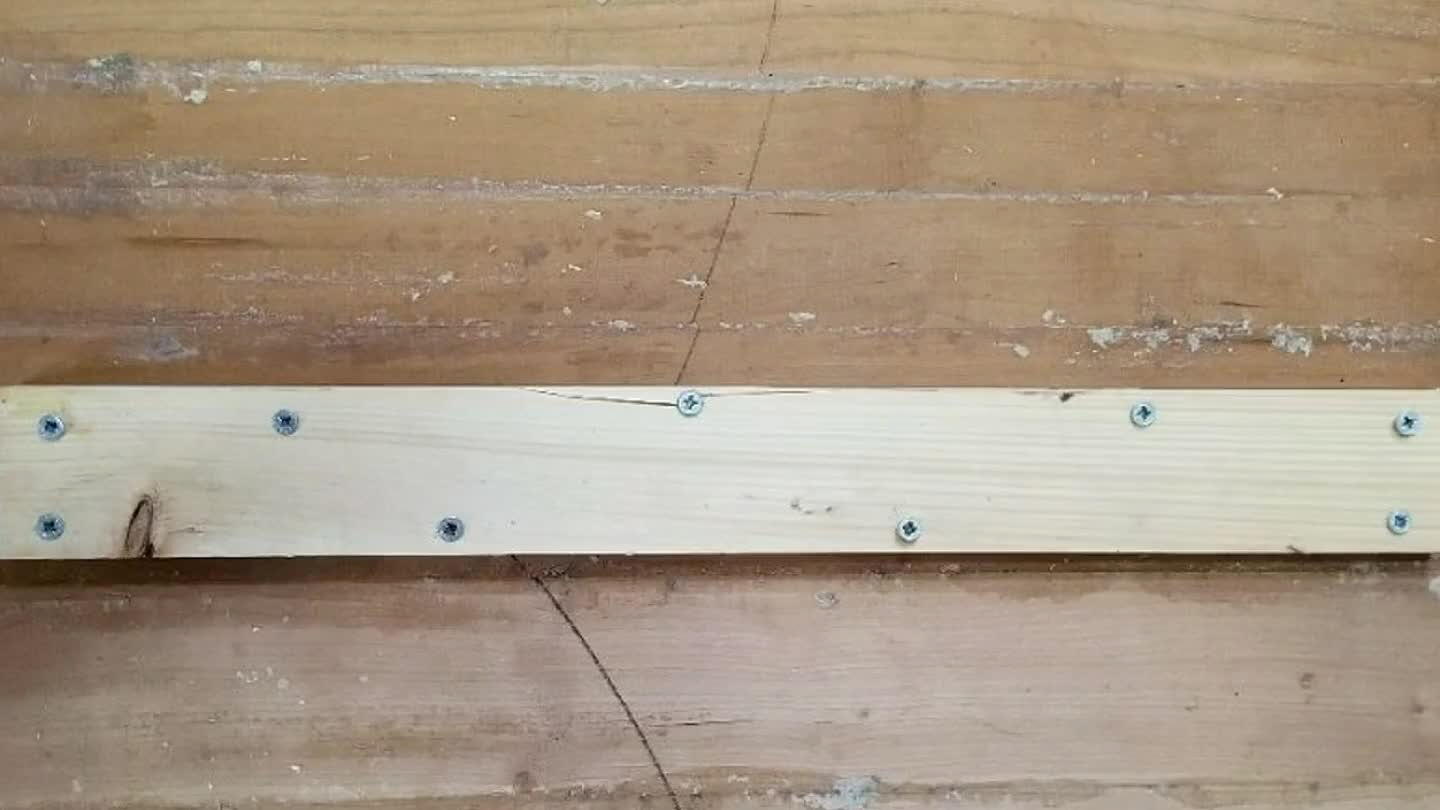
6
Cut 2X4s to length, make miter cuts and drill pilot holes for screws. Use a countersink bit so screws sit flush with the piece. Cut and attach with screws or nails.
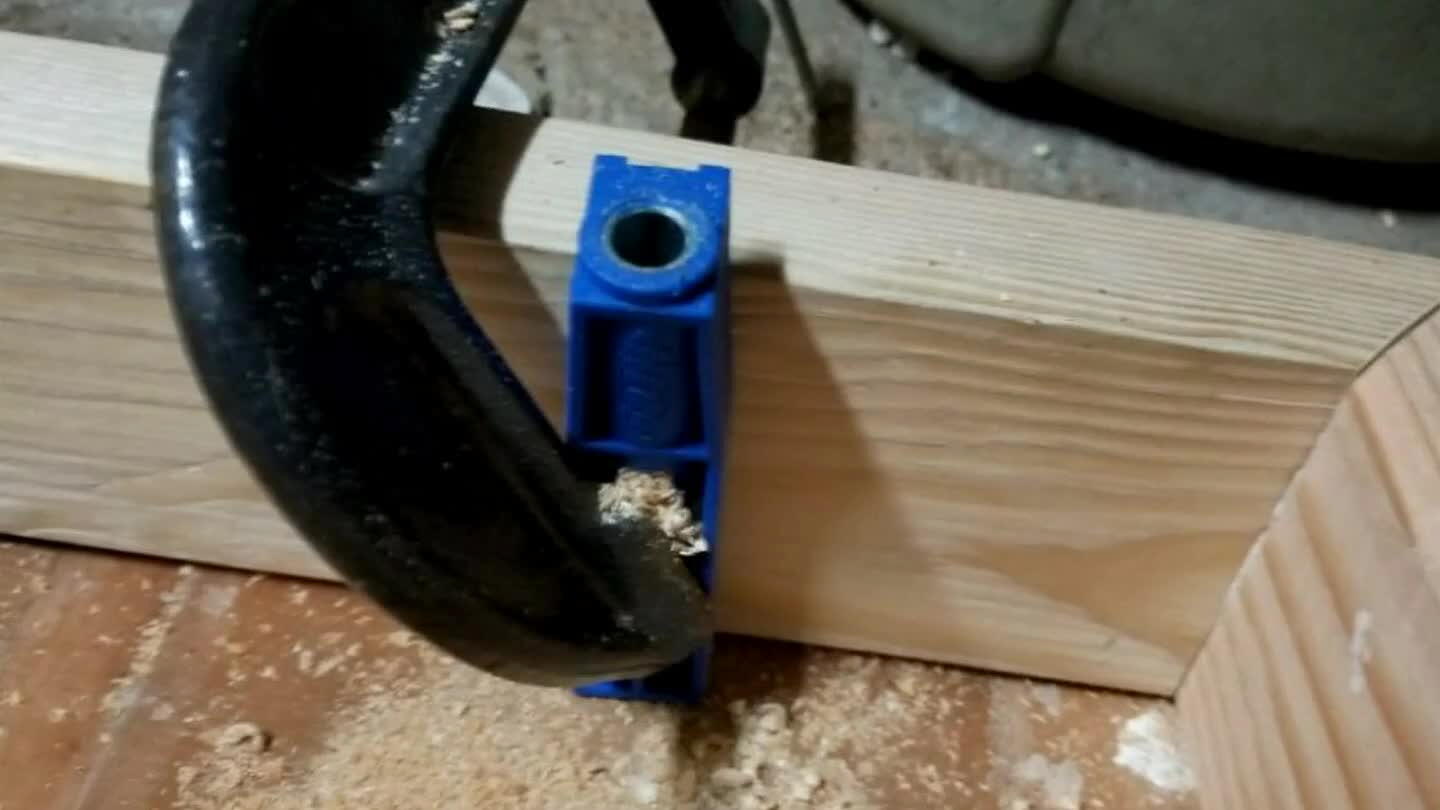
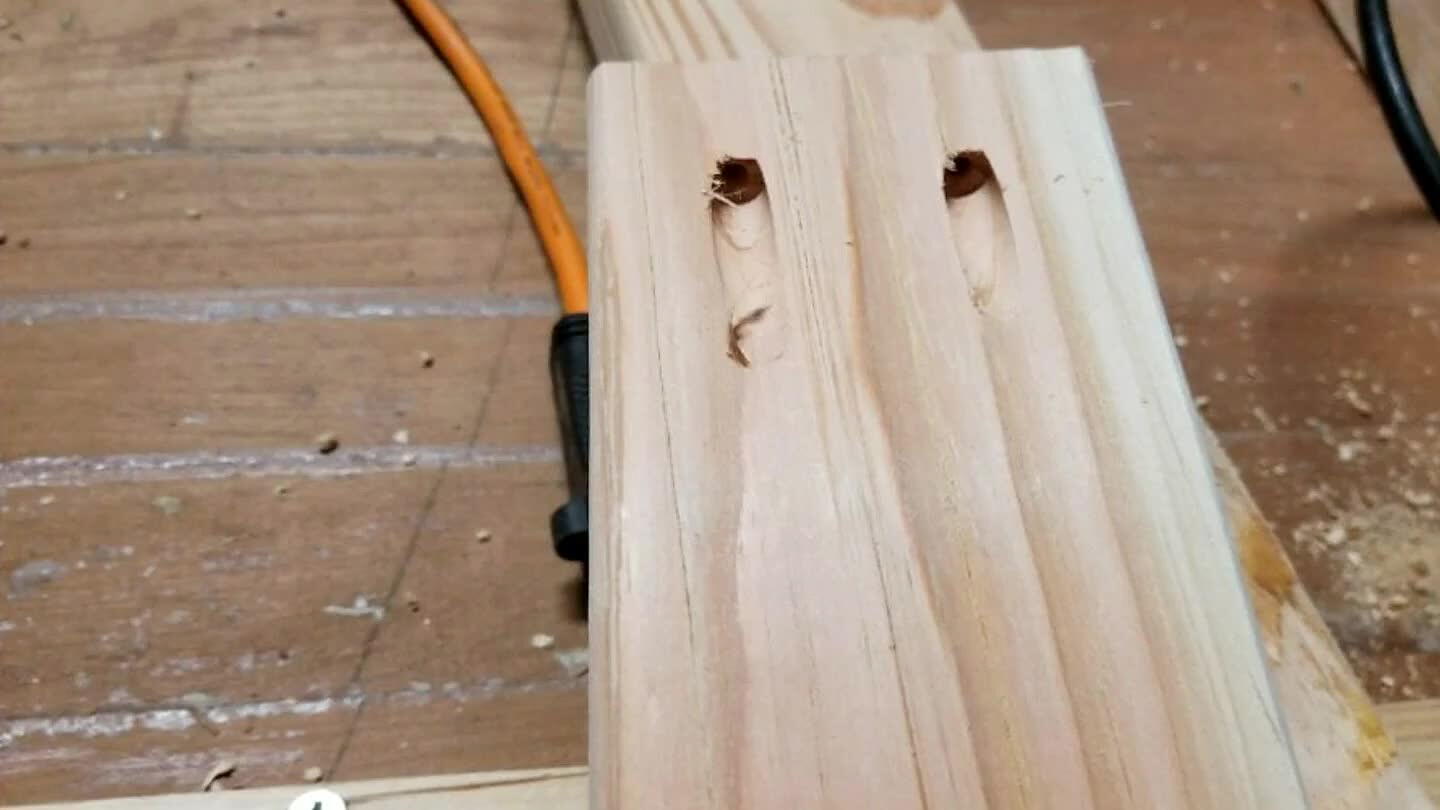
7
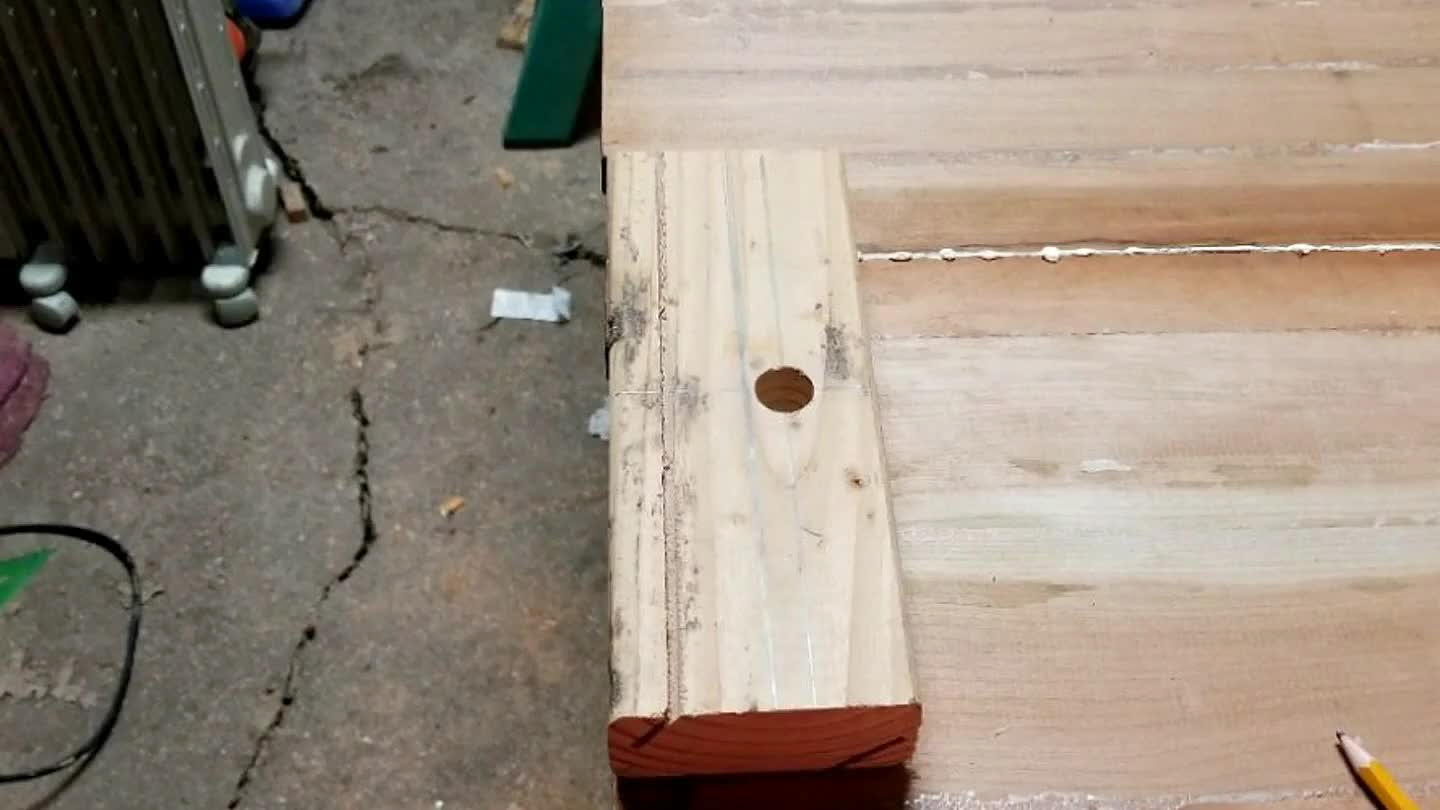
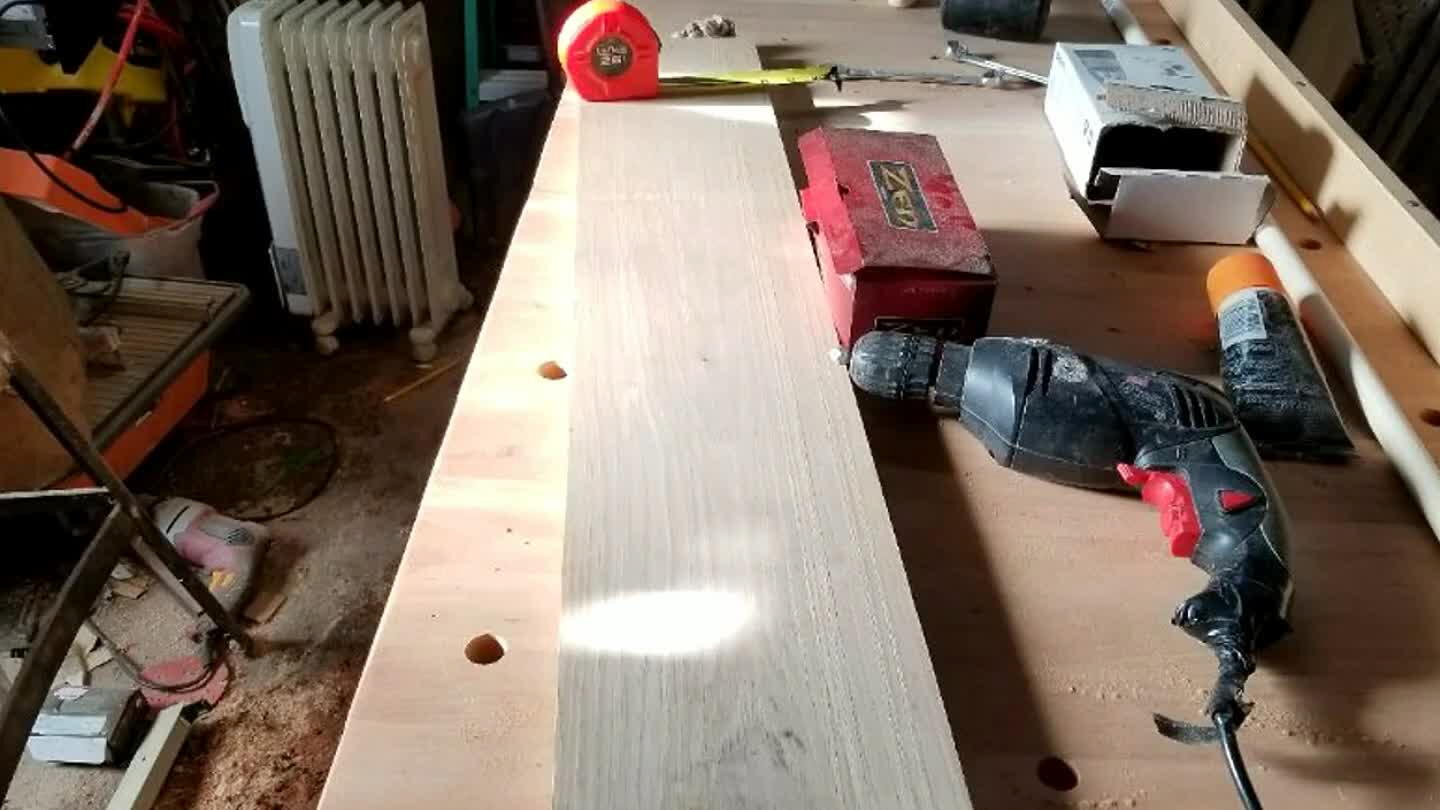
Using a 9" piece of scrap 2X4 I created a simple dog hole jig with a 3/4" spade bit. Drilled my jig hole at 4 1/2" to the center and 2 1/2" deep to make certain to clear the framing. I then started from the end and made pencil marks for each hole.
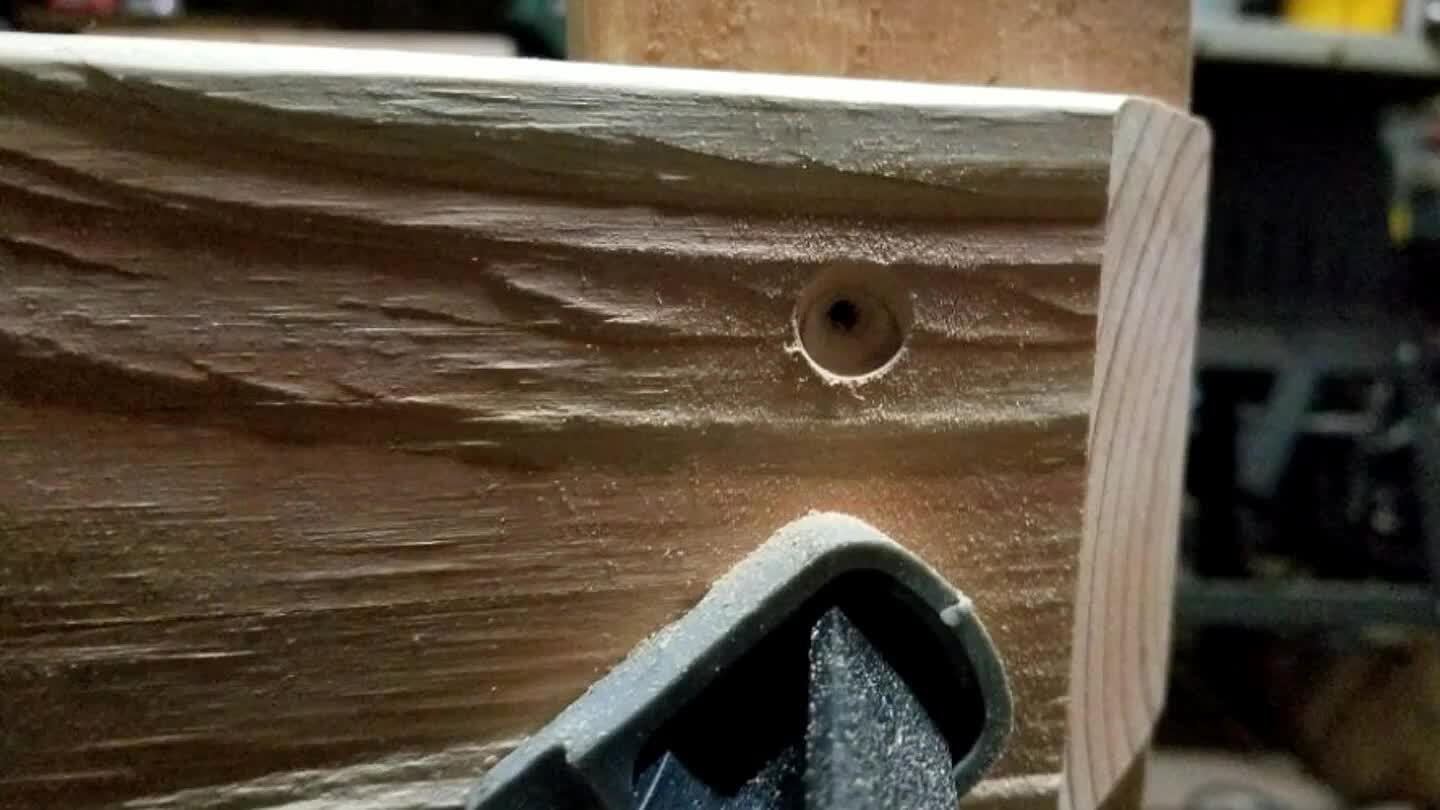
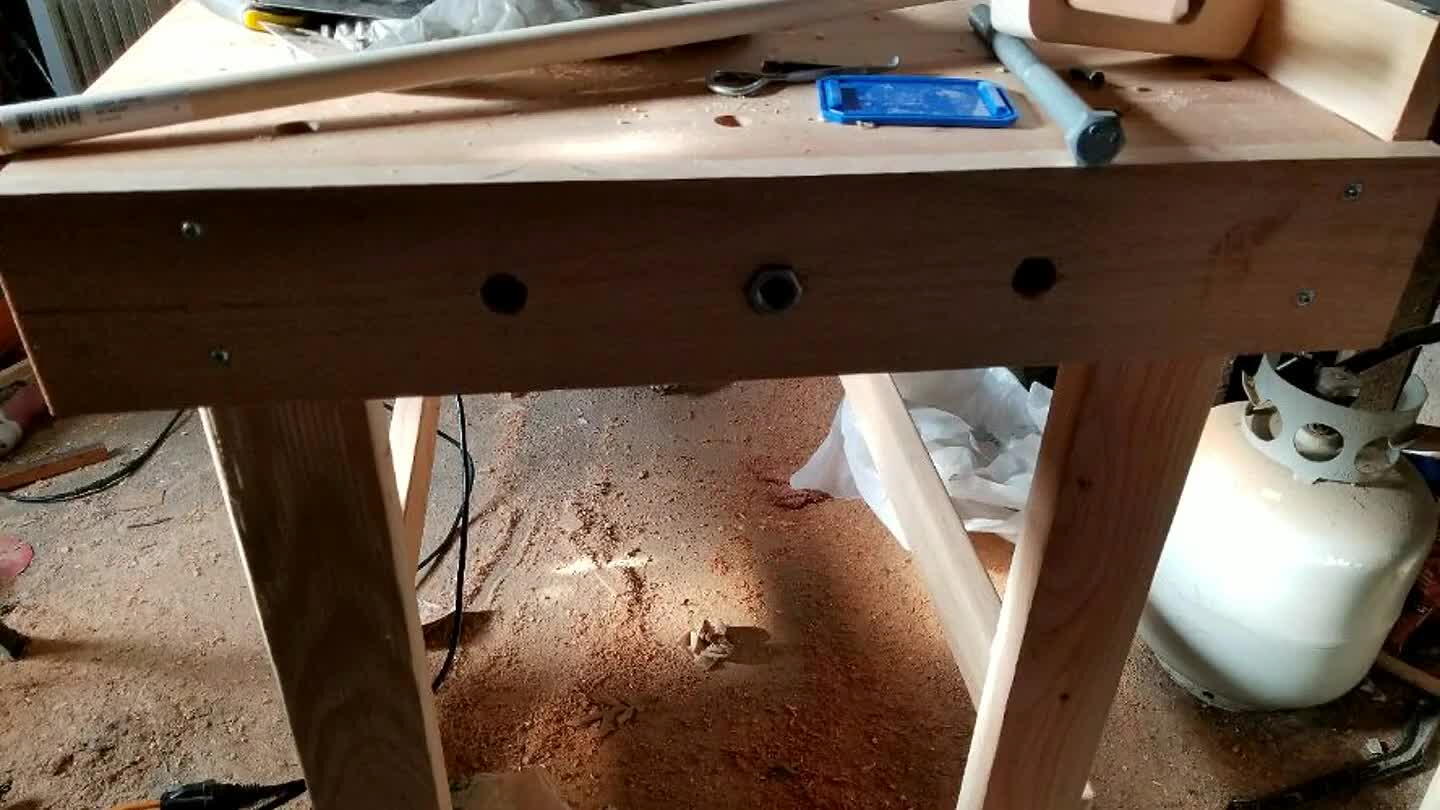
8
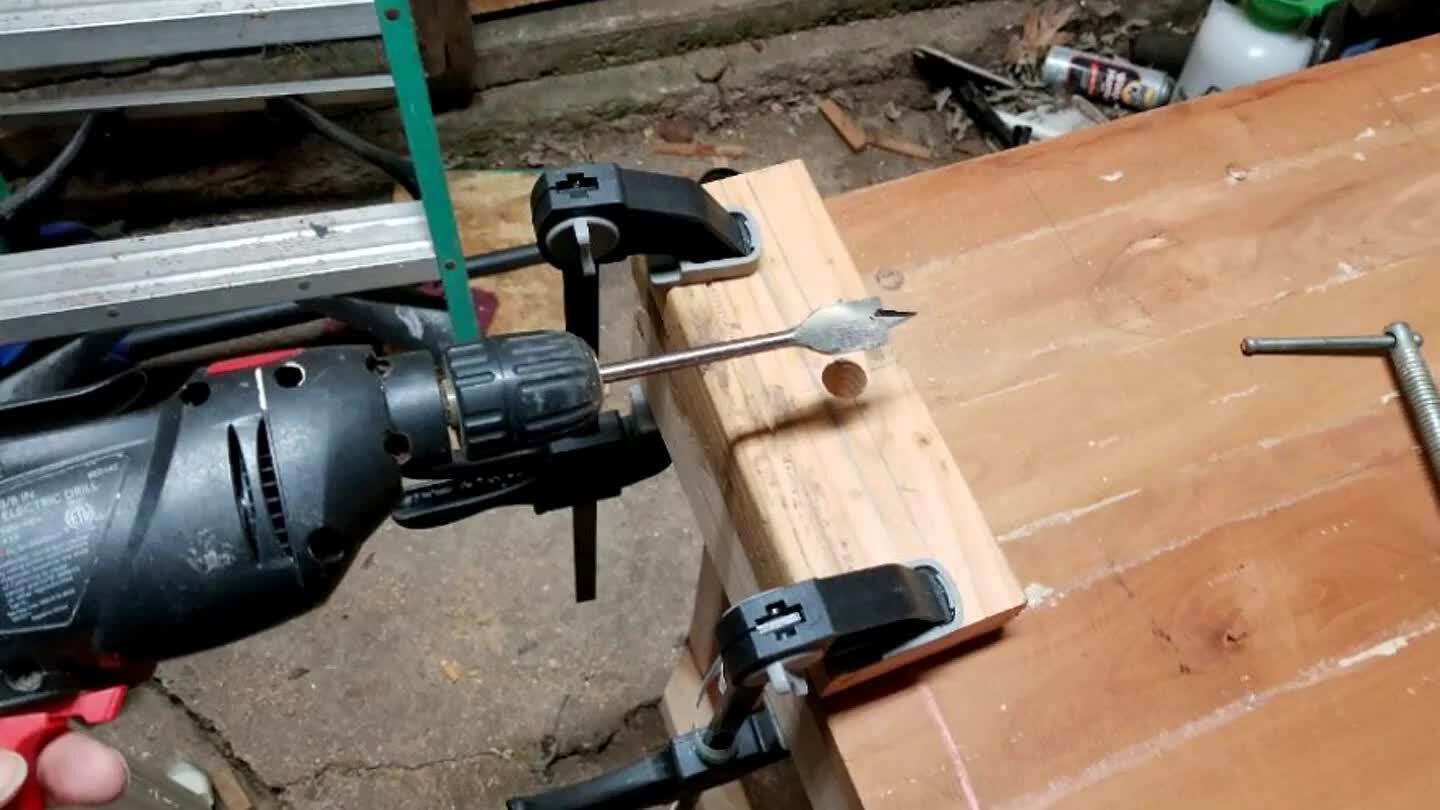
Clamp jig down to the workpiece at each penciled line and drill as straight as possible into the table top to create your dog holes.
9
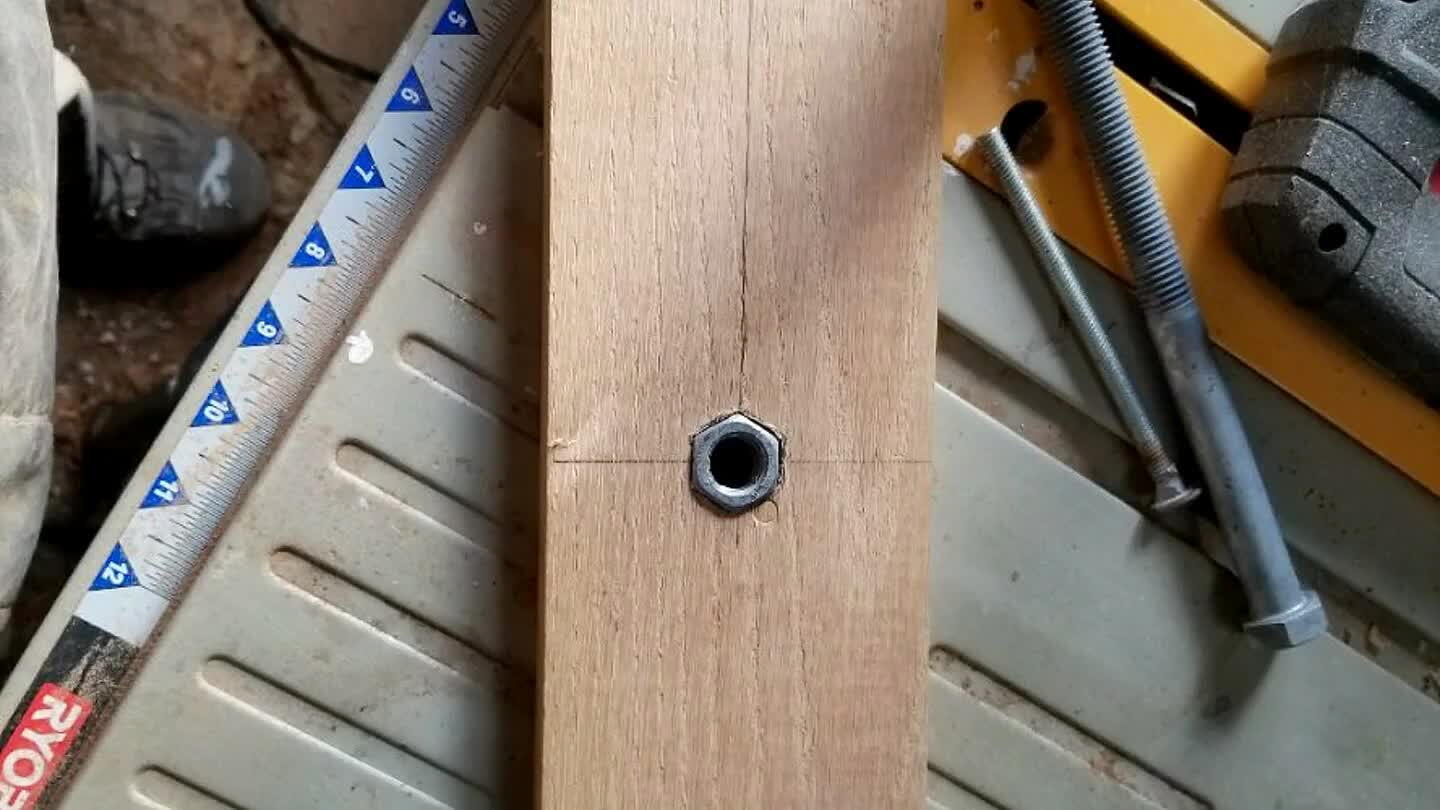
Rip both boards to proper length. This should match the depth of your table. Find the center and trace an outline of your nut. Drill a hole and remove material with a jig saw or scroll saw. Hammer nut in place with a small amount of epoxy.
10
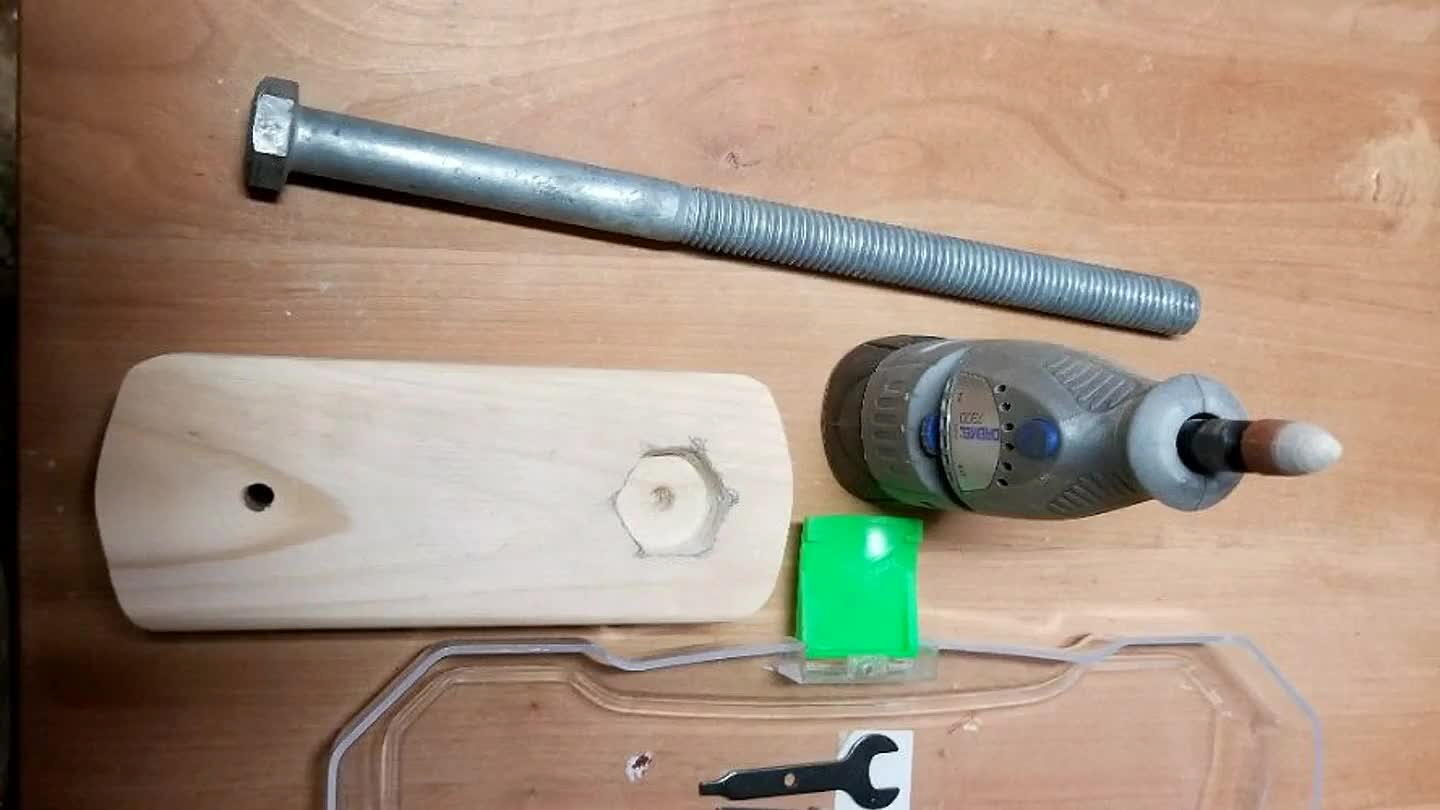
Trace the bolt head on 1 end of a 5" piece of 2X4. Using a spade bit similar in size to the head, bore about as deep as the bolt head. Use the Dremel to carve out the hex shape. Drill a hole larger than a 2 1/2" screw on the other end to attach handl
11

Secure bolt to handle with a two-part epoxy suitable for bonding wood and metal
12
Measure 5" from the center of the nut on both sides. Bore two holes to allow the dowel supports to pass through once the clamp is assembled.
13
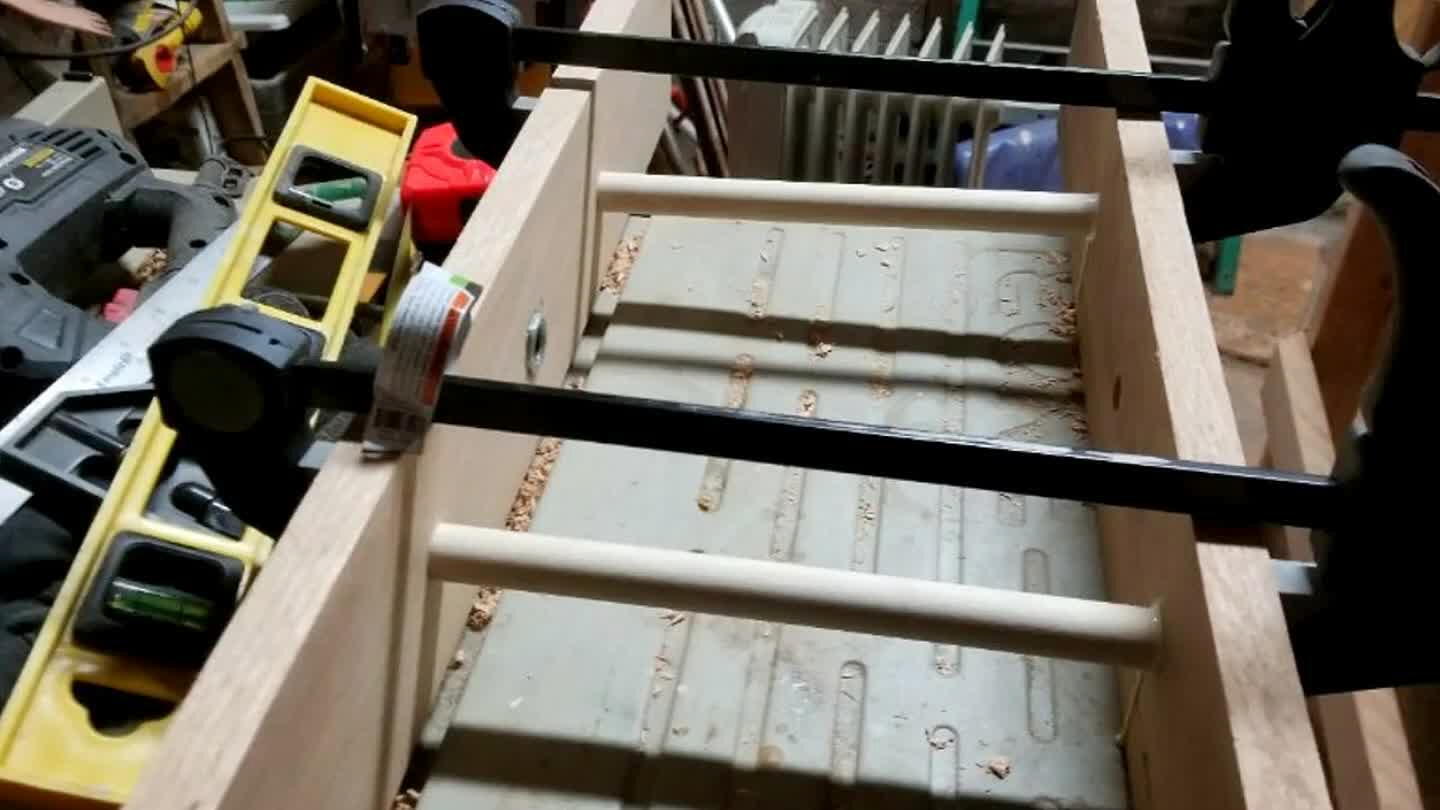
On your 2nd oak board, bore a 5/16 hole in the center. This will allow your clamp handle to pass through. Measure 5" on either side of cent. and bore 2 3/4" holes about a 1/2 deep. Cut 2 pieces of dowel to 9 1/2" and glue into place to act as support
14
Mount clamp to table and assemble.
Comments