
Past Master's Gavel
My own design of a Past Master's Gavel.


This is a fairly easy project to create.
What you will need
1 piece of wood 12" X 1 1/4" X 1 1/4"
1 block of wood approximately 5" X 2 3/4" X 2 3/4"
Dark Walnut Stain
Polyurethane
2 sponge brushes
Crazy Glue
2 Past Master's Emblems
How to do this project
1
I took 1 piece of pallet wood which turned out to be made of Poplar and cut it down to various pieces of the wood I need to make the Gavels.
2
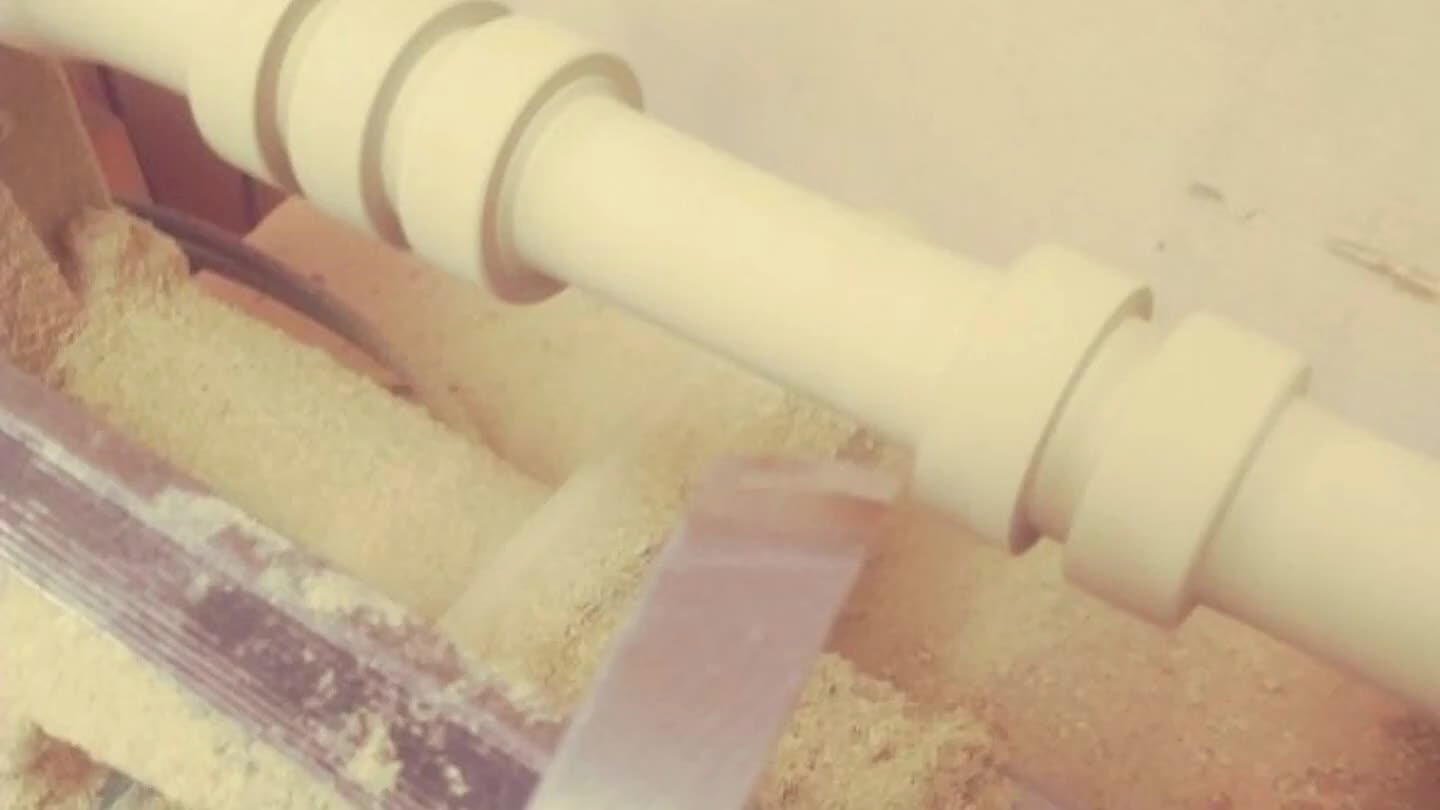
Next I put the two pieces of wood into the lathe and cut them down to size with the planned design for my gavels.
3
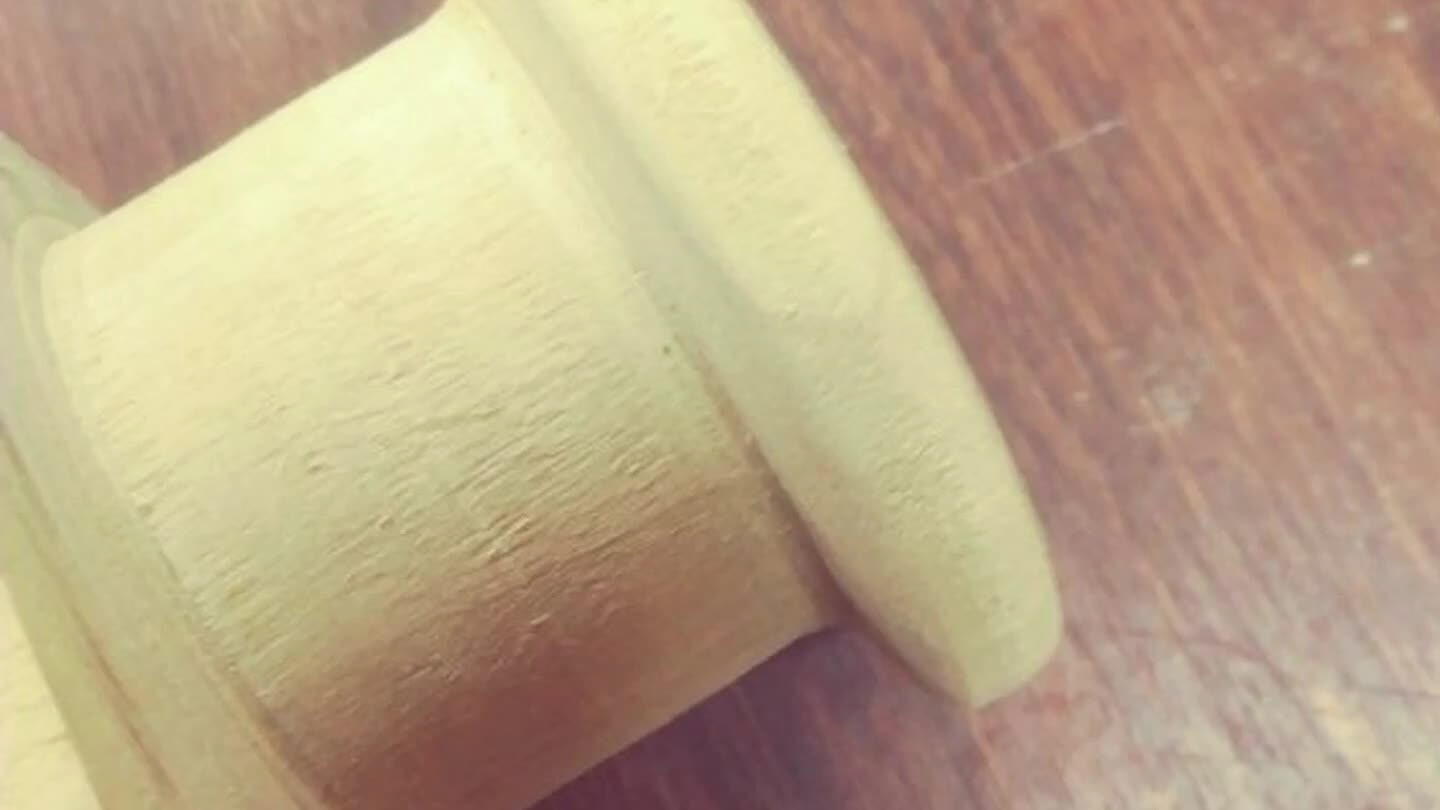
The gavel head pieces need to be rounded. This will prevent the gavel from breaking when used. Especially if they are not hit flat as done by some people. The rounding gives it a little extra strength than a squared cut.
4
In order to assist with the look and make it easier to finish, I prefer to sand the pieces while they are still on the lathe. It also helps with ensuring an even sanding. Just make sure not to use too much pressure. Makes rounding ends easier too.
5
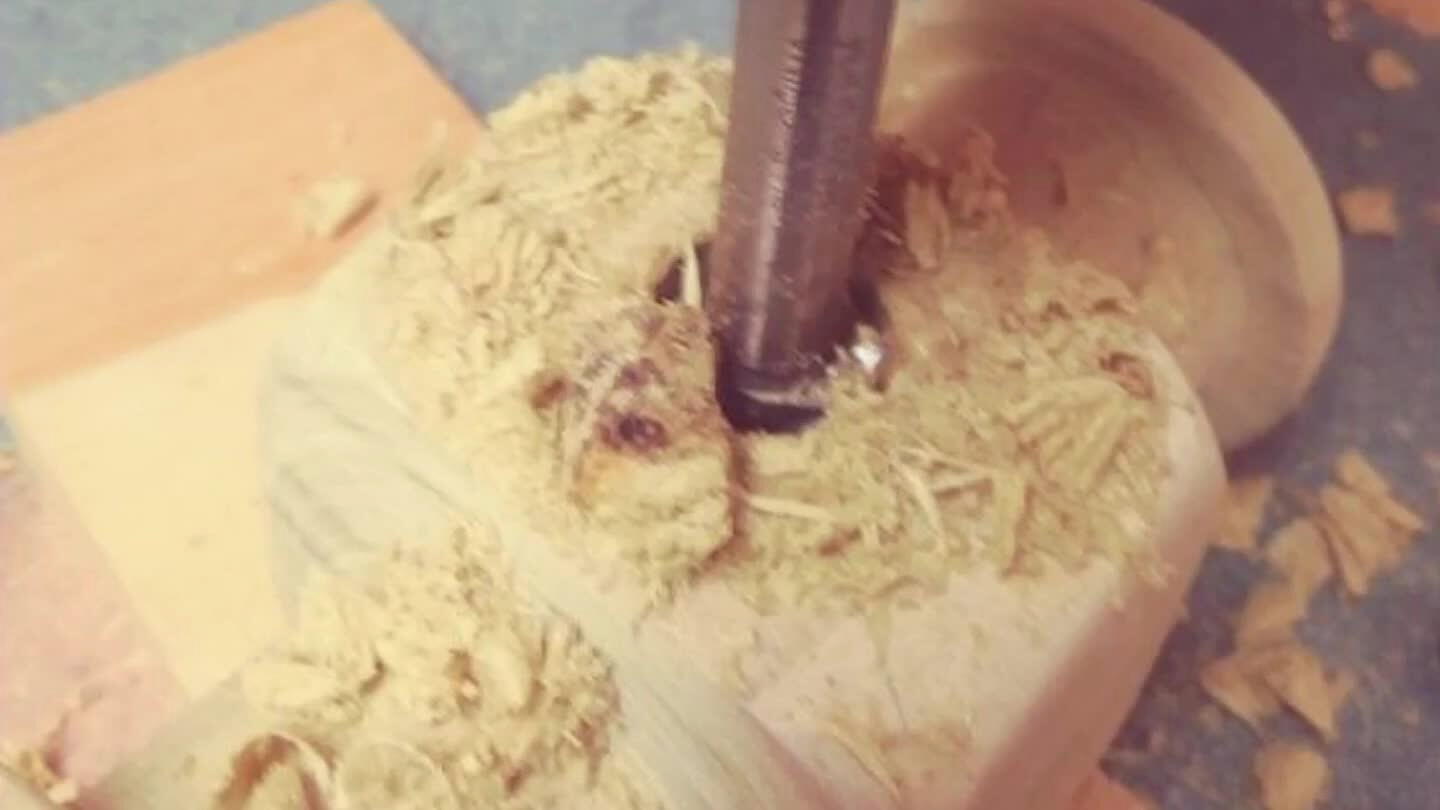
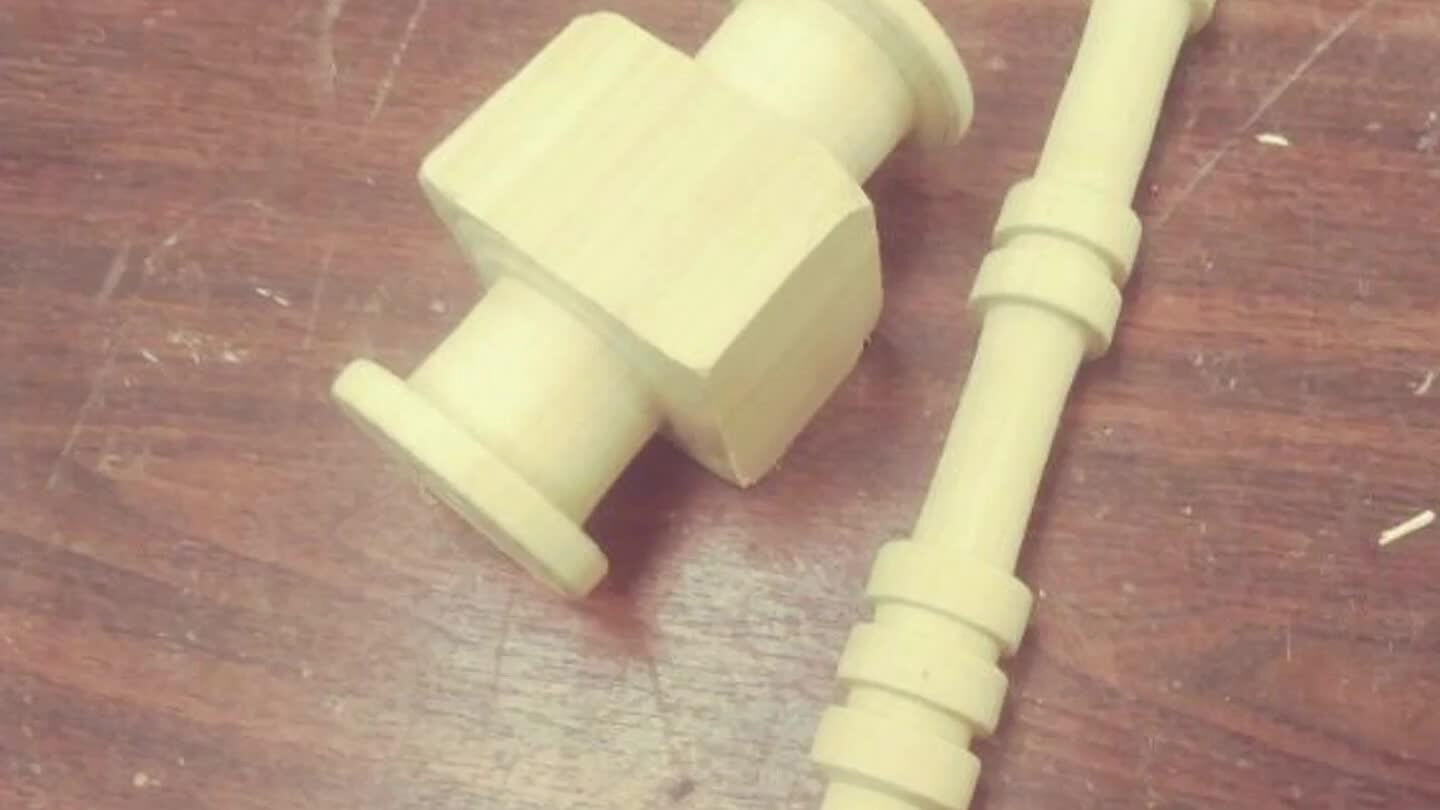
Next use a bit to cut a 3/4" hole into the gavel head in order to attach the handle. I prefer a mixture of wood filler, wood glue and crazy glue. But if the handle piece is lathed to the exact size of 3/4" then wood glue will work fine.
6
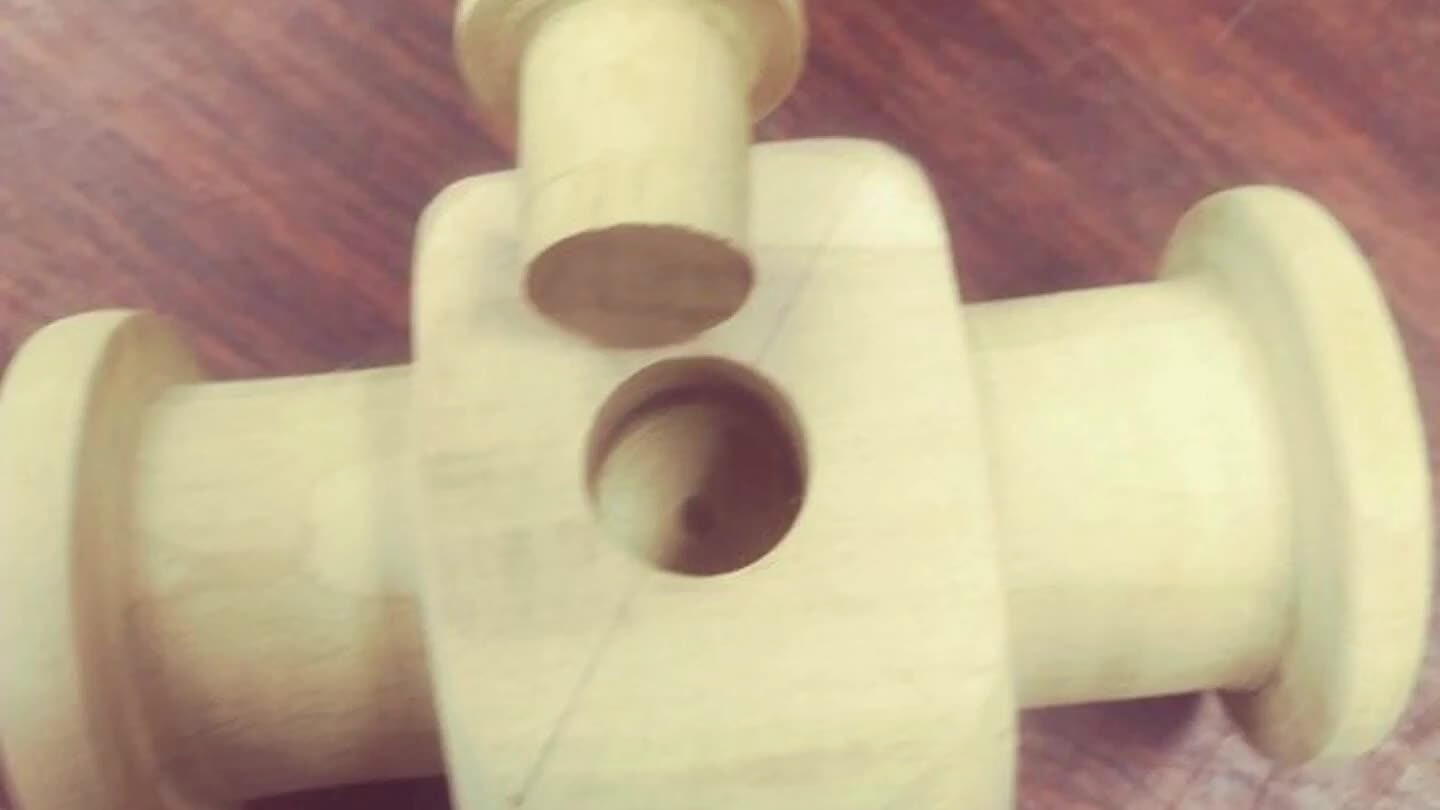
Ensure that the end that goes into the Gavel head is at a minimum 3/4" thick and even from the front to the handle. This will ensure that the gavel's handle won't break when used.
7
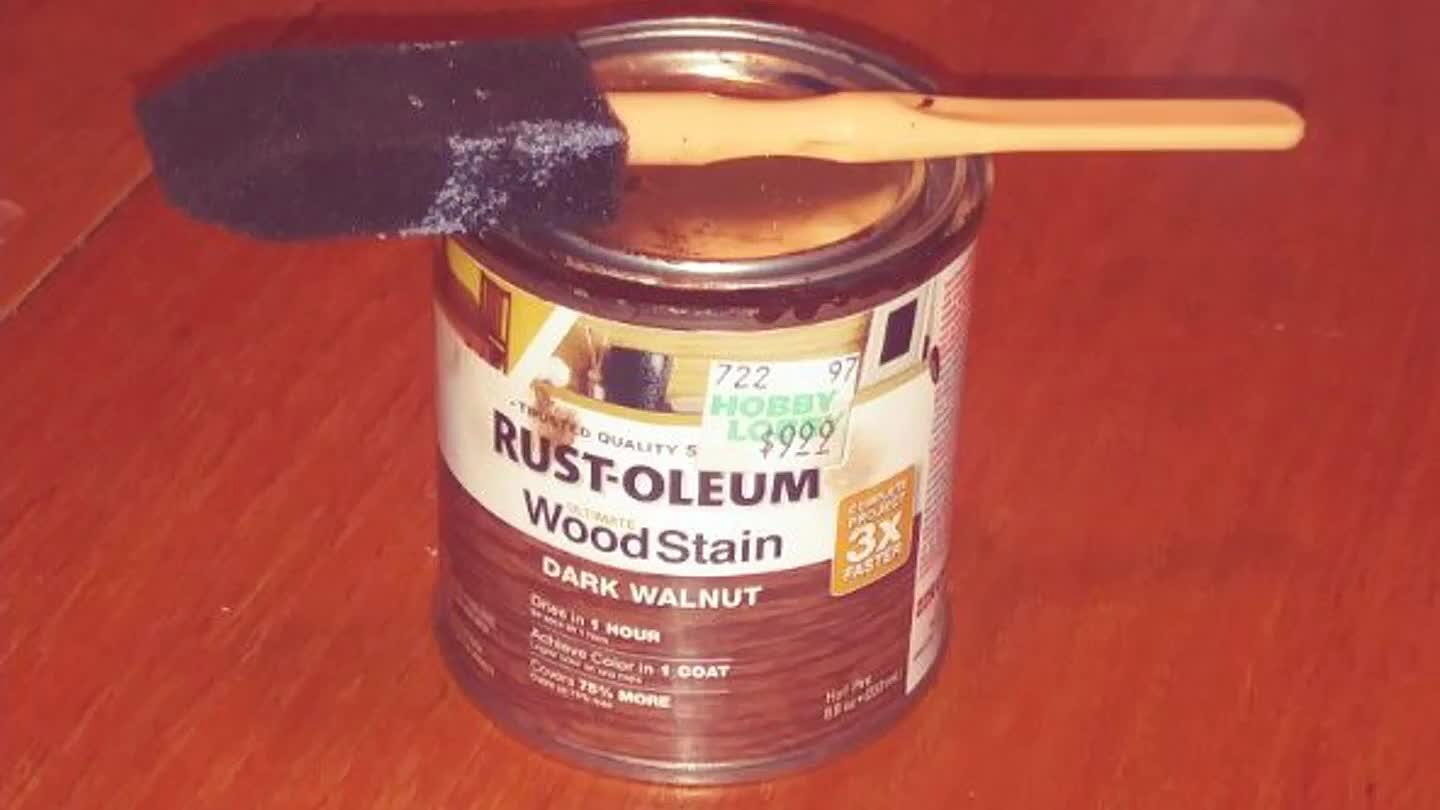
This is where it gets messy. Using one of the sponge brushes apply the stain. I prefer using a sponge brush instead of a bristle brush because it applies the stain on evenly without brush strokes or pieces of bristles left behind.
8
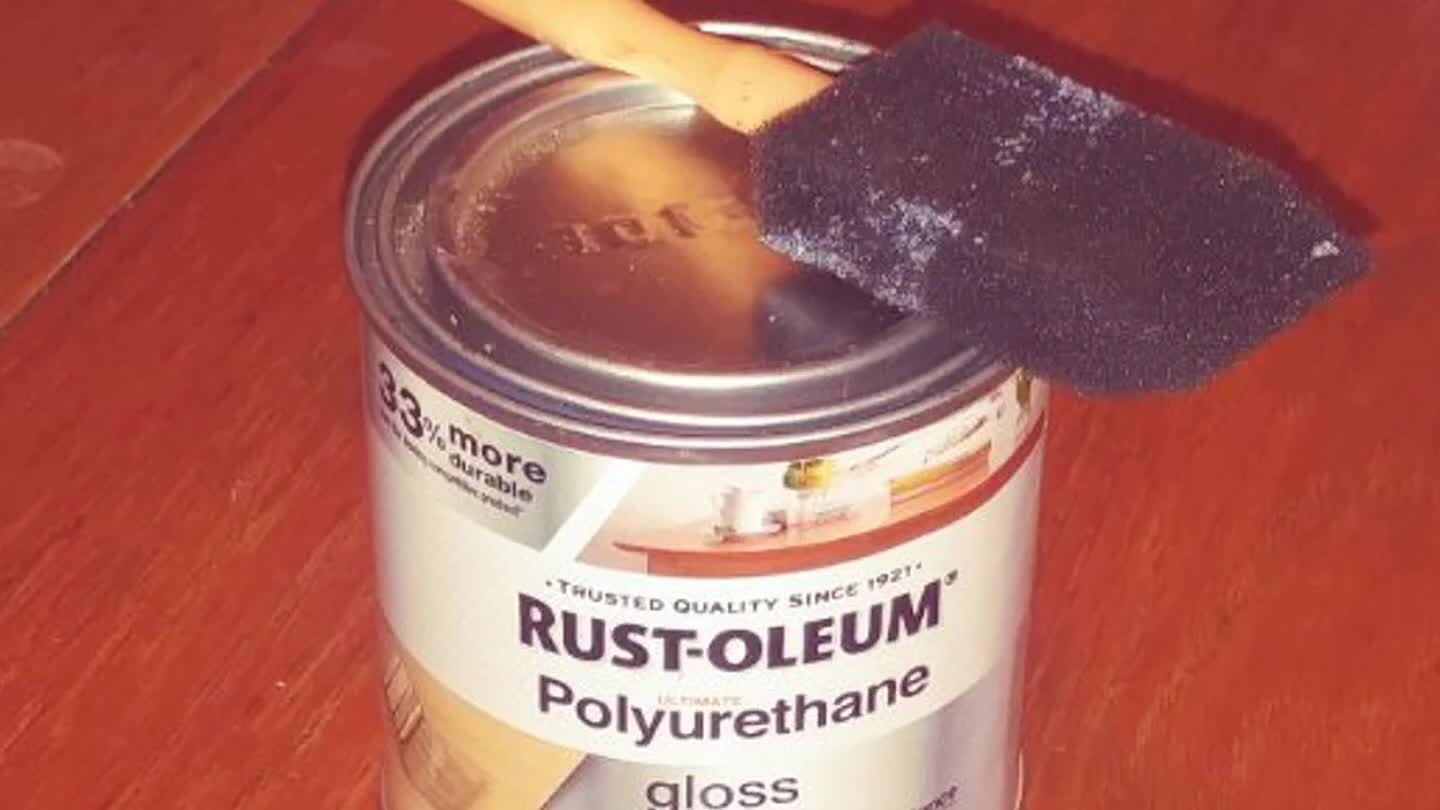
Once the stain has dried you are now ready to put on the protective layer. I went with Polyurethane myself. I recommend putting on at least 3 to 4 coats.
9

Now that everything is done, all that's left is applying the Past Master's Emblems.
Comments