
Rolling Deck Cooler
1-2 day build for beginners

What you will need
Table Saw
Miter Saw or Circular Saw
2" Deck Screws
2.5" Deck Screws
Drill
1 3/8 Finish Nails
1/2" Spicket
1/2" coupler
1/2" Riser thats 4" long
Plummers tape
(2) 2" Hinges
Optional Hardware (handles, 2" locking caster wheels, bottle opener)
(8) 2x4's
(12) 5/8 in x 5 1/2 in x 6ft Fence Pickets
120 Grit Sand Paper
Finish Sealer (I used Olympic Elite Woodland Oil, Cedar Tone. I used this because it does an excellent job sealing and coloring treated Pine)
Paint Brush to apply sealer
Saftey Glasses
Hearing Protection
How to do this project
1
Cut 2x4 down to desired leg height and fasten together using butt joints making 4 legs. I made mine 34" and secured with pocket holes. Using glue and 2 1/2" deck screws from the outside is fine too.
2
Remove all the hardware from your cooler. Handles, tether strap, drain plug, and hinges. Seperate lid and bottom.
3
Cut 2x4's to make a snug frame for the cooler. Mine ended up 19x26. Secure with 2 1/2" deck screws or pocket holes.
4
Attach the four legs to the top frame with 2 1/2" deck screws.
5
Rip fence picket on table saw to 3.5" wide. Cut on the miter saw to be top side apron with abot 1/2" overlap. Secure with glue and finish nails. I used 18g brad nailer.
6
Cut 2x4 to make the bottom support for the cooler. Make sure to use a few cross pieces. Use 2 1/2 deck screws to fasten to the inside of the legs.
7

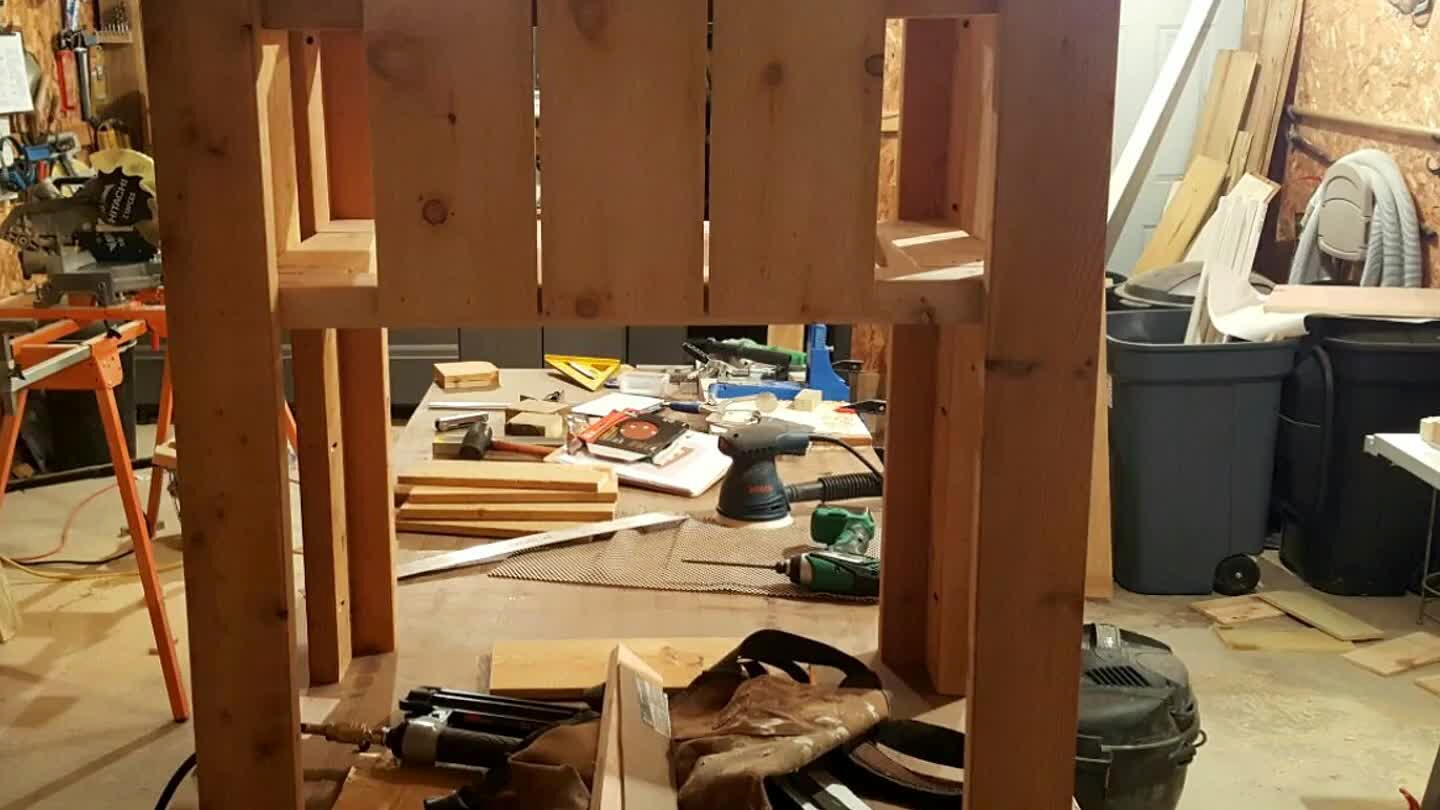
Cut fence pickets down to the size of your choice to line the sides. Secure with finish nails.
8

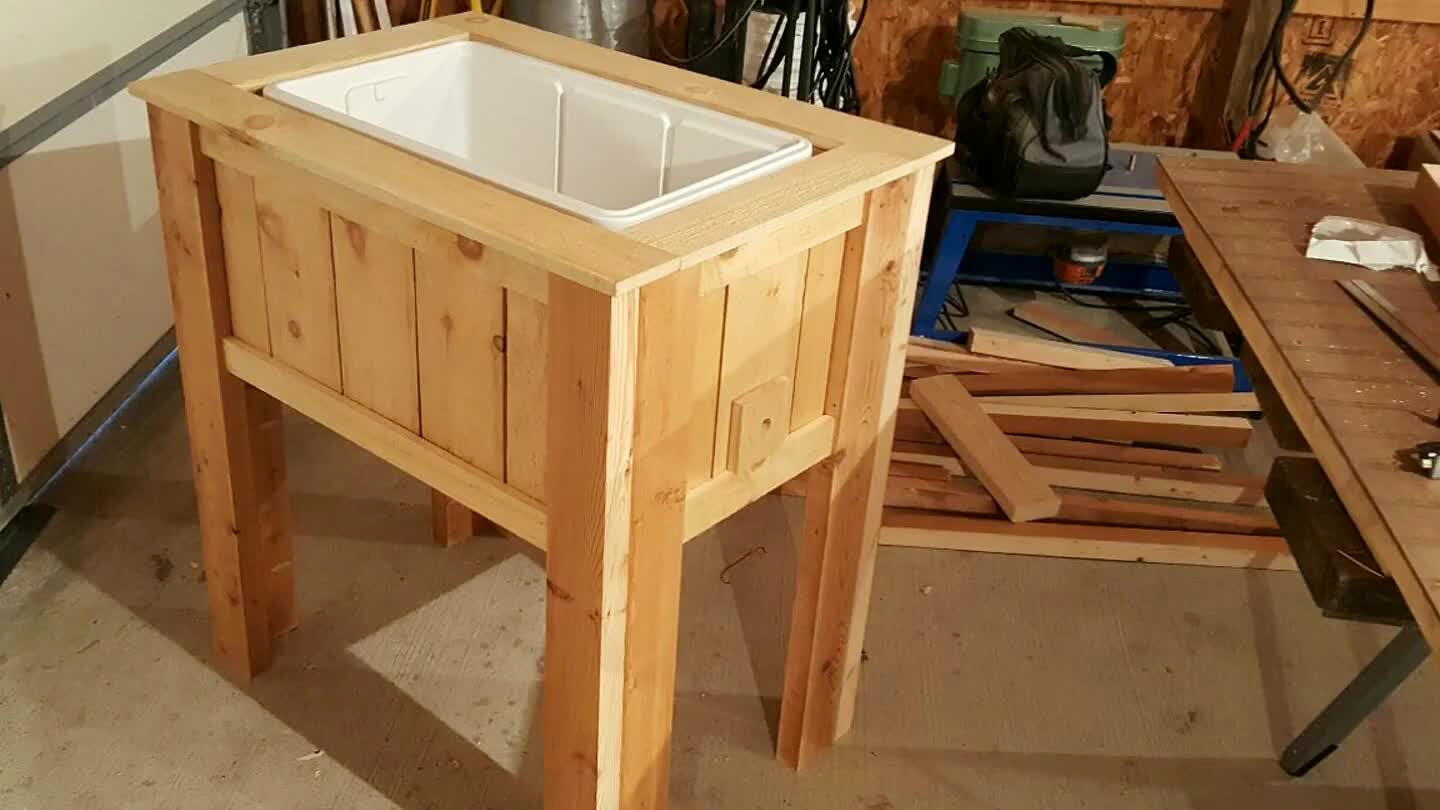
Cut 2" sections of fence picket to frame in the pickets used to line the sides. Do this on the top and bottom. Attack with finish nails.
9
Put cooler in the box and using a marker through the cooler drain hole make the center point on the wood. Remove cooler and drill a small hole through the mark. From the outside of the hole now drill the hole out with a 1/2" bit or slitly bigger.
10

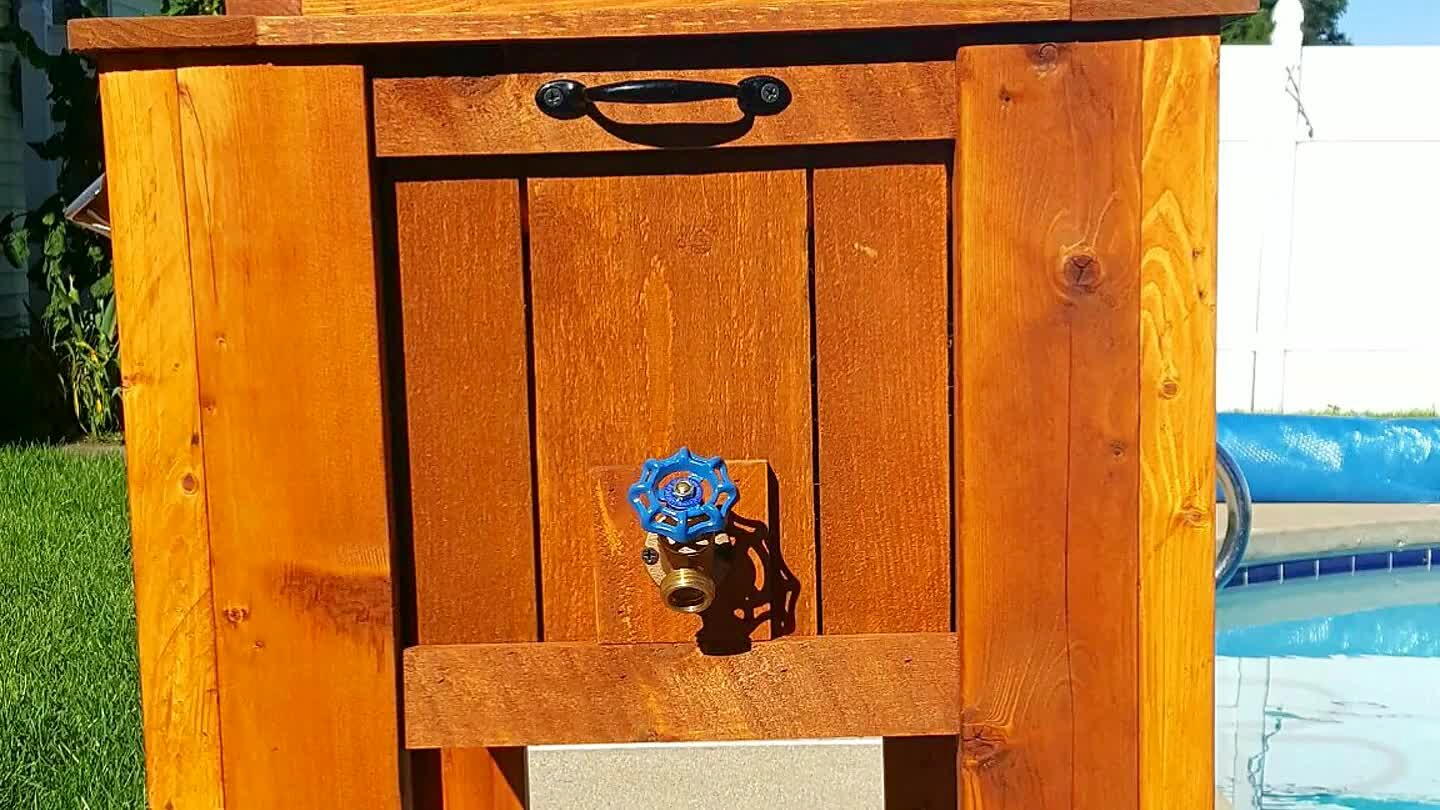
With plummers tape reattach the cooler drain nut to the nipple. Attach the coupler to it then the 4" riser. Place cooler into stand and lead the riser out of the drilled hole. Secure drain valve to riser and use a couple 1/2" screws to secure the vaulve in place.
11
Make a bottom shelf frame from leftover 2x4's. Secure with 2 1/2" deck screws. I had to cut mine in half to 1.5" x 1.5" to have enough. Make top of shelf with fence pickets. Secure with finish nails.
12

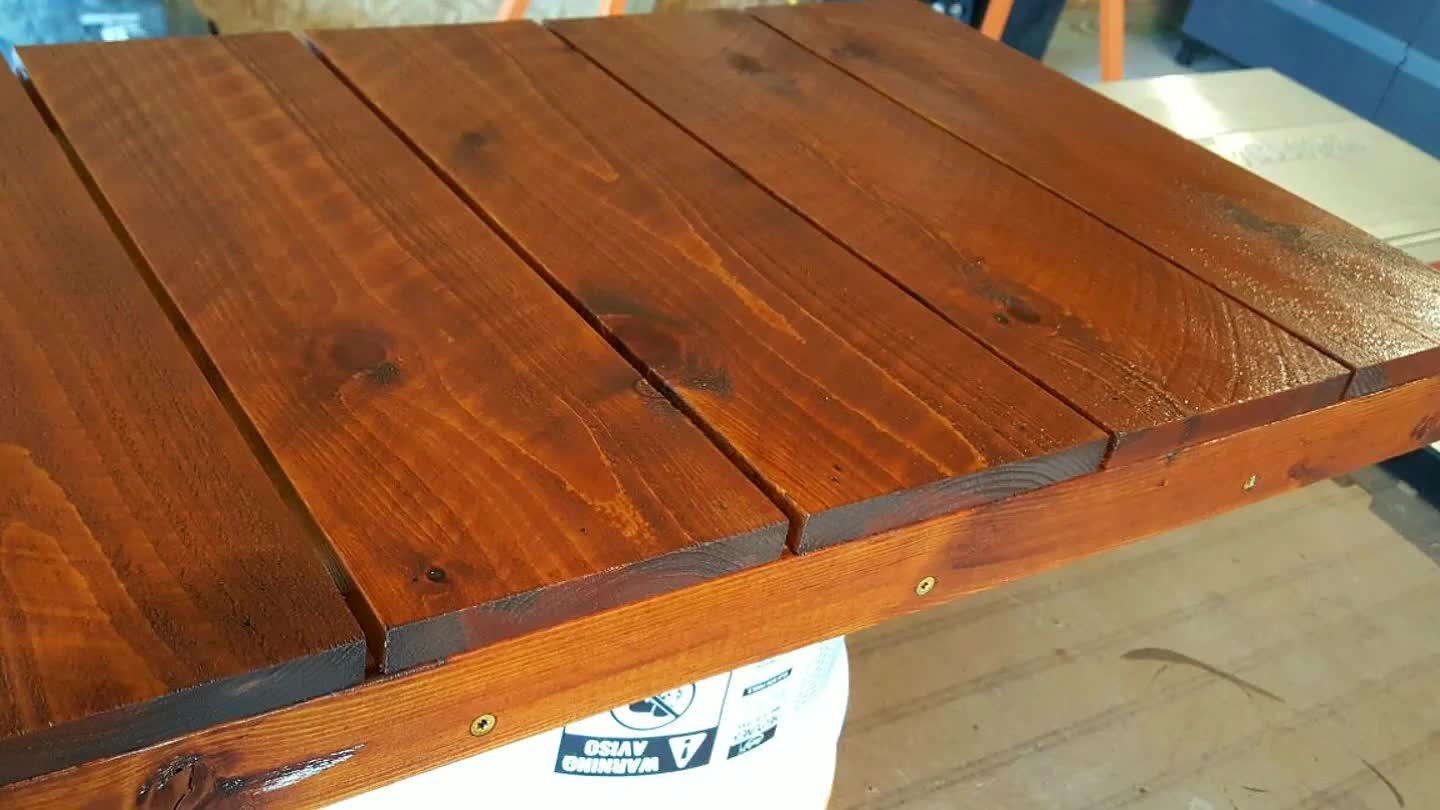
Lay cooler lid on bench and measure height. Frame it tightly with 2x4's cut down to match the height. Secure with 2 1/2" deck screws. Line the top with cut fence pickets. Screw in 3 screws into each side to kerp the cooler lid in place.
13

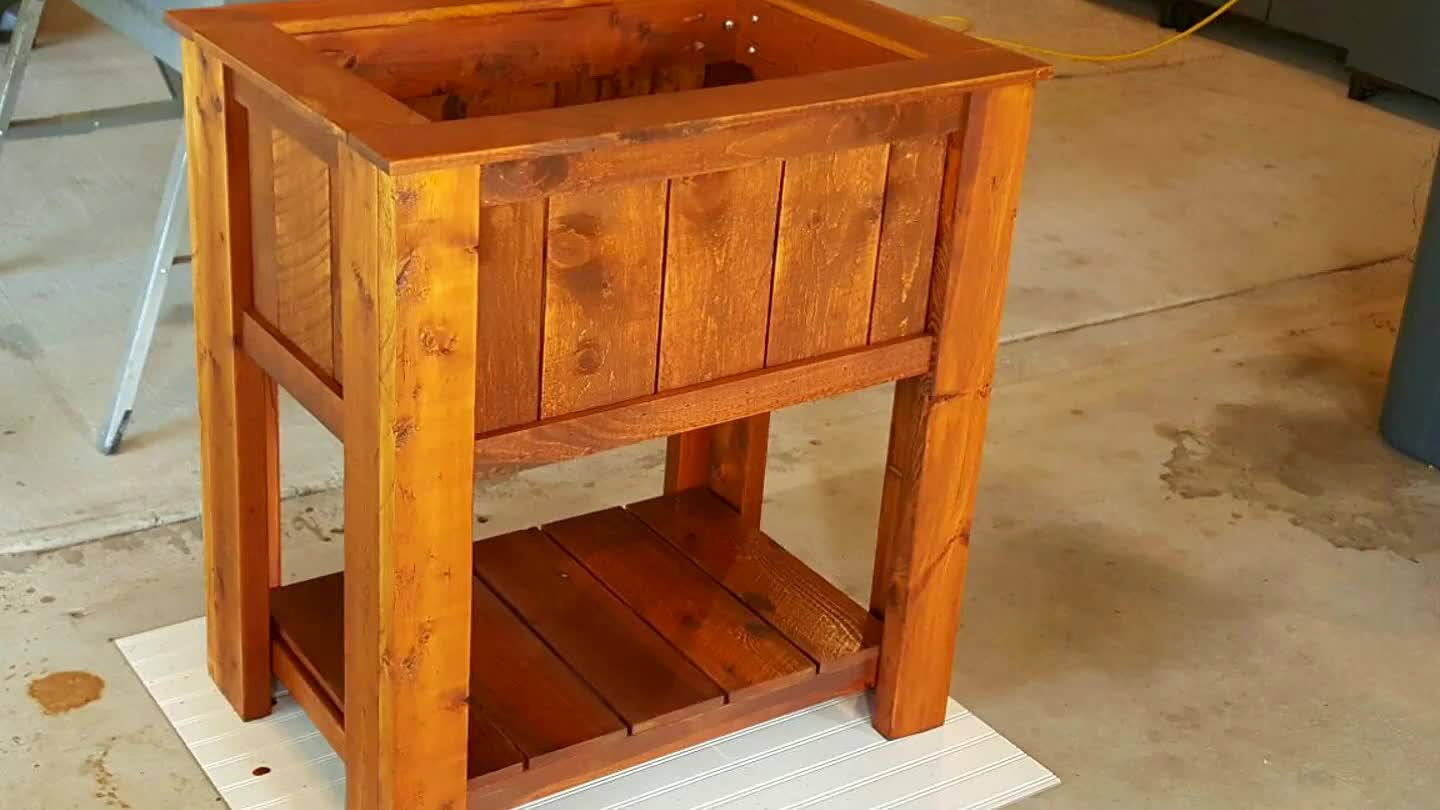
Stain the cooler with what you wish. I used Olympic Elite Woodland Oil Cedar Tone.
14

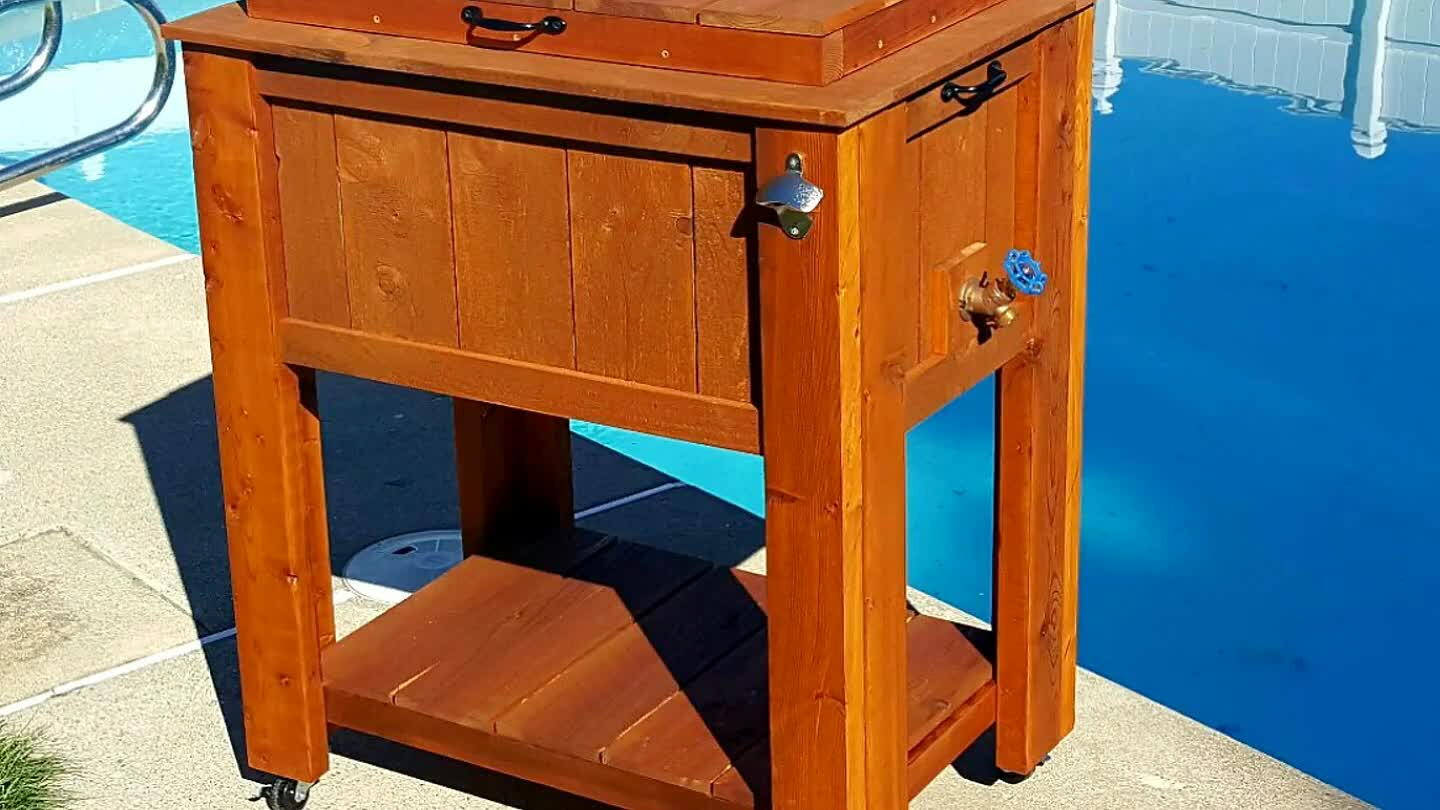
Attach any hardware you wish. I did hinges for the top, handles, bottle opener, and wheels.
15
I got this idea from a youtube video from a guy named DIY Pete. There are many videos of people making these. Have fun with it!!!

Comments