
Rustic/modern Style Coffee Table
maple and pine wood


I had to change up my plans a coupla times with this table but I'm very happy with how it turned out! bottom base is from a 175 yr old maple tree, table top and legs is reclaimed pine wood
What you will need
maple wood, pine wood, wood glue, 2 1/2" screws and 1 5/8" screws, dowels, power drill, tenon saw, miter saw, clamps, level, speed square, measuring tape, pencil, dark walnut stain, clear gloss polyurethane,
How to do this project
1

the original plan was for the legs to be maple wood, but I figured that it would be WAY too heavy so I kicked the maple legs to the curb haha..
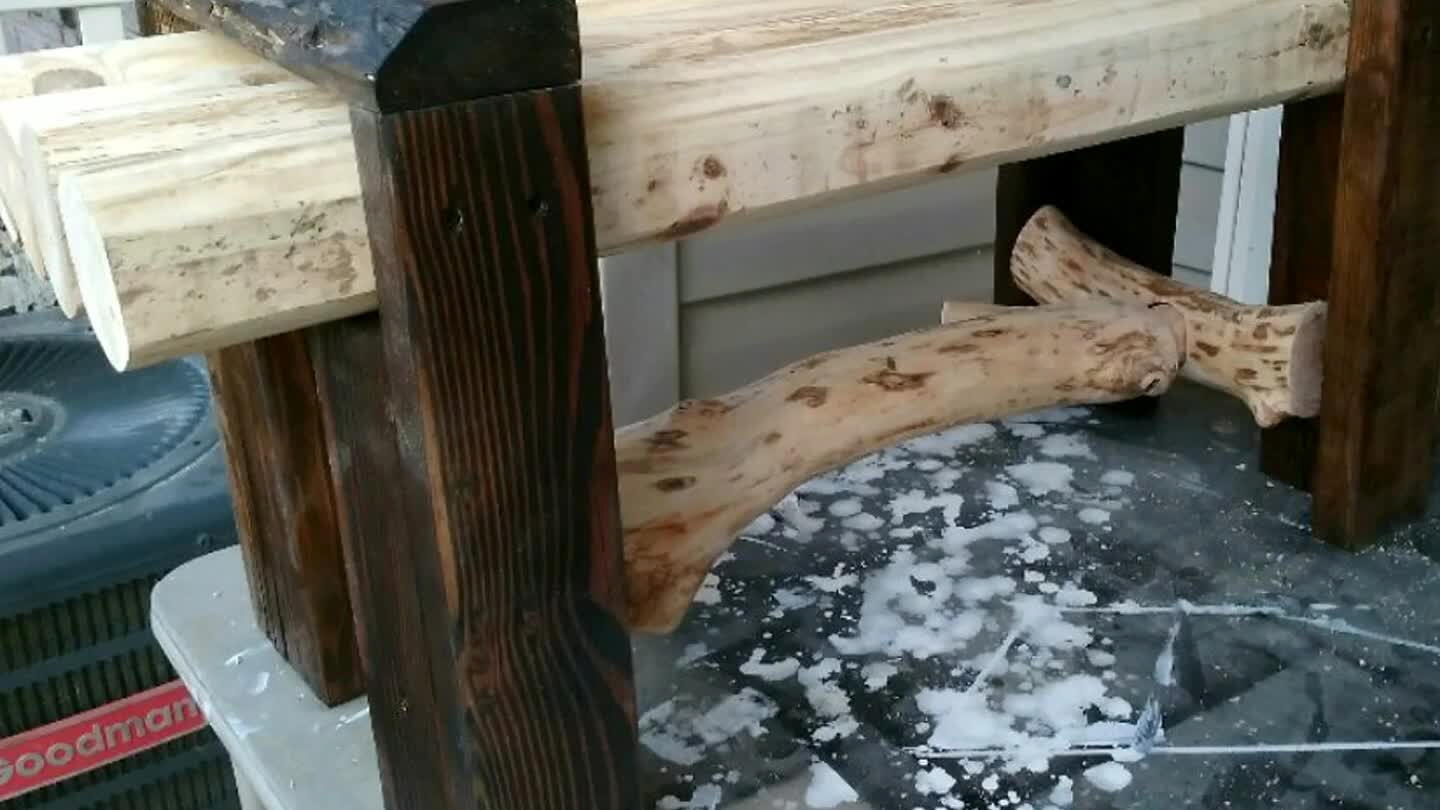
2
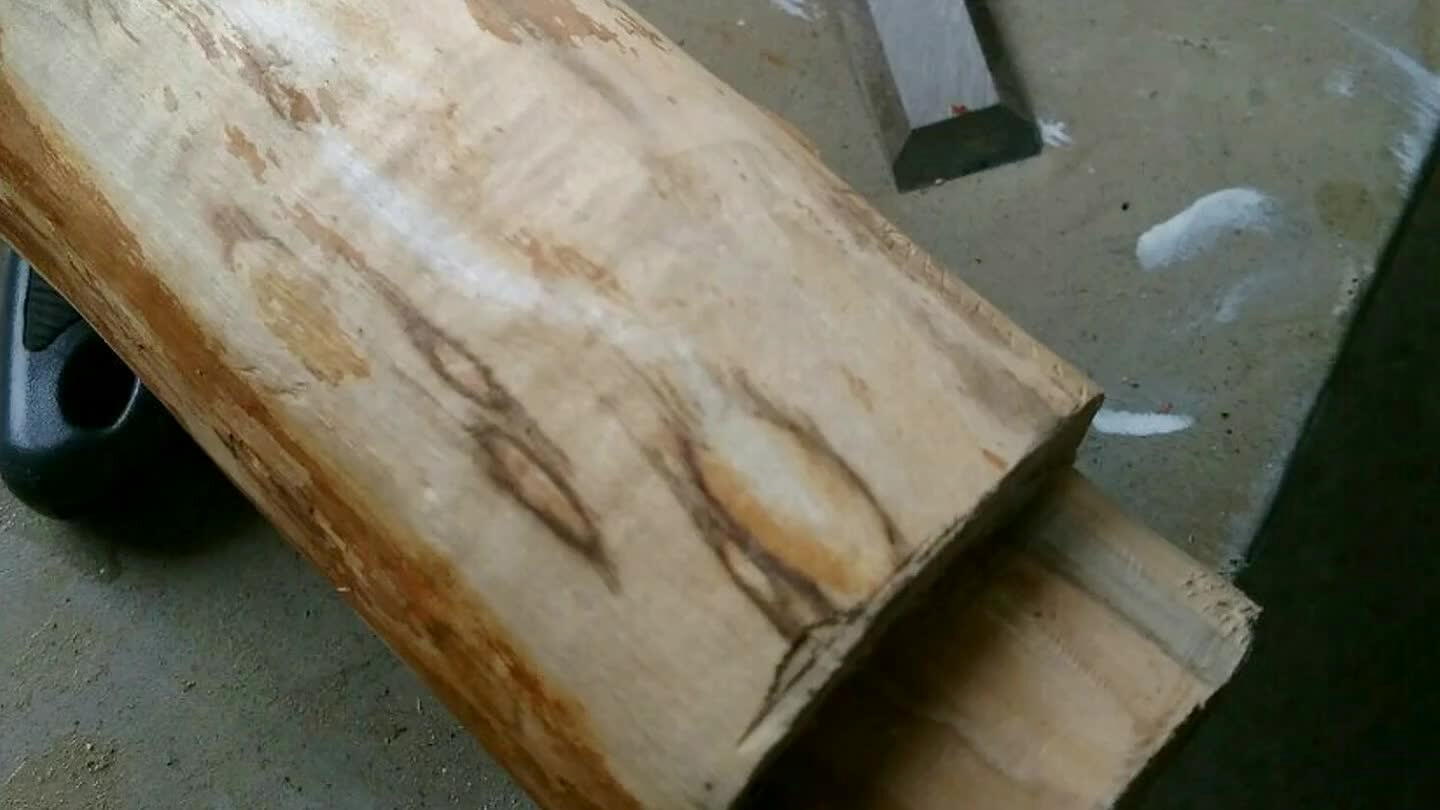
so I used the maple branches as a base and carved out some mortise n tenon joints..
3
for the table top I was able to throw in some dowels, wood glue, n clamp it tight..
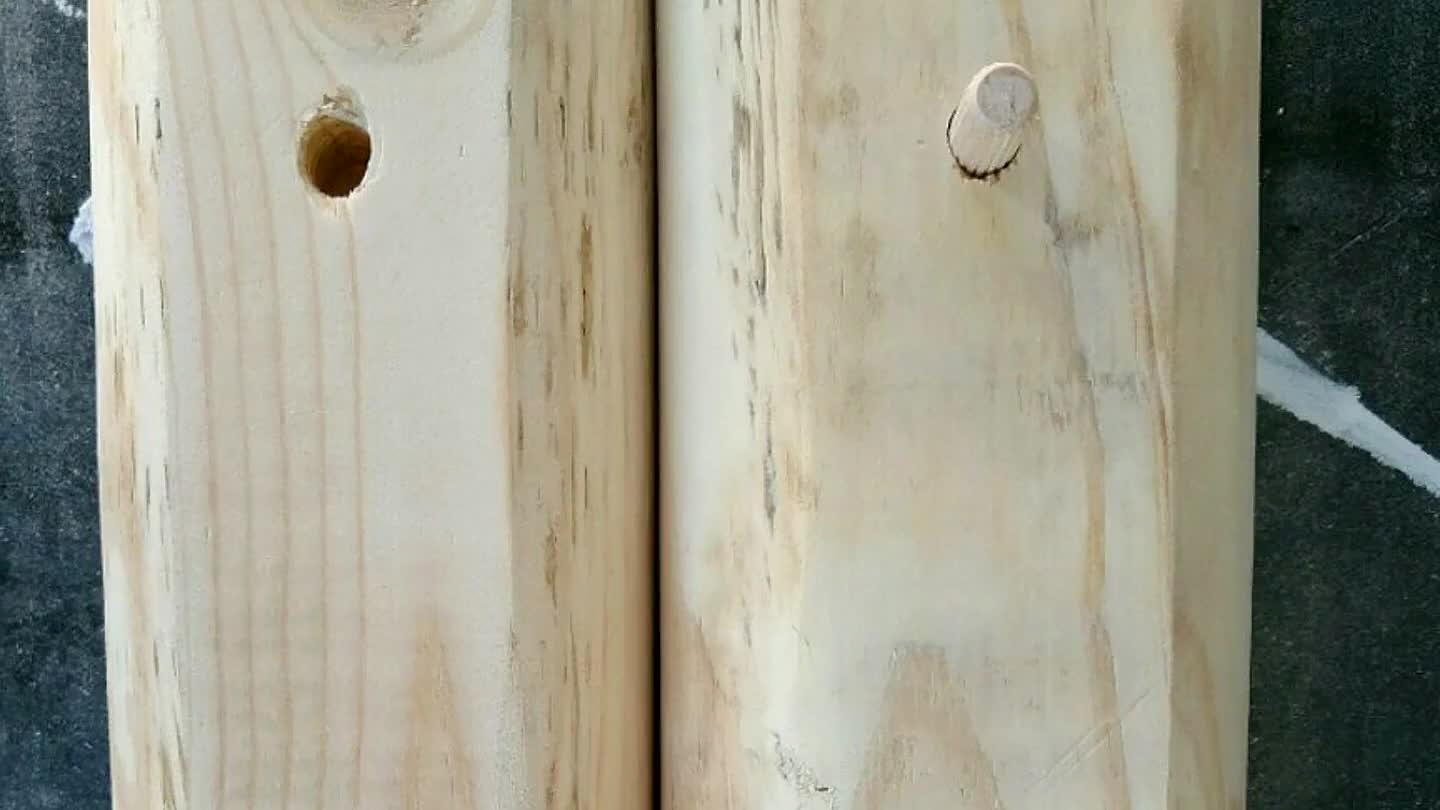
4
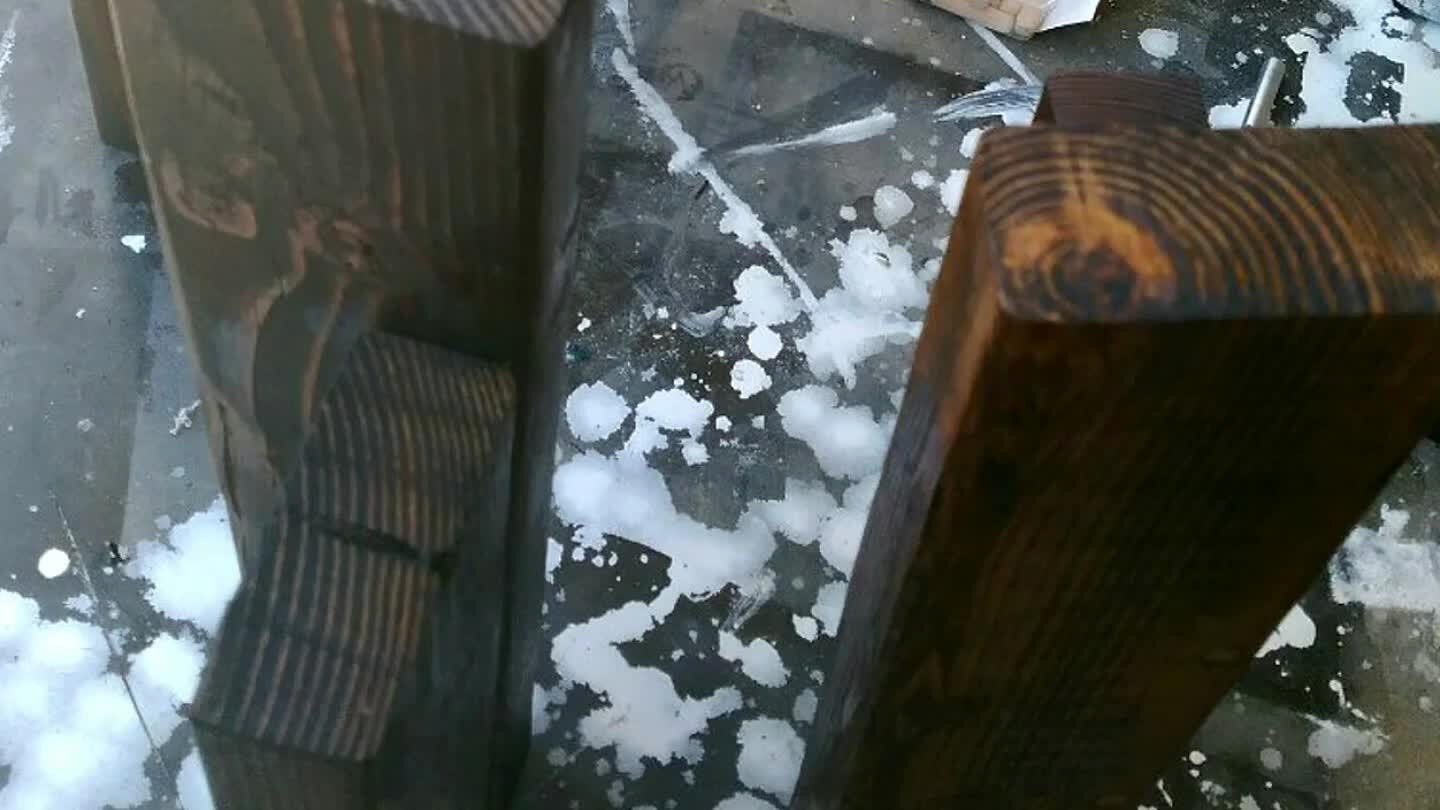
so I had to brainstorm on what I wanted to do with the legs and came up with screwing 2 2x4s together. I did a counter sink in the screw holes n threw in wood glue n dowels to keep the look clean, then lined everything up. I also stained the legs before putting everything together..
5
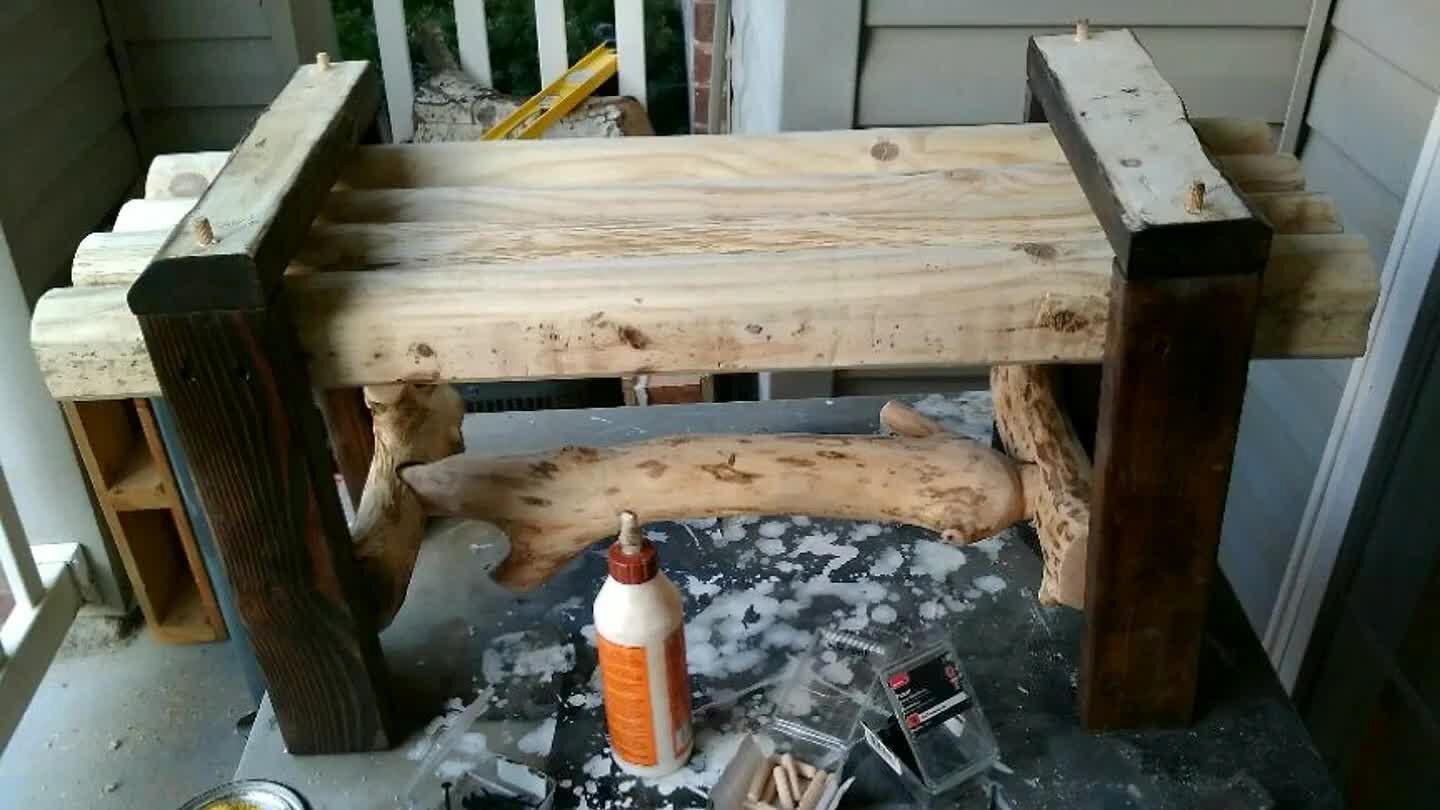
after lining n screwing everything together (make sure u level along the way), I put on 2 more 2x4 slabs on the top, counter sink, glue, n dowel. saw off the dowel tips, sand, then stain..
6
after staining it's pretty much ur basic coating/sanding to finish this off. it was another fun yet challenging project. gota love the challenges!
7
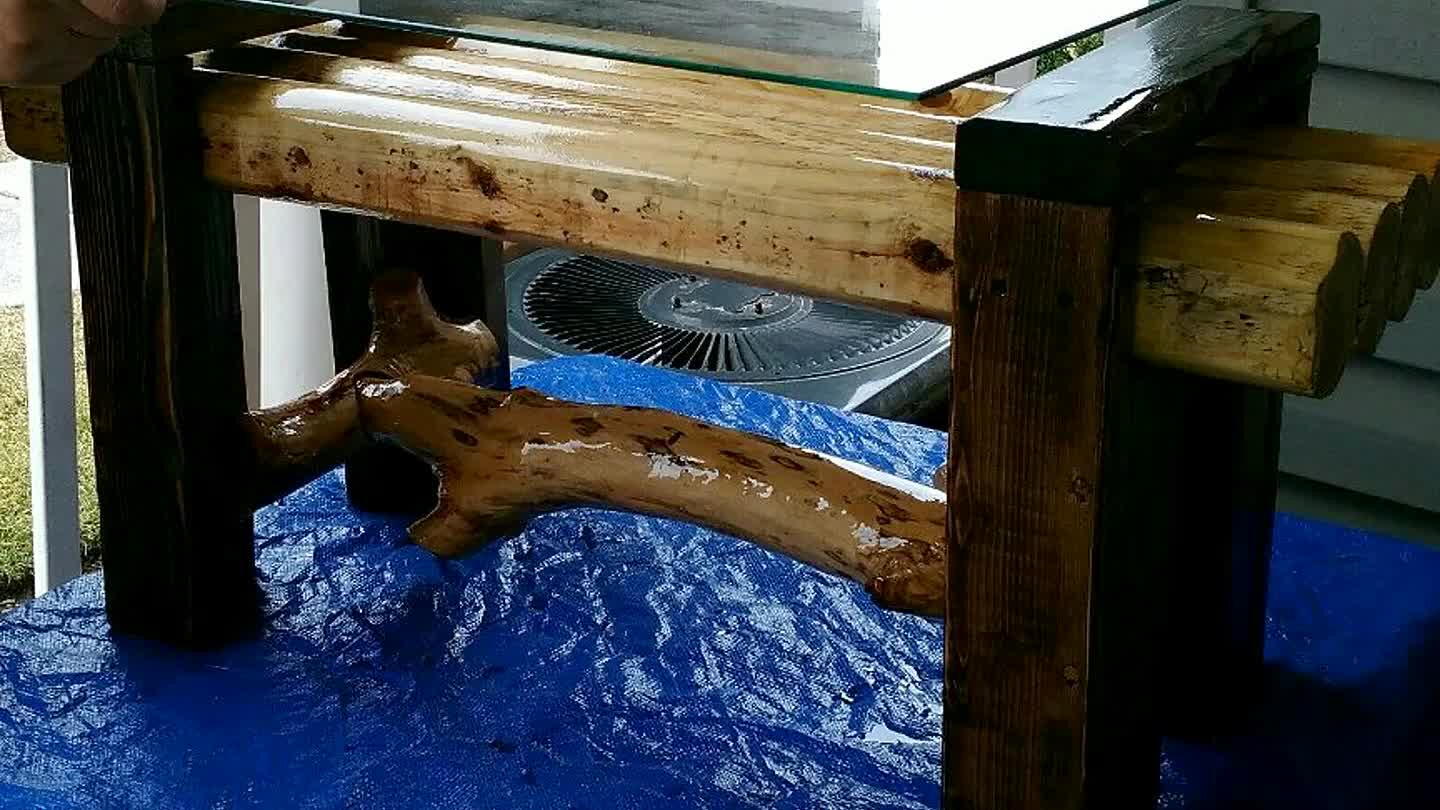
throwing on the final piece to protect the wood top n for the customer to have a flat surface
8
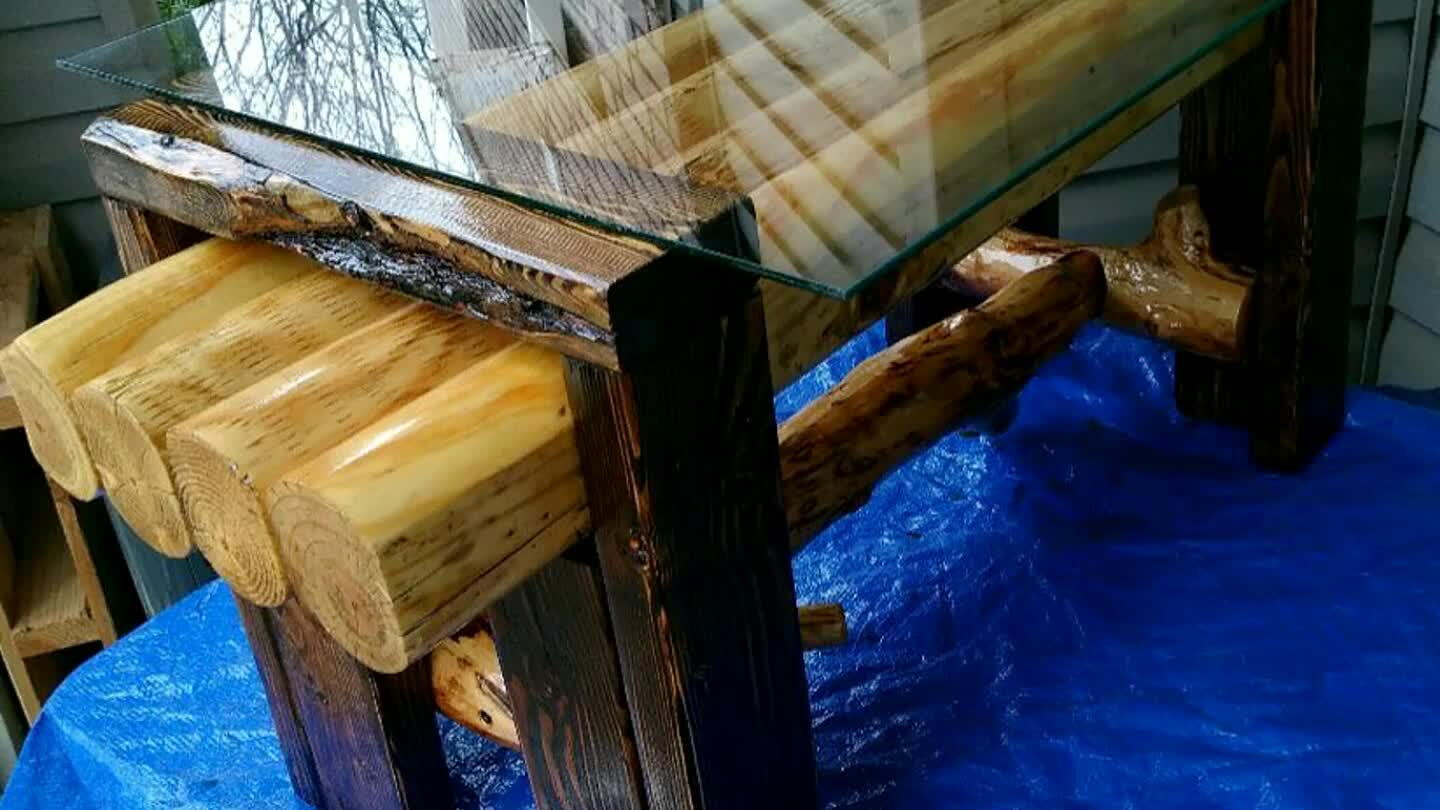
finished project with glass hinges..
9
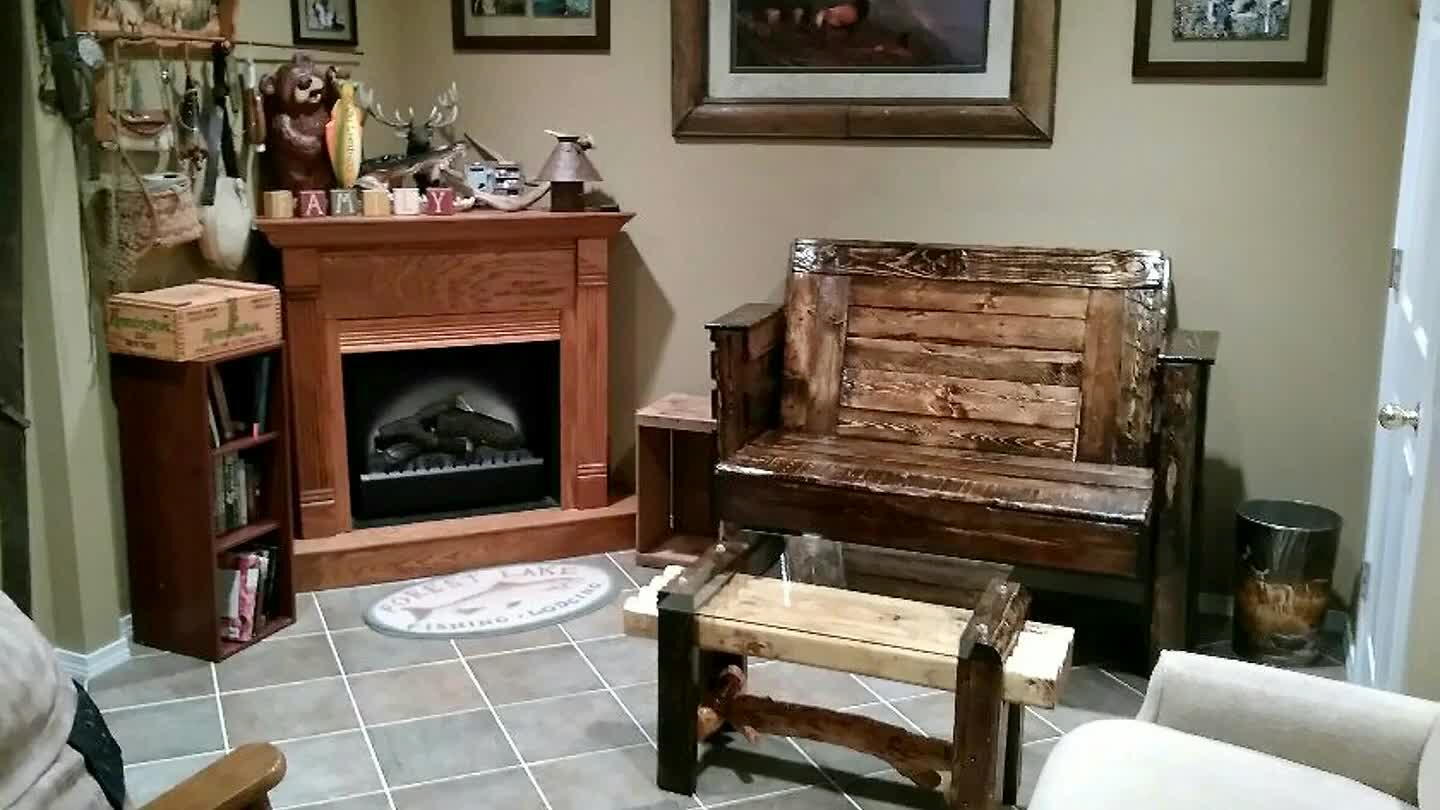
these customers bought 2 of my projects to give it a matching set..
Comments