Tool Bench
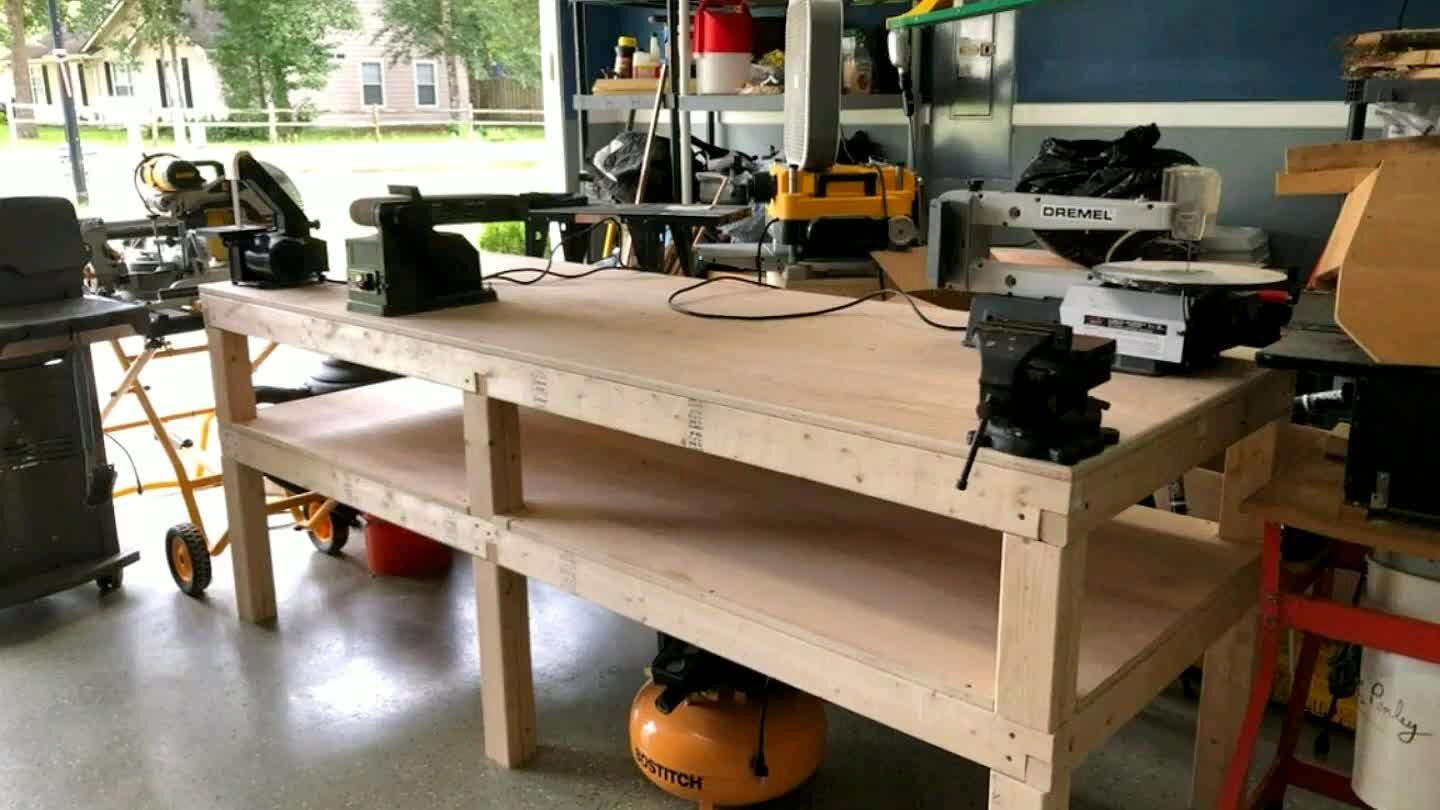
3'x8' bench to hold sanders and saws

I needed a bench for my belt sanders, vice, and scroll saw. This also doubles as sturdy storage. I hope to eventually add it's own dust collection system.
What you will need
14x 2x4s Pine
2x 3'x8'x3/4" Plywood
Wood Glue
Screws or Nails (Optional)
How to do this project
1
Purchase the materials
My materials (wood only) cost me ~$150 at Lowe's using their Birch Veneered plywood.
2
Build 6 Legs: Cut
I built my legs to be 3 feet long with a shelf that let me put 18 inch equipment under the table. To do this I cut 6 each of 36", 18.5", and 10.5". This leaves a 3.5" spaces in the middle and top for the cross braces.
3
Build 6 Legs: Glue
To make the legs glue and nail/screw/clamp the 18.5" piece onto the 36" piece. Ensure that the bottoms are flush as this will be the feet of the table. Next use scrap 2x4 to use as a spacer then attach the short 10.5" piece. There should be another 3.5" space at the top.
4


To make the outer leg assembly cut 4 36" blanks from the 2x4s. Next cut a 1.5"x1.75" cutout from the same edge on both sides. The 1.75" cut should be from the edge so that half the width is cut out. On the top piece (two total) cut the same cutout but centered in the middle so that a support can run the length of the top.
5
Outer Leg Assembly: Assembly
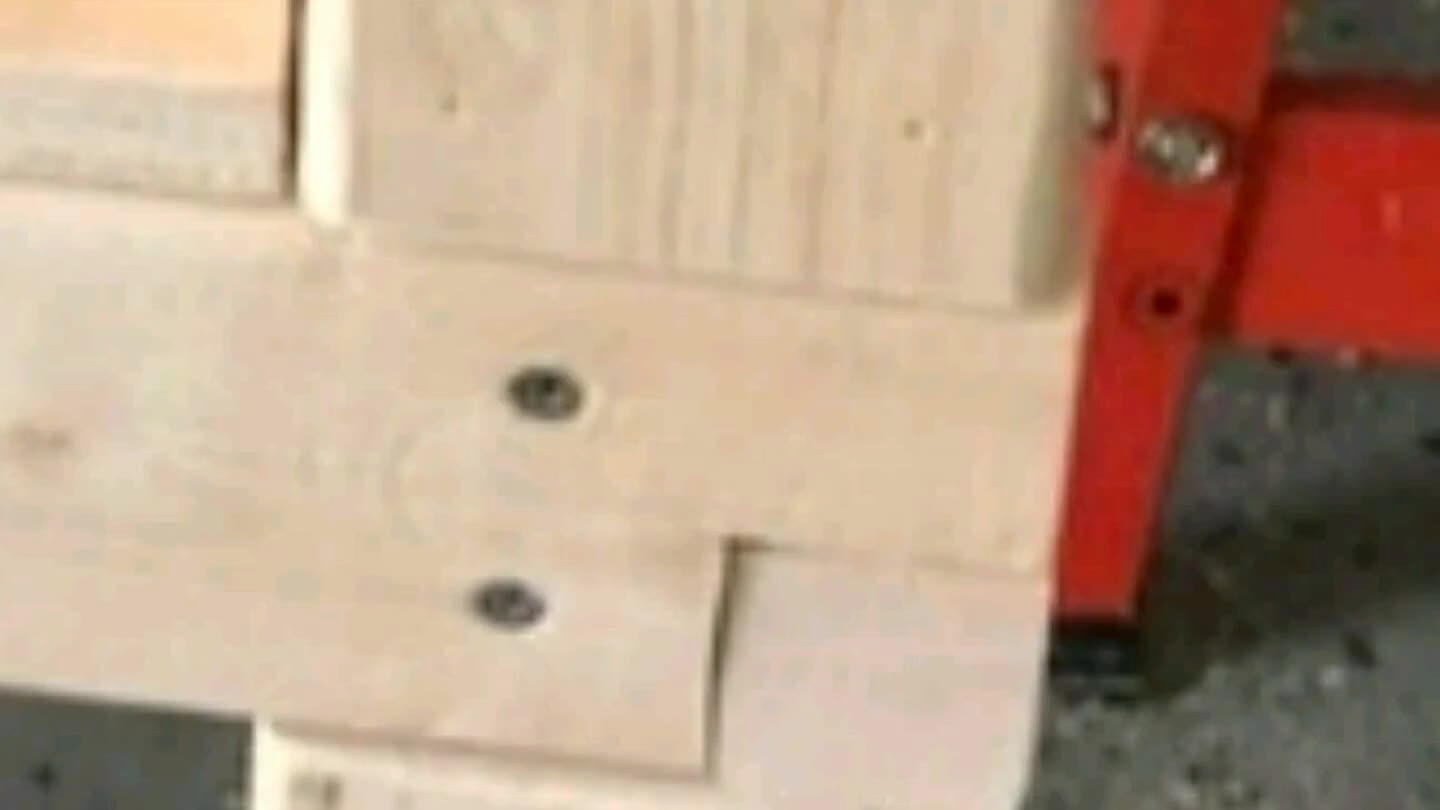
Next cut out a 3.5"x1. 75" from the same edge (top and bottom) of the legs. This should allow you to fit in and glue the cross braces in. If done correctly you should only fill up half the cutout area so the long braces can fit in the same.
6
Inner Leg Assembly
Repeat steps above except DO NOT attach the braces as these will be need to be added after the shelf is installed.
7
Long Braces
Take 5 8' 2x4s and cut out the same corners as the short braces and cut the same center cuts. Now you should be able to dry fit the entire frame.
8
Shelf Cut and Installation
Cut out 3.5"x3" cuts out of the corners and center edges to let the shelf lay into the frame. To install you will need to rough set up the frame, lay in, then push or lightly hammer the frame snug. I screwed the shelf in so the bench can come apart at a later date.
9
Finish the Frame
Screw and or glue the frame together so that the top can be set on.
10


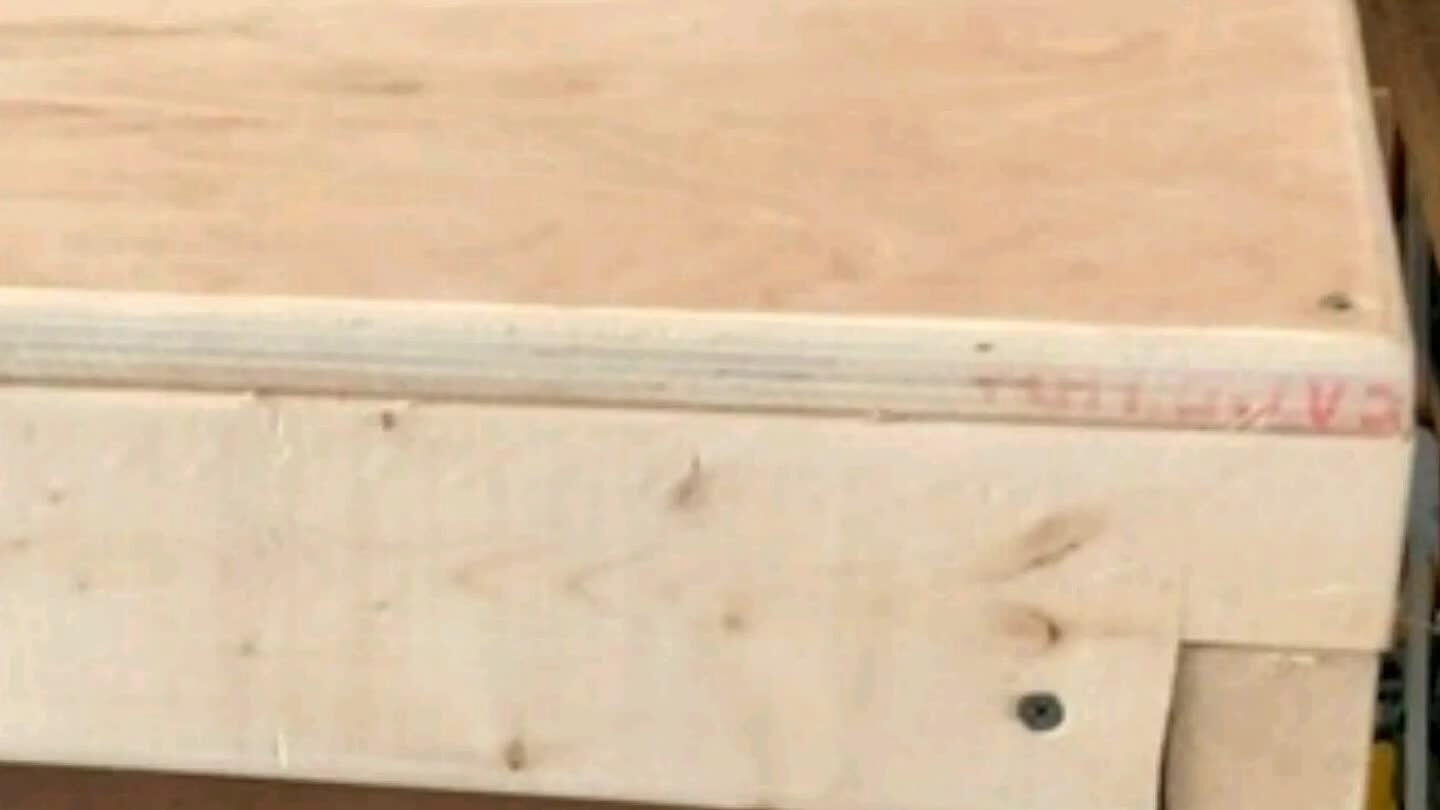
Lay on the top and screw down. I also used a 1/4" round over to round my edge all the way around.
11


Mount up tools by first setting out and determining the layout you want ensuring there is space between the tools to work your piece.

Comments