Hamburguer icon
Craftlog logoWoodwork

cooking

woodwork

home

sewing

Magnifying Glass
Magnifying Glass
  1. Categories

  2. World Cuisine

  3. European

  4. Western European

  5. Mediterranean

  6. Italian

Walnut Slab Sink

with epoxy coating

Play
PlayPause
👍   57😃   3👌   2😄   2
 
Rafael Sanches avatar
Video made by Rafael Published on 06/03/2016, viewed by 2547 , 7 Comments

My wife and I done this over the weekend when our house was being remodeled. It was very easy for the construction guys to fit it with the tiles.

What you will need

Ingredients

Thick Walnut slab

Epoxy top coat

Oil based top coat

80 grit sand paper

120 grit sand paper

Tools

Sander

Saw to cut straight

How to do this project

1

Play

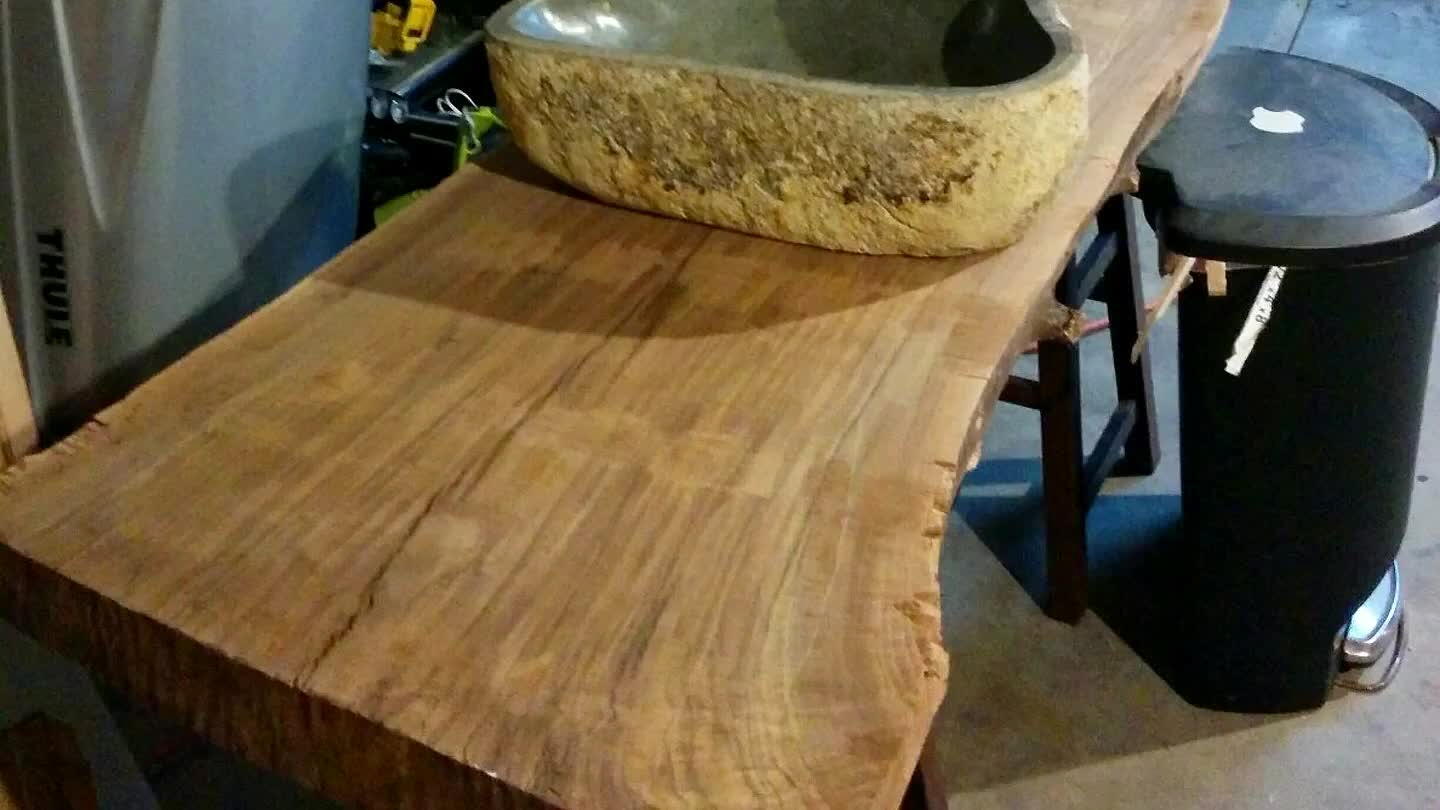
Try to visualize how things will be put together.

2

Play

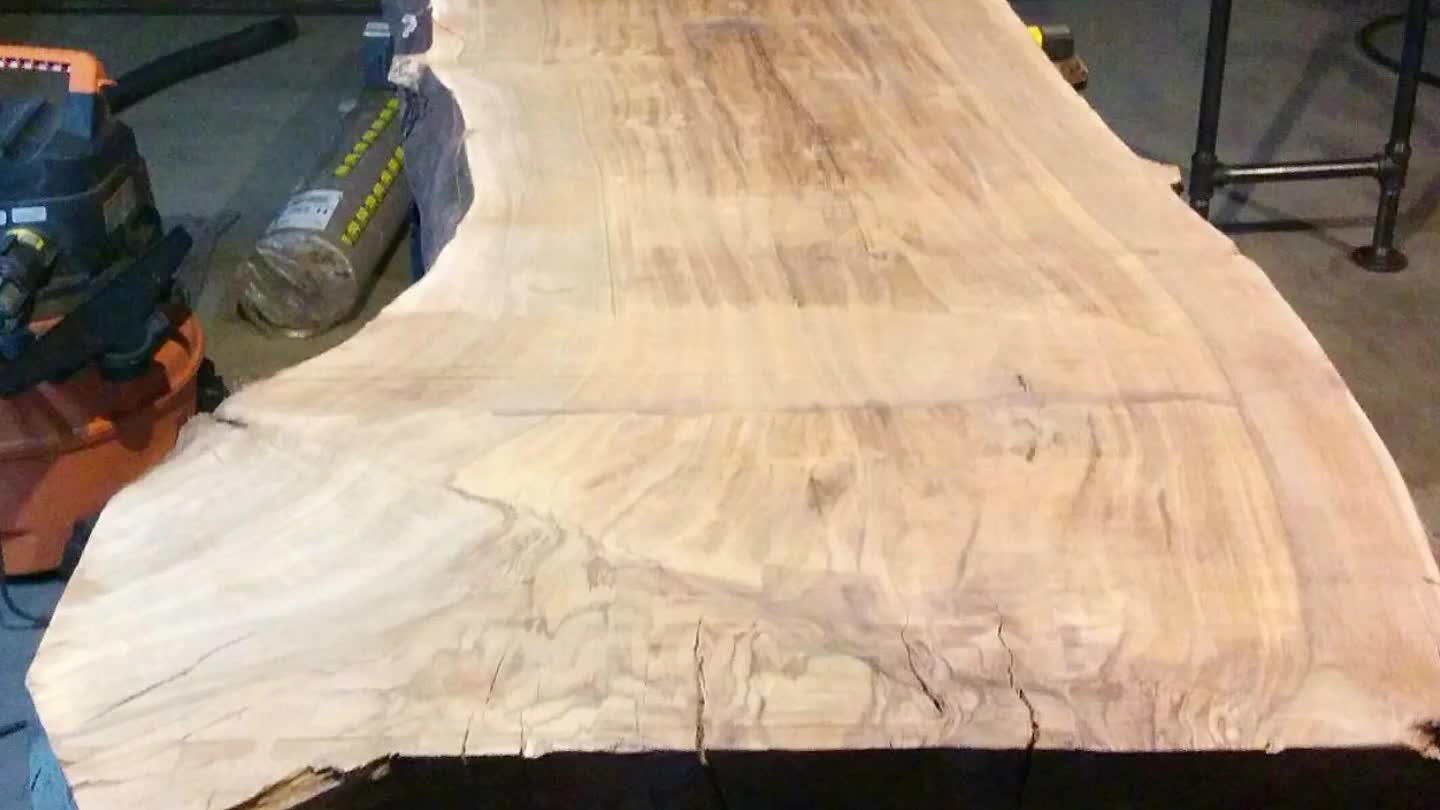
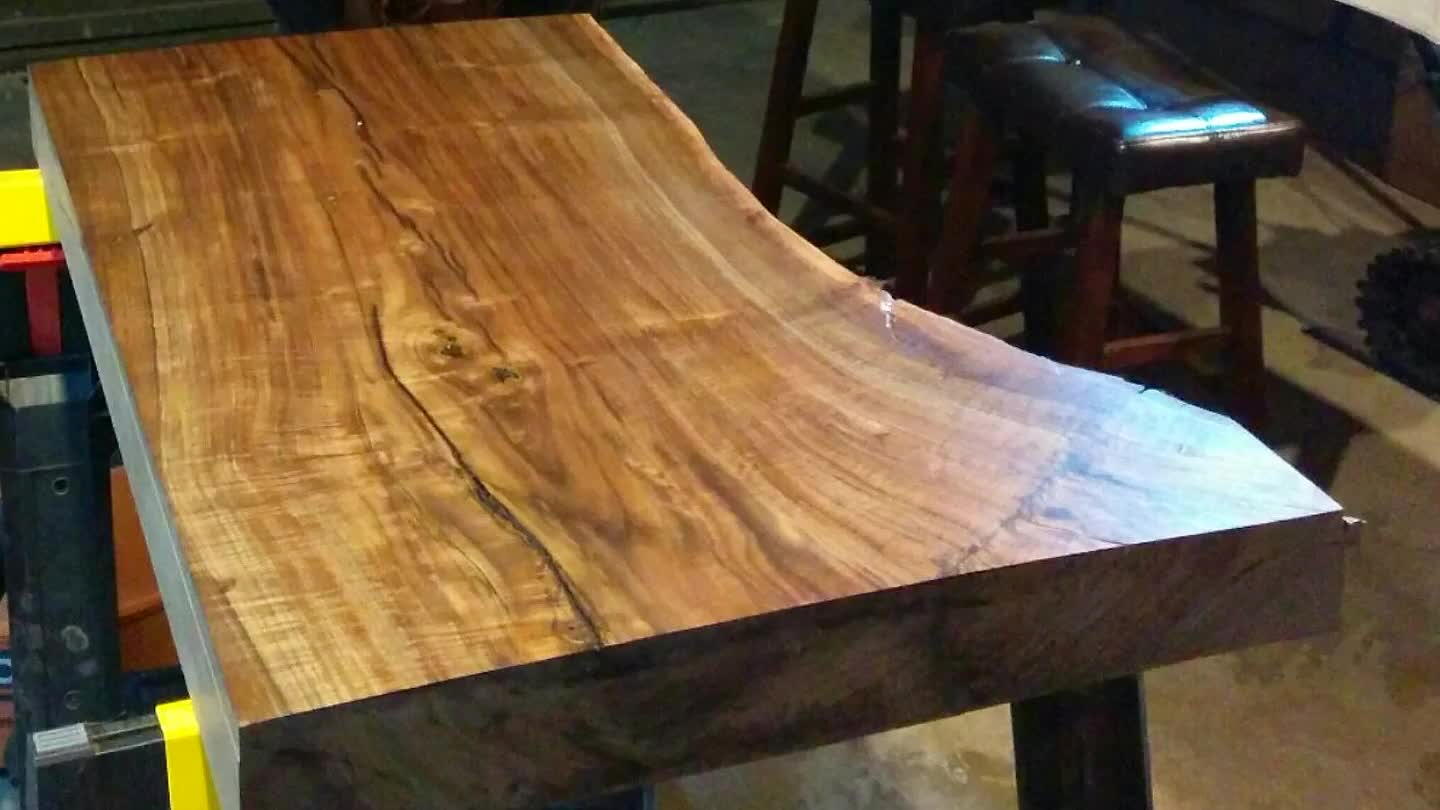
This is the original piece of wood.

3

Play

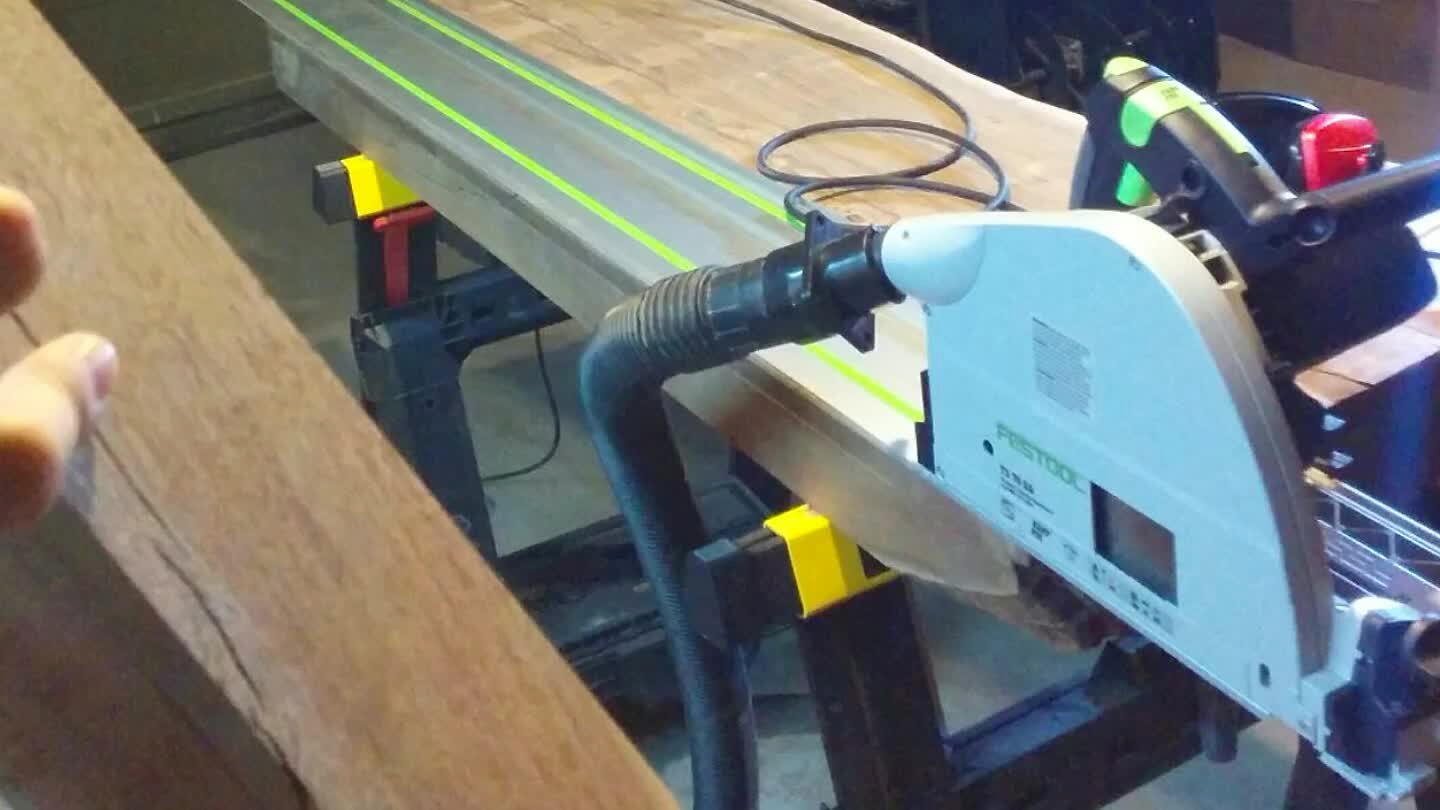
Make it square to the walls where you're going to place it.

4

Play

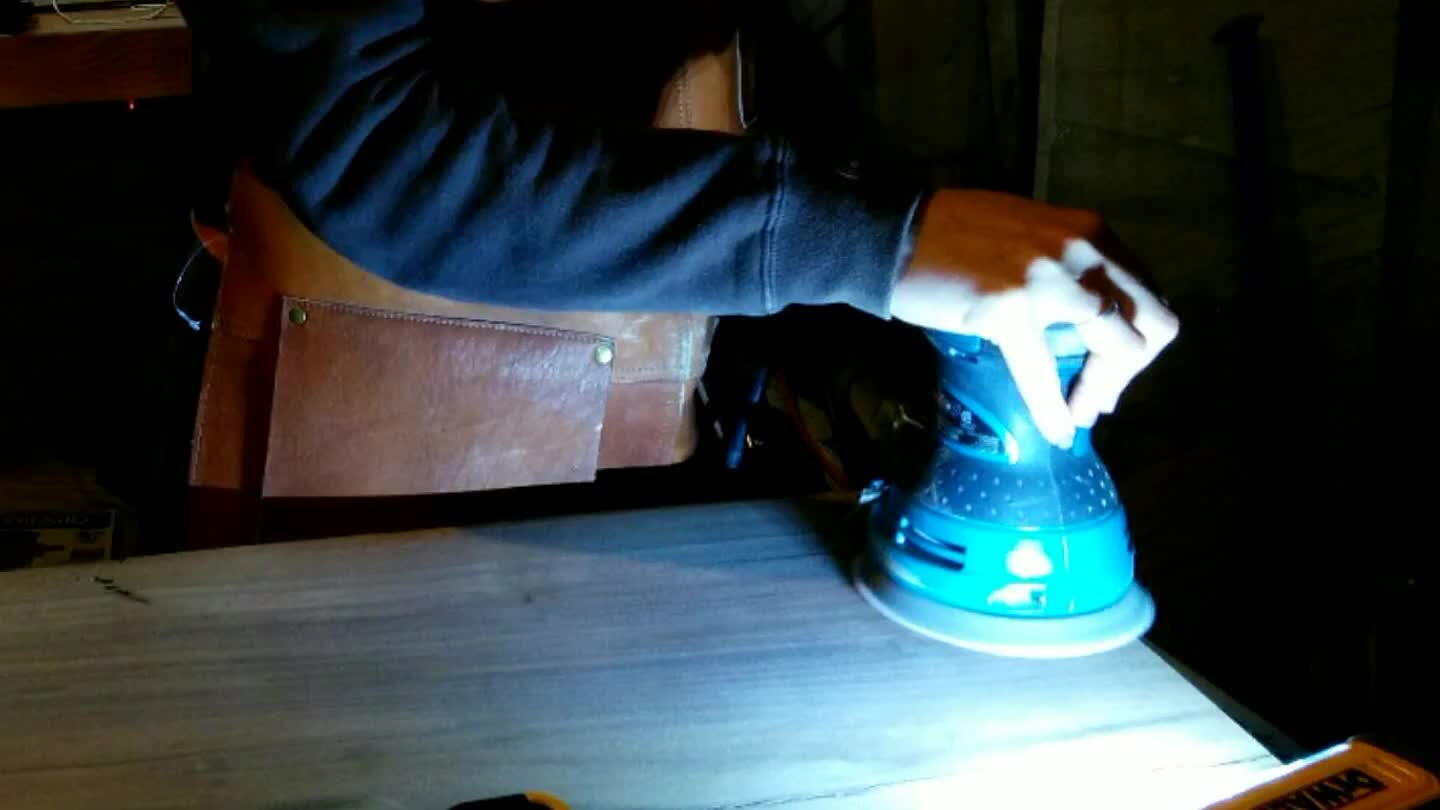
Sand it till smooth enough. I think we did 80 grit and 120 grit.

5

Play
s is how it would look without the epoxy, which I like a lot more but it doesn't give same amount of protection for a bathroom sink.

We did one first coat using arm-r-seal, which is an oil based top coat. This is how it would look without the epoxy, which I like a lot more but it doesn't give same amount of protection for a bathroom sink.

6

Play
n't drip.

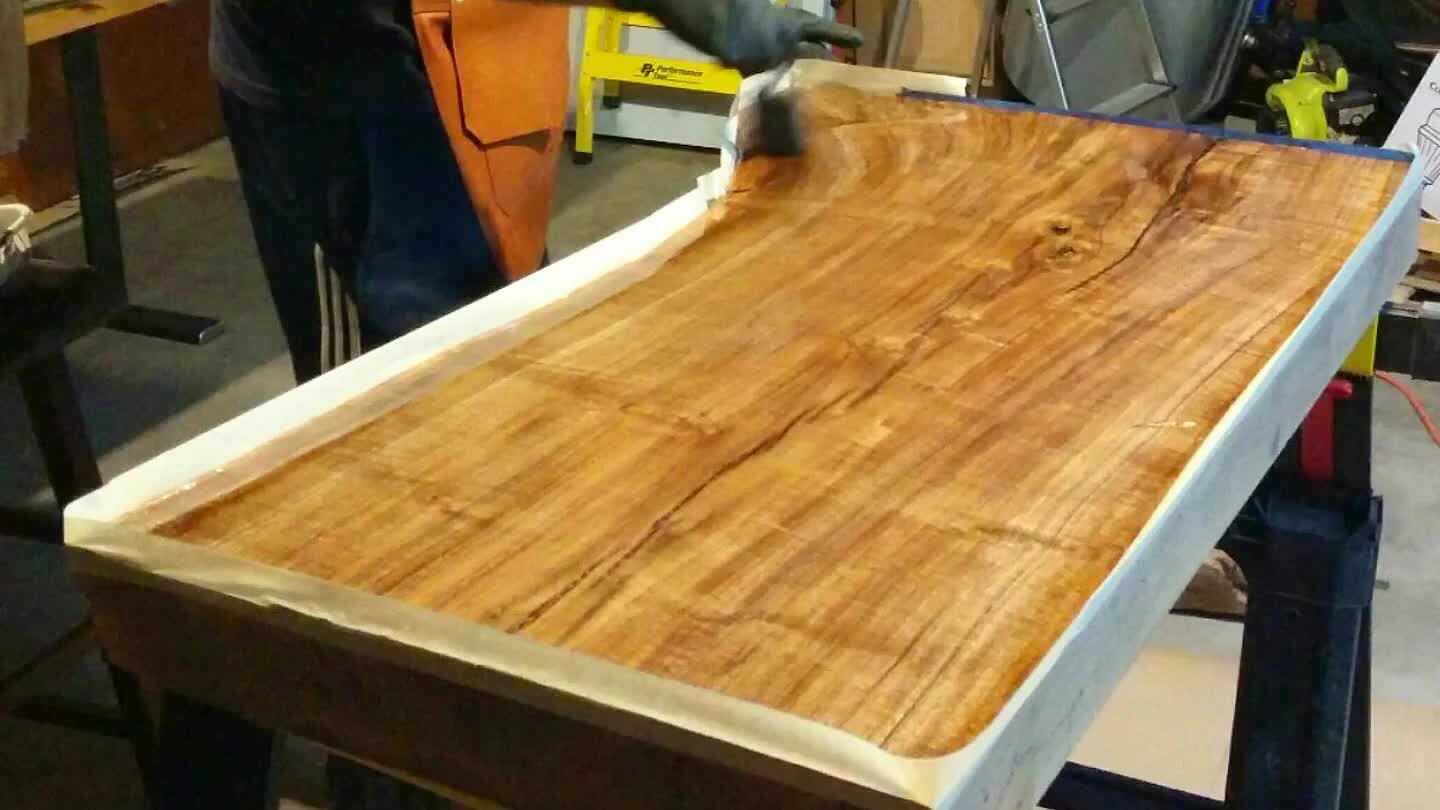
Apply the epoxy and use painters tape all around the piece, so the epoxy won't drip.

7

Play
 the epoxy coats.

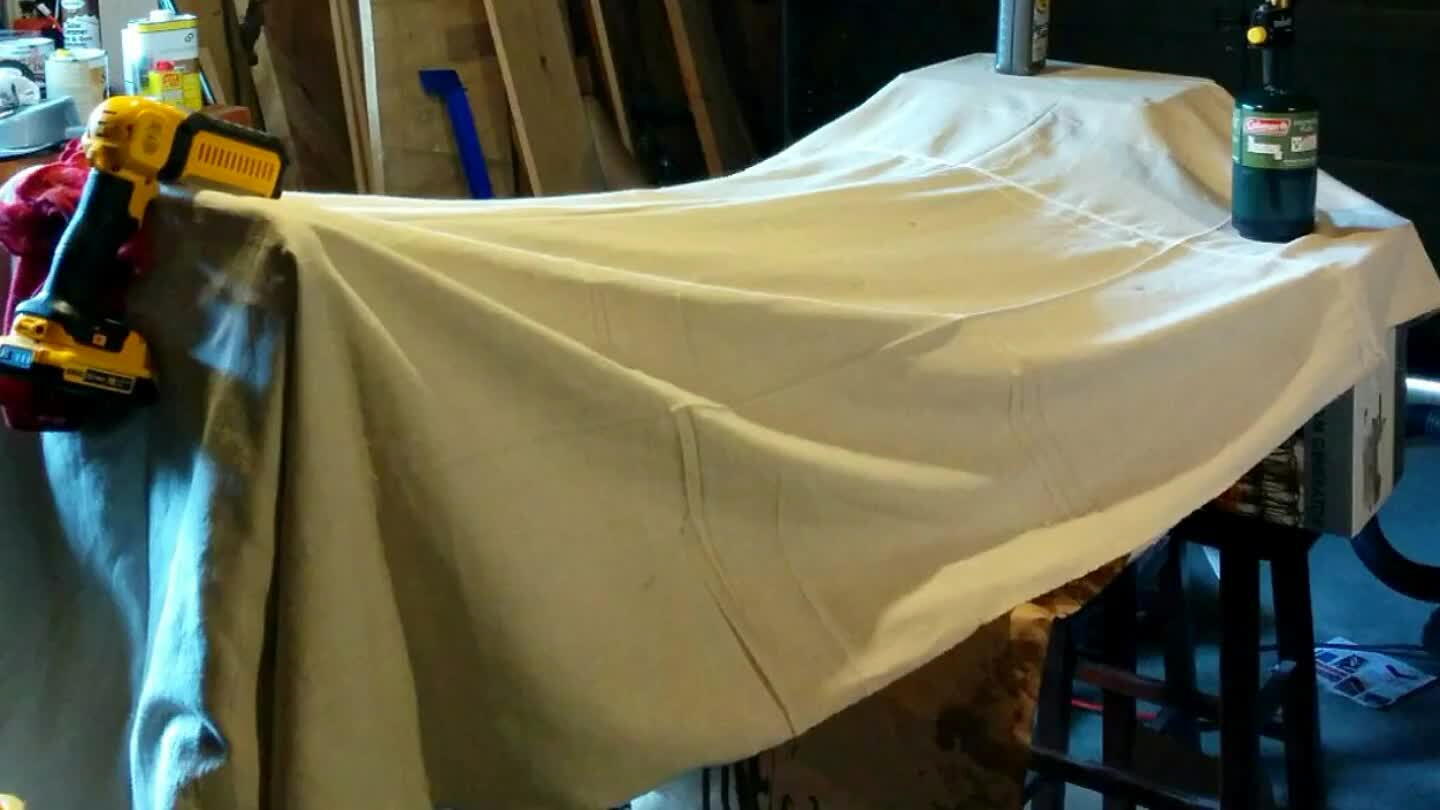
We left the piece drying like this to prevent the dust on the air to set on the epoxy coats.

8

Play

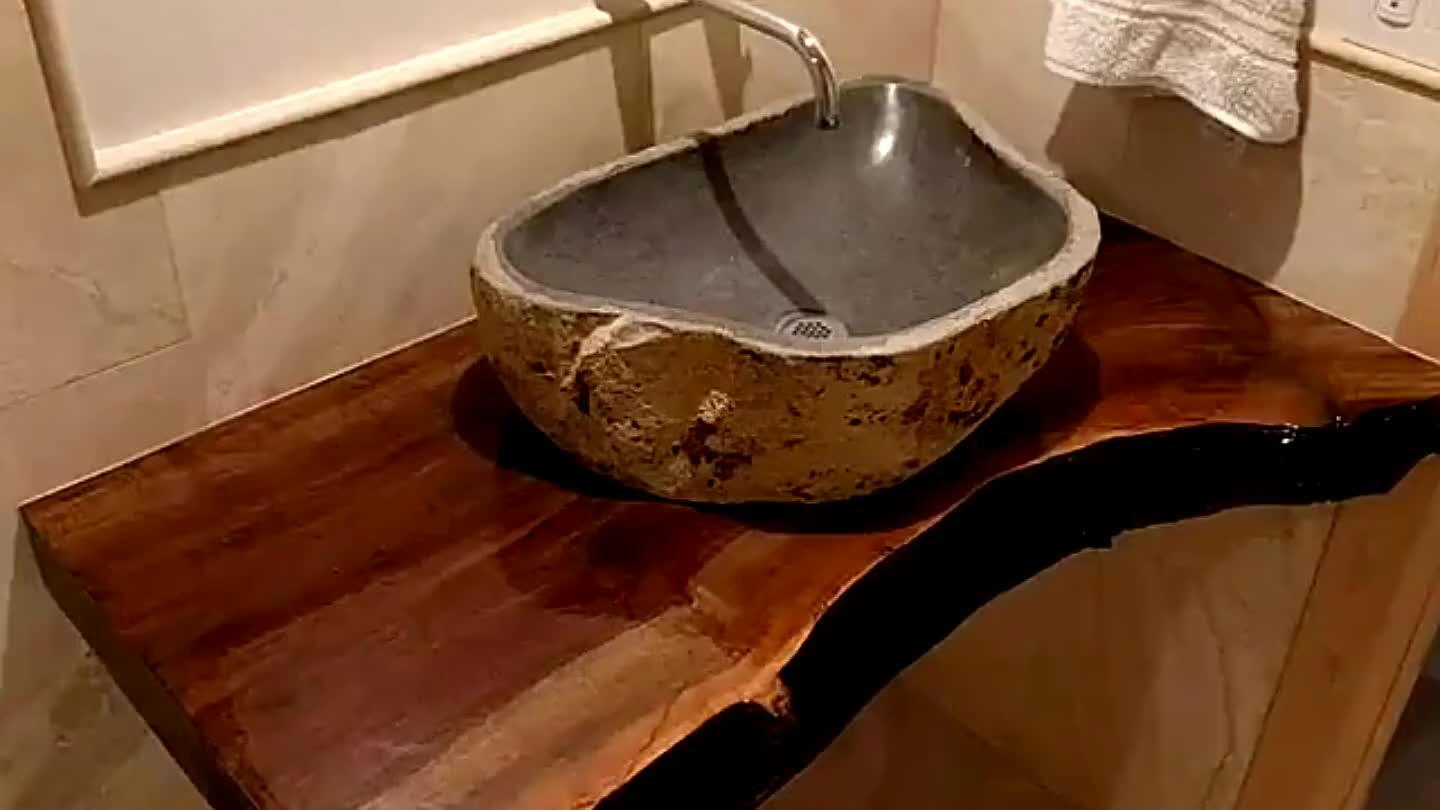
Here's a quick view of the whole thing with the bottom part.

How to make

Organization

Wood

Epoxy

Box

Woodwork

Walnut

Kids

Pantry

Baby

Wood Sink

Comments

Avatar placeholder
Justin Tillman avatar
Justin Tillman
08/10/2016 ☰
That looks beautiful! I would love to do something similar in my bathroom. Great job!
See Translation
👍 1
Rafael Sanches avatar
Rafael Sanches

Thank you so much for the compliment! We were very lucky we had the chance to do this while the tiles weren't up yet. Very easy to do if you think about!

Avatar placeholder
Jim Gilbert avatar
Jim Gilbert
09/06/2016 ☰
Where do you get your wood slabs from? And when squaring up the sise did you only use your trac saw? That is a really deep cut! Its beautiful.
See Translation
Rafael Sanches avatar
Rafael Sanches

I've got these pieces at http://www.macbeath.com/ . They did the straight edging for me, with a big machine. It was square enough to glue. Notice the tracksaw pieces were used in the outside, so I didn't bothered to check it was squared. Love the fastool track tough.

Avatar placeholder
Jim Gilbert avatar
Jim Gilbert
09/06/2016 ☰
I will have to check that out. Thank you for the reply.
See Translation
Rafael Sanches avatar
Rafael Sanches

Im just starting. Thank you so much for inspiring us all with your amazing projects. Please post more if you can!

Avatar placeholder
show all responses
Craftlog logo Craftlog 

US

Home page

Cooking

Woodwork

Home

Sewing

—

Contact

Categories

Privacy Policy

Copyright Policy

Countries

It's lightweight, fun and free. Enthusiastic carpentry community.It's lightweight, fun and free. Enthusiastic carpentry community.
Craftlog on FacebookCraftlog on Instagram