
All Butter Pie Crust


 1 portions
 40m
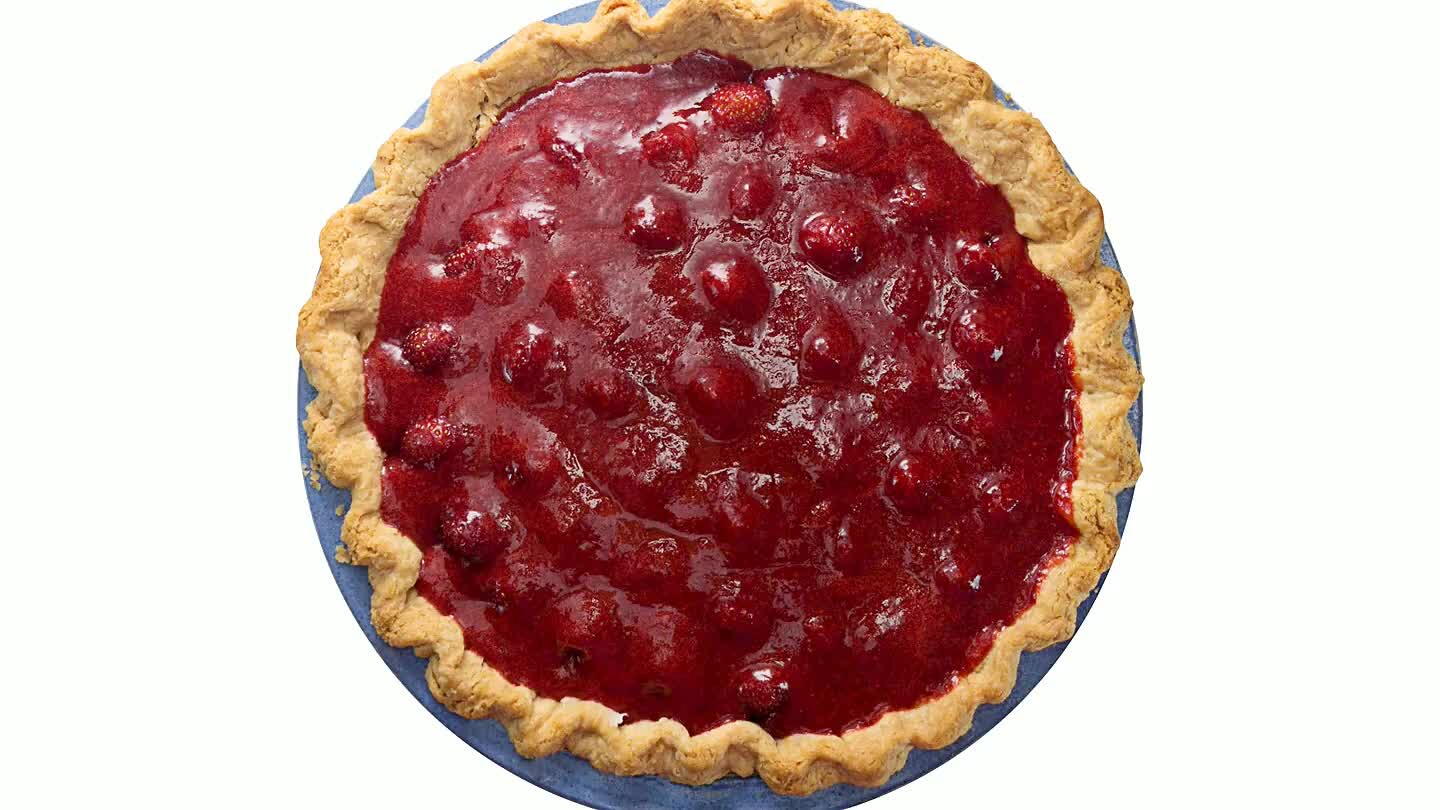
40mI think everyone needs a perfect flaky all-butter pie crust recipe in their repertoire. This is for a single crust, double the recipe if you need a double crust. In this recipe I will also show you how to blind-bake for a recipe with a no-bake filling!
What you will need
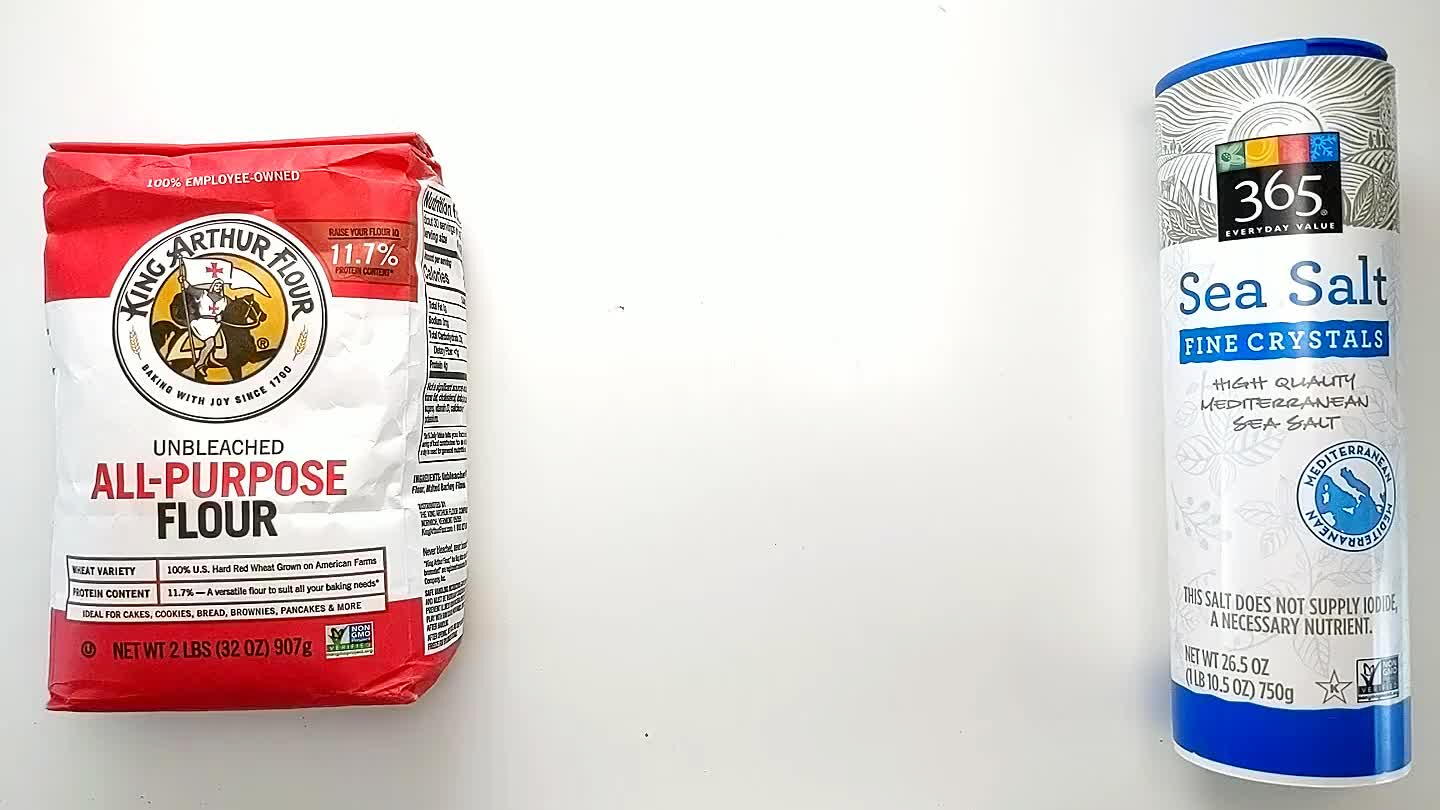
1 ¼ cups AP Flour
¼ tsp Salt
10 Tbsp Unsalted Butter
2 to 4 Tbsp Cold Water
(Nutritional facts 525 calories, 38.68 g fat, 39.71 g carbohydrates, 5.45 g protein, 100 mg cholesterol, 196 mg sodium)How to cook
1
2
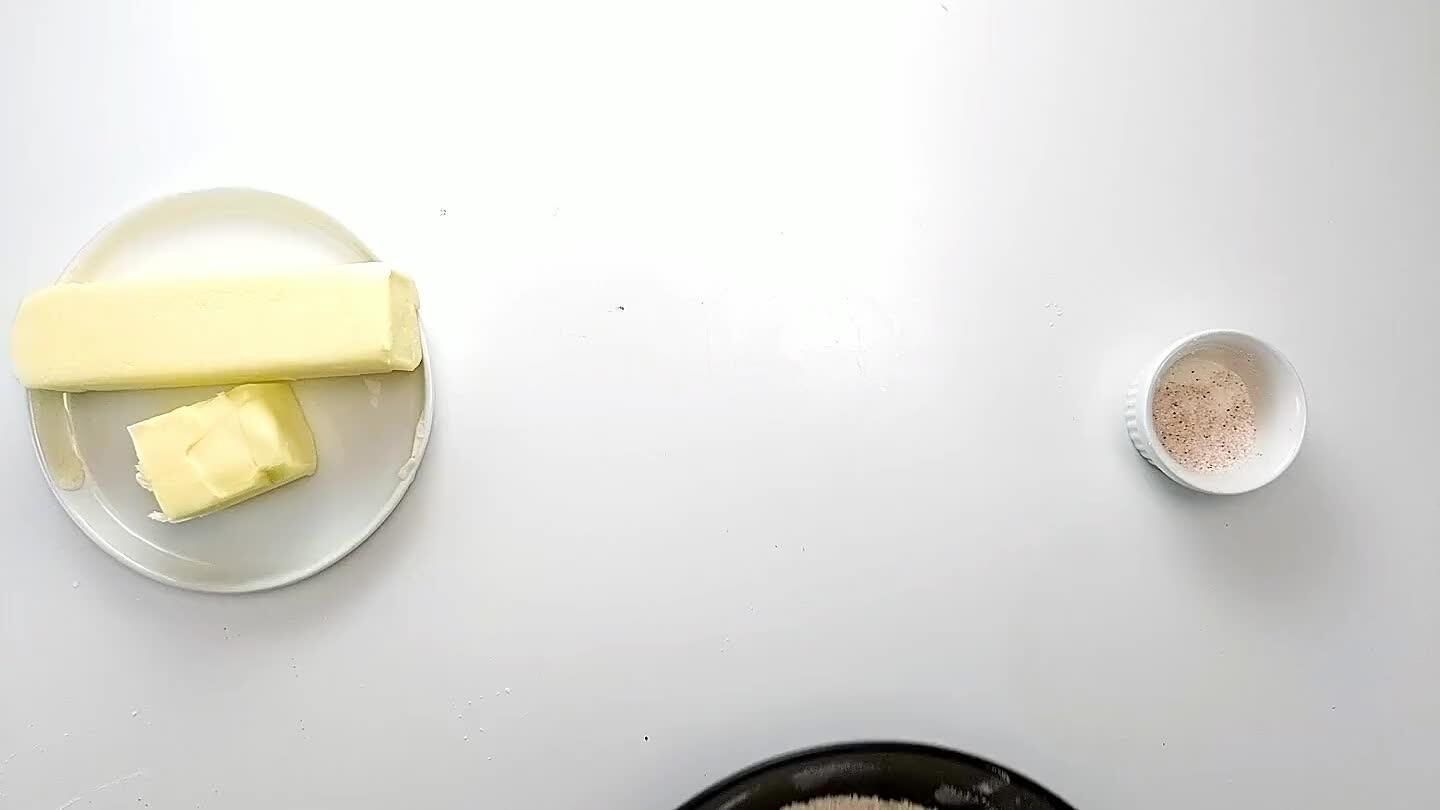
Gather and portion ingredients. Make sure your butter is very cold and just out of the fridge. If it is not super cold, the dough will be too sticky and unworkable.
3
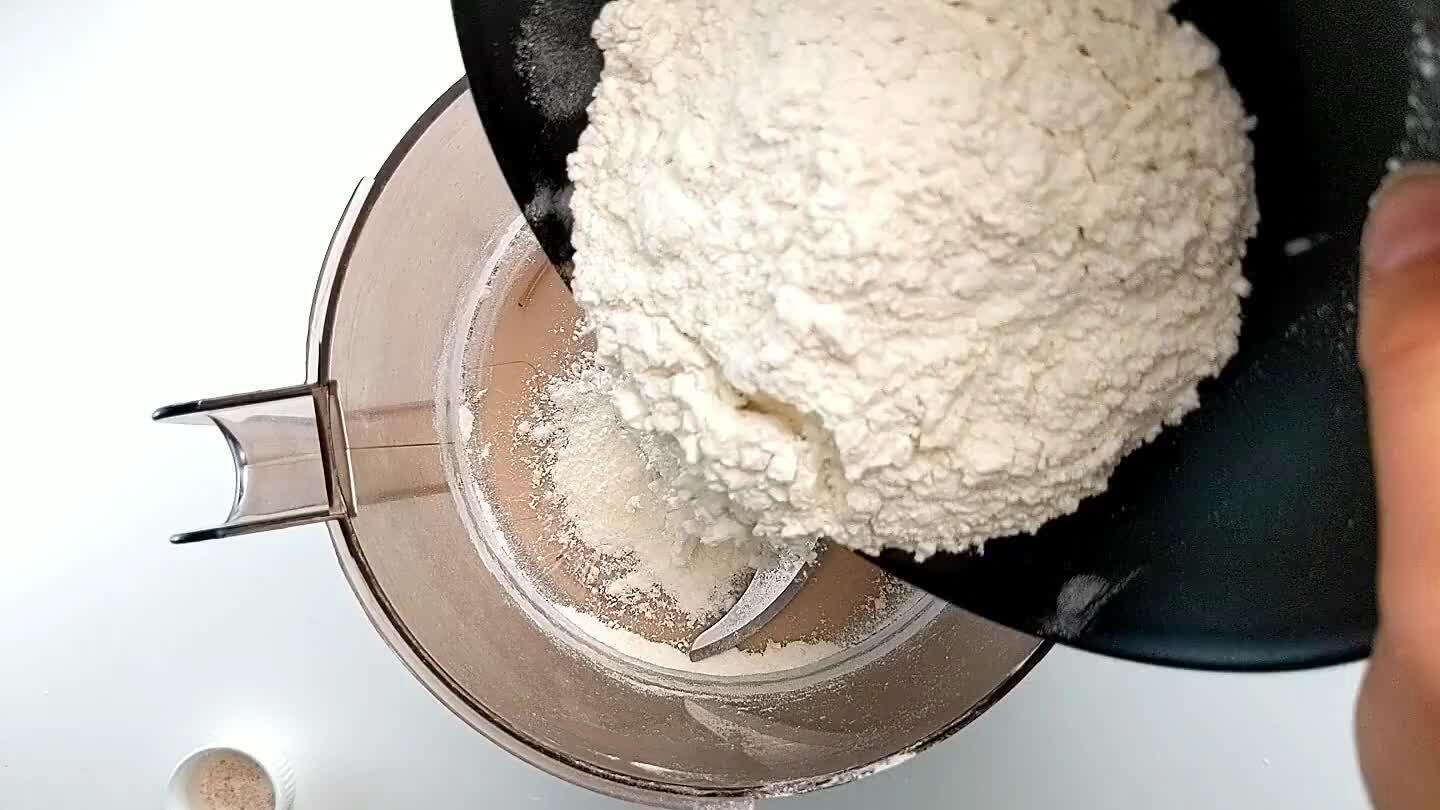
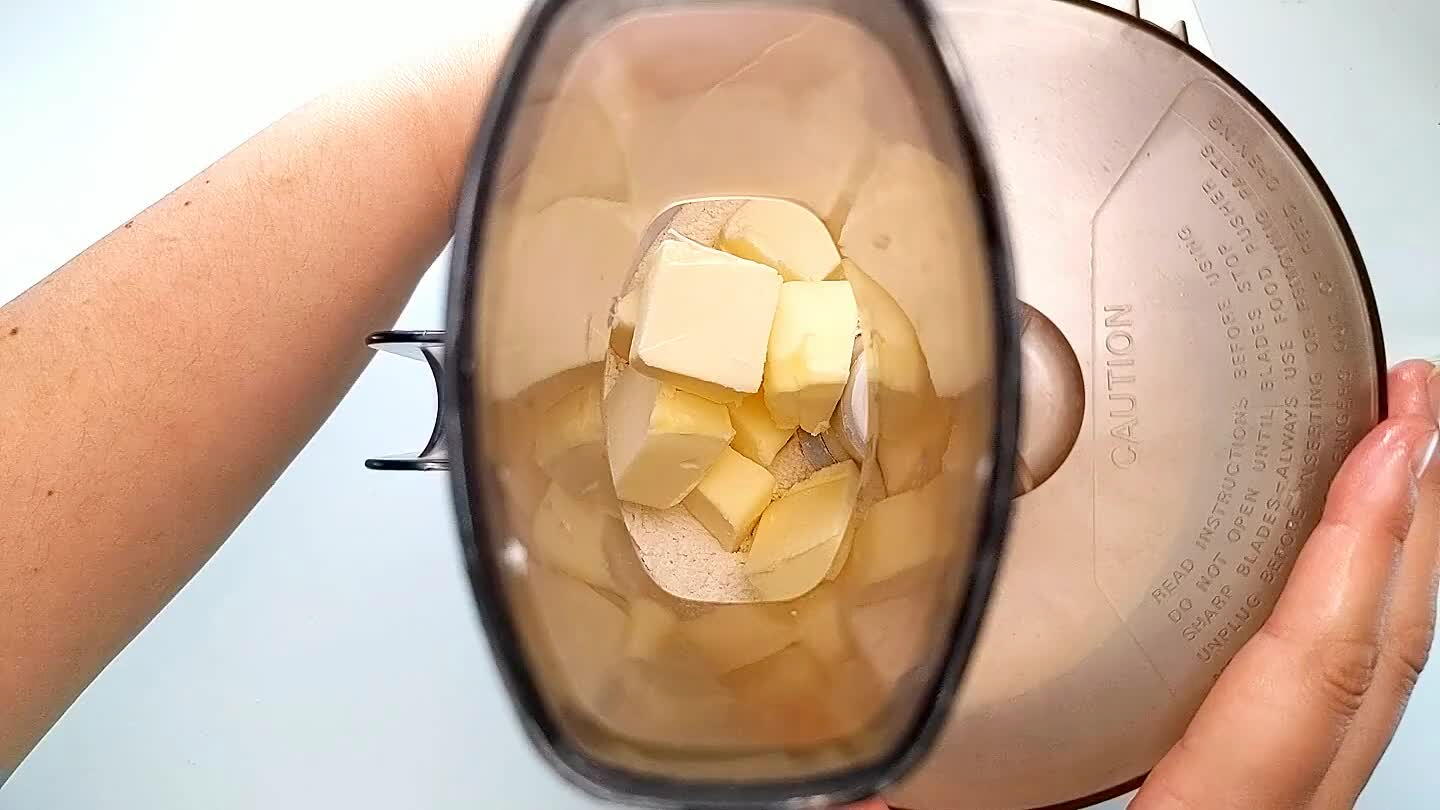
Add flour and salt to the base of a food processor. Pulse a few times to combine the salt and flour.
4
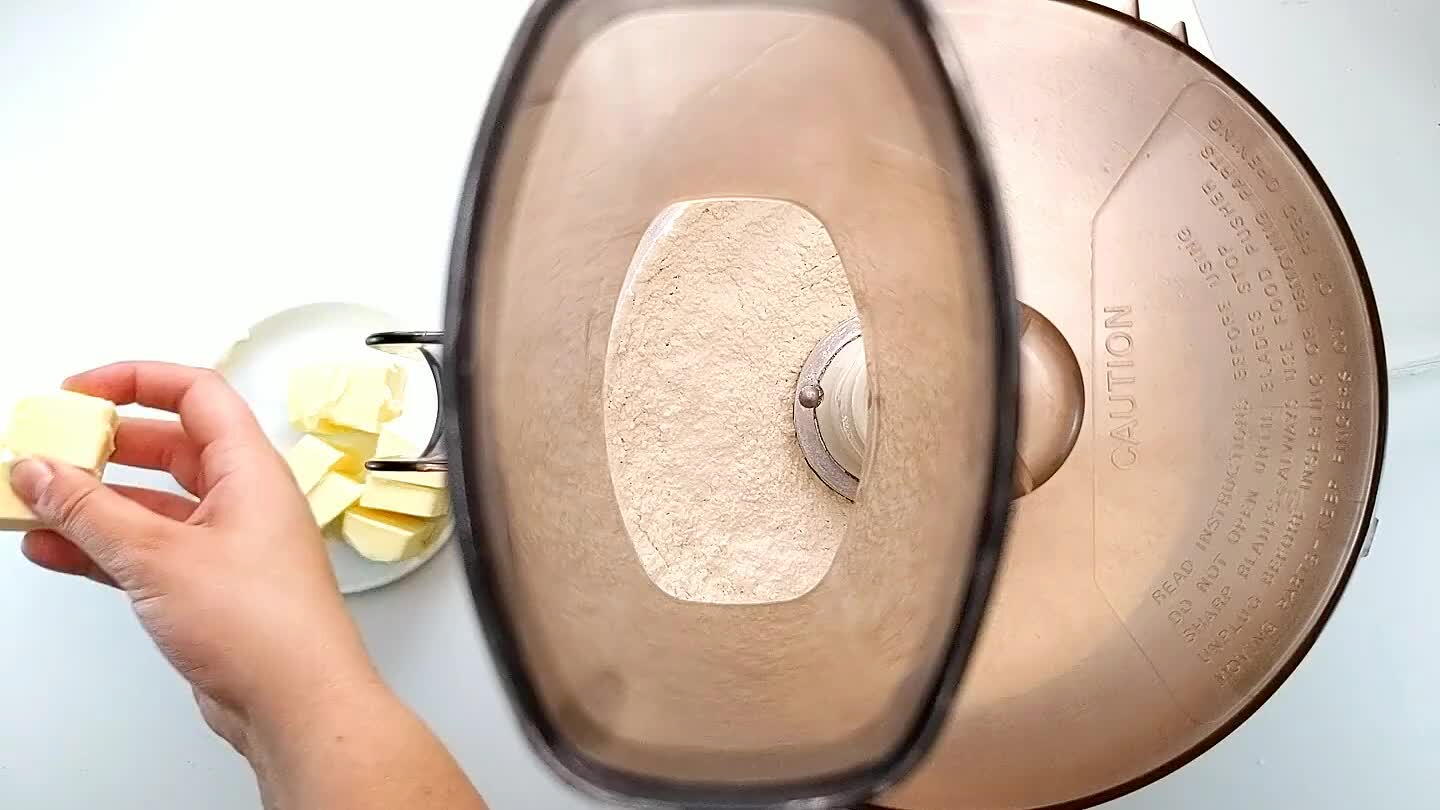
Cube your very cold butter into tablespoon sized pieces and drop into the flour/salt mixture.
5
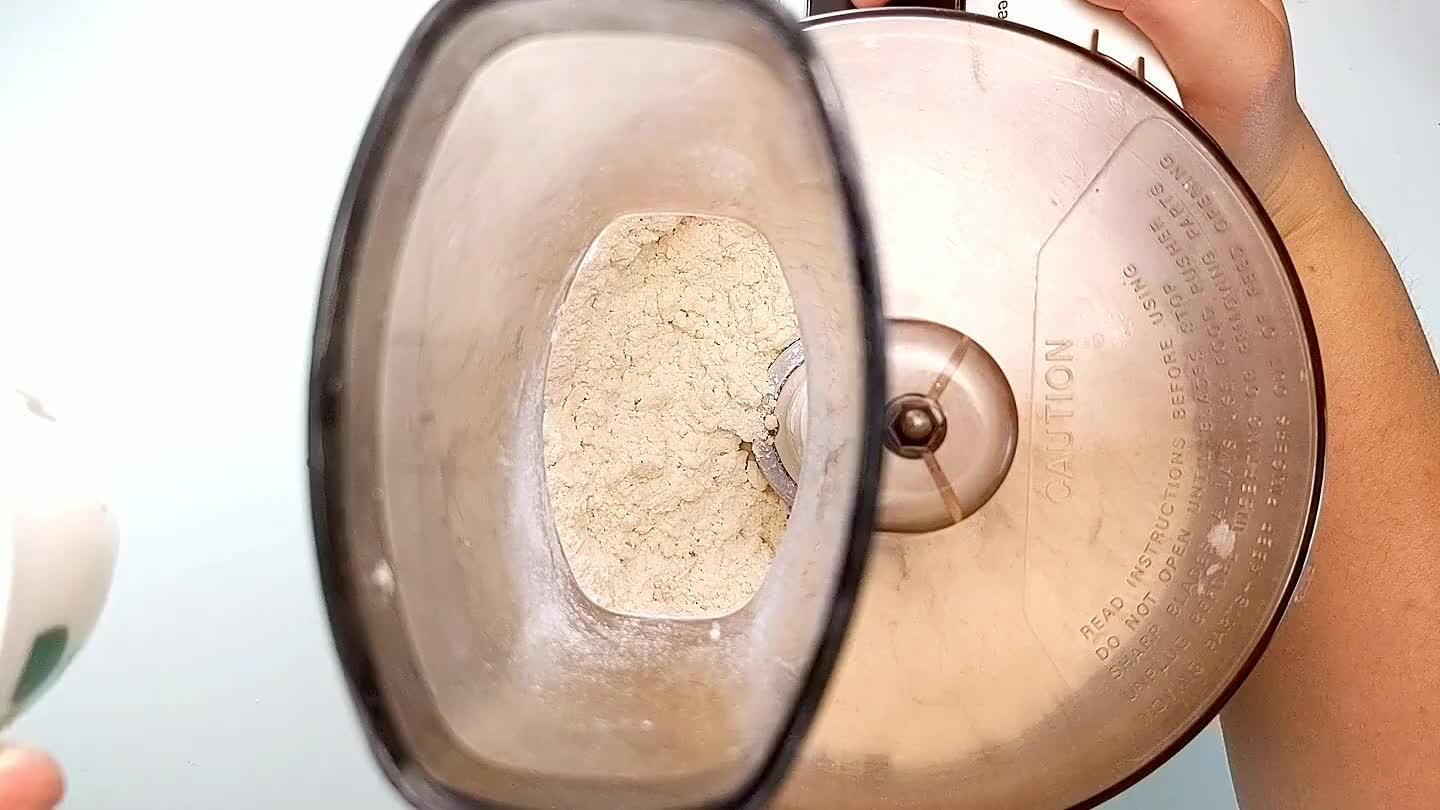
Pulse the food processor with the cubed butter added until the mixture resembles sand with some larger pea-sized pieces of butter.
6
Stream in the water while pulsing the food processor. Start with 2 tablespoons.
7
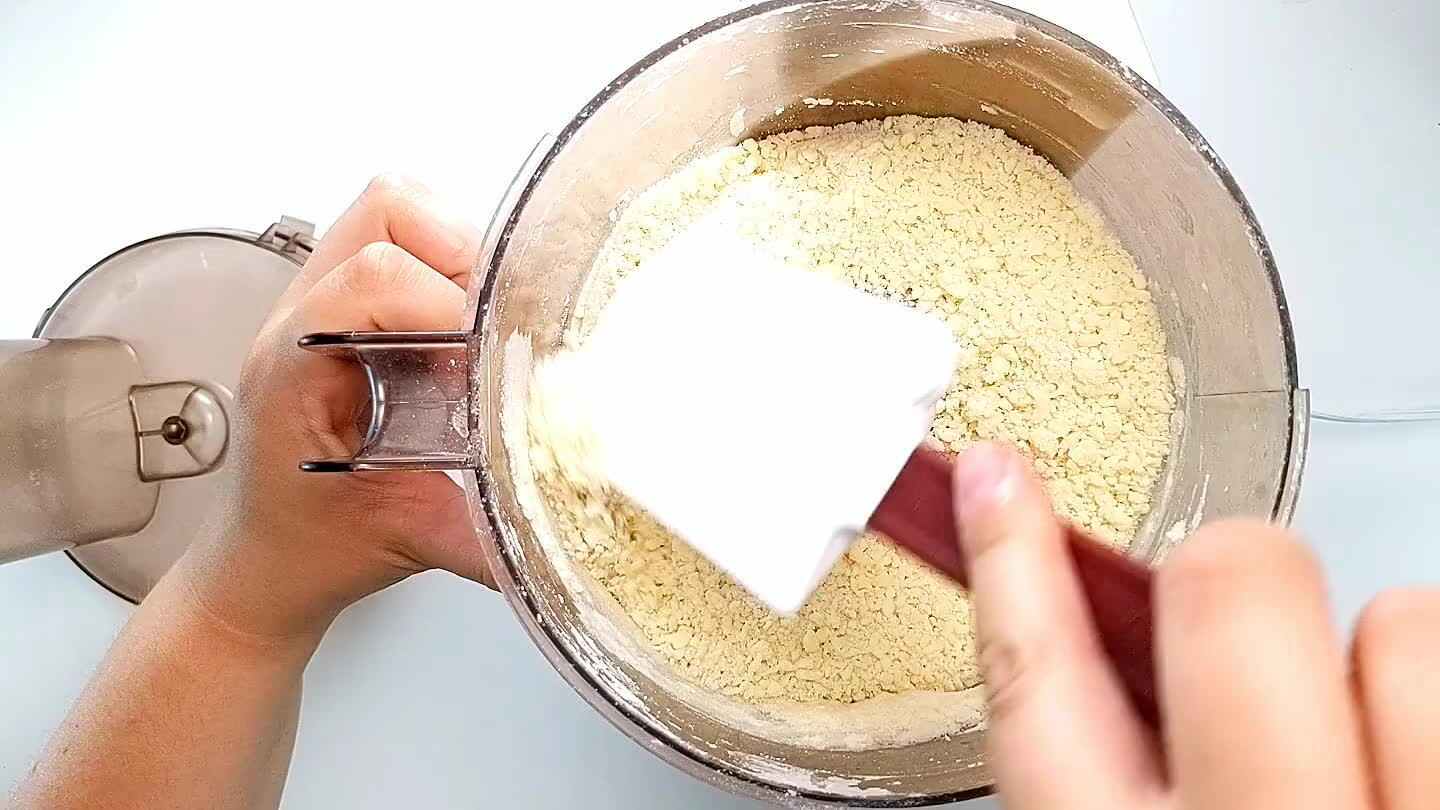
Scrape the edges and make sure all the wet pieces are not sticking to the sides or bottom.
8
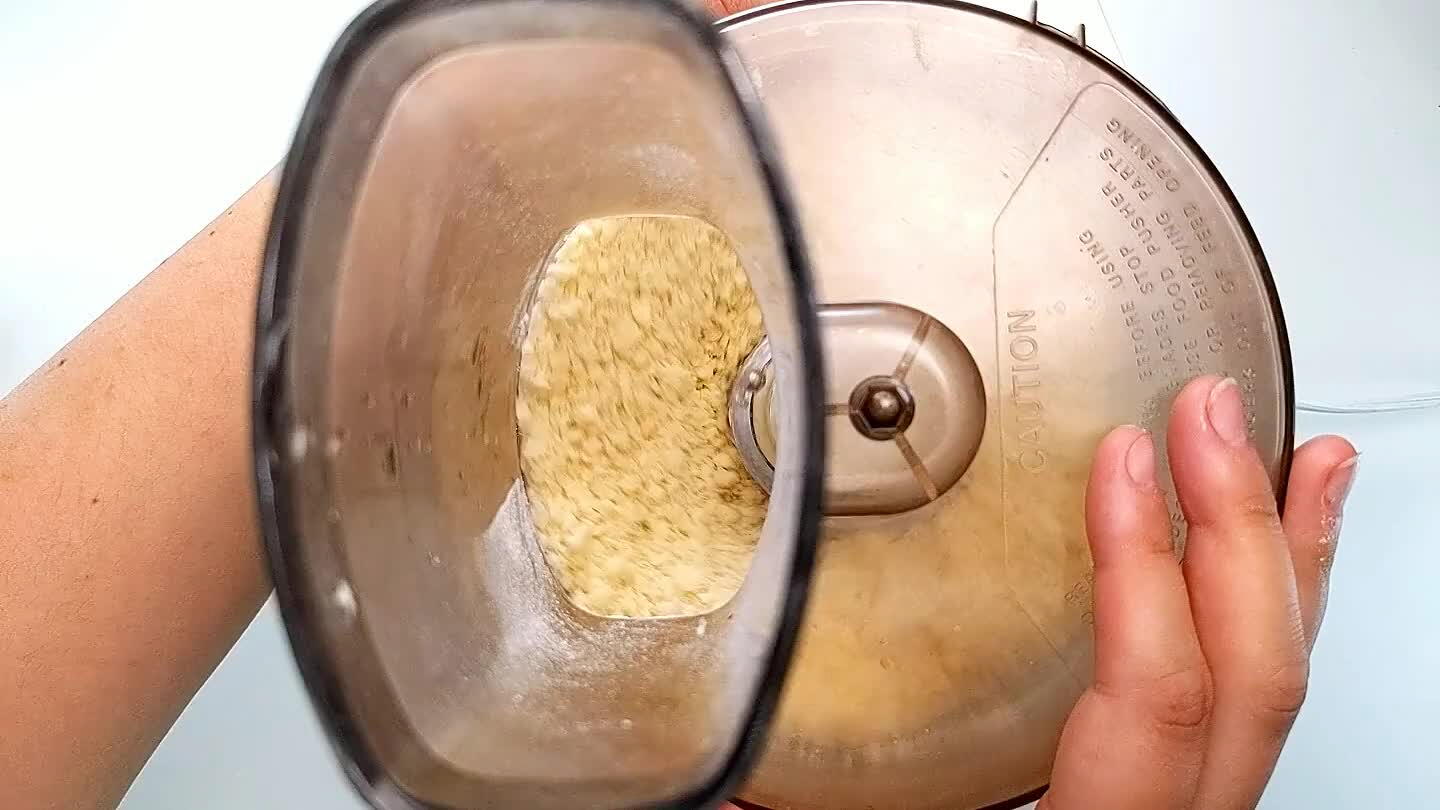
Pulse the food processor until a crumbled dough forms. You may need to add one or two more tablespoons of water, but avoid adding too much. You do not want the dough to be wet, just sticking together. Try not to over-mix. The cold butter will melt in the oven and create flakes which is why we want to keep some larger pieces of butter and not work it too much.
9
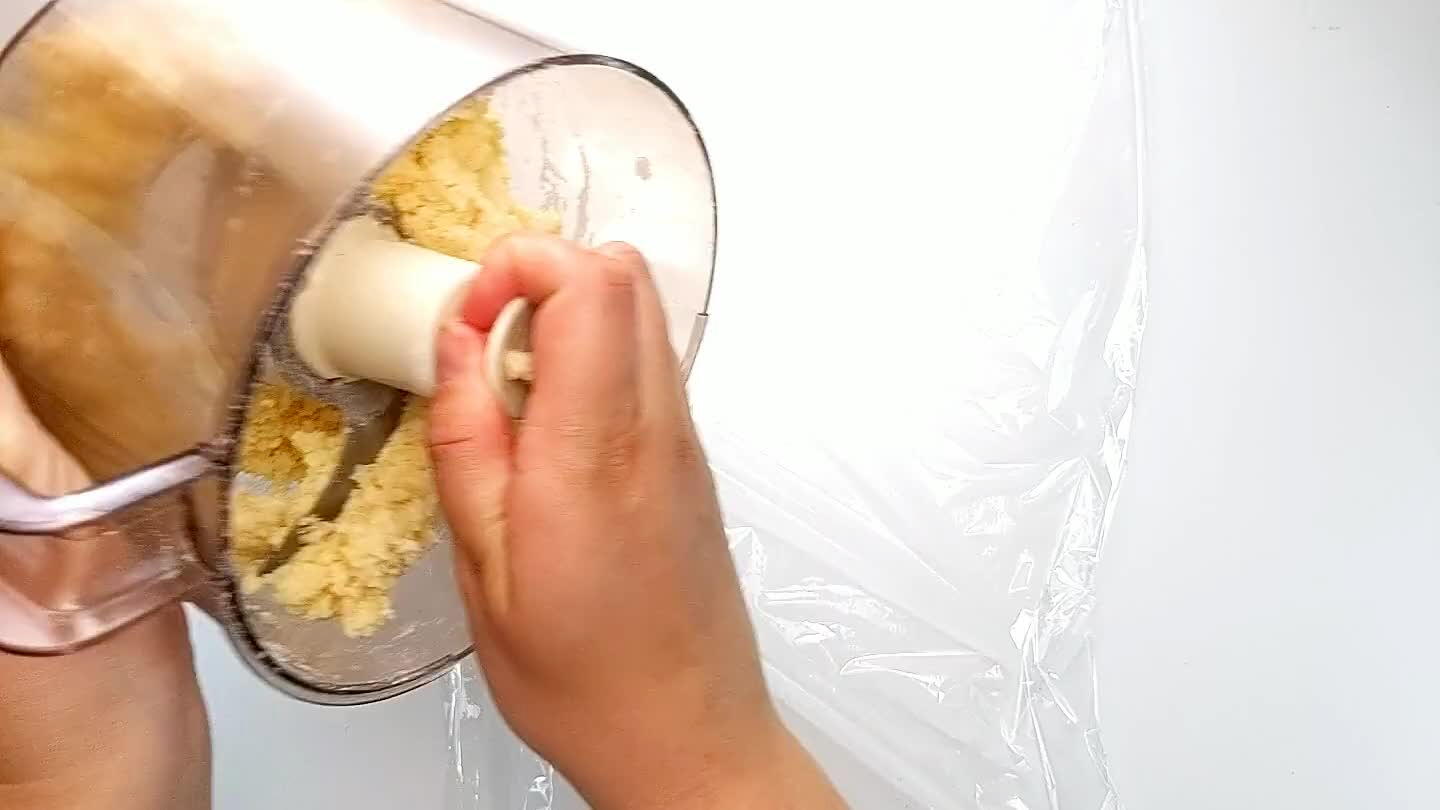
Wrap the dough in plastic.
10
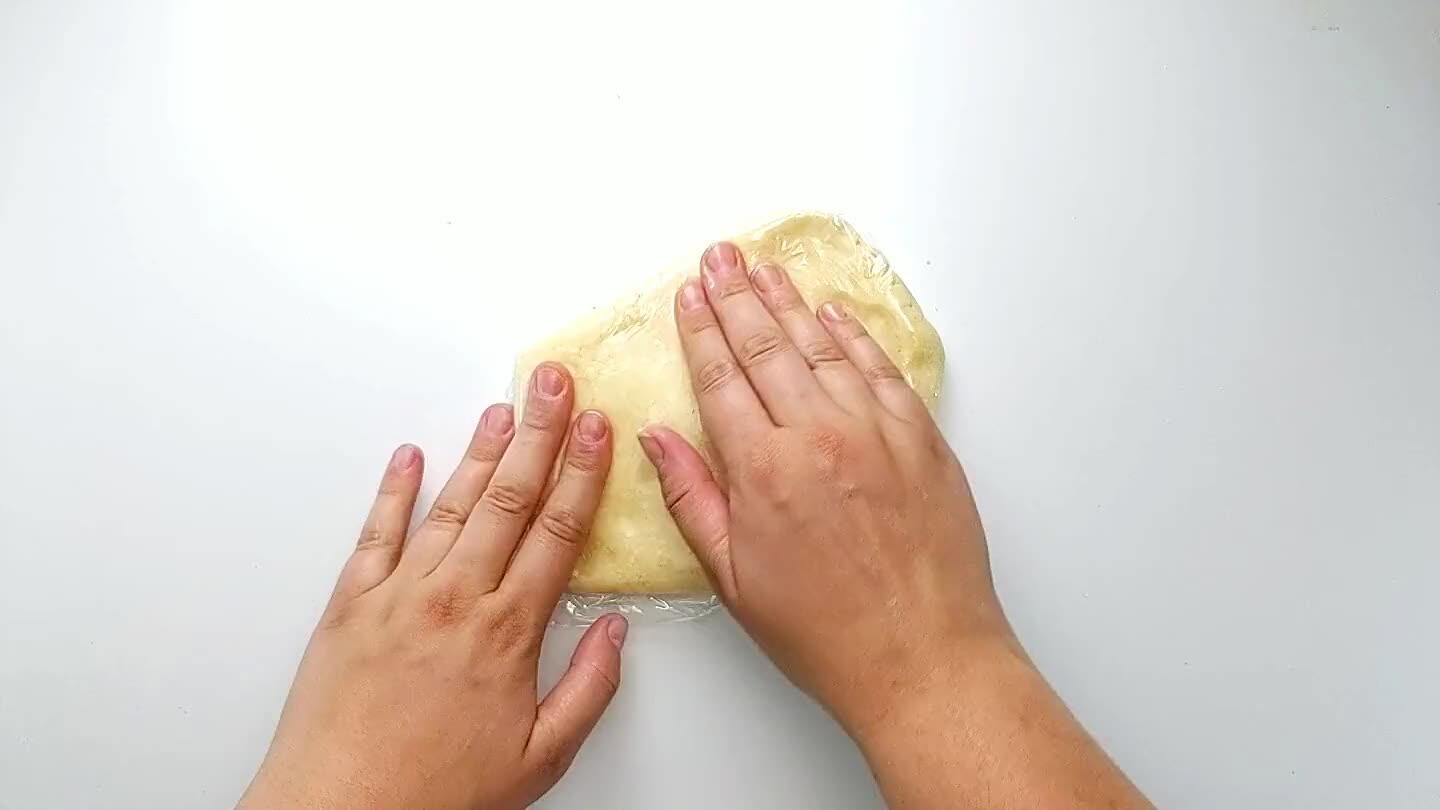
Press the dough together so there are no dry spots remaining and the shape is a rough circle. Refrigerate for about 30 minutes or until the butter has firmed up again. This will ensure your dough will be able to roll out and transfer to the pie pan without squishing or falling apart.
11

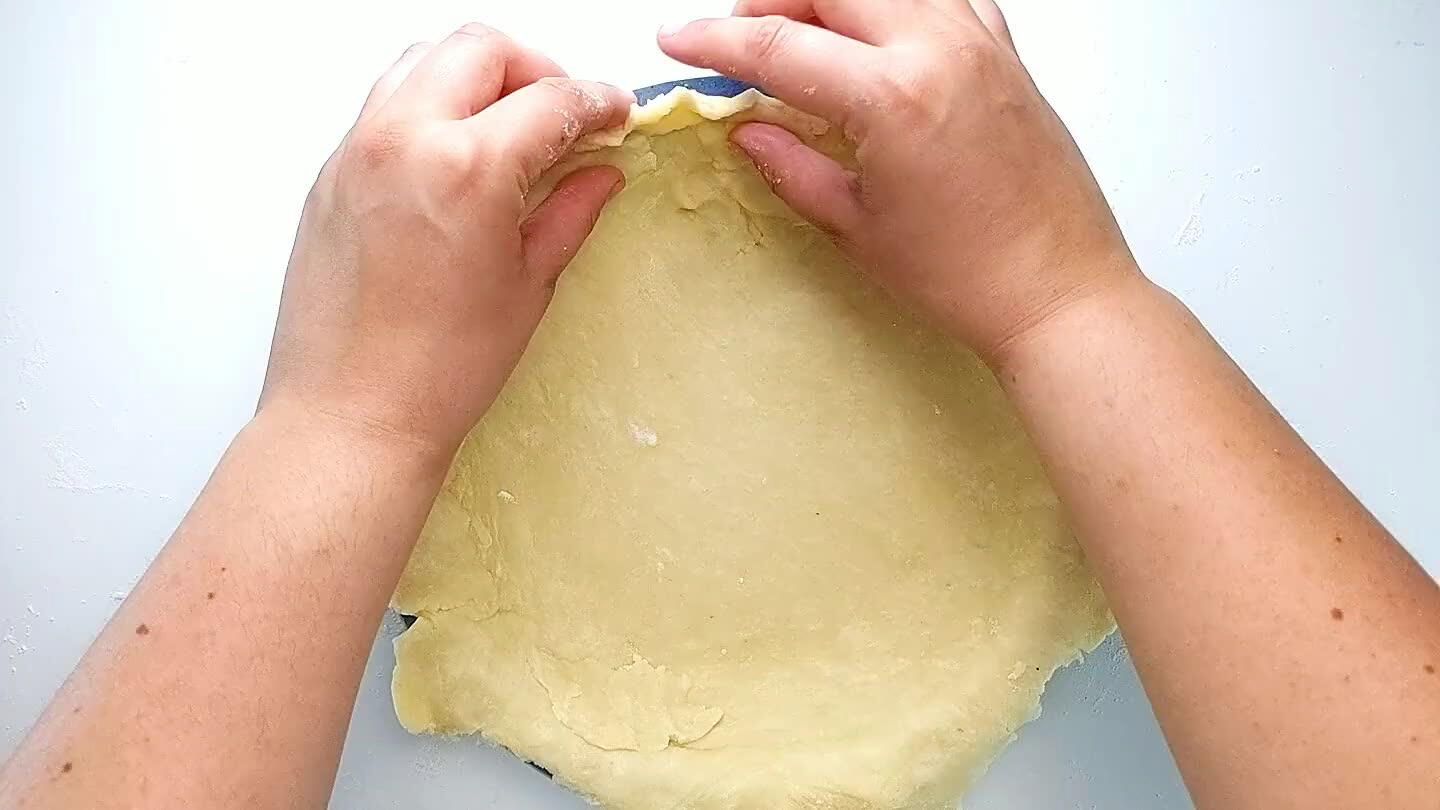
Generously flour your work surface. Unwrap the dough and gently roll out, making sure the top and bottom of the dough are generously floured to avoid sticking.
12
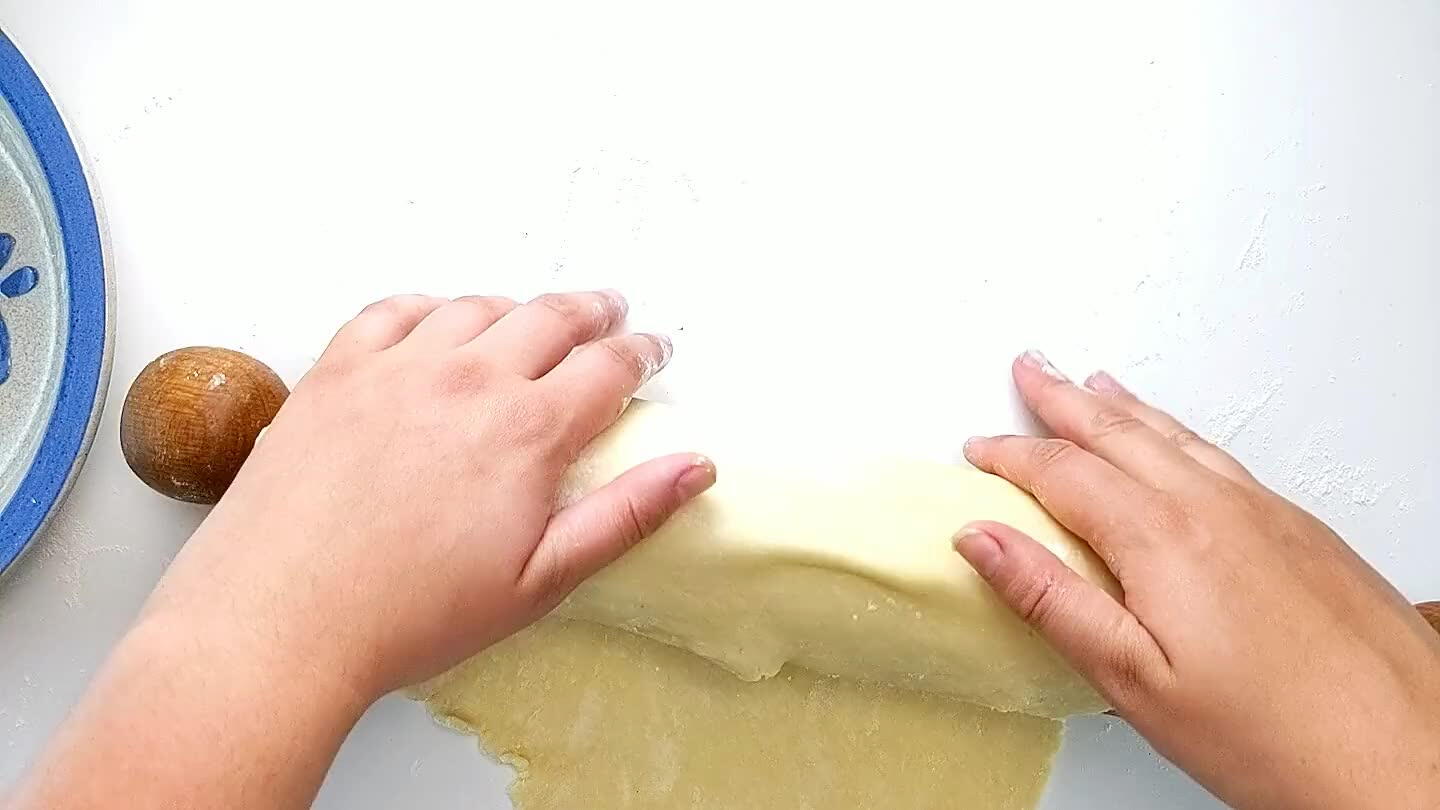
This part is a bit tricky, but if you've floured your surface, and the dough is nice and cold, you should be able to roll the dough lightly onto your rolling pin to transfer it to the pie plate. If you are getting a lot of sticking, you may need to refrigerate the dough and try again.
13
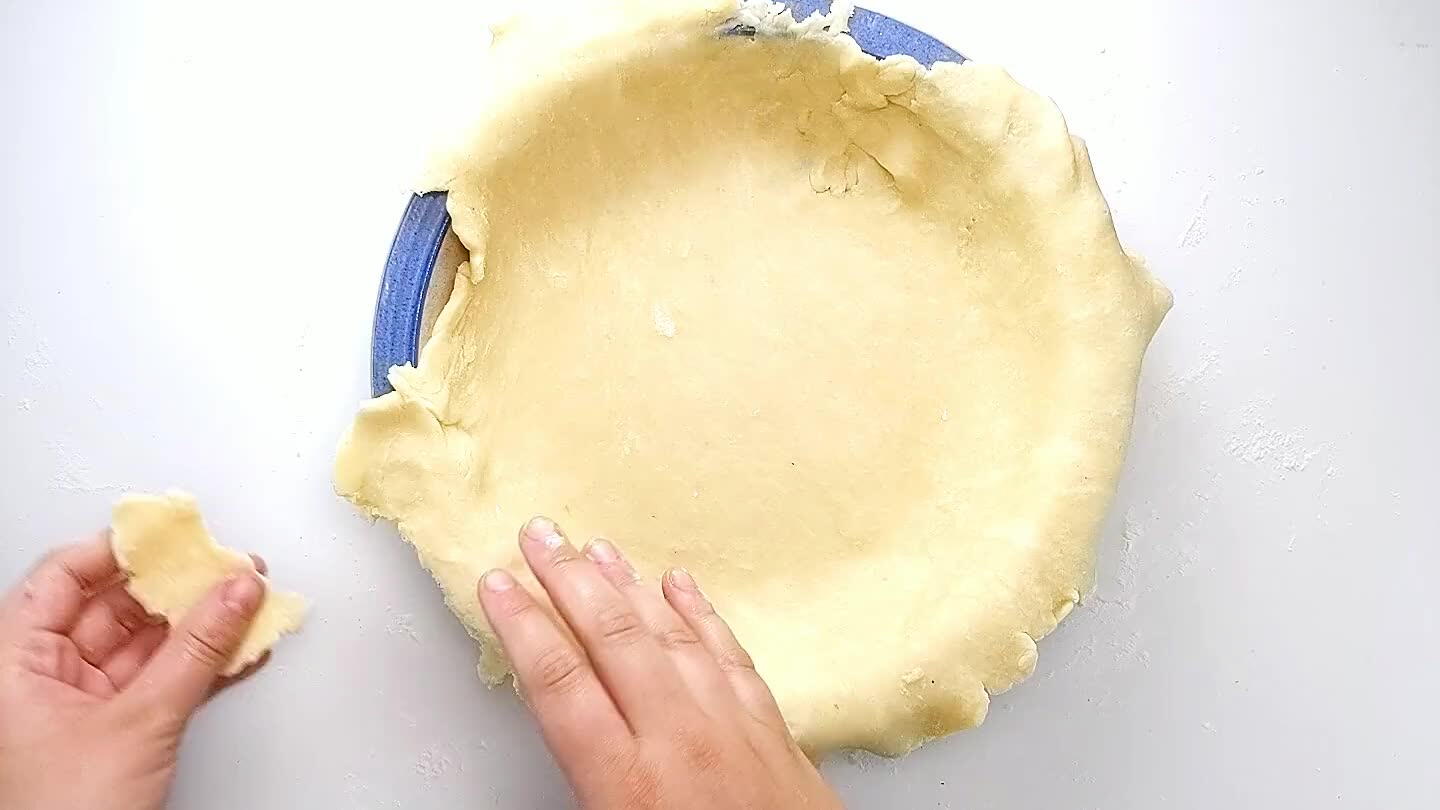
Adjust the dough so that it is in the center of the pan, and redistribute excess dough as necessary to fill the pan.
14
If you are putting a top crust on the pie, stop here and add your filling and top crust. Then proceed with the crimping. Fold and gently roll under any dough that is hanging over the edges of the pie pan. This will keep most of the creasing underneath and keep the rim looking nice
15
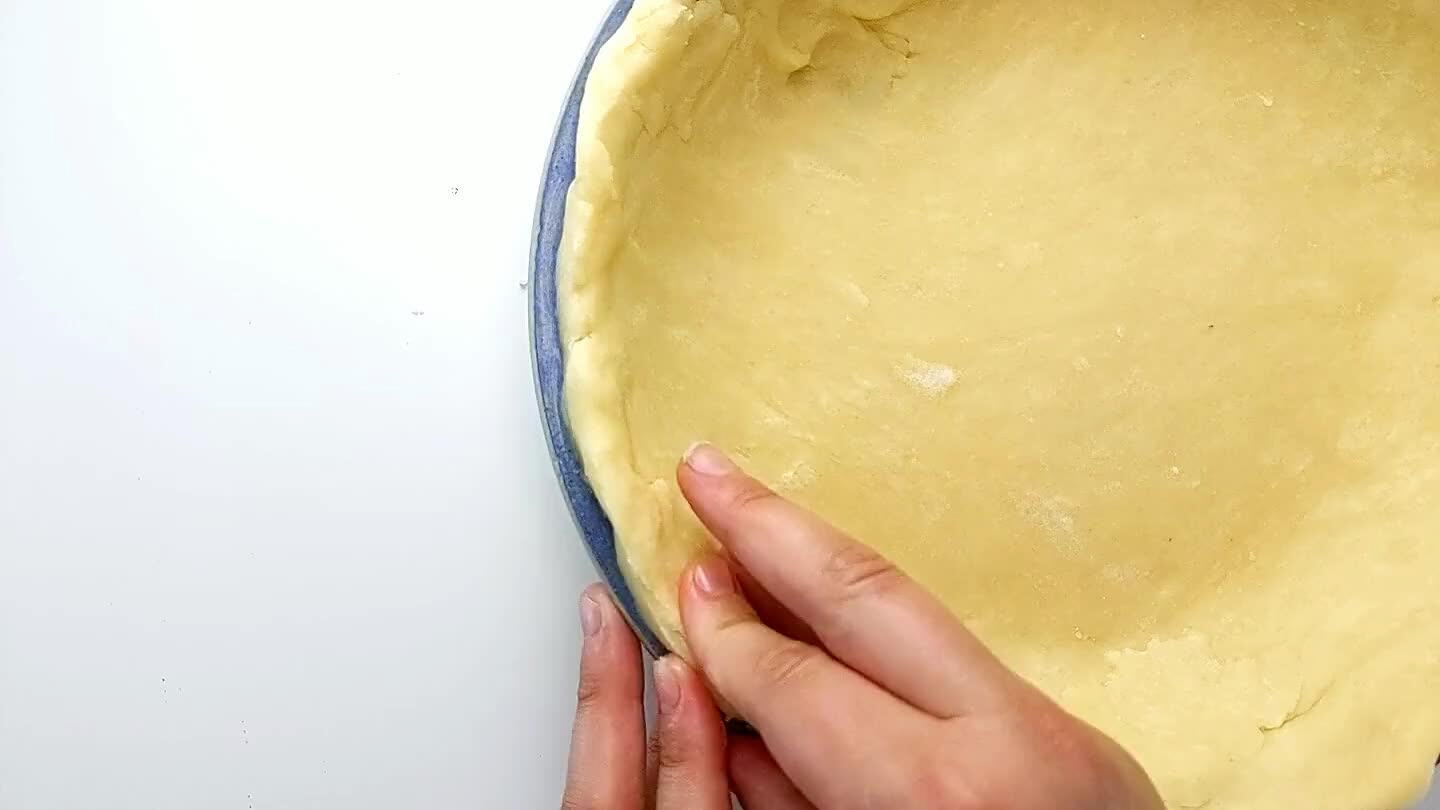
Mold the edges that you've created into a nice even rim around the pie.
16

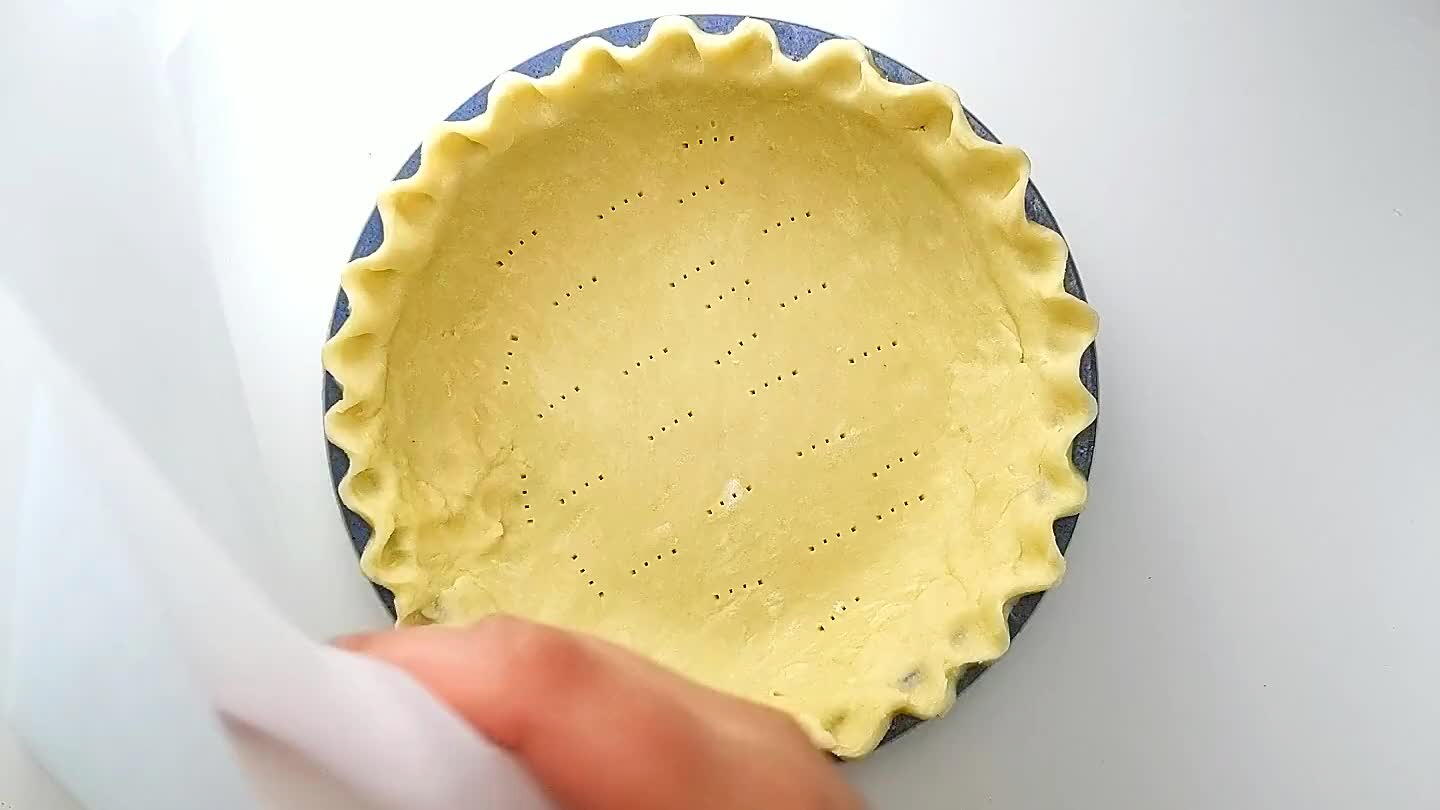
Using your outside hand's thumb and pointer finger and your inside hand's pointer finger, press the inside finger into the mold you create with the outside hand. Avoid pressing your hands together, but rather press your inside finger into the outside fingers or else you will squish the edge! Continue around the rim until the whole rim is crimped. For an easier version, just use the tines of a fork to indent a pattern around the rim.
17
Set oven to 425°F for blind baking
18

If you are not baking your filling with the crust, continue on to the next steps to blind-bake the crust so that is is fully cooked and ready for whatever delicious filling you decide to put inside. Start by pricking the bottom of the crust to let air escape and avoid creating air bubbles.
19
Line the pie crust with parchment paper or foil pressing it against the inside edges of the crust.
20
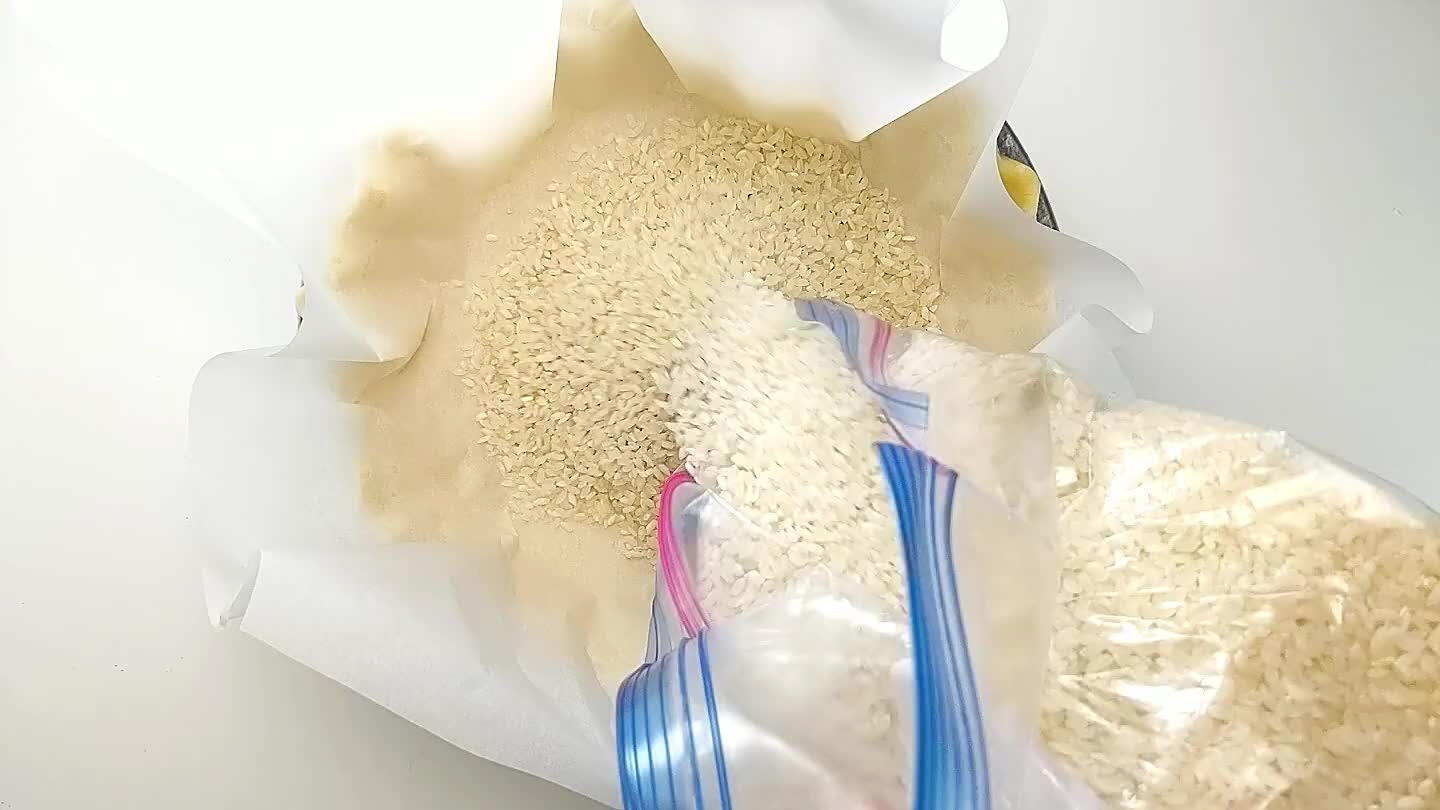
If you have pie weights, you will now fill the parchment with weights so that the crust keeps its shape and doesn't slump into the middle of the pie pan. You can easily replace pie weights with rice, dry beans, pennies, or lentils! Coax the pie weights around the edge of the pan.
21

Bake the pie crust for 15-20 minutes. I find it takes more on the longer side when I use pie weights like rice that don't transfer heat as well as metal. You will know when its ready when the parchment or foil releases from the crust and comes up cleanly.
22
Continue baking the crust until the base is fully cooked, about 5-7 minutes. If you are worried about the edges becoming too brown, you can cover the top with foil to protect it.
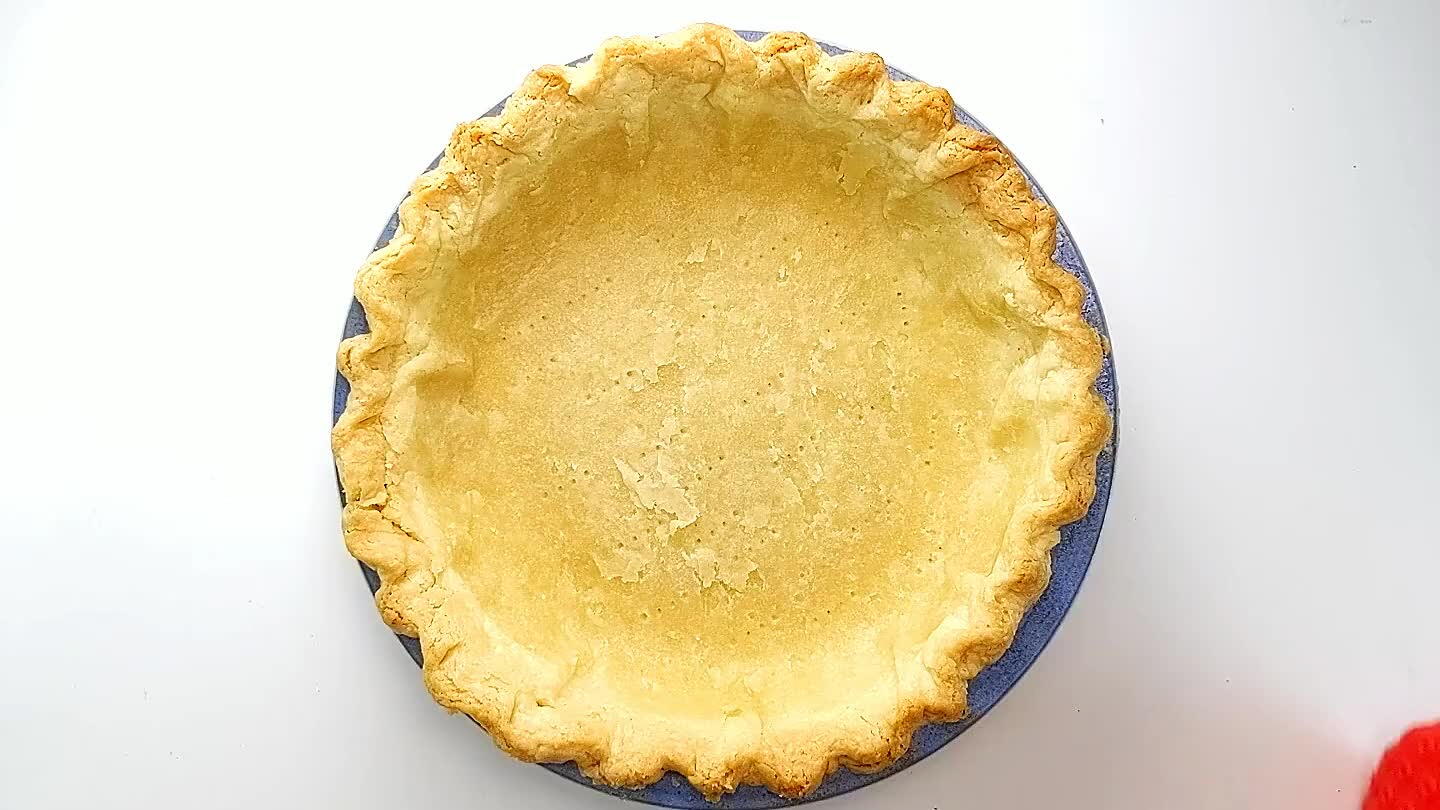
23
Now you are ready to let the pie crust cool and fill with your favorite pie.
Comments