
Gluten Free Lemon Bars with Almond Flour


 9 portions
 60m
60mOne of those few baked goods that can truly be as reliably good as its glutinous cousins. Almond meal yields a perfectly acceptable shortbread crust with a flavor that pairs well with lemon. The lemon layer takes a little more care and attention without flour, but yields a richer color, a silkier texture, and an all around superior product.
What you will need
Shortbread Crust
2 cups Almond Meal
½ tsp Salt
3 Tbsp Honey
½ cup Unsalted Butter
Lemon Filling
8 Lemons
8 Egg Yolks (½ cup)
3 Eggs
1 cup Sugar
Pinch of Salt
(Nutritional facts 363 calories, 25.33 g fat, 22.76 g carbohydrates, 12.27 g protein, 685 mg cholesterol, 266 mg sodium)How to cook
Shortbread Crust
1
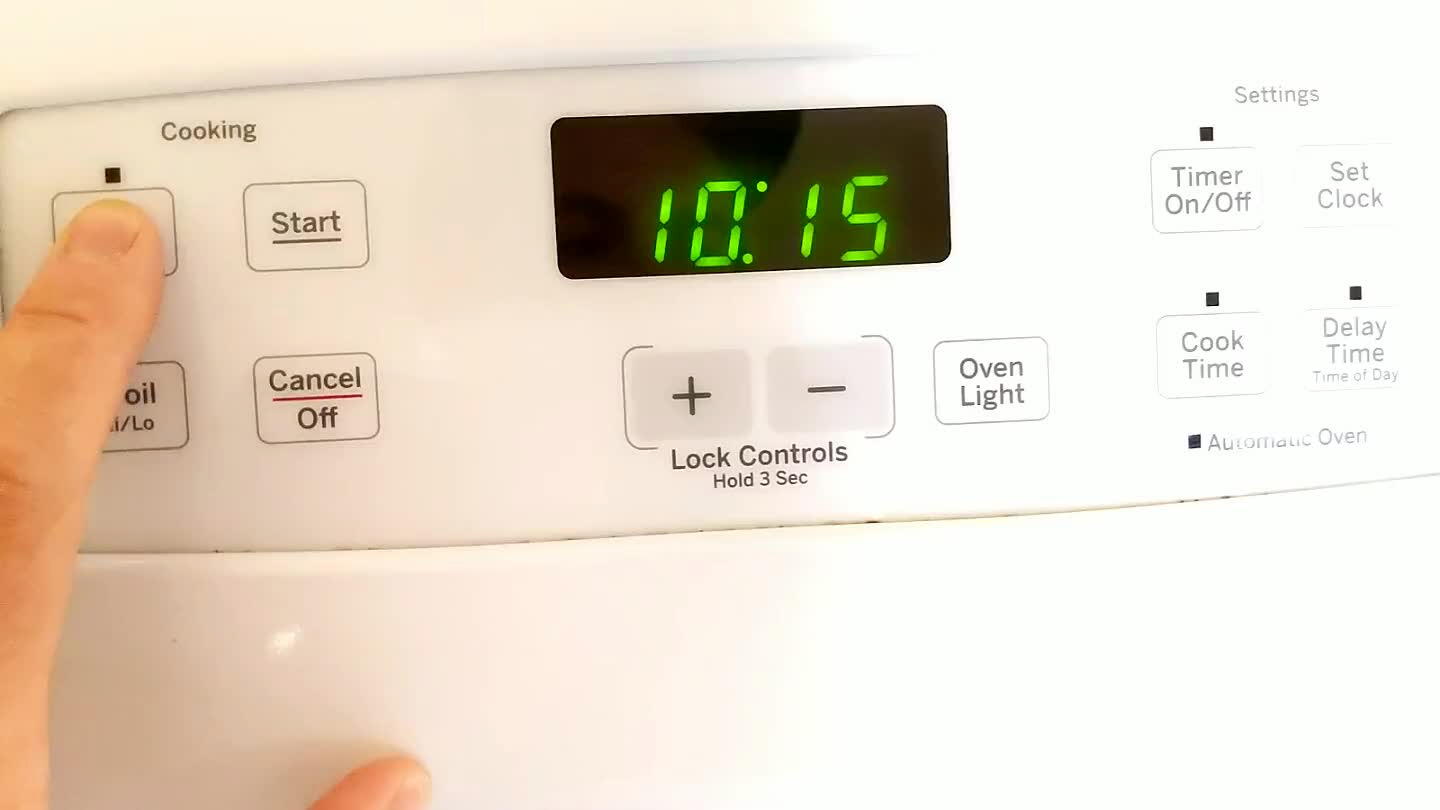
Preheat your oven for the shortbread crust.
2

Measure out 2 cups of almond meal or almond flour and put it in a mixing bowl.
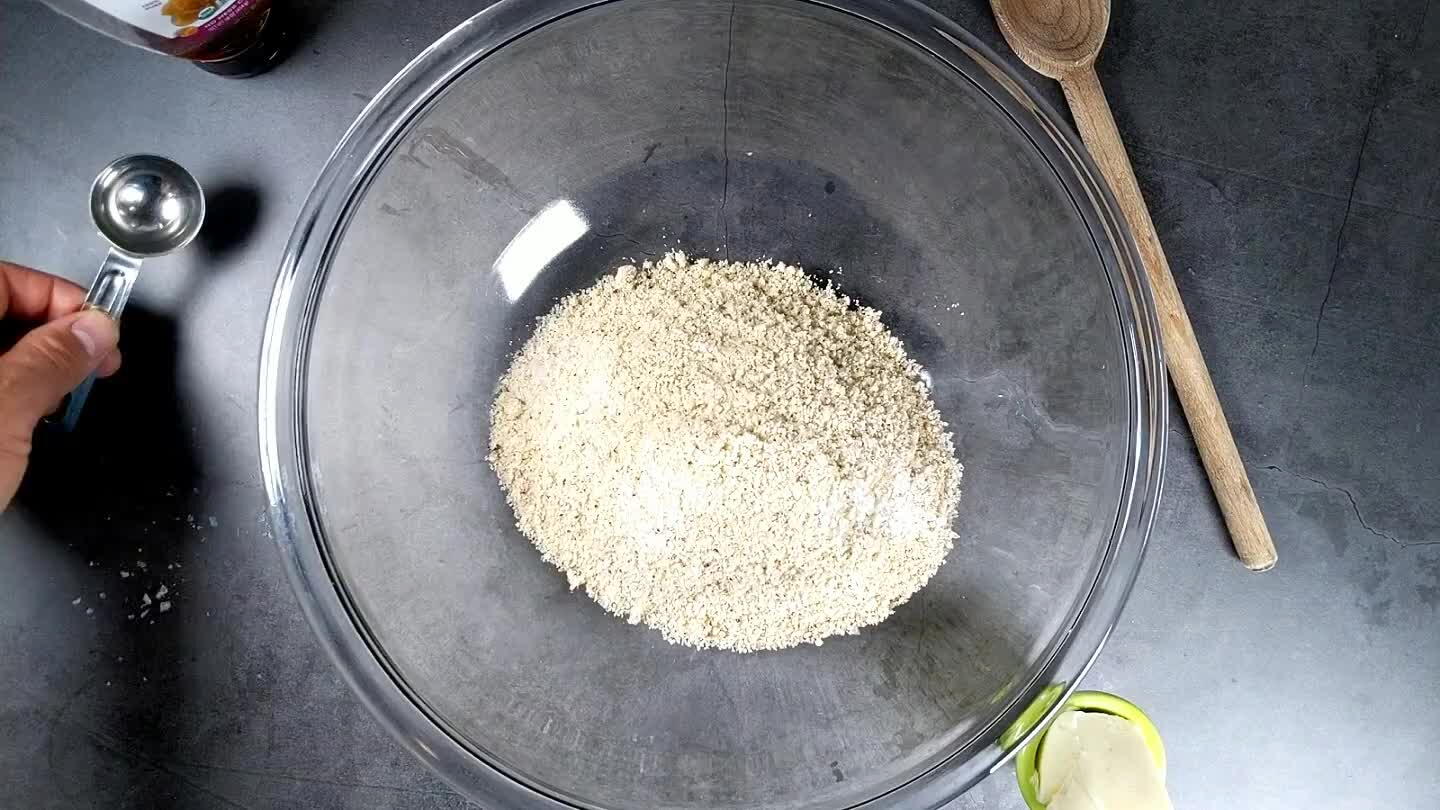
3
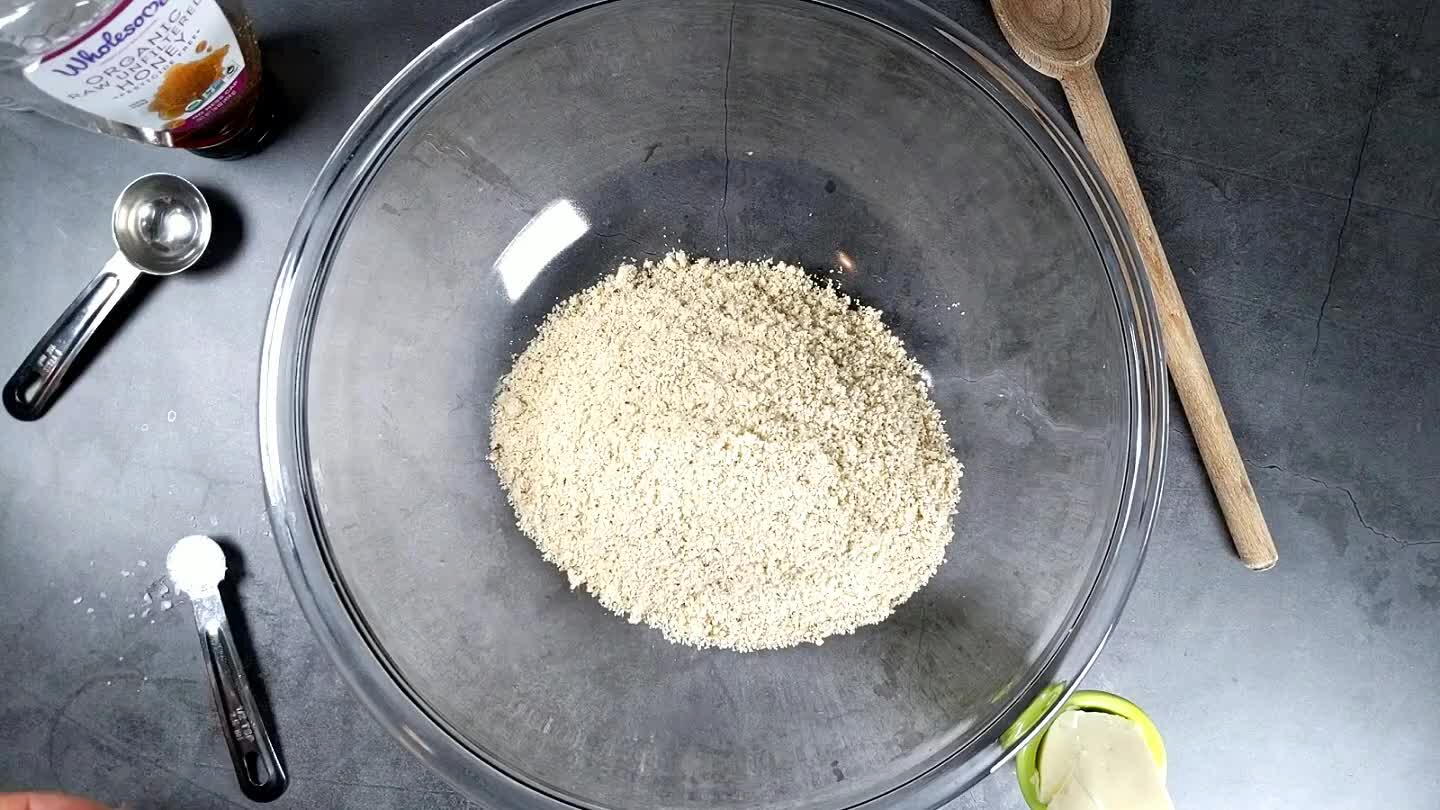
Add salt.
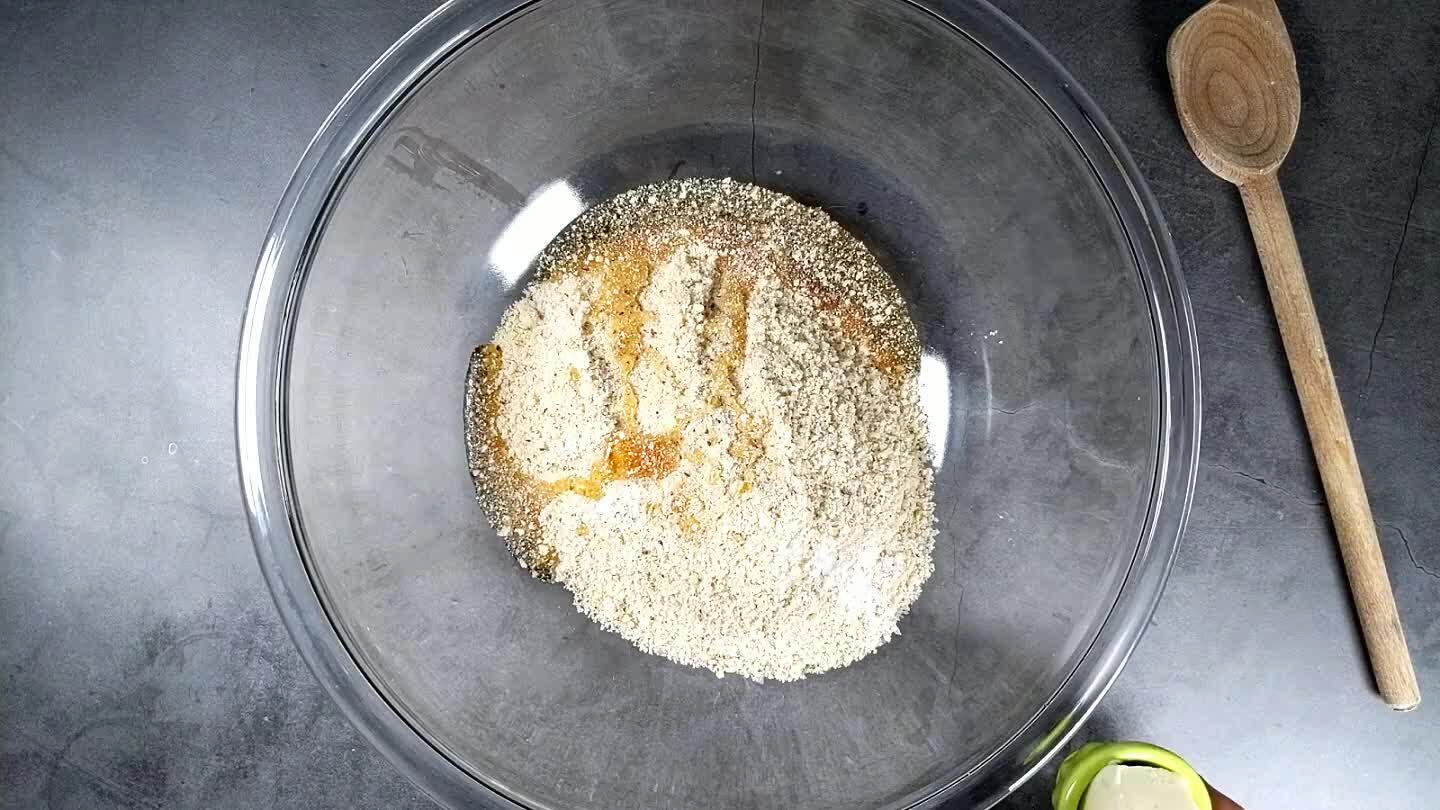
4
Add honey.
5
If your butter is cold, pop it in the microwave for 30 seconds to soften it up. You'll be glad you did when you get to the next step.
6
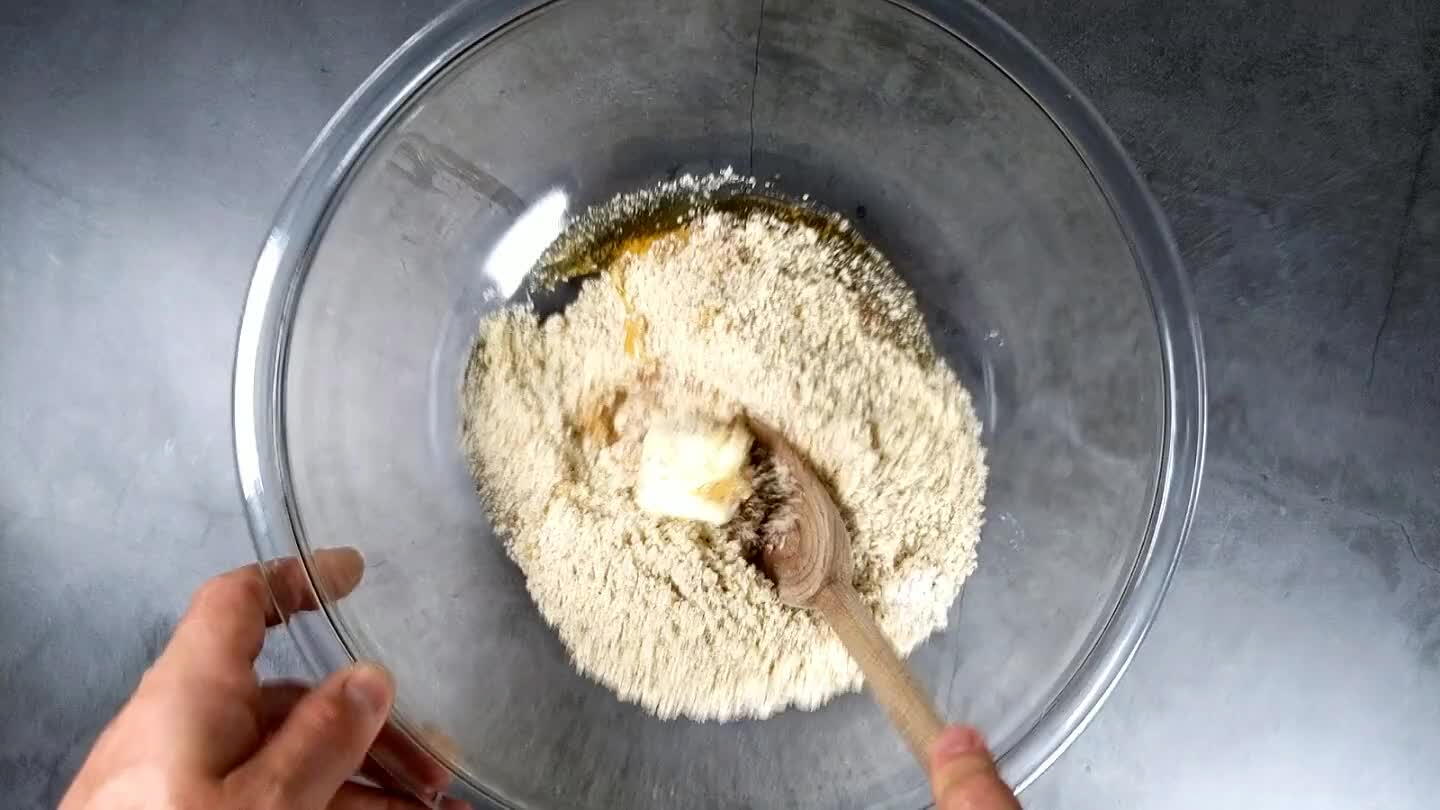
It's traditional to mix shortbread with a wooden spoon. But a spatula works just as well. Mix until you have a crumbly dough and you can't see any butter chunks. You can also use cold chunks of butter and pulse in a food processor. Some chefs believe this improves the texture, but I haven't tried it yet.
7

Scatter the dough in an 8" x 8" anodized baking pan. Alternatively, you can use a ceramic baking dish, but you may need to bake for an extra 5 minutes or more. It's important here that your baking vessel is nonreactive, or it may react with the lemon juice and create off flavors.
8

Press the dough down and out to the corners. Smooth it out to an even thickness.
9

Bake the crust for about 15-20 minutes. It should be a nice golden brown, mostly around the edges.
Lemon Custard
1
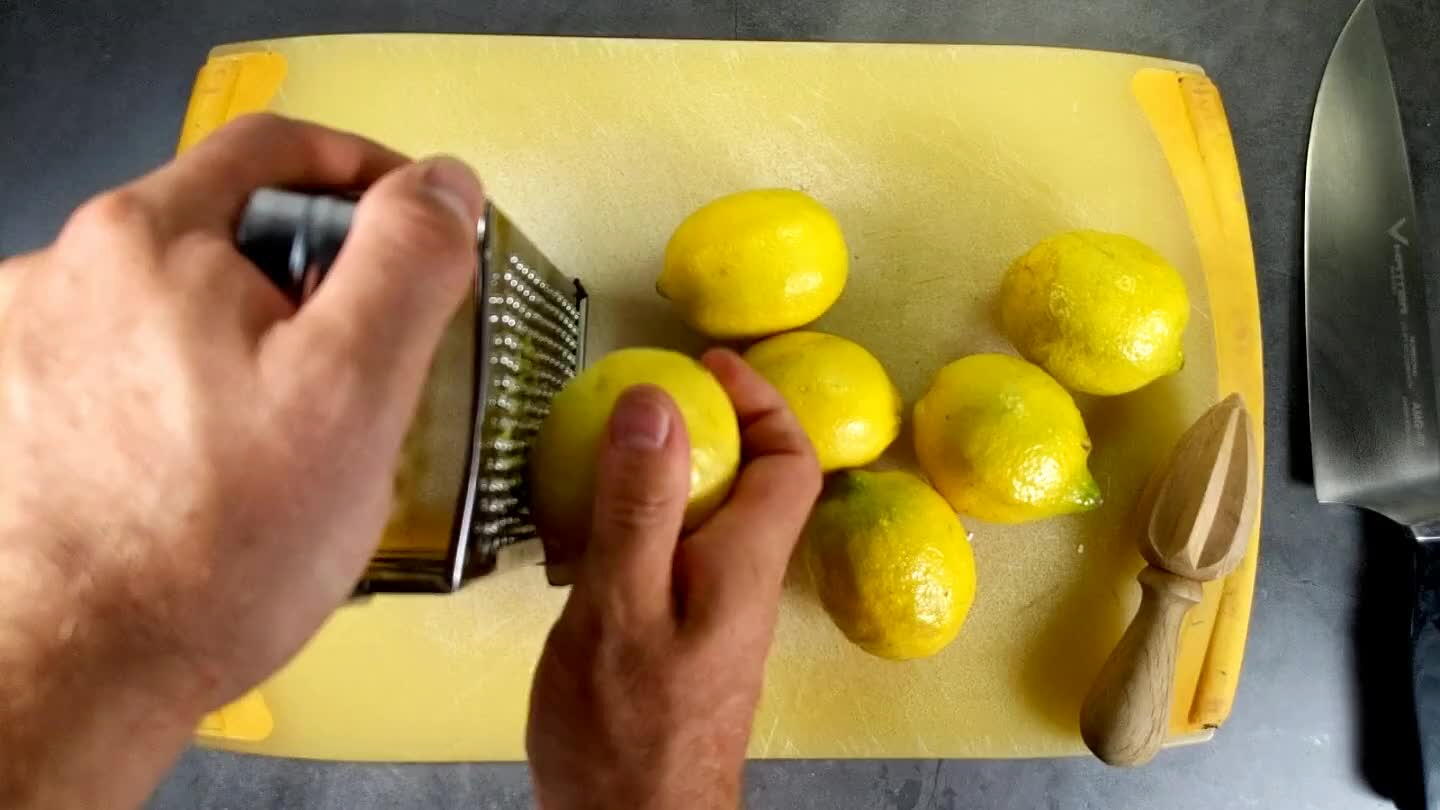
I usually like to use my microplane for zesting, but the finer side of a box grater is so much better for larger jobs like this. You just have to be careful not to get much pith.
2

Transfer the zest to a bowl.
3
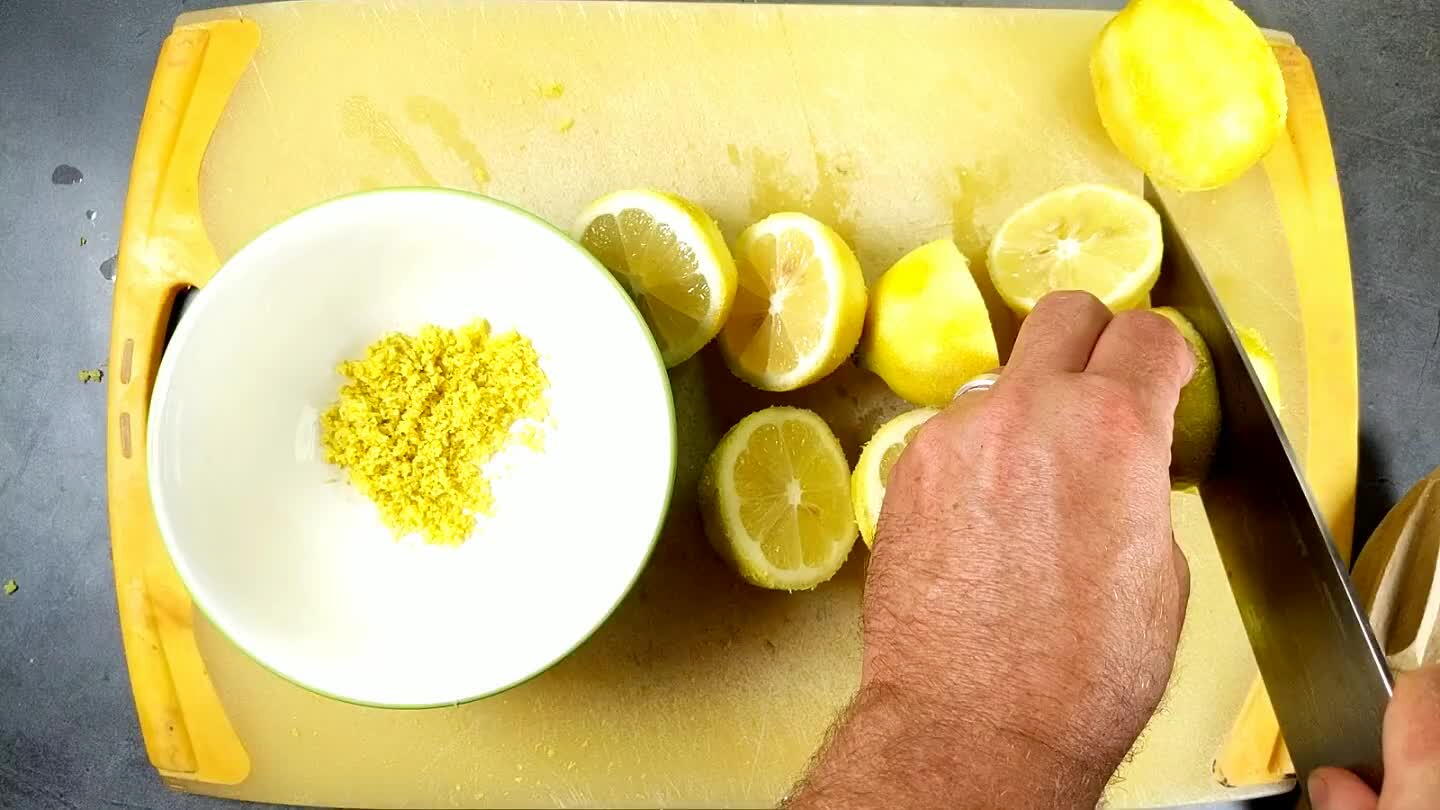
Add strained lemon juice.
4

In another bowl, place the 8 egg yolks. I like to crack all of the eggs into a bowl first, and then remove each yolk by hand.
5

Add the rest of the eggs.
6
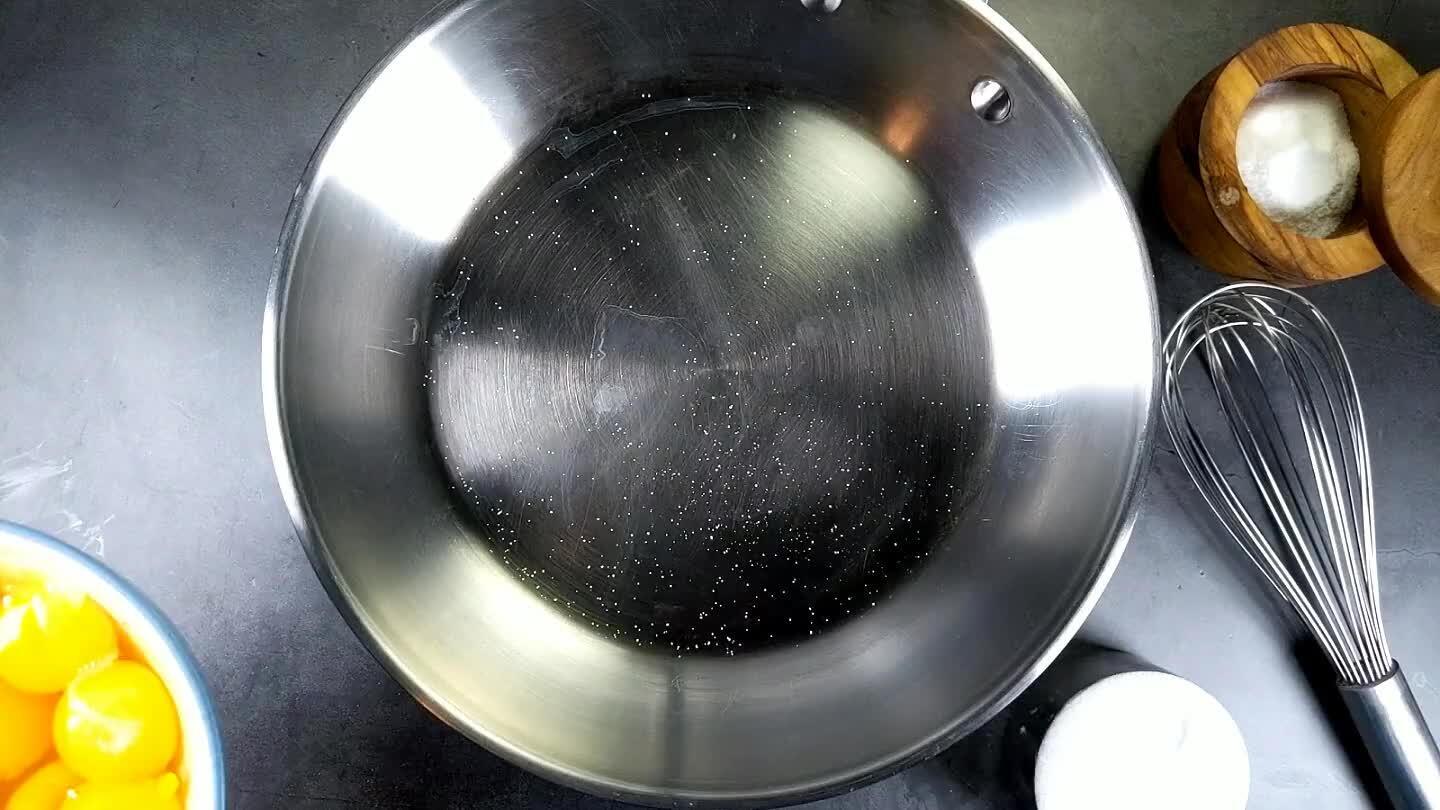
All 8 egg yolks, 3 whole eggs and a cup of sugar into a large, nonreactive sautée pan. You need a pretty big pan so you can stir without spilling, and you need a pan that won't react with the lemon and flavor it in any way. I haven't tried it yet, but a double boiler might be a better option.
7
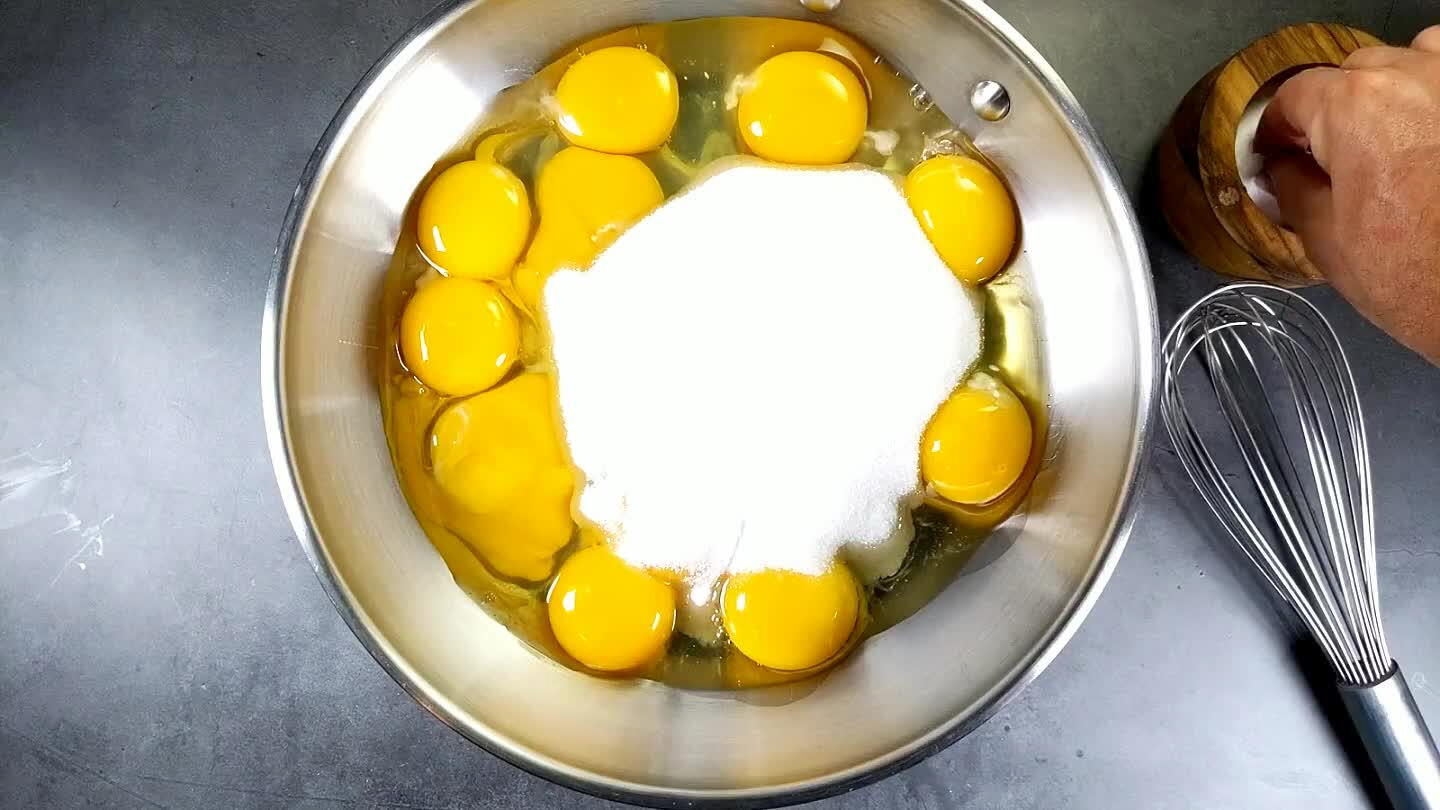
Just a pinch of salt.
8

Over low heat, whisk until smooth.
9
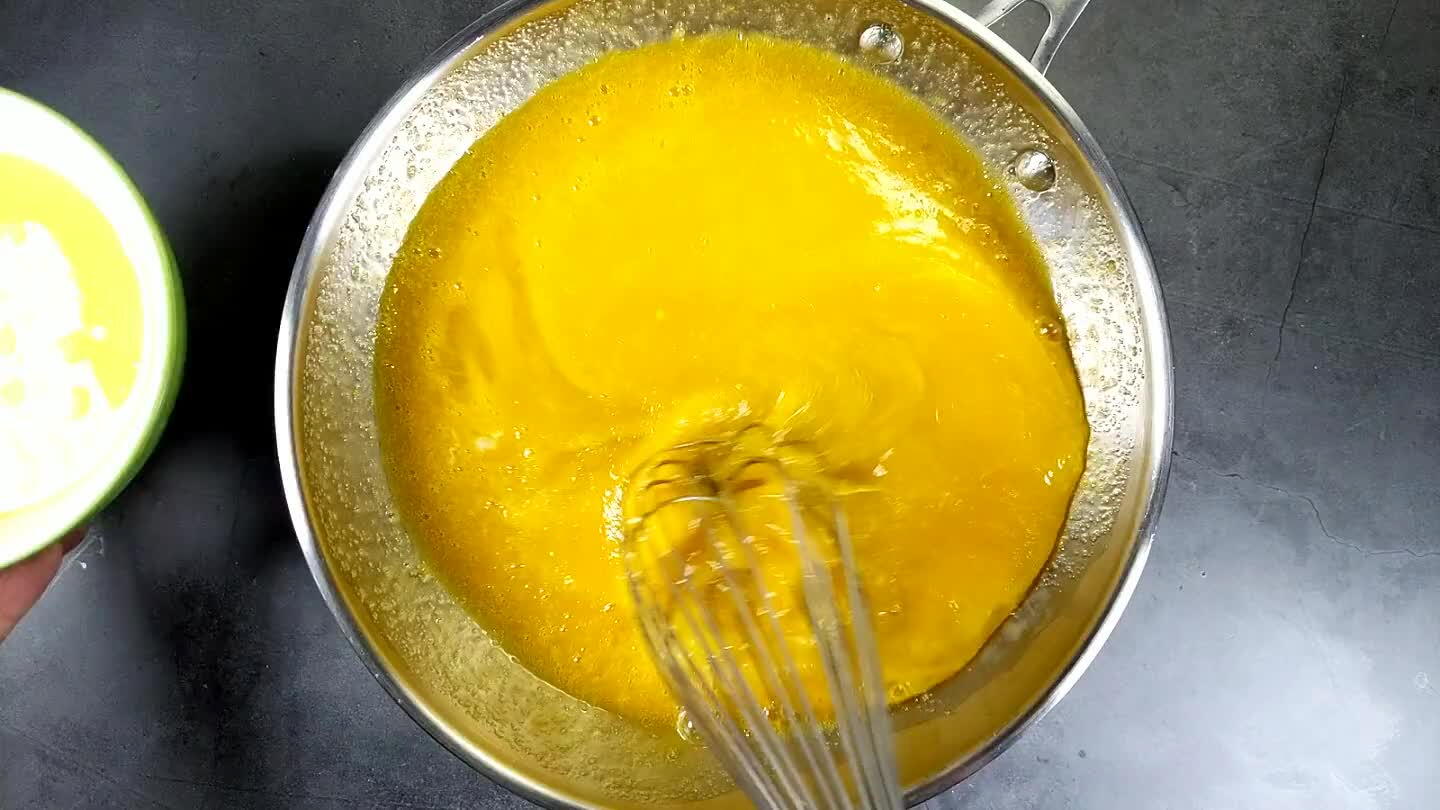
Add the lemon juice and continue whisking over low heat until the mixture is warm to the touch.
10
If you have a good candy thermometer with a clip, go ahead and clip it to the pan. Or you can just go by texture and maybe try and check the temp at the end. You will be able to see what thickness we're looking for in the next few steps.
11
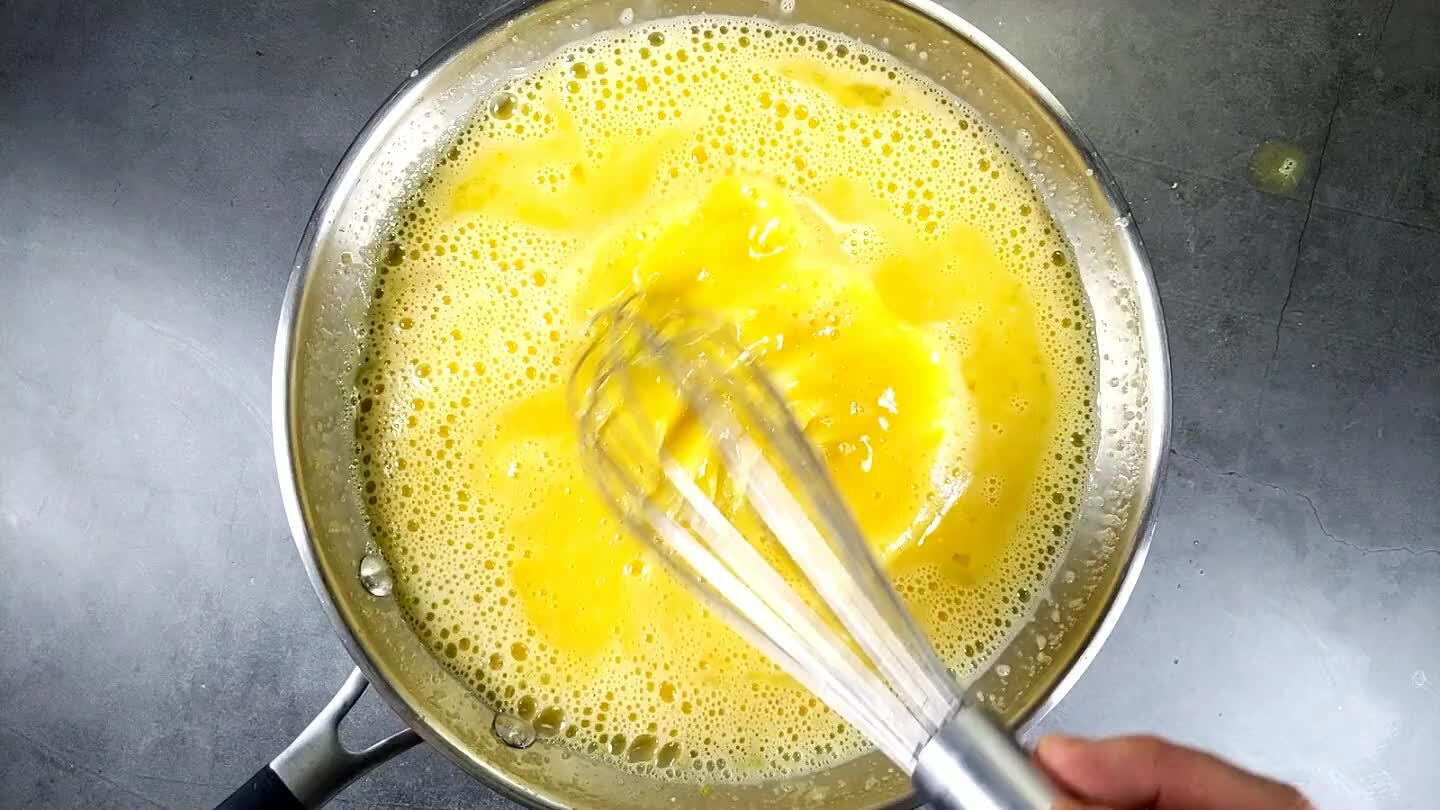
As the mixture warms, you can increase the heat to medium-low and switch to a spatula or a wooden spoon. A spatula will help stir and keep the custard from sticking to the pan without aerating the mixture too much.
12

As the custard warms, it will begin to thicken.
13
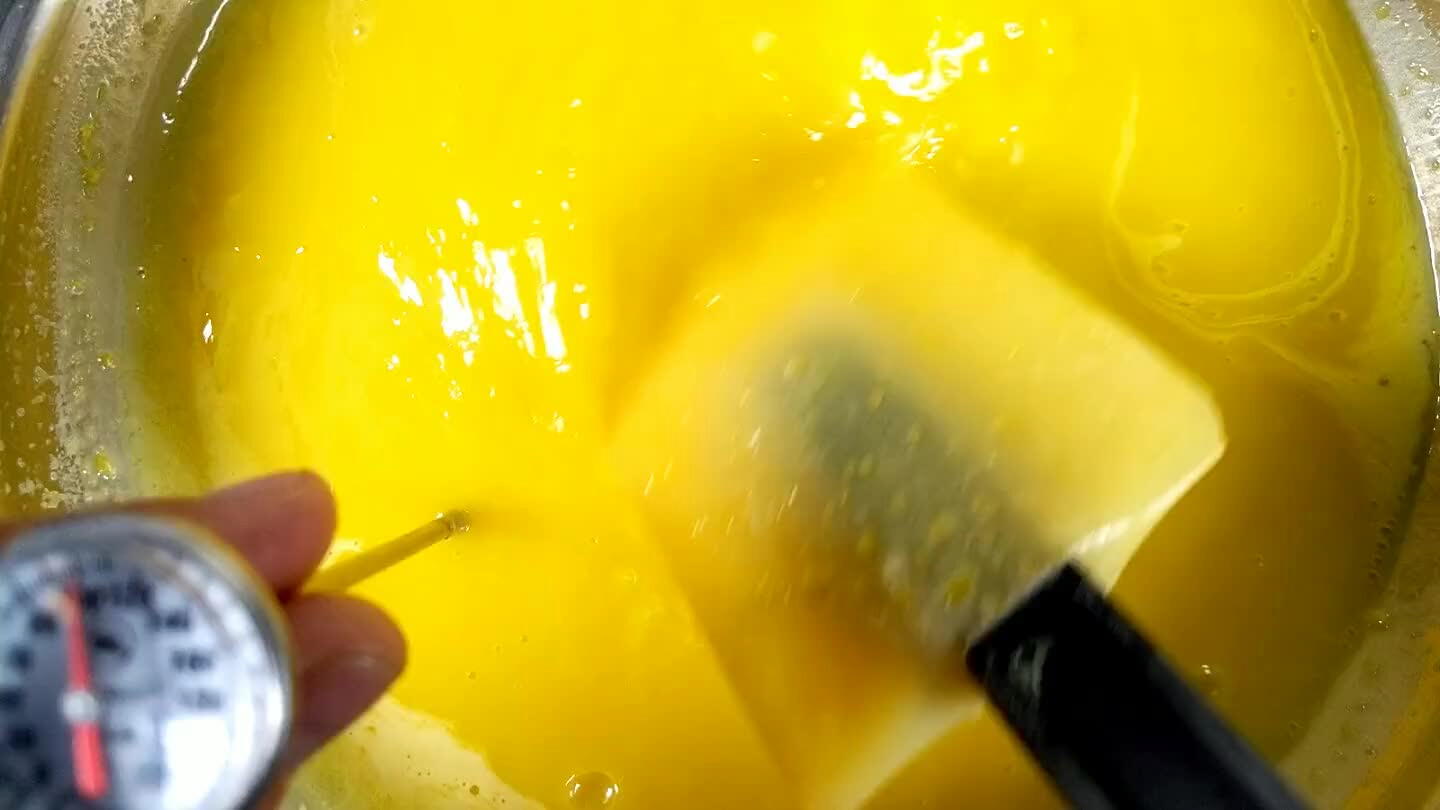
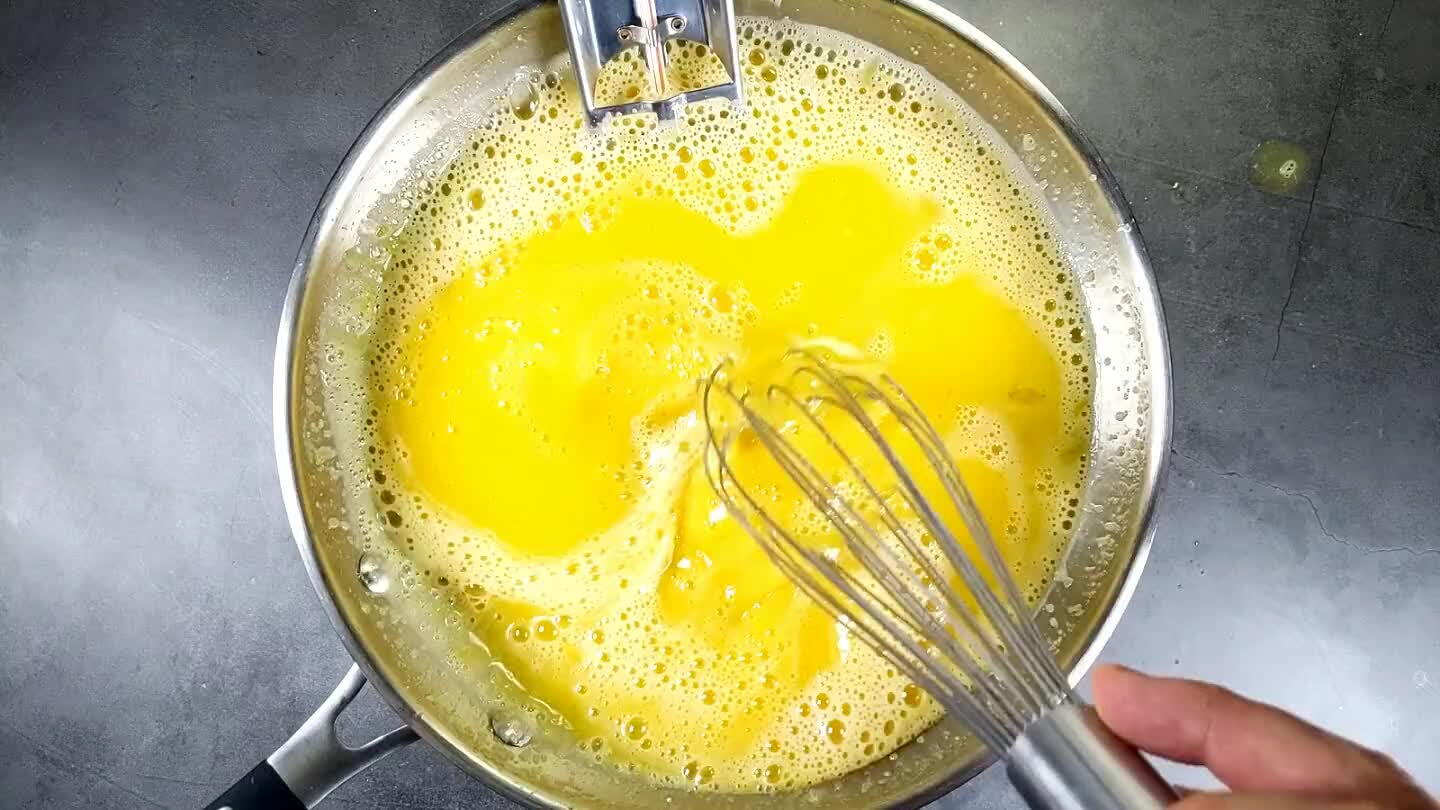
As the temperature rises it will begin to thicken. As you near 170°F it will reach a consistency similar to yogurt, maybe a little thicker. While temperature is a reliable guideline, once you've seen the consistency, you should be able to do this without a thermometer.
14
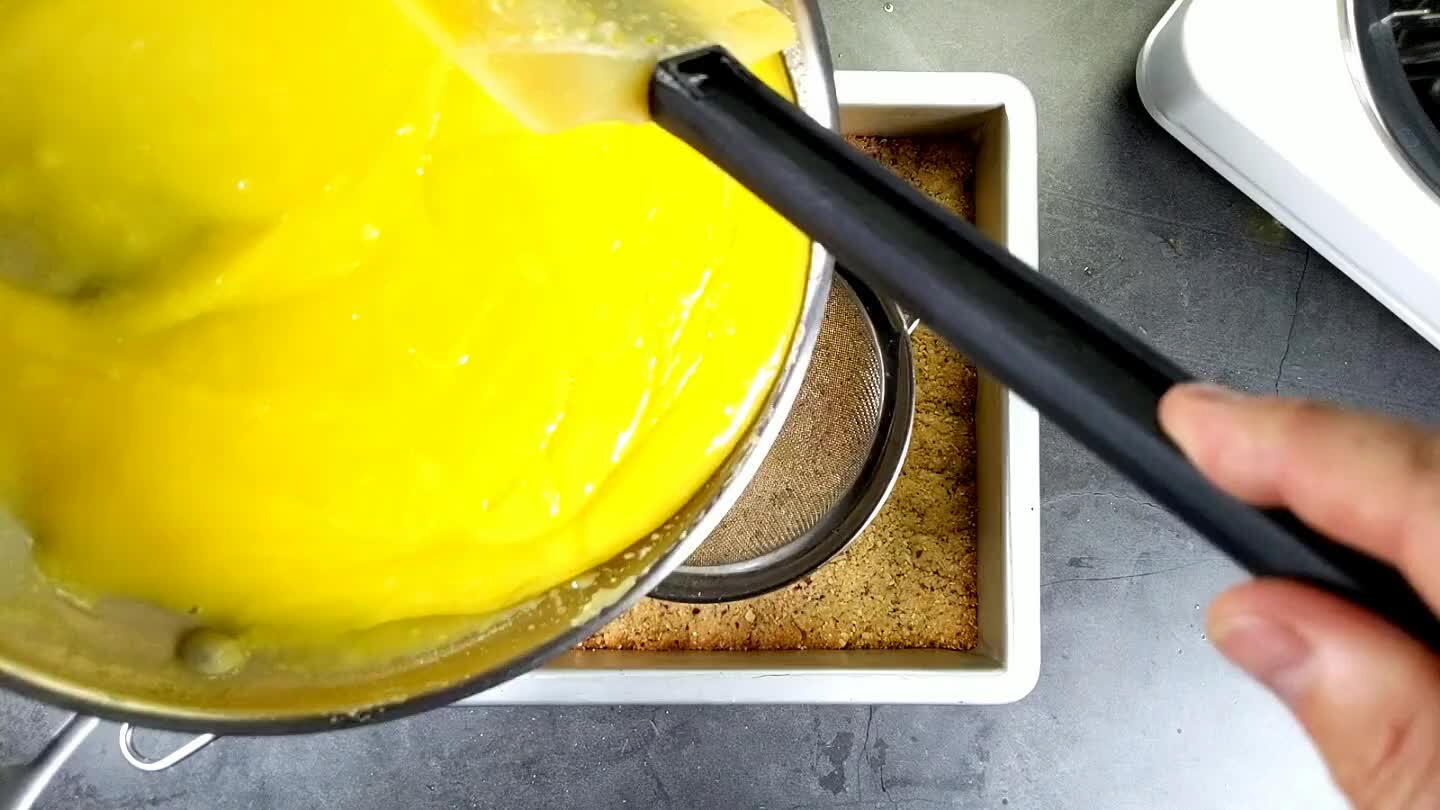
Even if you're extremely careful heating the lemon filling, it's going to have some little eggy clumps, so you will want to pass it through a fine strainer to make sure it stays smooth and silky. Use that spatula to stir and press the custard through the sieve.
15

Those little chunks are pretty gross. Try one if you don't believe me. Having those floating around in your lemon bars would be real distracting from that silk smooth lemon sunshine.
16
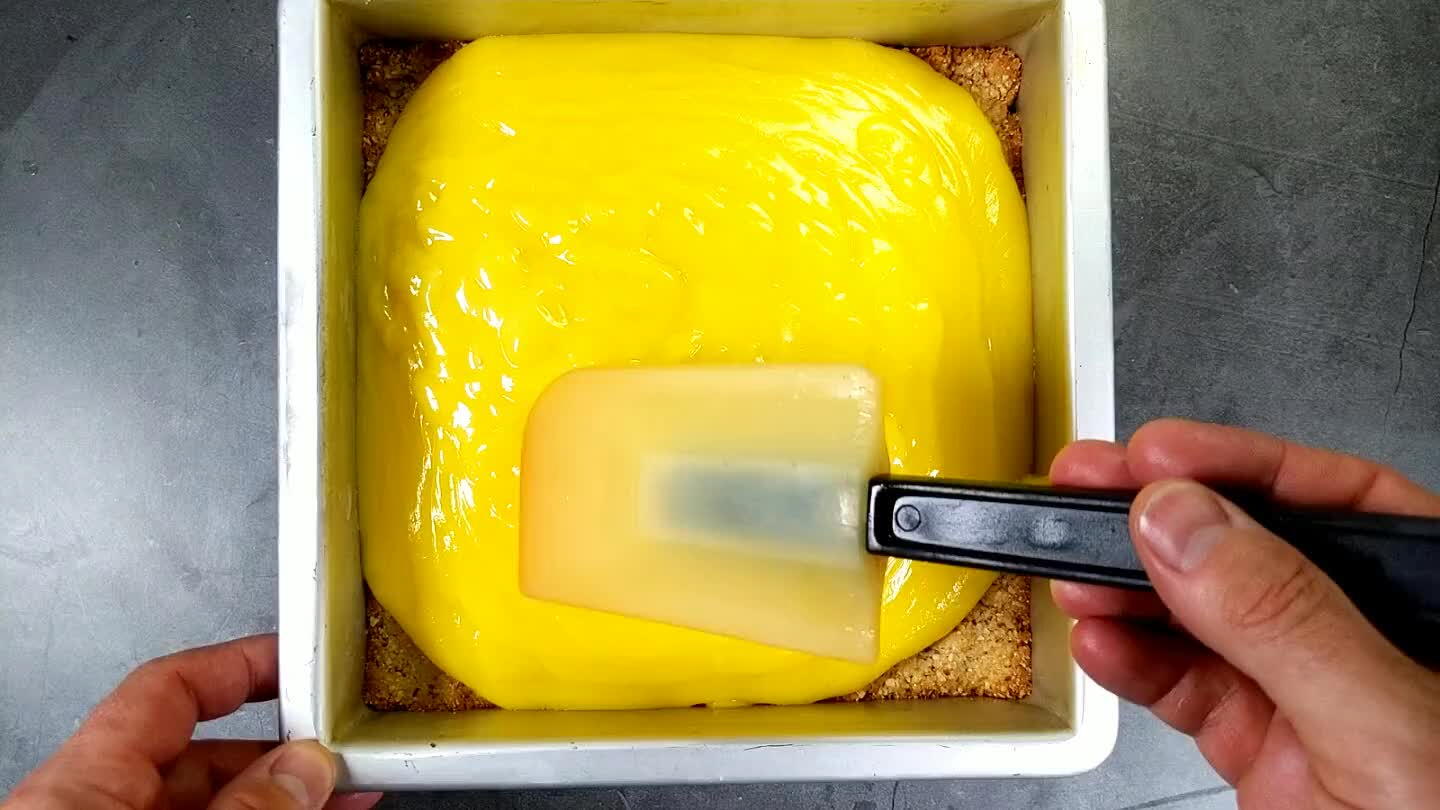
With that trusty spatula rinsed off to get rid of those weird egg particles, smooth the custard to the edges of the baking tray.
17
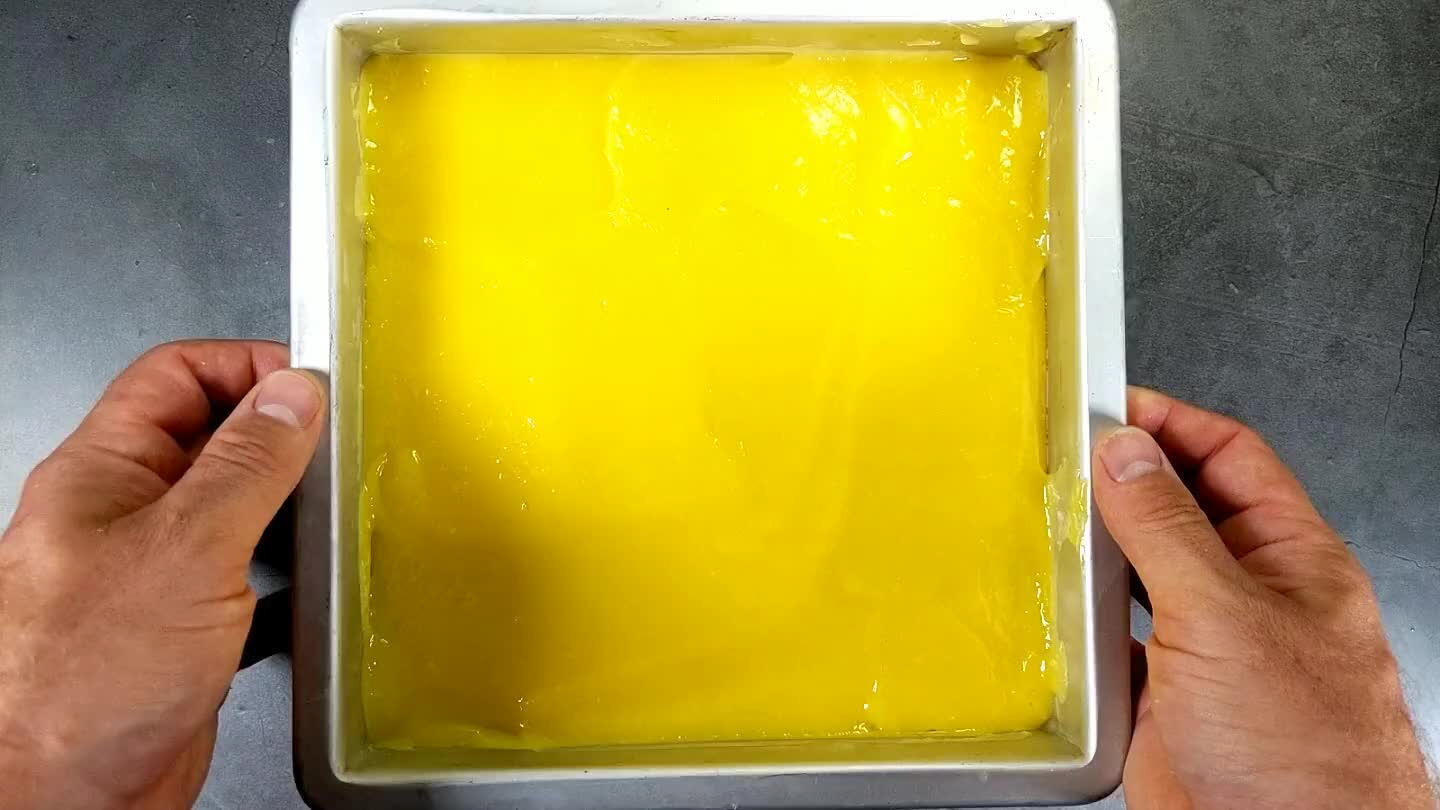
Now crank up the oven to 350°F. We want to bake this just enough to set it up firm. Because the filling is already up to 170°F, it really doesn't take long. And that's the real trick of this recipe. You're managing a lot of the subtle egg work on the stove where you have more control, so it's not likely anything is going to go wrong on this final stretch here.
Comments