
Laminated Pastry Dough
for croissant, morning bun, pain au chocolat, etc.

 60m
60mA great recipe, roughly based on the famous Tartine croissant dough recipe. It's a lengthy process, but well worth the investment. This batch should make about 12 pastries. You can freeze leftover dough, but you might wanna halve the recipe.
What you will need
PREFERMENT
½ cup warm milk
1 packet yeast (1tbsp) (¼ oz.) (7g)
1 cup bread flour (160g)
LAMINATE
24 oz. butter (3 sticks)
DOUGH
1 packet active dry yeast (1tbsp) (¼ oz.) (7g)
14 oz. milk
28 oz. flour
2.5 oz. sugar
1 tsp salt
1 tbsp melted butter
(Nutritional facts 321 calories, 17.8 g fat, 34.85 g carbohydrates, 5.54 g protein, 32 mg cholesterol, 679 mg sodium)How to cook
THE PREFERMENT
1

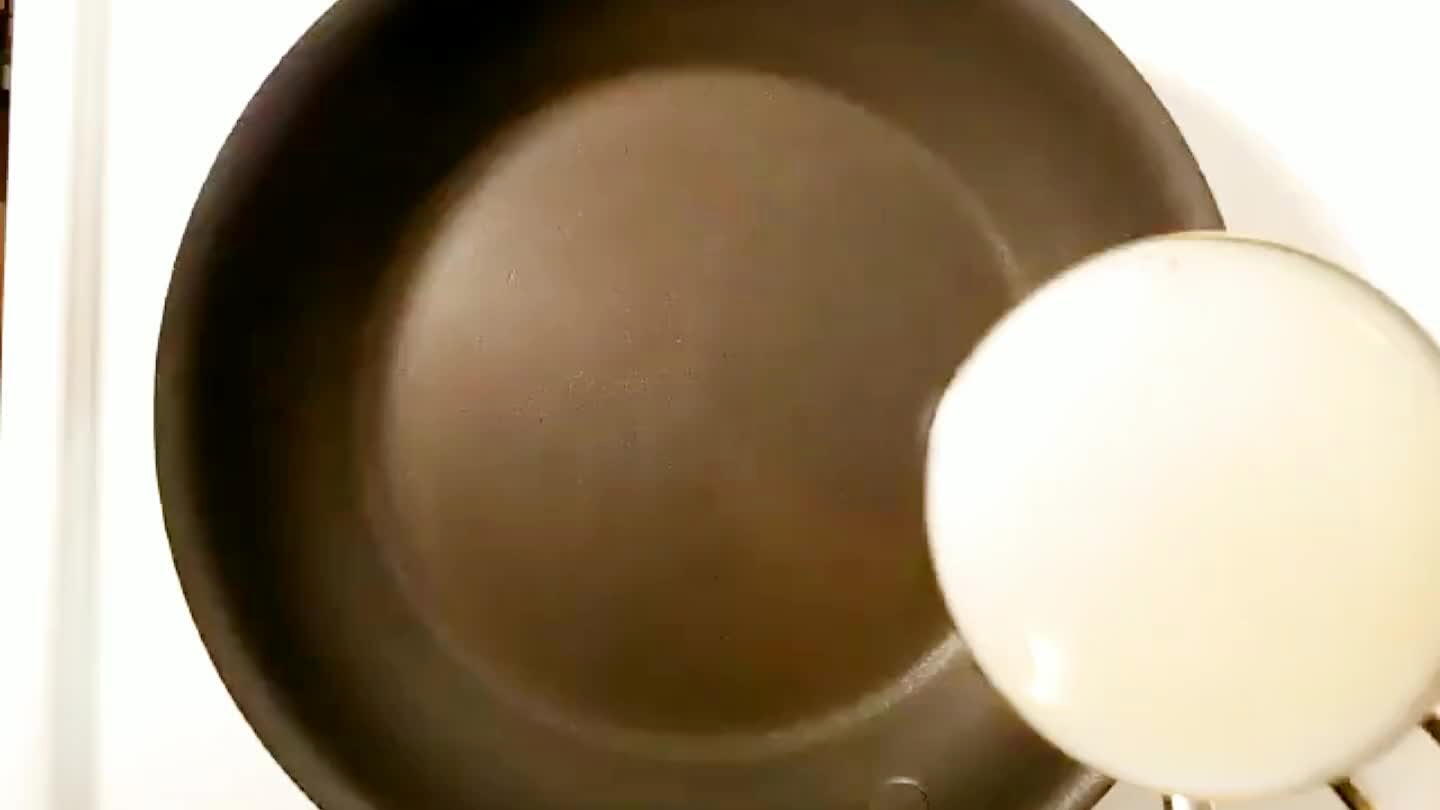
Warm the 1/2 cup of milk for the preferment briefly over a low flame. You don't want it hot, just around 85-100F or so. You definitely don't want it to boil or even simmer.
2

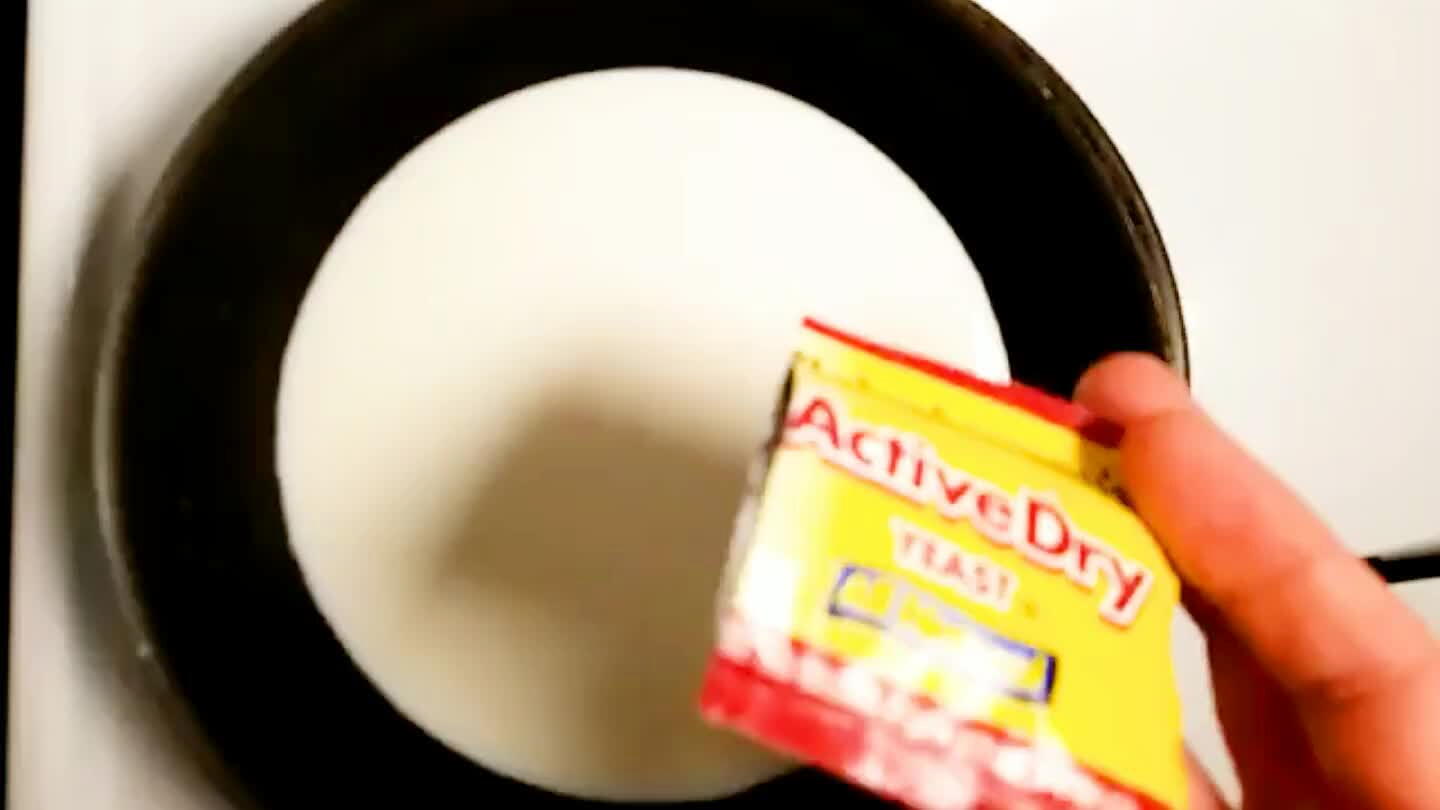
Sprinkle the packet of yeast into the warm milk. Stir it up.
3

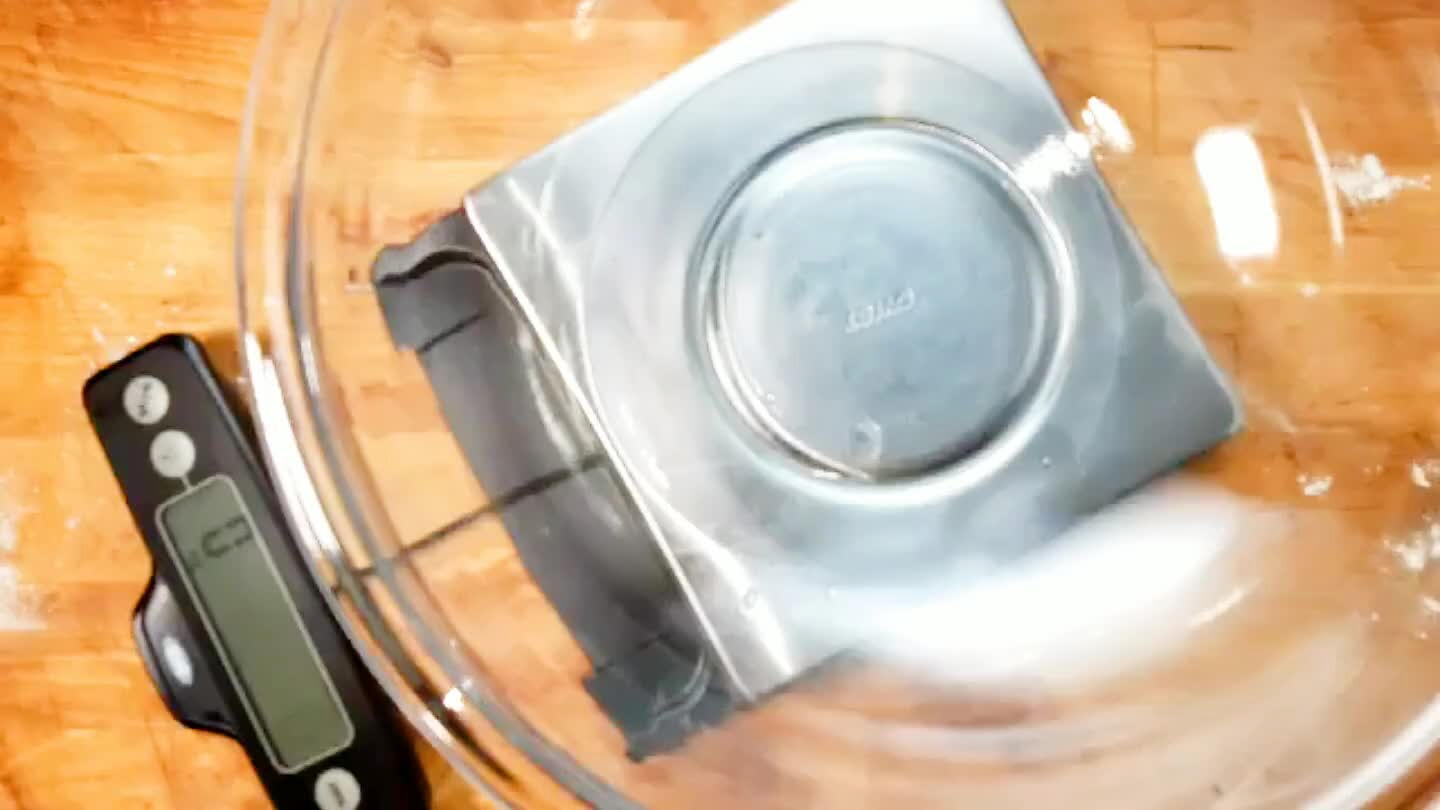
Weigh out the flour in a mixing bowl. Stir in the warm milk. For this recipe, I highly recommend using a kitchen scale. Measuring flour by weight is far more accurate than by volume.
4

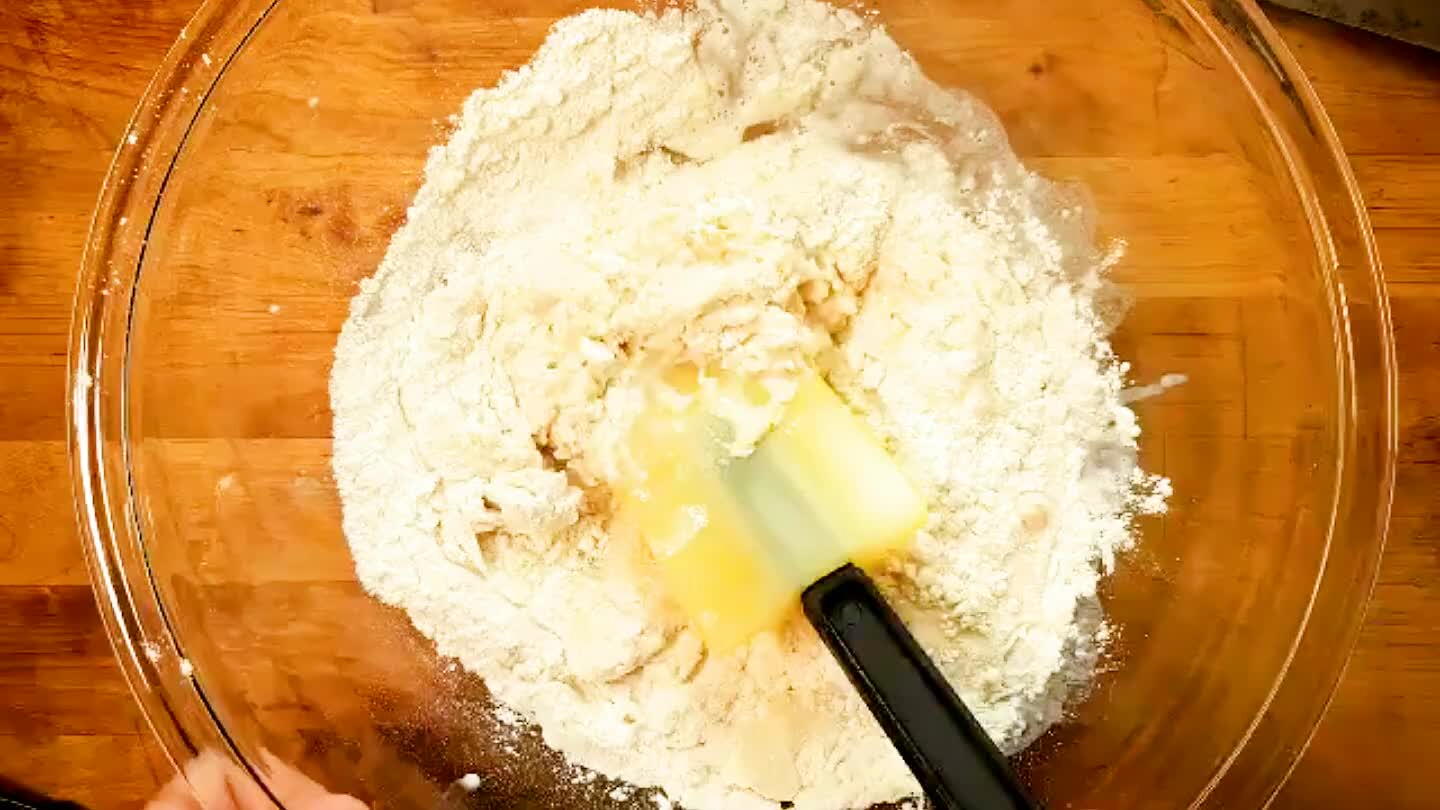
Work it with a spatula until it comes together, then knead it into a ball.
5

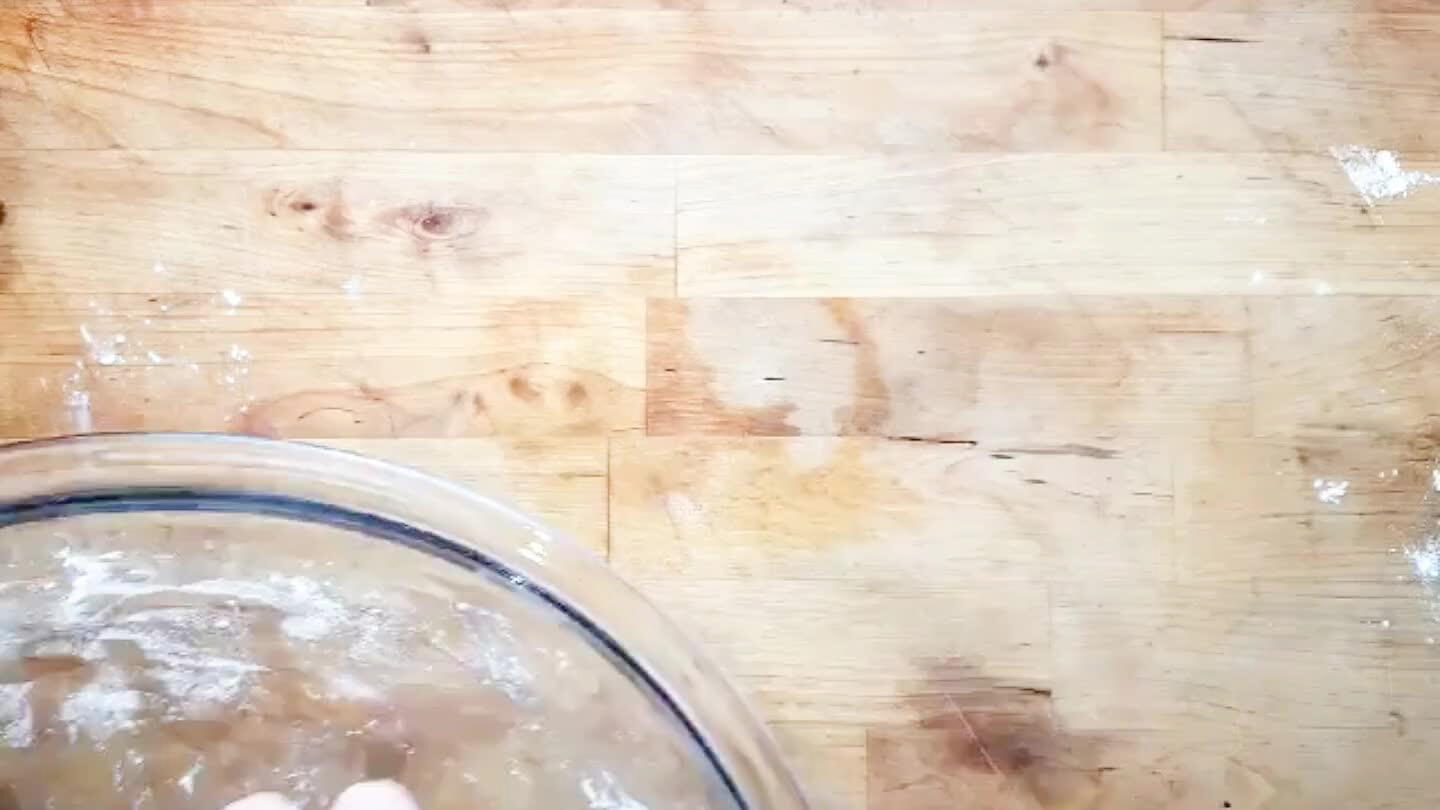
Cover the dough with a kitchen towel and set aside to rise for 2-3 hours.
PREPARE THE BUTTER
1

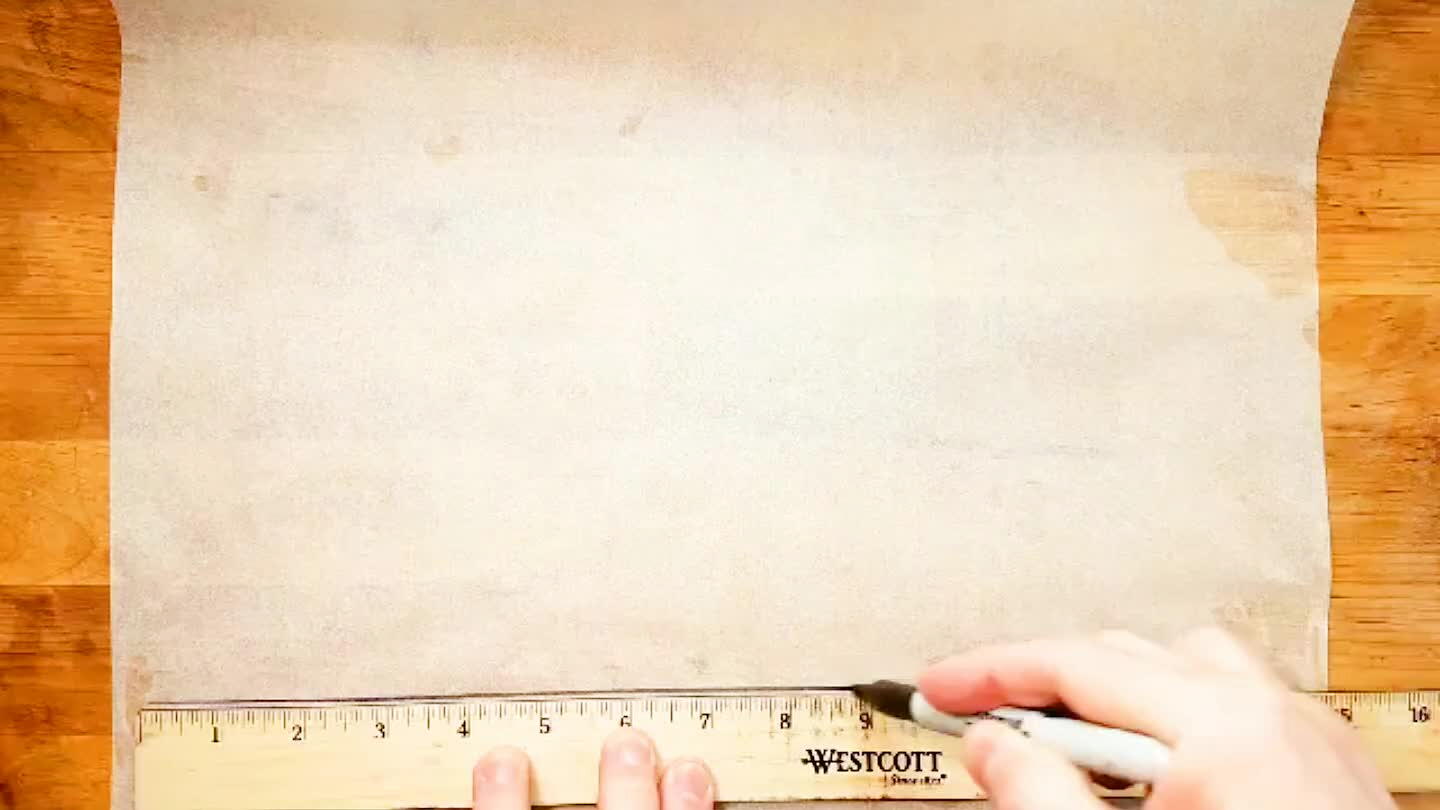
On a piece of parchment, draw a 7"x14" rectangle. Our goal is to shape the butter into an even layer of this size. There are many ways to do this, but this method worked really well for me.
2

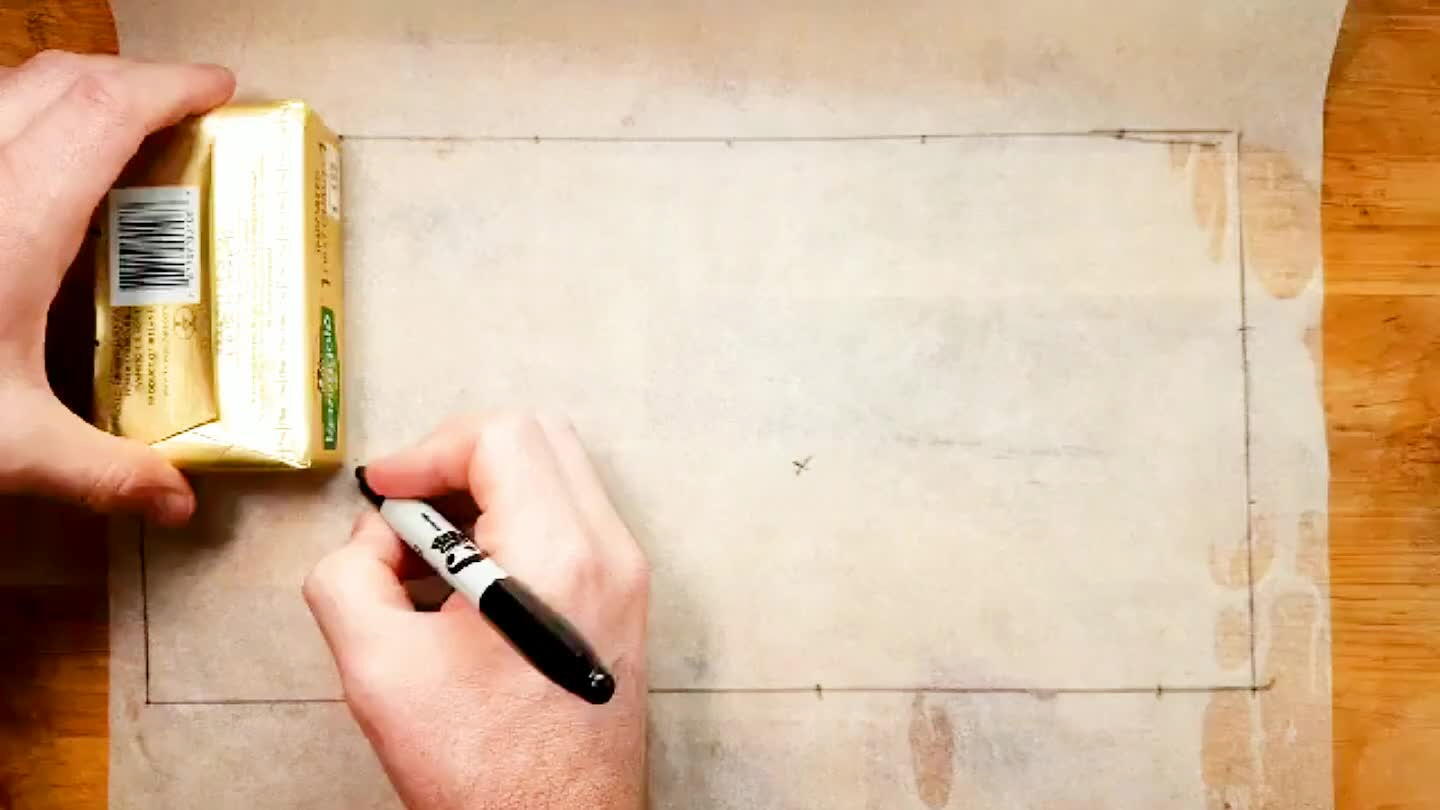
Use a stick of butter to mark how many slices of butter will fit in your rectangle. In this case it looks like 9 slices from the wider face of a stick of Kerry Gold butter will fit almost perfectly.
3

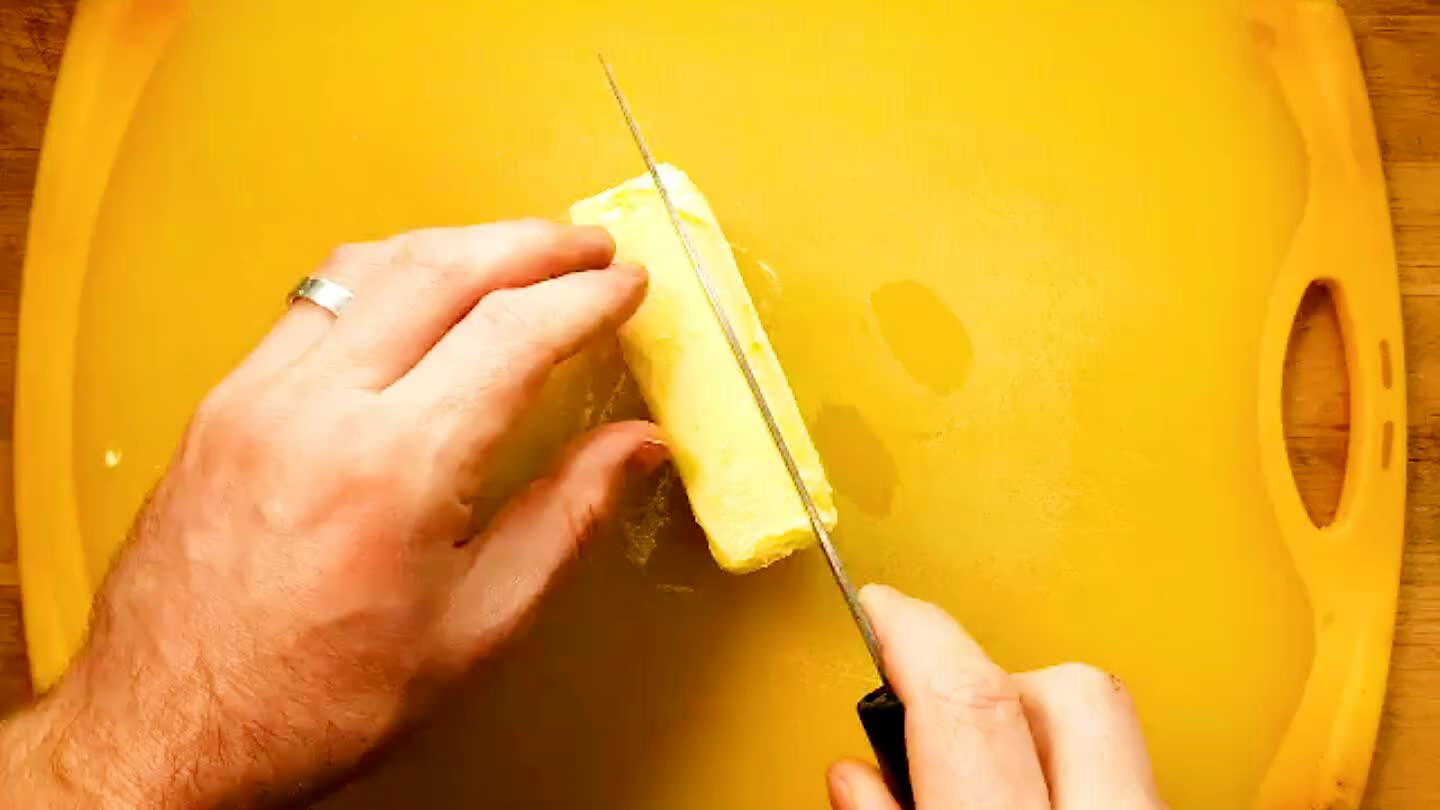
We will laminate the dough with 24oz. of butter in three 8oz. sticks. This means we will need 3 slices from each stick of butter to add up to 9 slices.
4

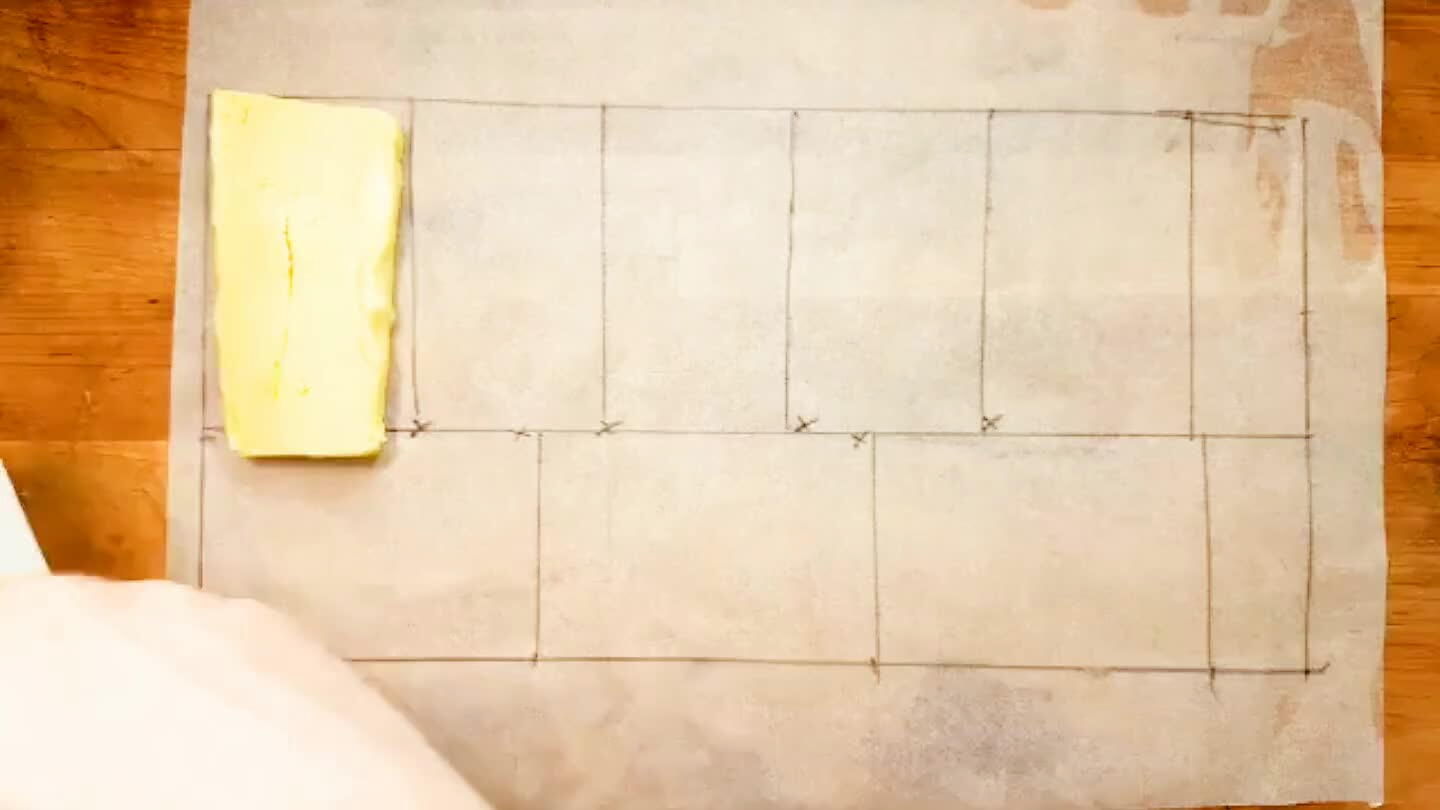
Arrange the slices of butter to cover your rectangle pattern. Fold the parchment to enclose the butter along the borders of your rectangle.
5

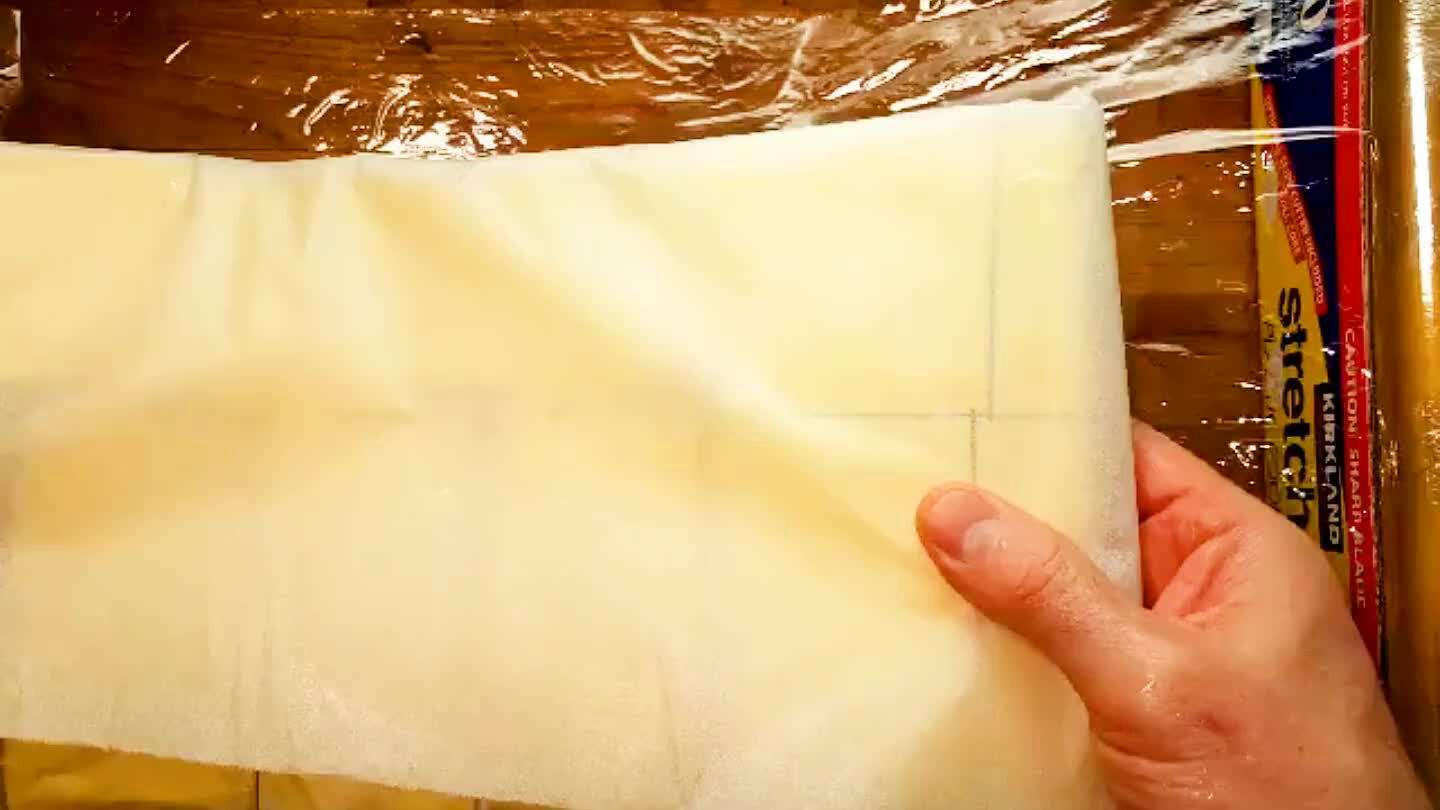
Wrap your sheet of butter tightly in plastic wrap.
6

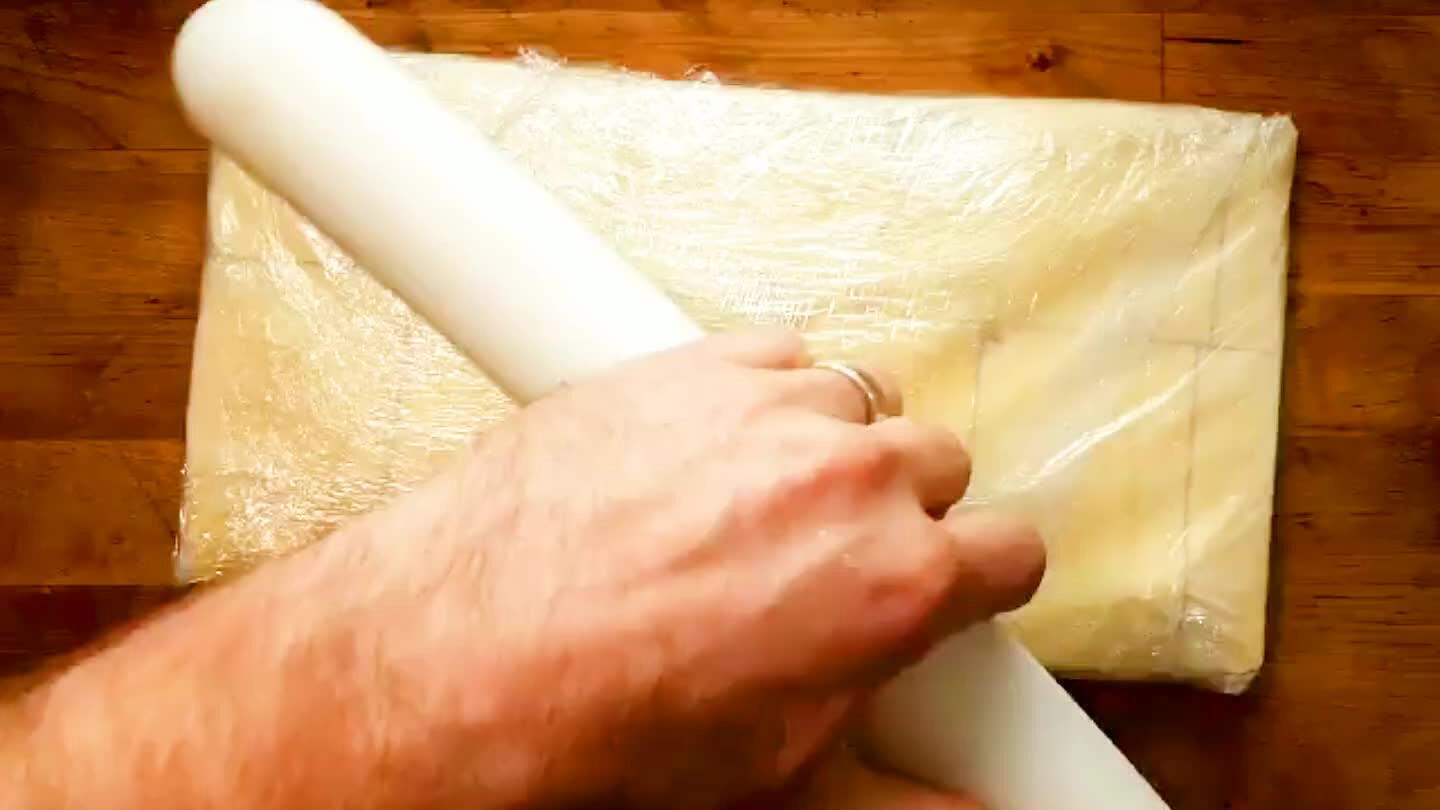
Now roll it out. This should help close the gaps between slices and even out any variations in thickness. Move the finished slab into the refrigerator to chill.
THE DOUGH
1

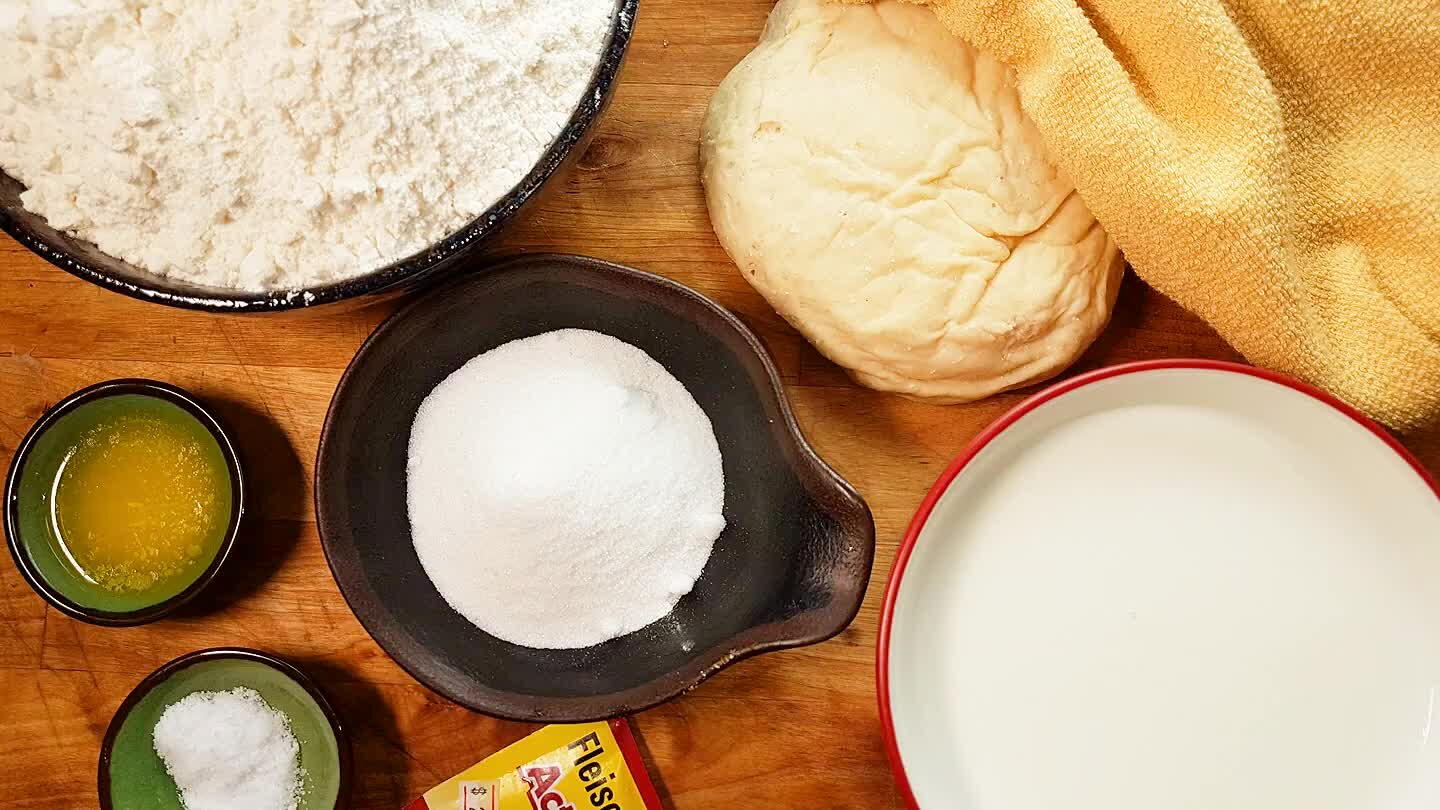
For this stage, it's good to have all of your ingredients in order. You'll need your preferment, 1 packet of yeast, 14 oz milk, 28oz. flour, 2.5 oz sugar, 1 tsp of salt and 1 tbsp of melted butter.
2

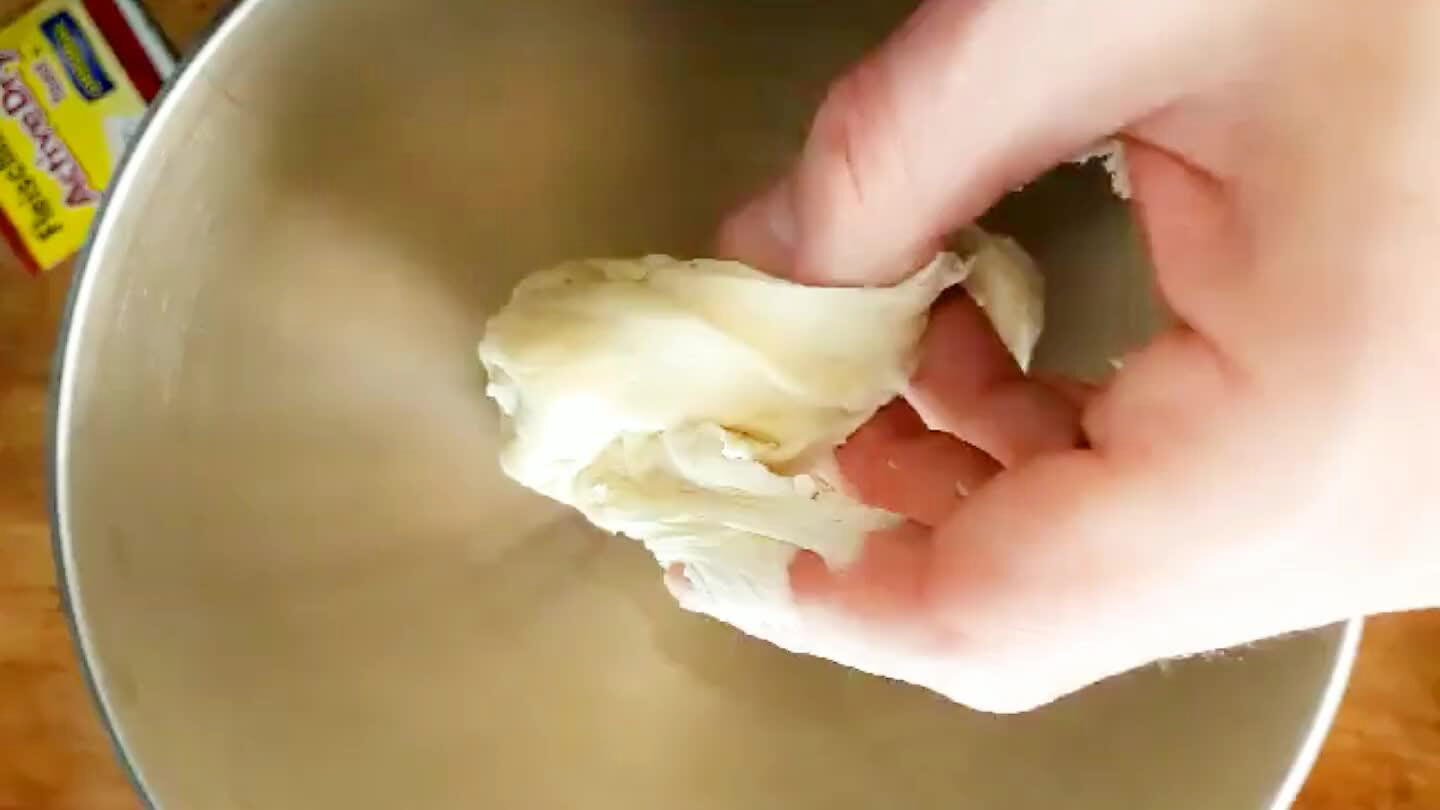
When the preferment is done proofing, toss it in a stand mixer and dump in the second packet of yeast. Mix with a dough hook until the yeast is well incorporated. You may need to stop the mixer and scrape the dough from the hook a few times.
3

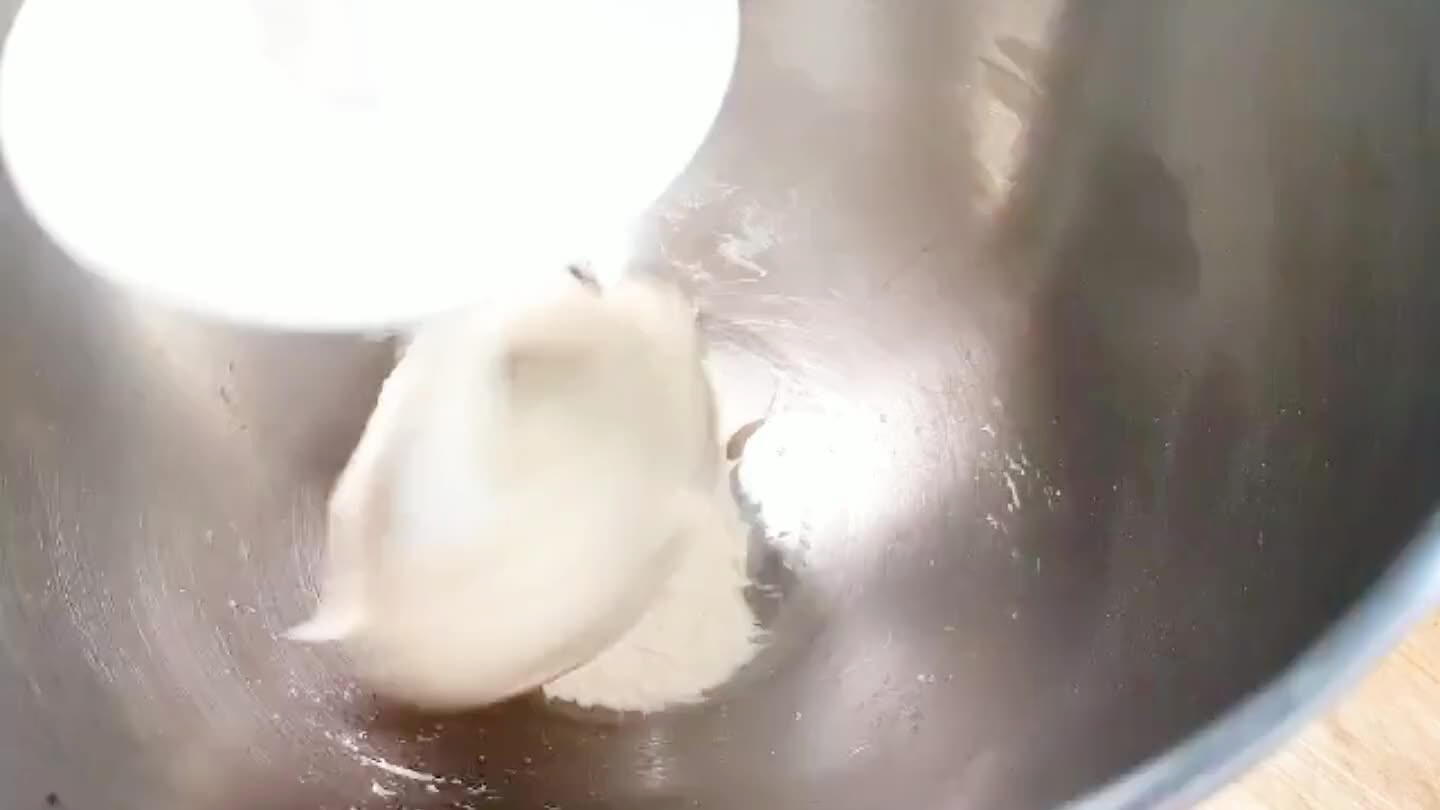
Keep going for 2-3 minutes after the yeast has been incorporated. You can bump the mixer speed up a notch or two here. Incorporating the yeast can be done by hand if you prefer.
4

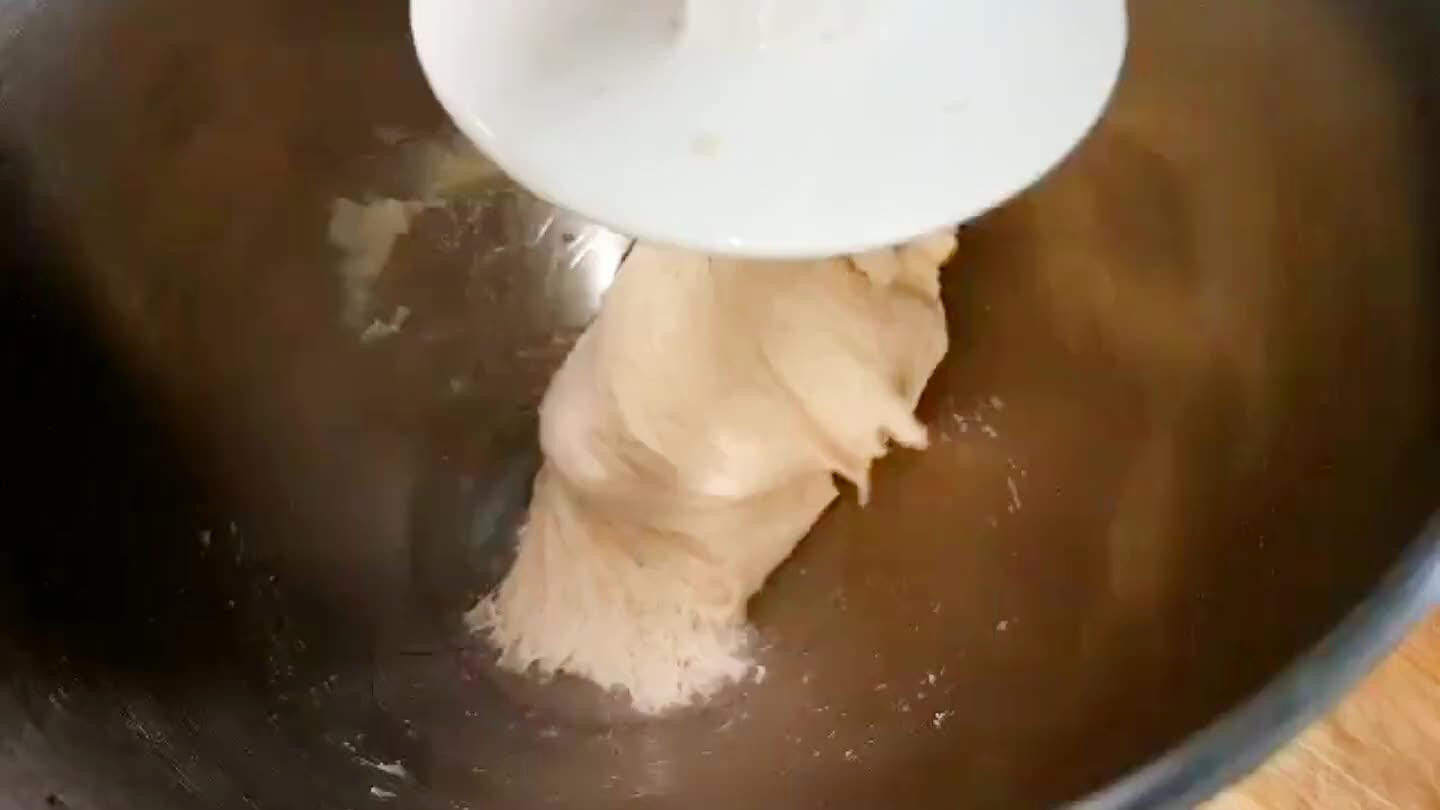
With the mixer back on low, add in about half of the milk for the dough. This milk does not need to be warmed. Let the hook go until the preferment is dissolved into the milk. This could take awhile.
5

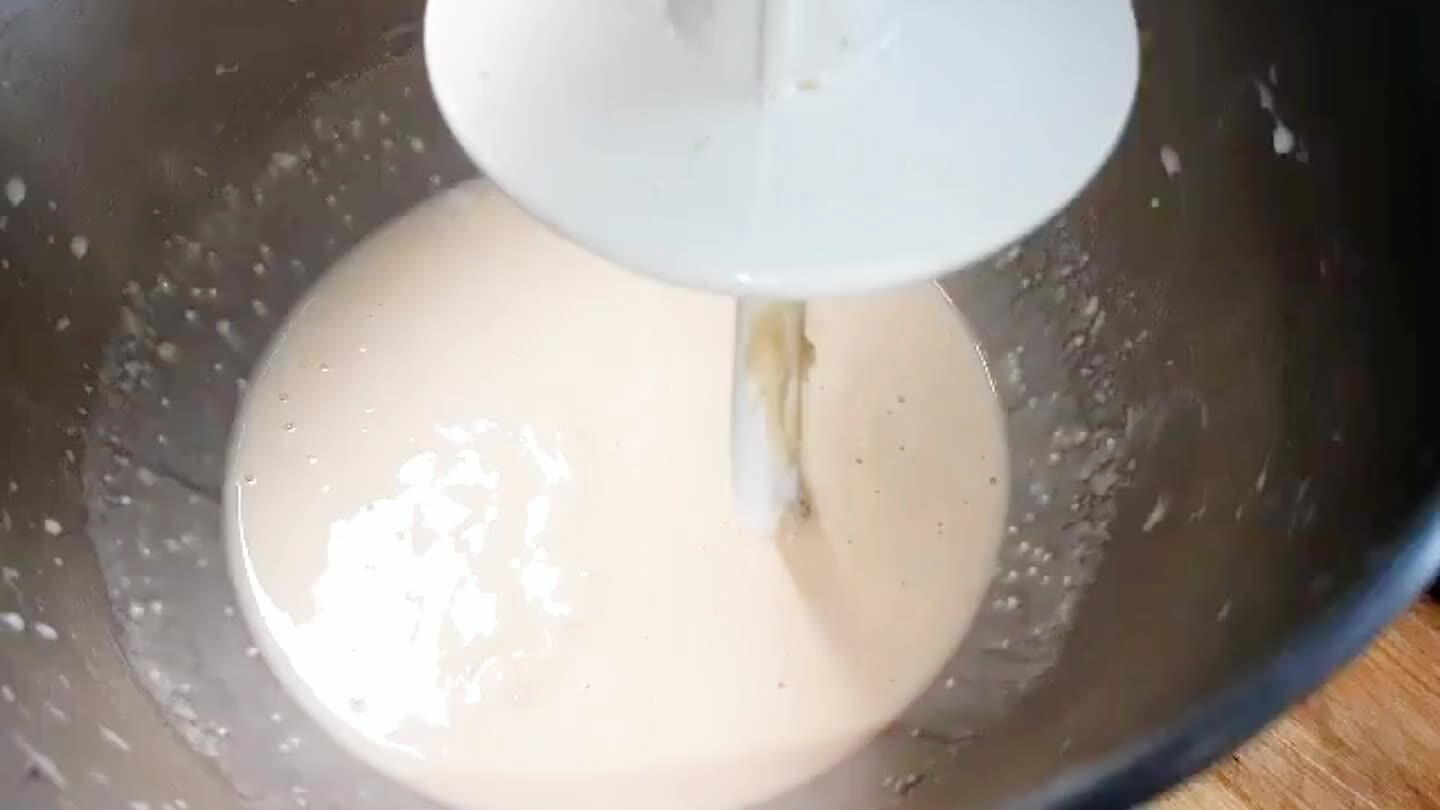
You can now dump in the remaining dough ingredients: 28 oz of flour, 2.5 oz of sugar, 1 tsp of salt and 1 tbsp of melted butter
6

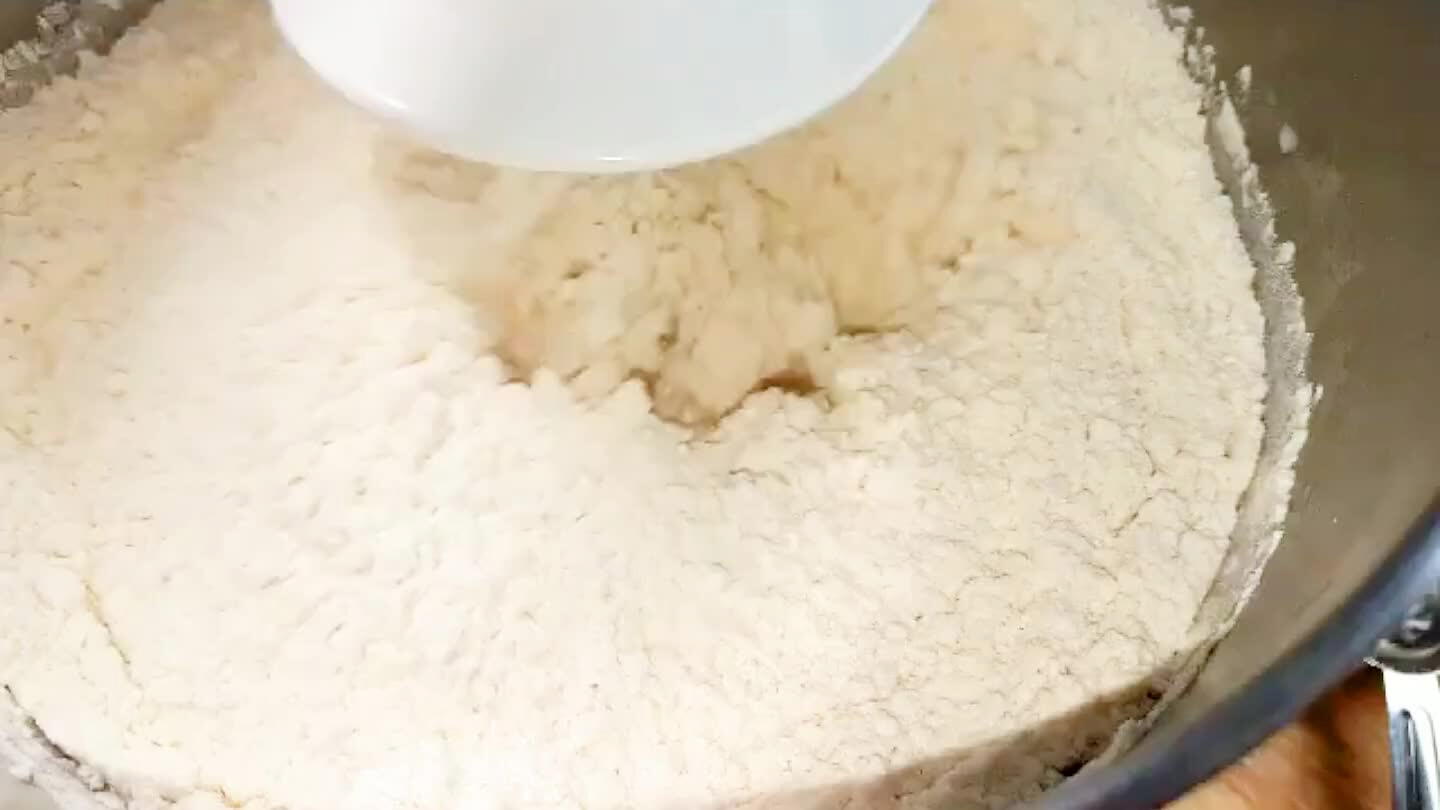
On low, mix until the dough begins to come together in a shaggy mass. Your mixer will probably be pretty full.
7

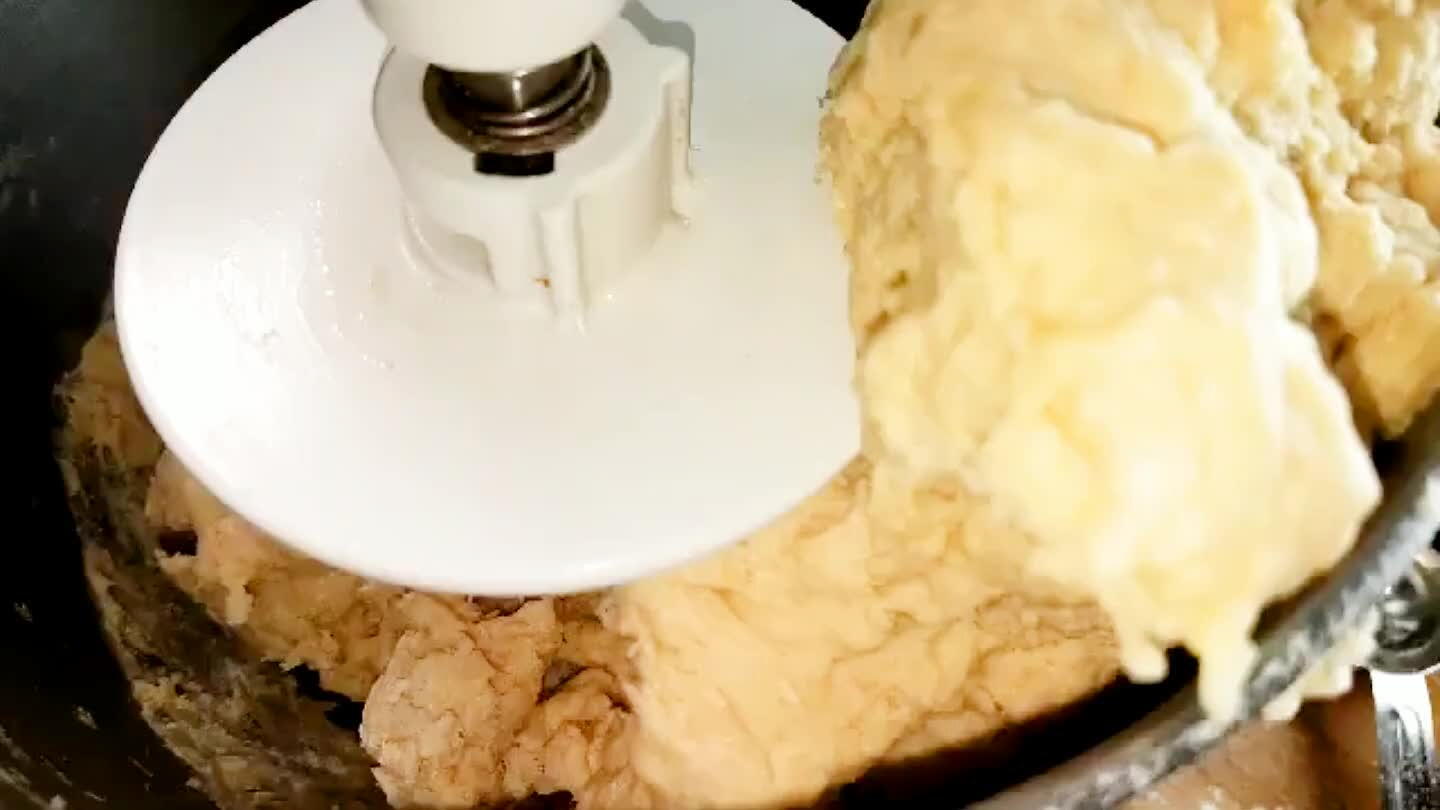
Stop the mixer and let the dough rest for 15 minutes. You should drape a towel over the bowl.
8

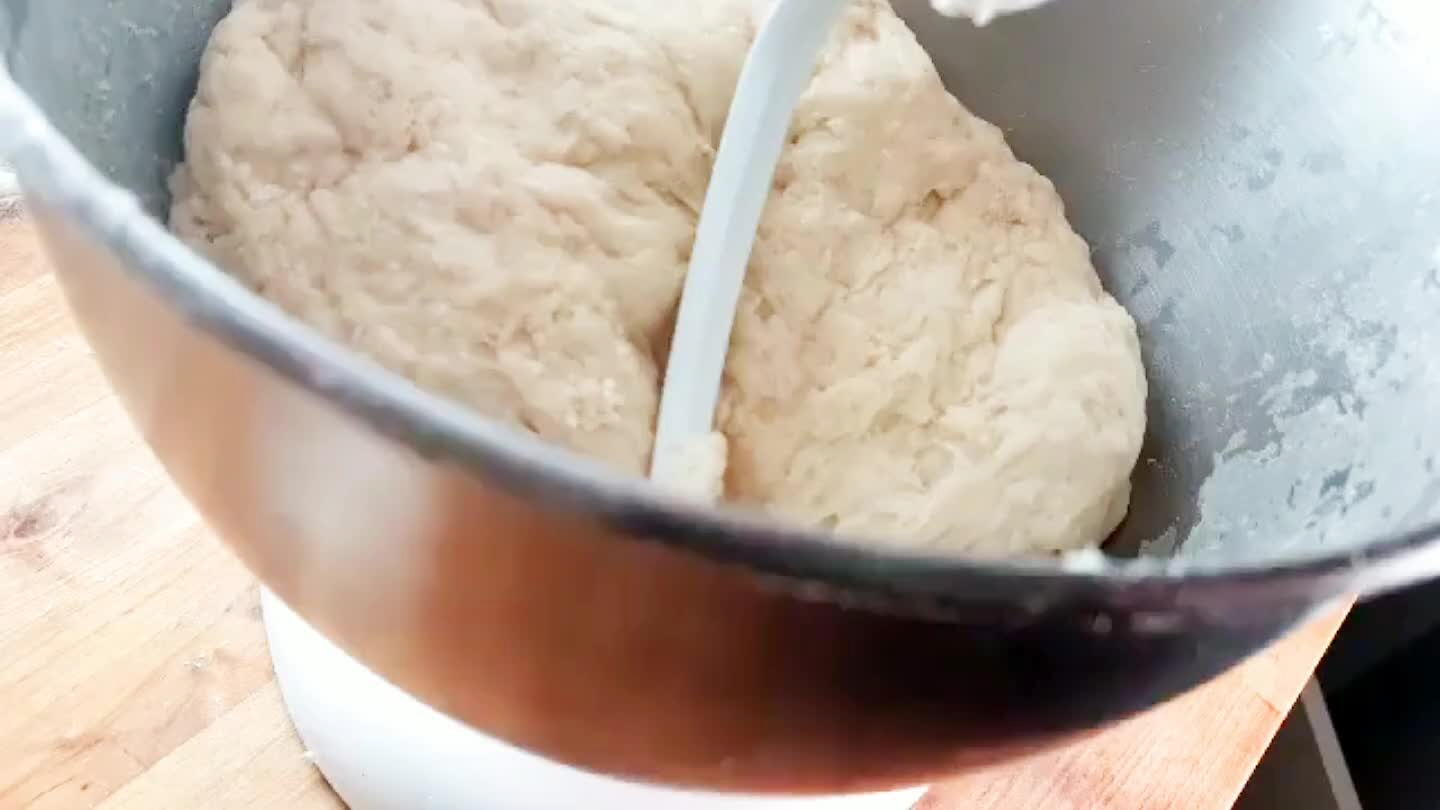
Having given the dough about 15 minutes to rest and hydrate a little, it should be more elastic now. Mix it for another 4 minutes or so with the hook on low. My kitchenaid was really struggling at this point so I actually had to knead it manually.
9

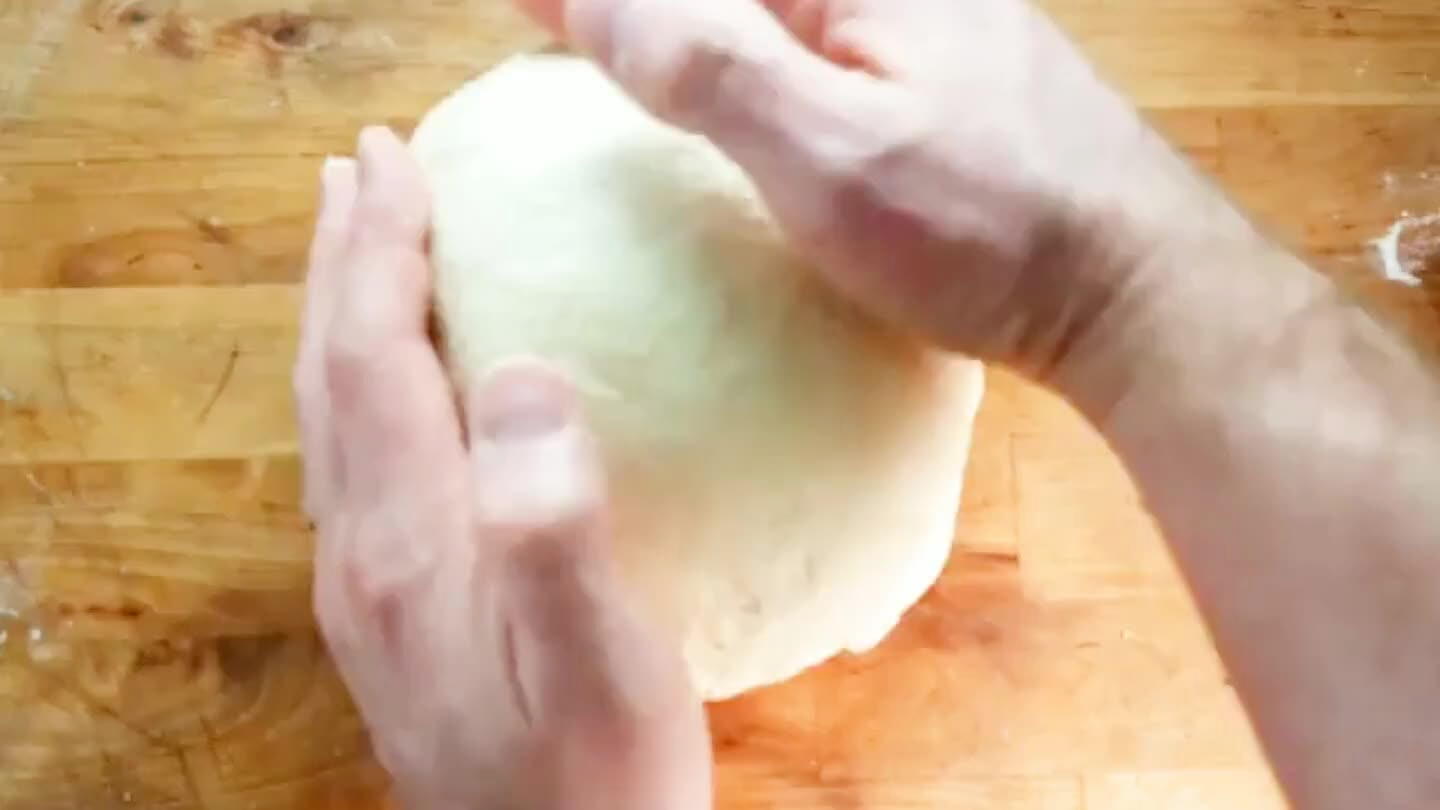
Roll the dough into a ball. Cover with a kitchen towel. Set aside to proof for about 90 minutes.
10

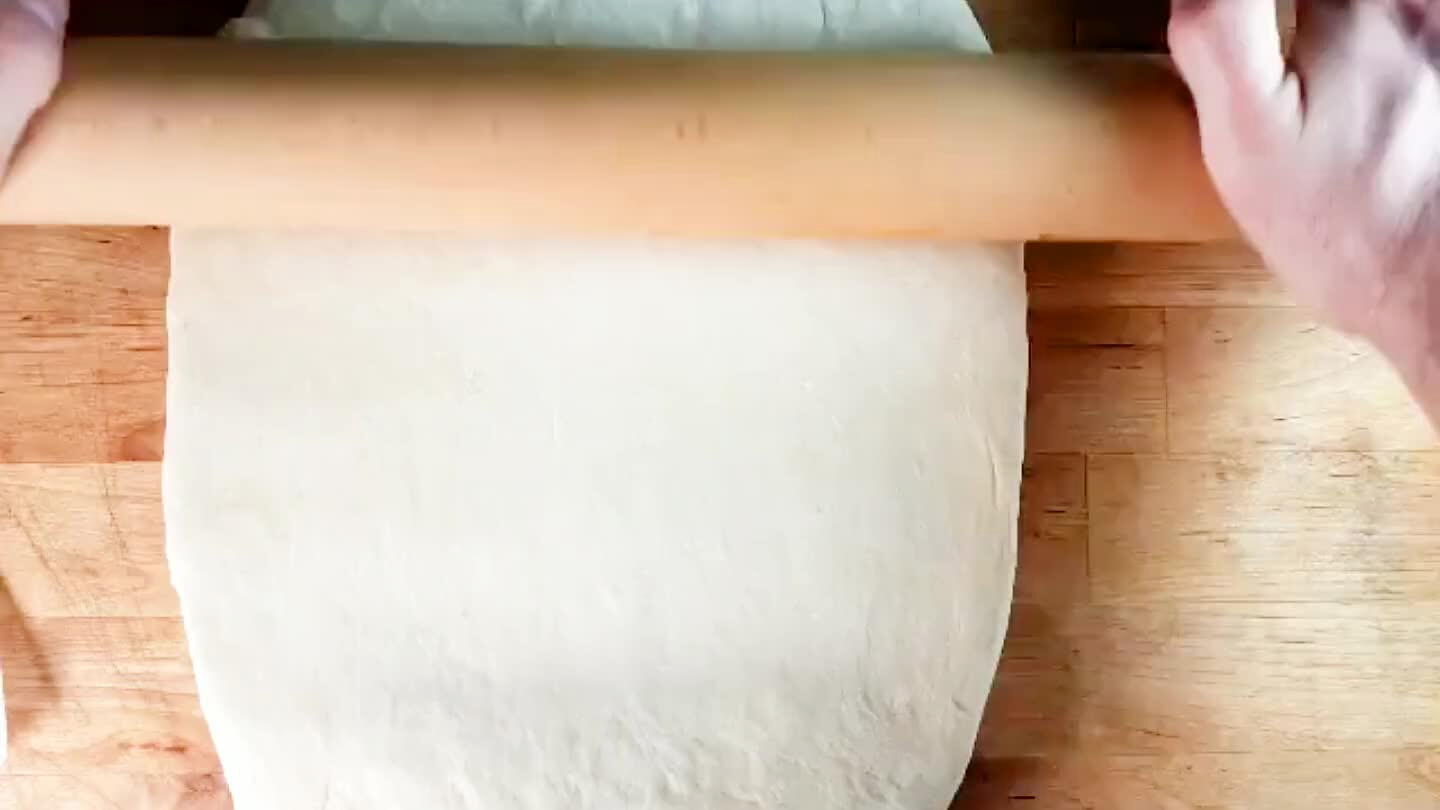
Dust your surface with a little flour, and use a rolling pin to roll your dough ball out to a rectangle around 20" x 8". Don't worry about getting it perfect or anything, some overhang is fine.
11

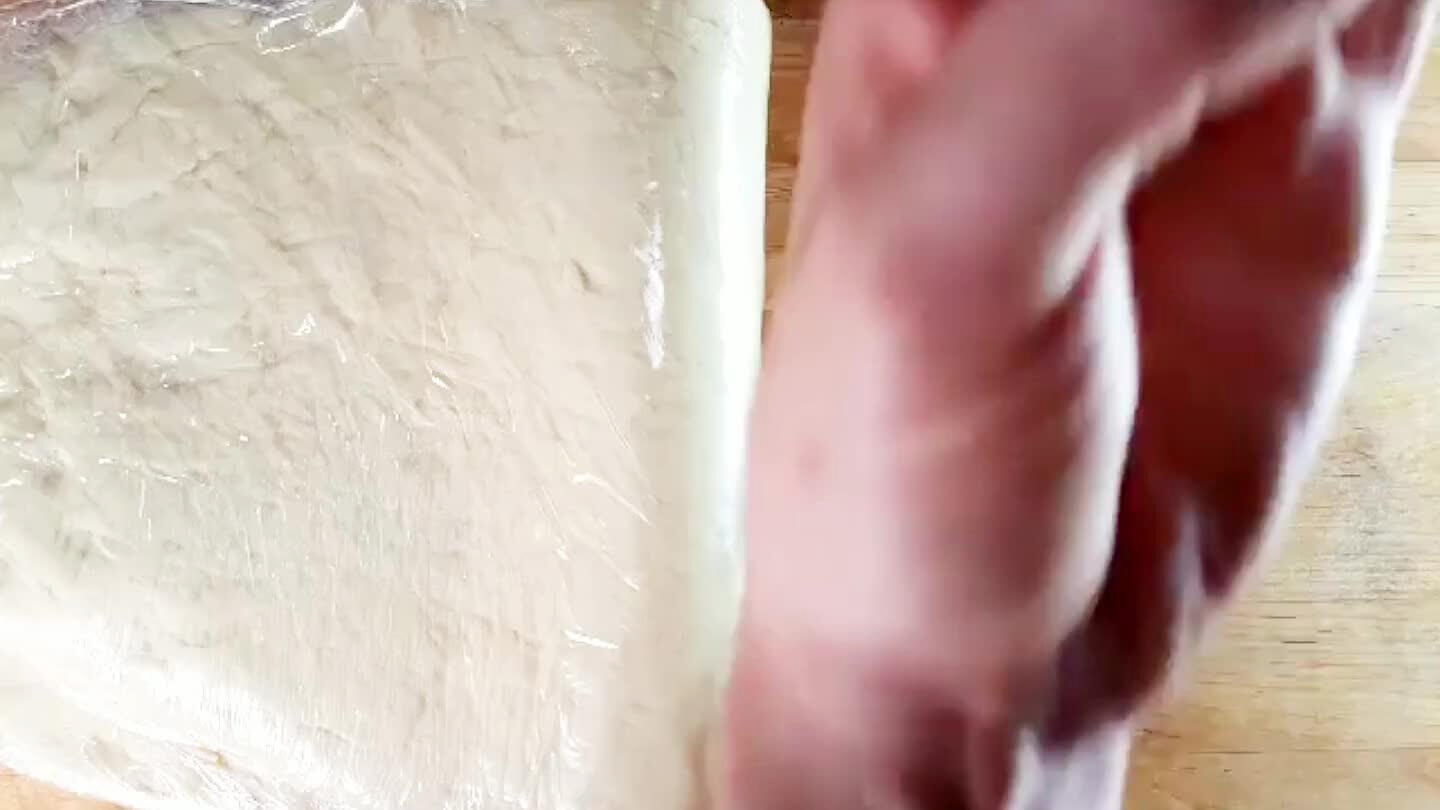
Wrap the dough in plastic and refrigerate for 4-6 hours. The long, complicated proofing process in this recipe is exhausting, but it is essential to building flavor and texture in your final dough. Hang in there.
12

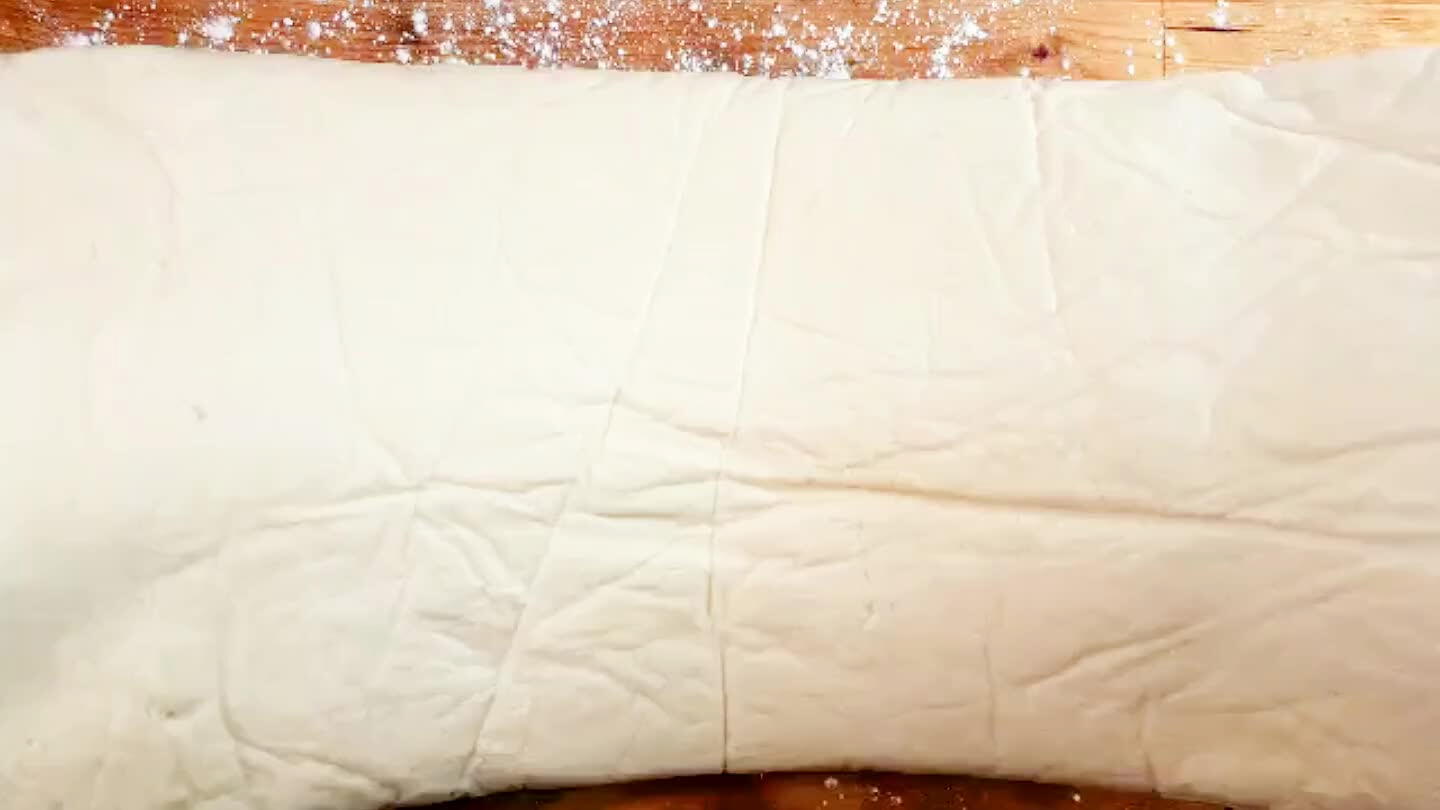
Take the butter out of the fridge and unwrap it. Then, do the same with the dough. Place the slab of butter on top of the dough. It should cover about 2/3 of your dough.
13

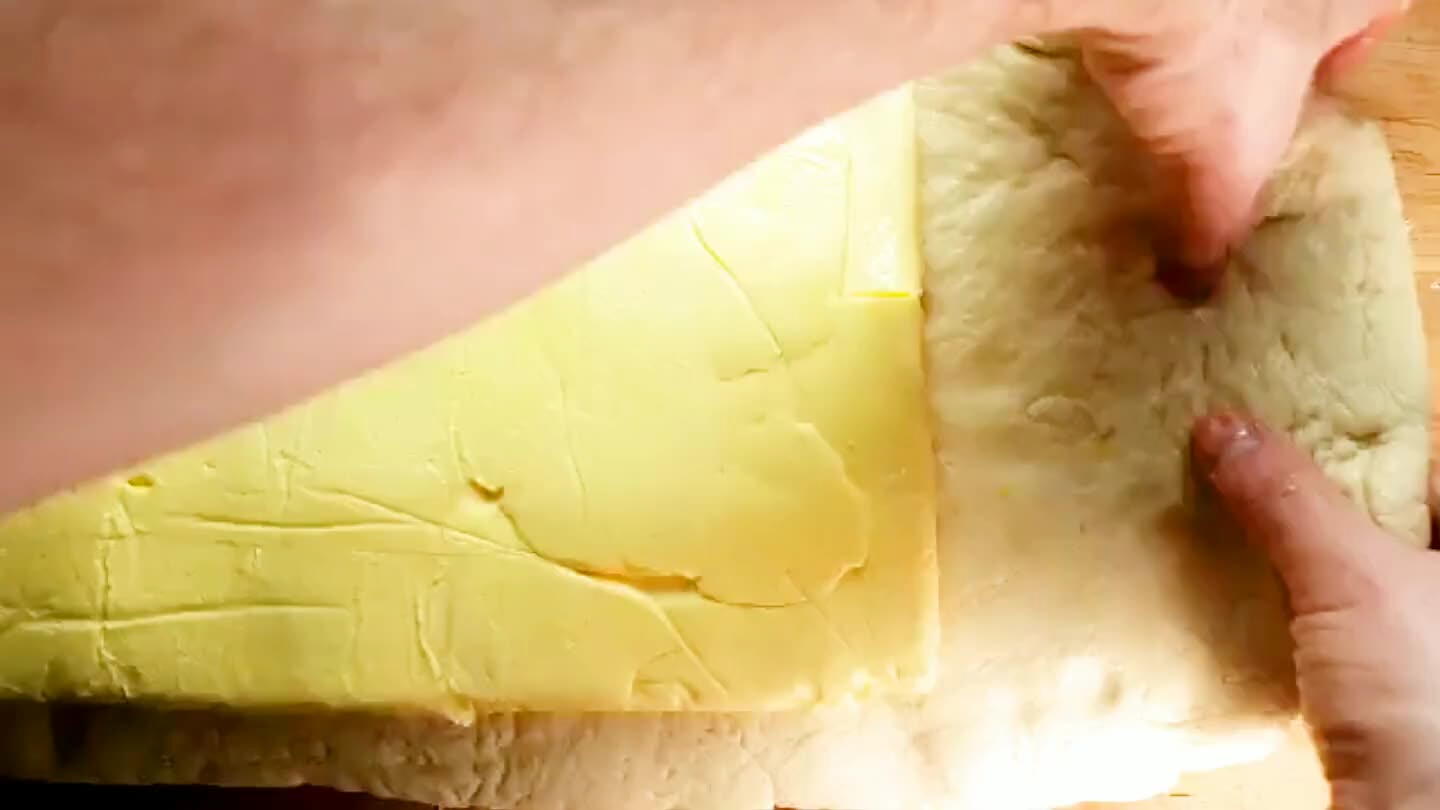
Take the uncovered 1/3 of the dough to your right and fold it over the butter. It should cover the butter about 1/2 way. Now fold the left third of the dough, along with the butter, up and over the top.
14

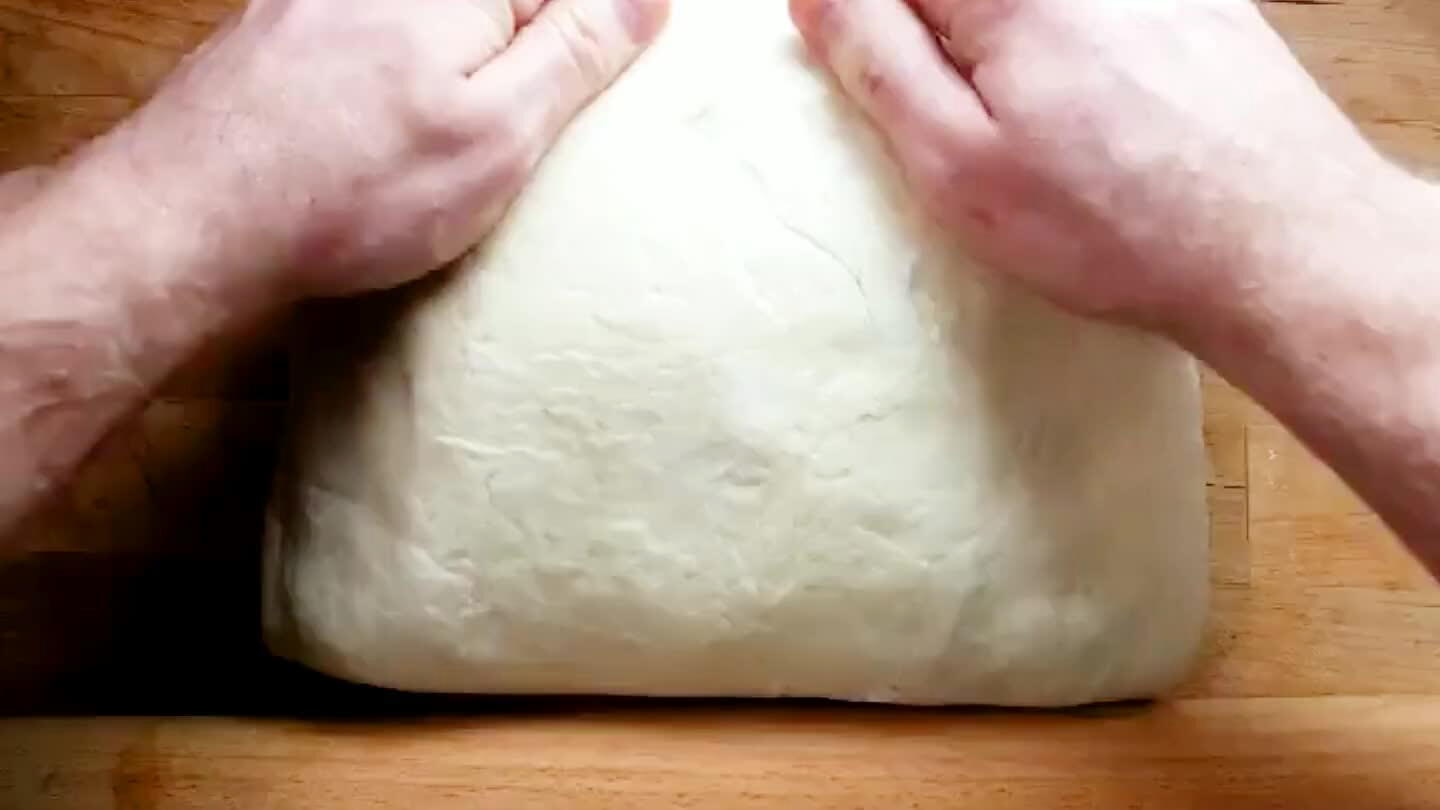
Just pinch the edges closed so that the butter is well contained. You now have this big butter lasagna going on, 3 layers of dough separated by 2 layers of butter.
15

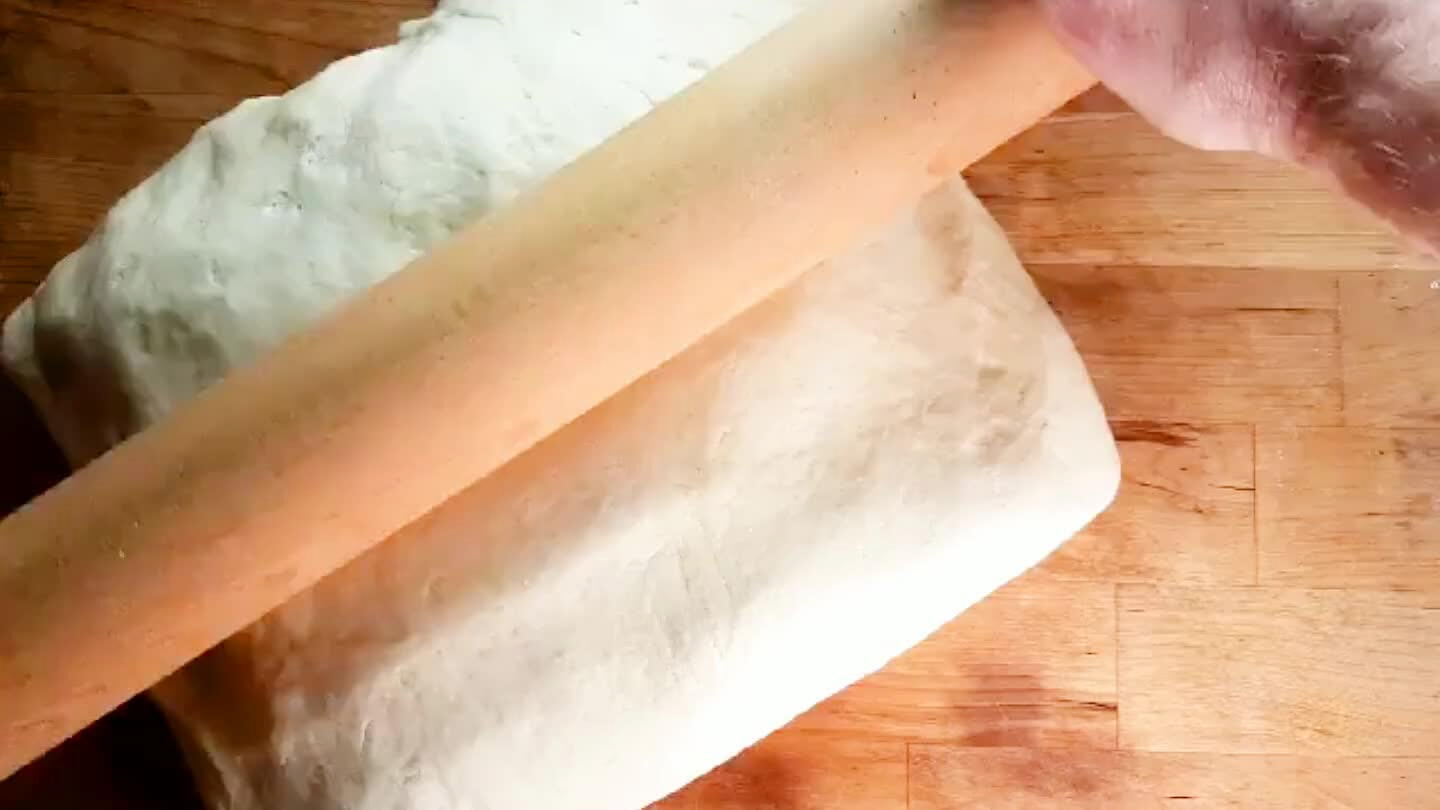
Roll the butter and dough out again to a 20" x 8" rectangle. What you end up with is actually 3 thin layers of dough, separated by 2 layers of butter. The pastry people like to call this a'plaque' for some reason.
16

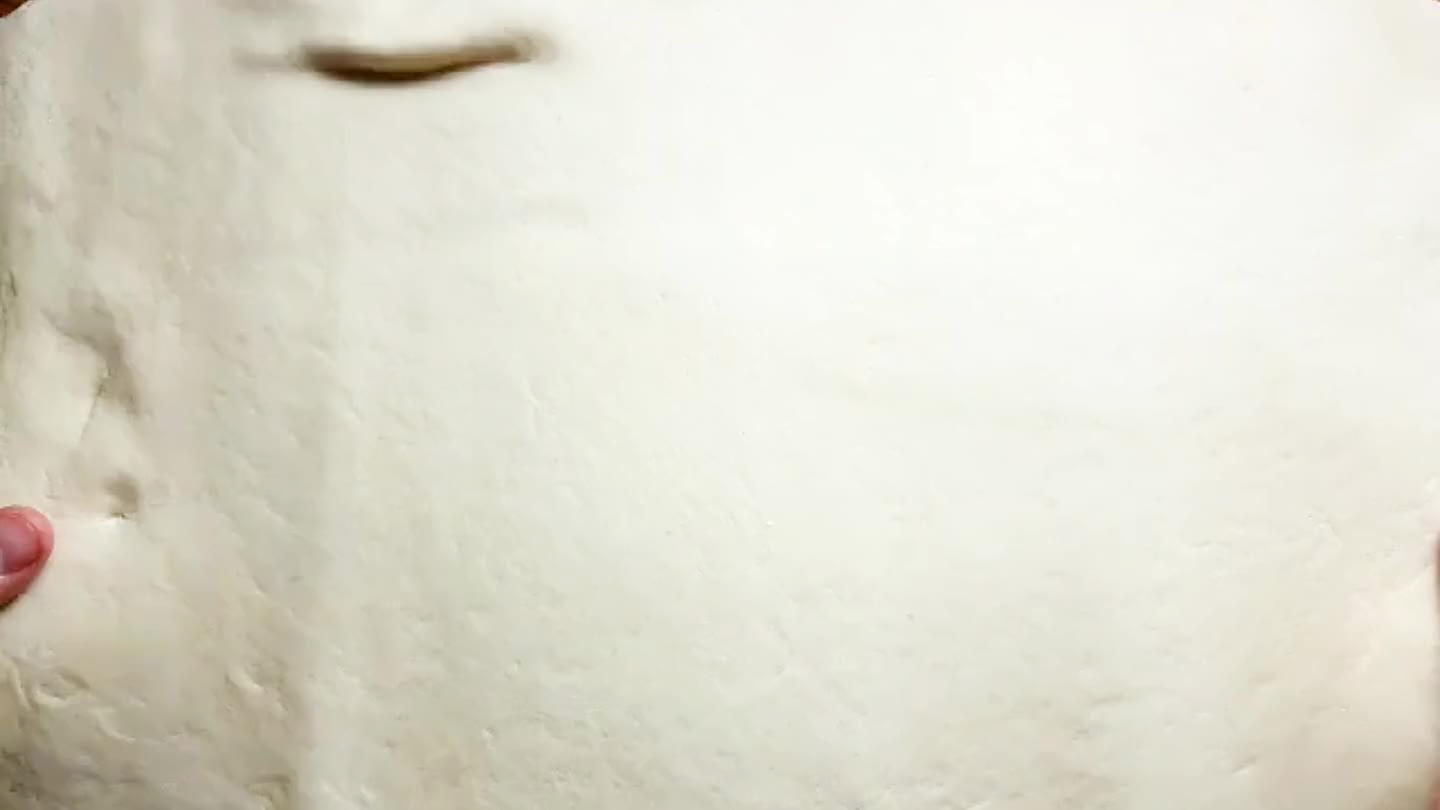
Fold the right 1/3 into the center, and the left 1/3 in on top. Roll over it a few times jut to seal the layers together. You now have 6 layers of butter laminated into the dough.
17

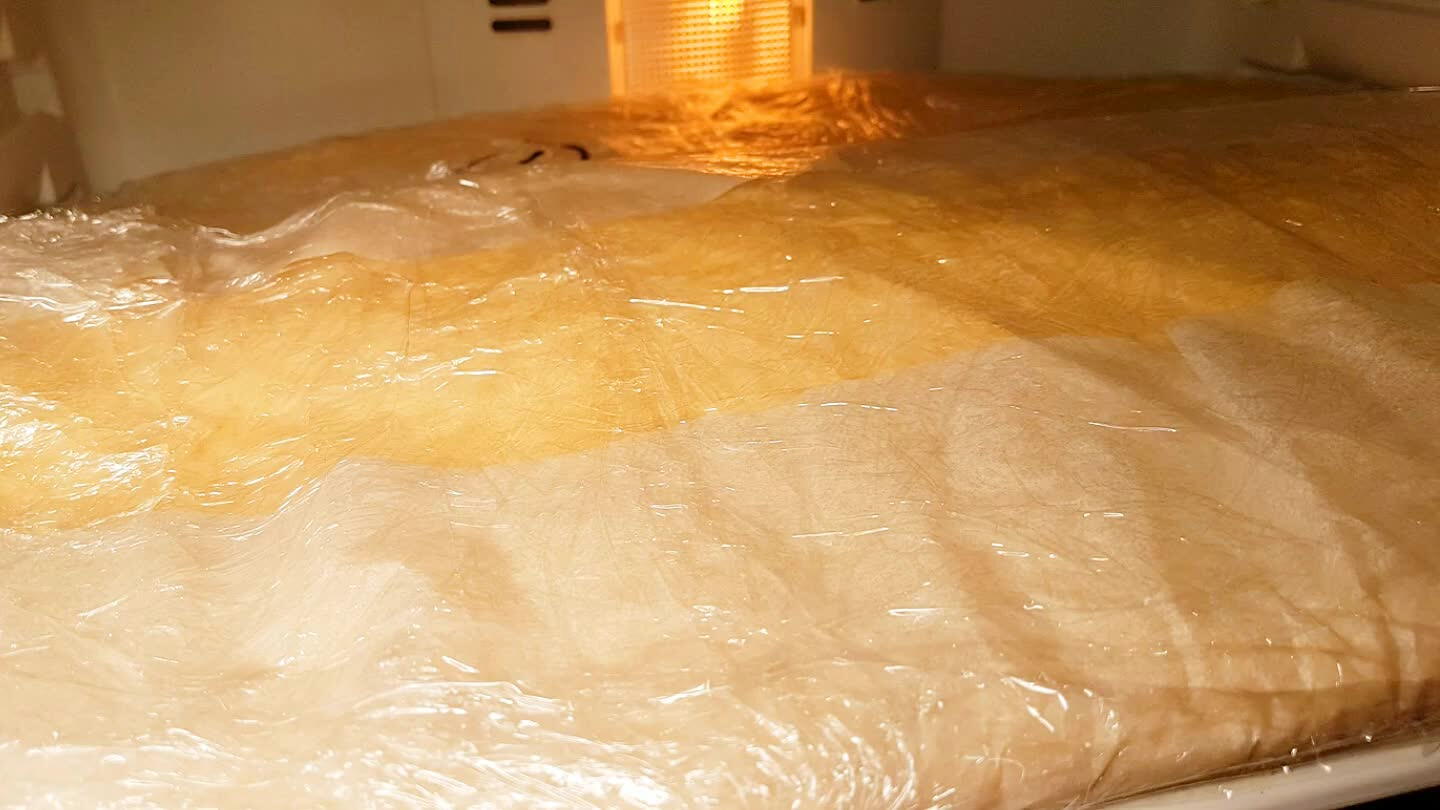
Wrap the 'plaque' in plastic and refrigerate for about an hour and a half. You've completed the first turn of the lamination process.
18

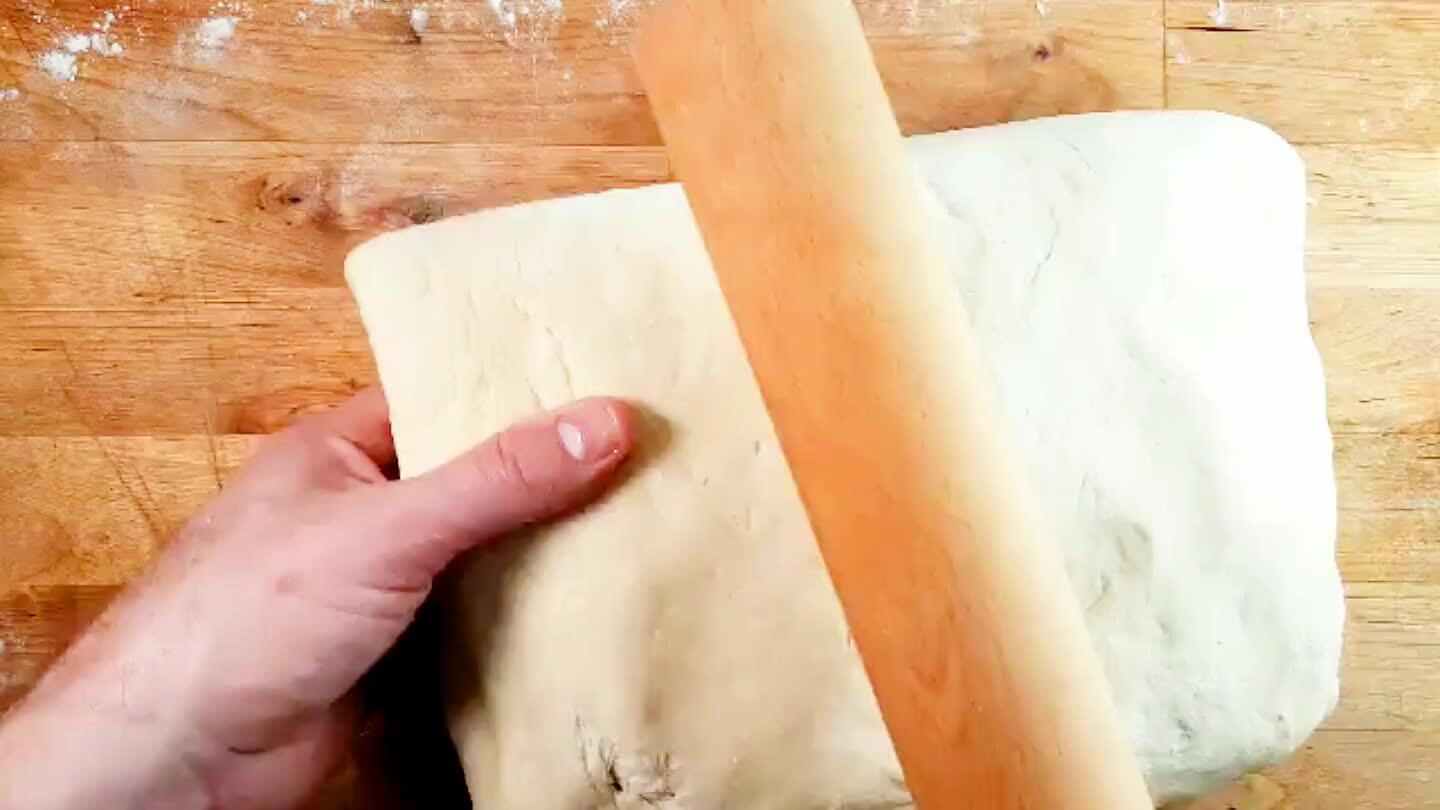
Take the dough out of the fridge roll it out to a 20" x 8" rectangle again. The chilling is important because it keeps the butter from mixing with the dough. You need those layers to create that flaky pastry crust.
19

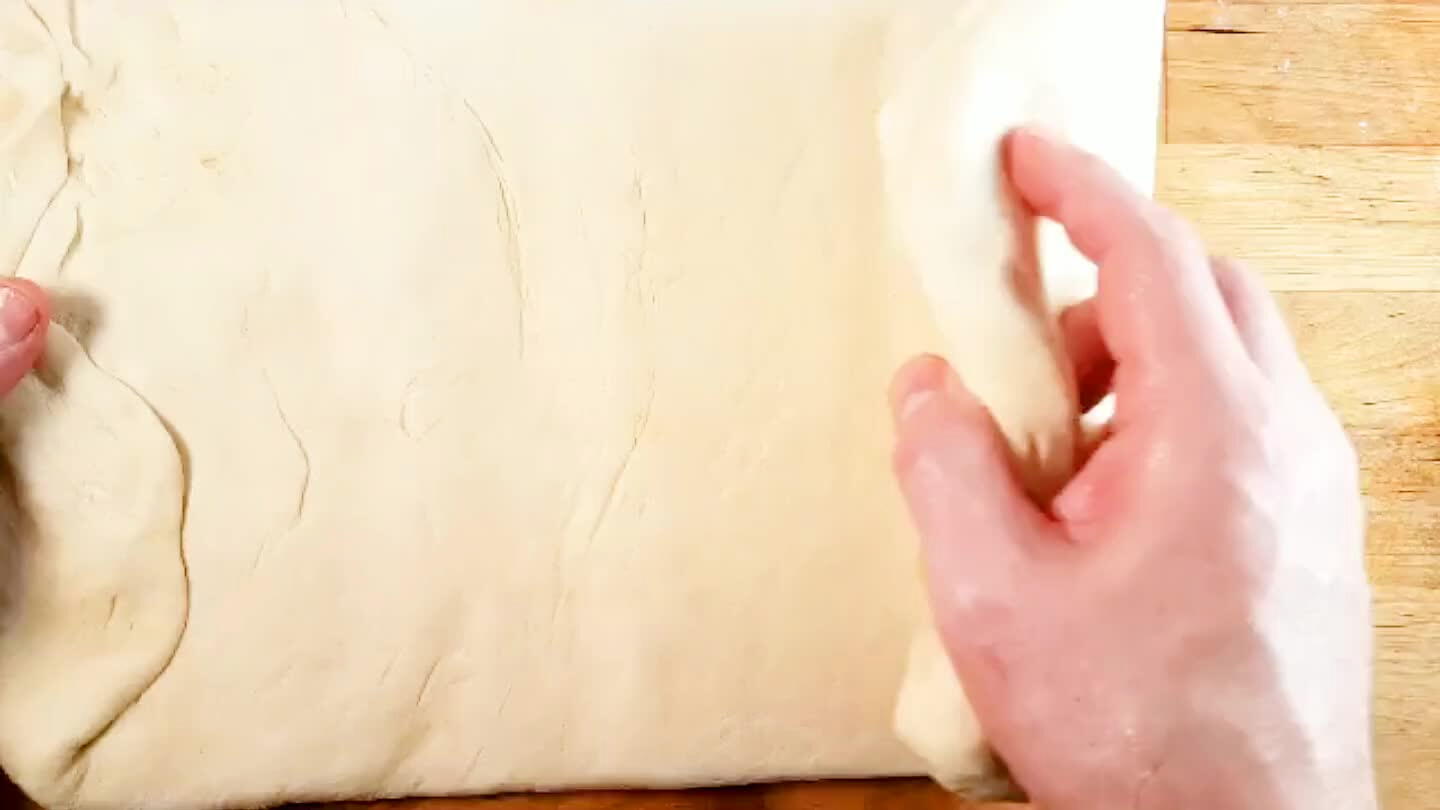
One more time, fold it like an envelope and roll to seal. You should now have 18 layers of butter smoothly laminated into your yeasted dough.
20

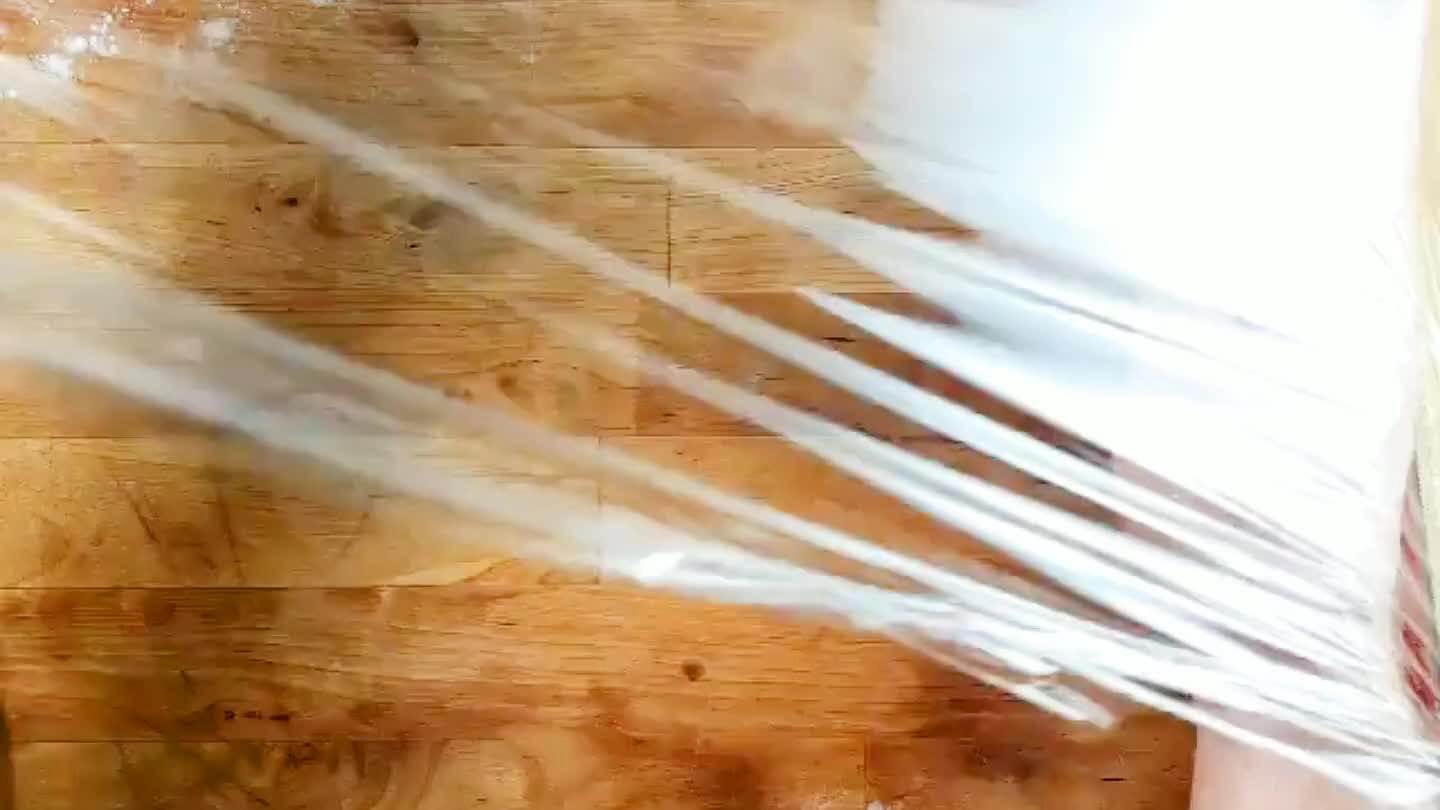
Wrap the slab of dough in plastic and send it back into the fridge. Chill for 1 hour. At this point you have a slab of layered butter and dough. You should either use the dough within the next several hours or freeze it for later use.
21

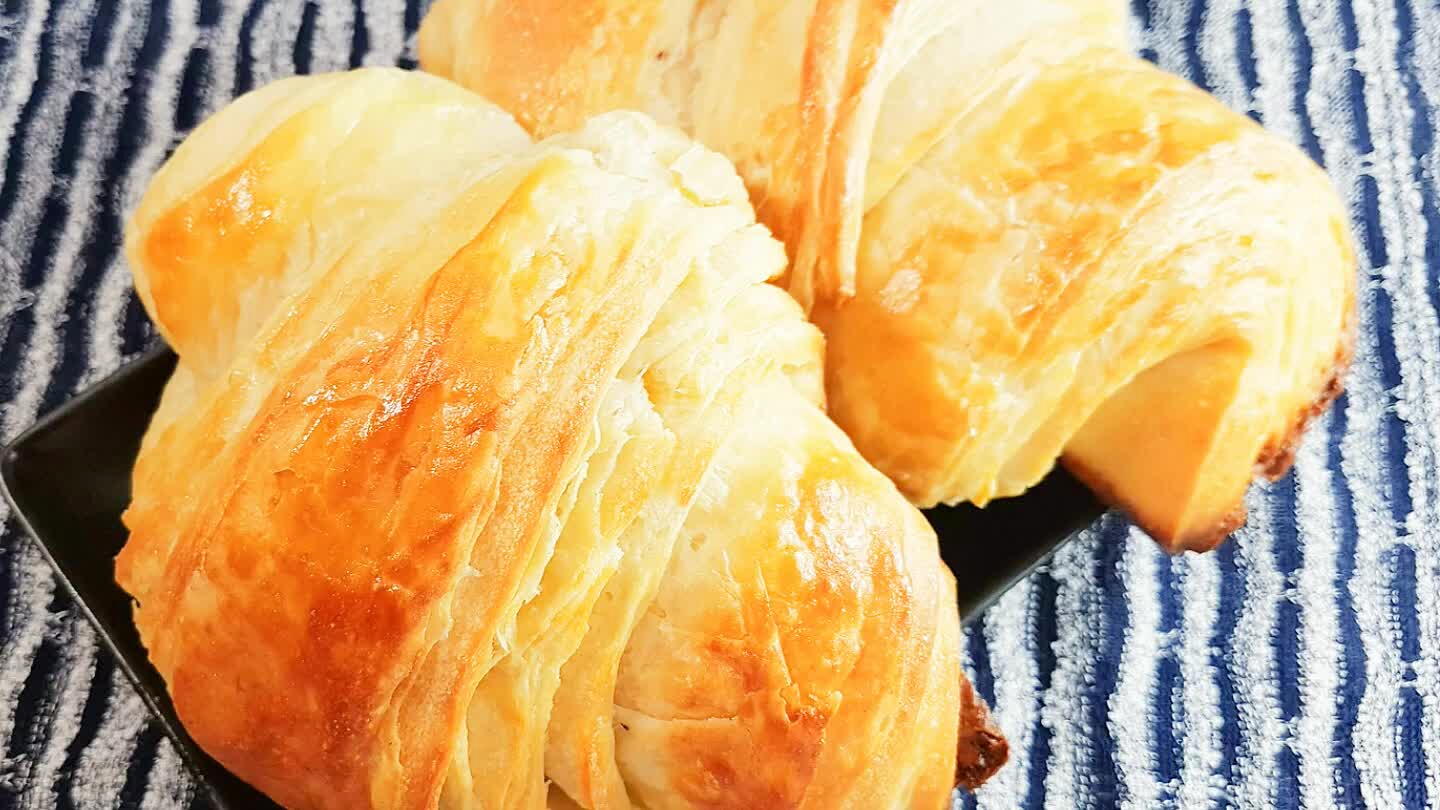
Use this dough to make croissants, pain au chocolat, morning buns, ham and cheese croissants, and the list goes on...


How to Make Croissants
Croissants are intimidating, so I wanted to do my best to create an easy to follow video recipe that details how to make croissants from scratch. Buttery homemade French croissants with video