
How to Sharpen a Knife


 1 portions
 4m
4mIt may not be for everyone, but learning how to keep your knife sharp will make you a better cook. This is a rough outline to get you started on learning the proper process.


What you will need
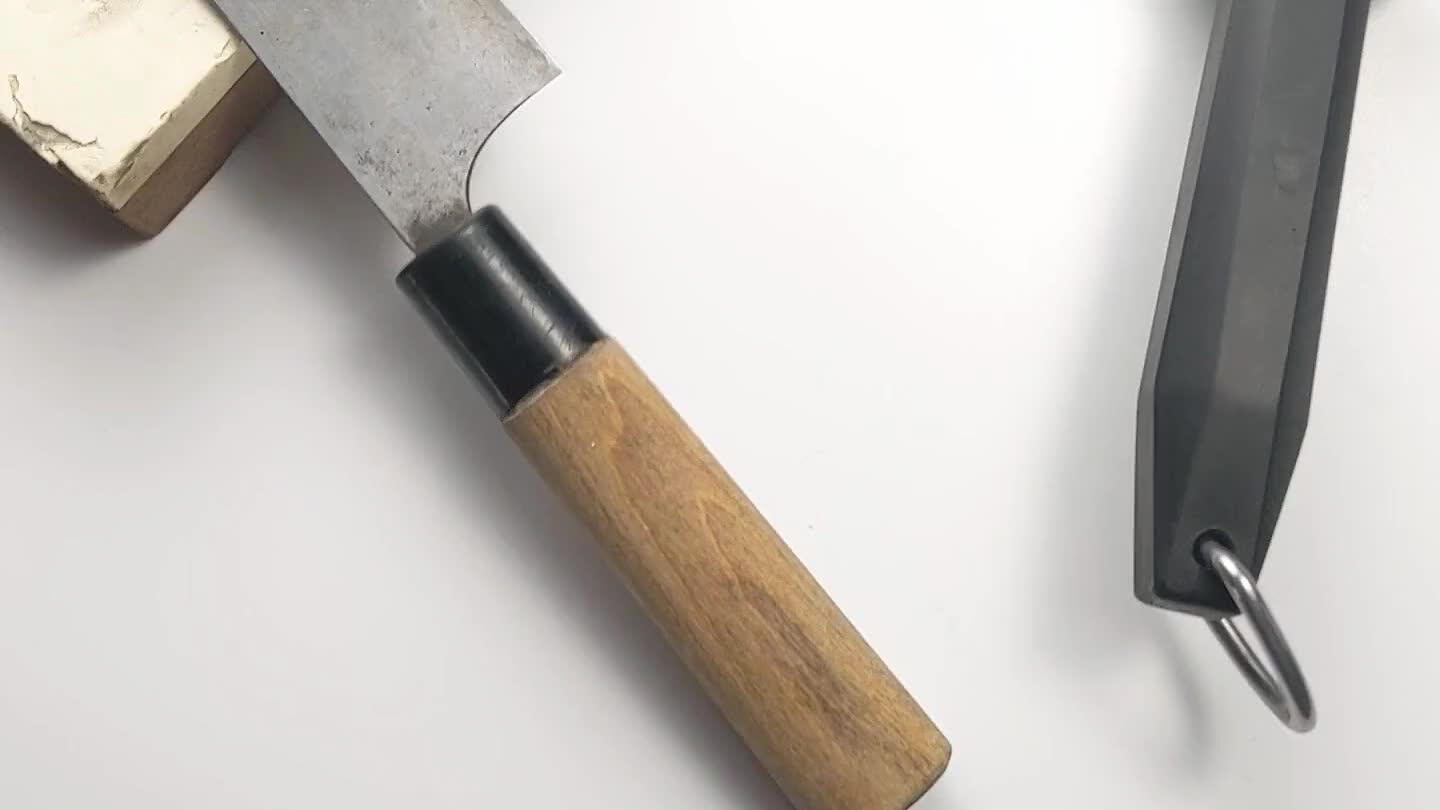
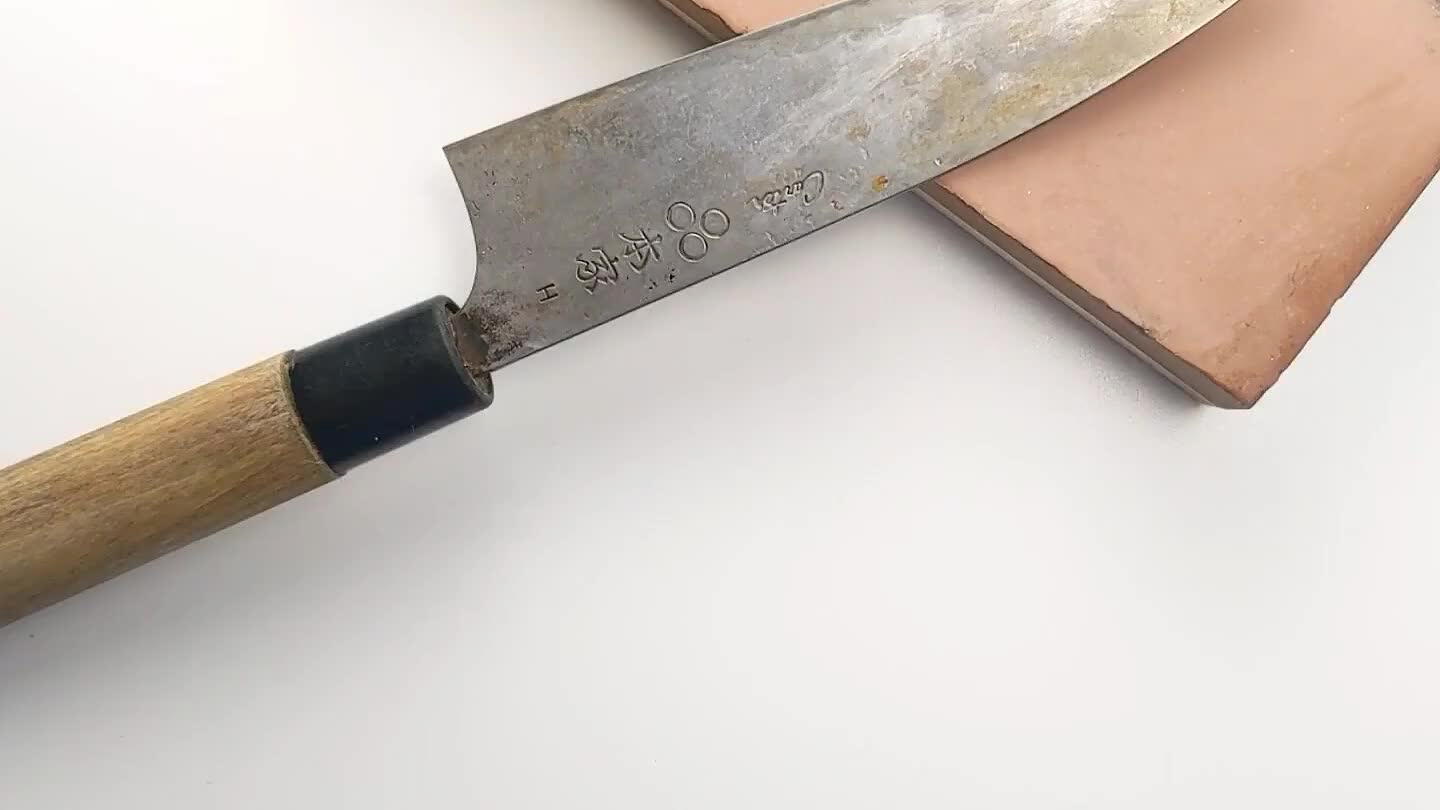
A knife
A sharpening tool
(Nutritional facts 74 calories, 8.24 g fat, undefined g carbohydrates, undefined g protein, undefined mg cholesterol, undefined mg sodium)How to cook
1
2

You probably recognize this tool. It's known as a hone.
3
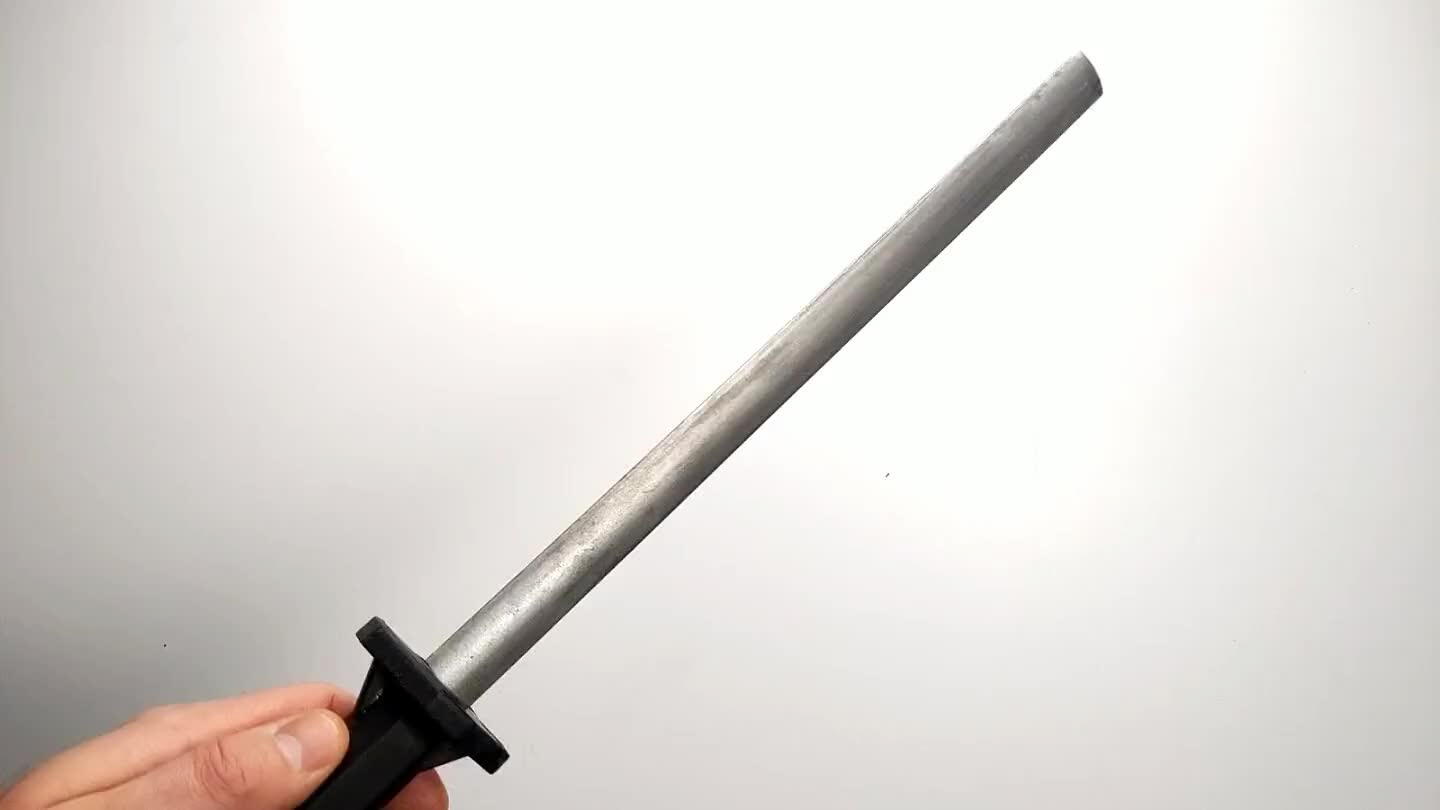
Pass your knife along the metal end, away from your hand.
4
Try to keep the blade angled at around 20° to the hone as the knife moves along it.
5
A hone does not sharpen your blade in the strictest sense. It is only intended to straighten out the edge. As you work with your knife, the delicate blade edge will be shifted and tweaked on a microscopic level. Portions of it will bend back and forth. Passing it on a steel hone will help to straighten out these wobbles and help keep your blade passing smoothly through its work.
6
7

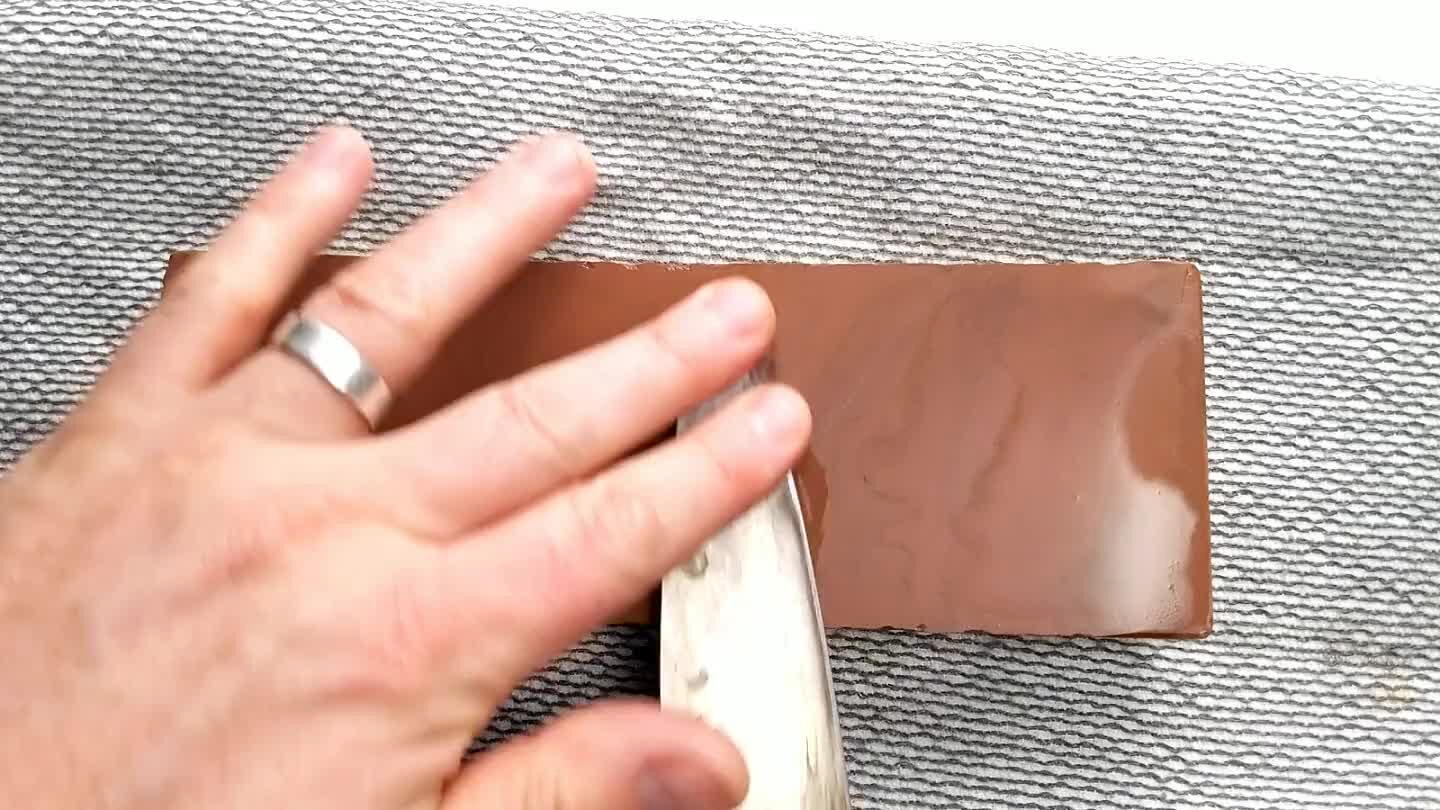
Stones are identified by their grit. The higher the grit, the smoother the stone. For a beginner, a double-sided stone with one side that's around 600-800 grit and the other side around 1000-1800 grit will work fine. Submerge the stone completely in water for at least 10 minutes before use.
8
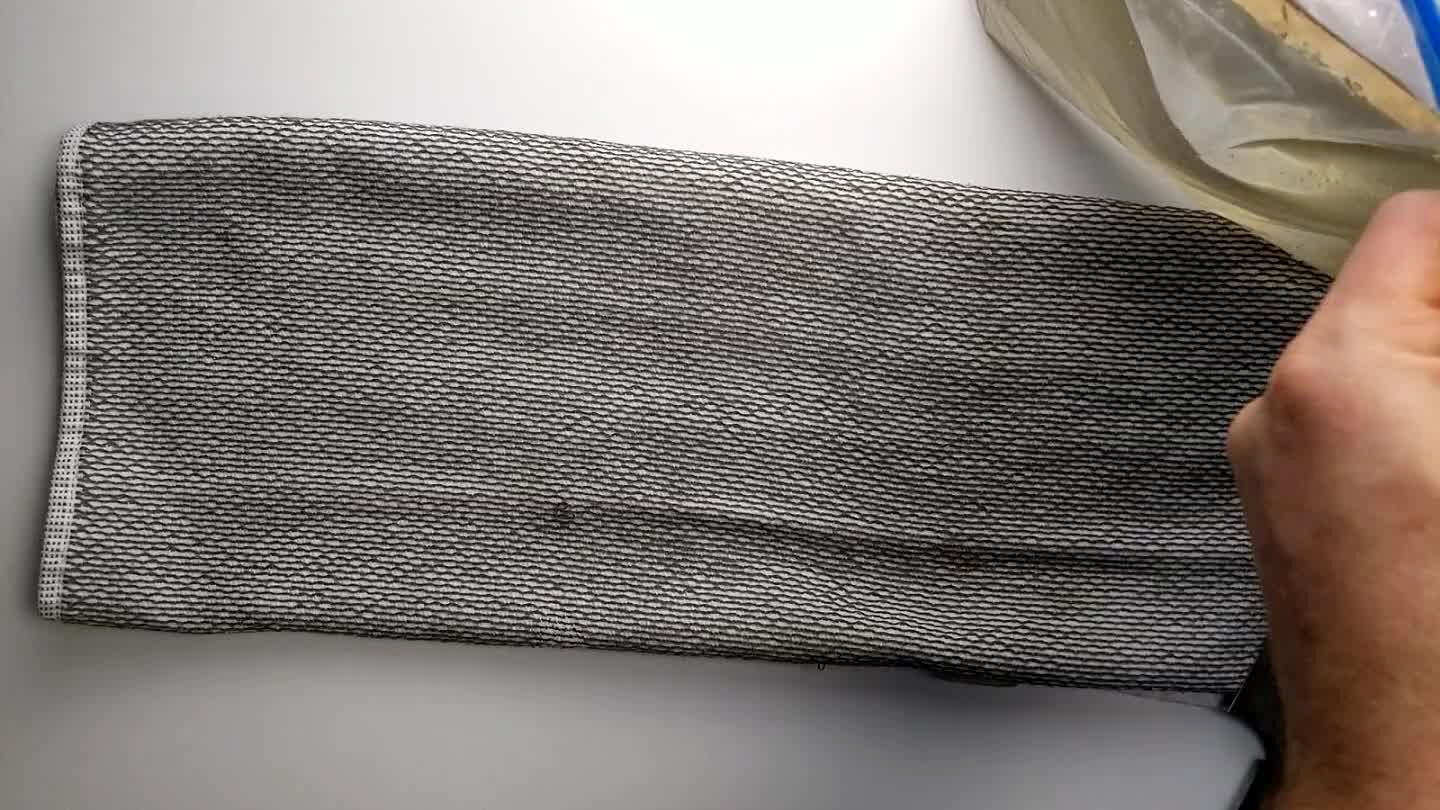
Some stones will come in a slip-proof cage that can be useful for securing the stone while it is in use. But, a folded towel should work just as well.
9
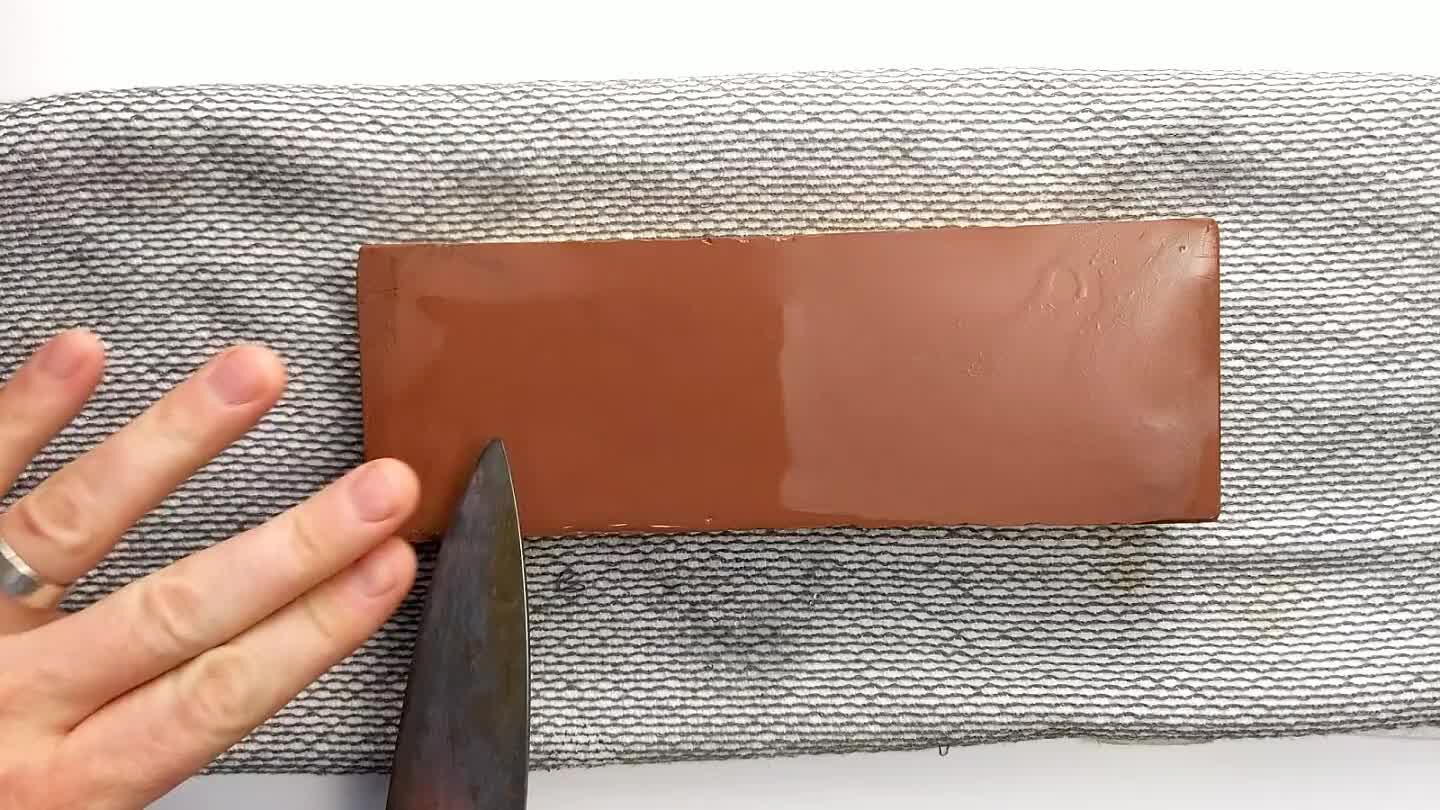
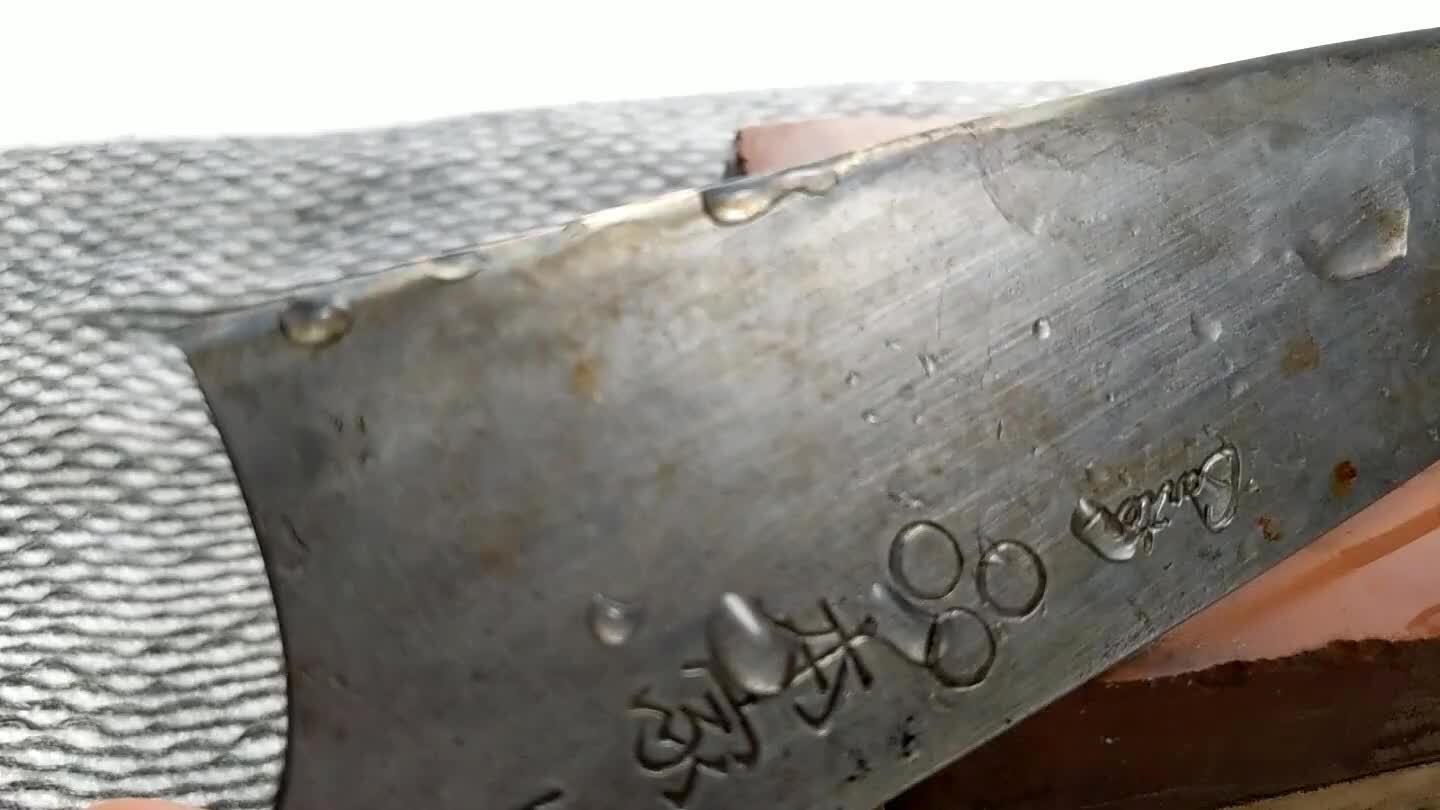
Begin with the coarser side of the stone facing upwards. Place the blade on the stone. Slide it along the stone in a slicing motion, pushing forward and pulling back, such that the entire length of the knife is contacted as it moves through the process.
10

Try to keep the blade angled at around 20° to the stone. With practice, this becomes quite natural. Start with 15-20 passes on one side of the blade. Do your best to follow the existing curve of the blade and grind the entire edge evenly. The only way to really master this is a ton of practice.
11
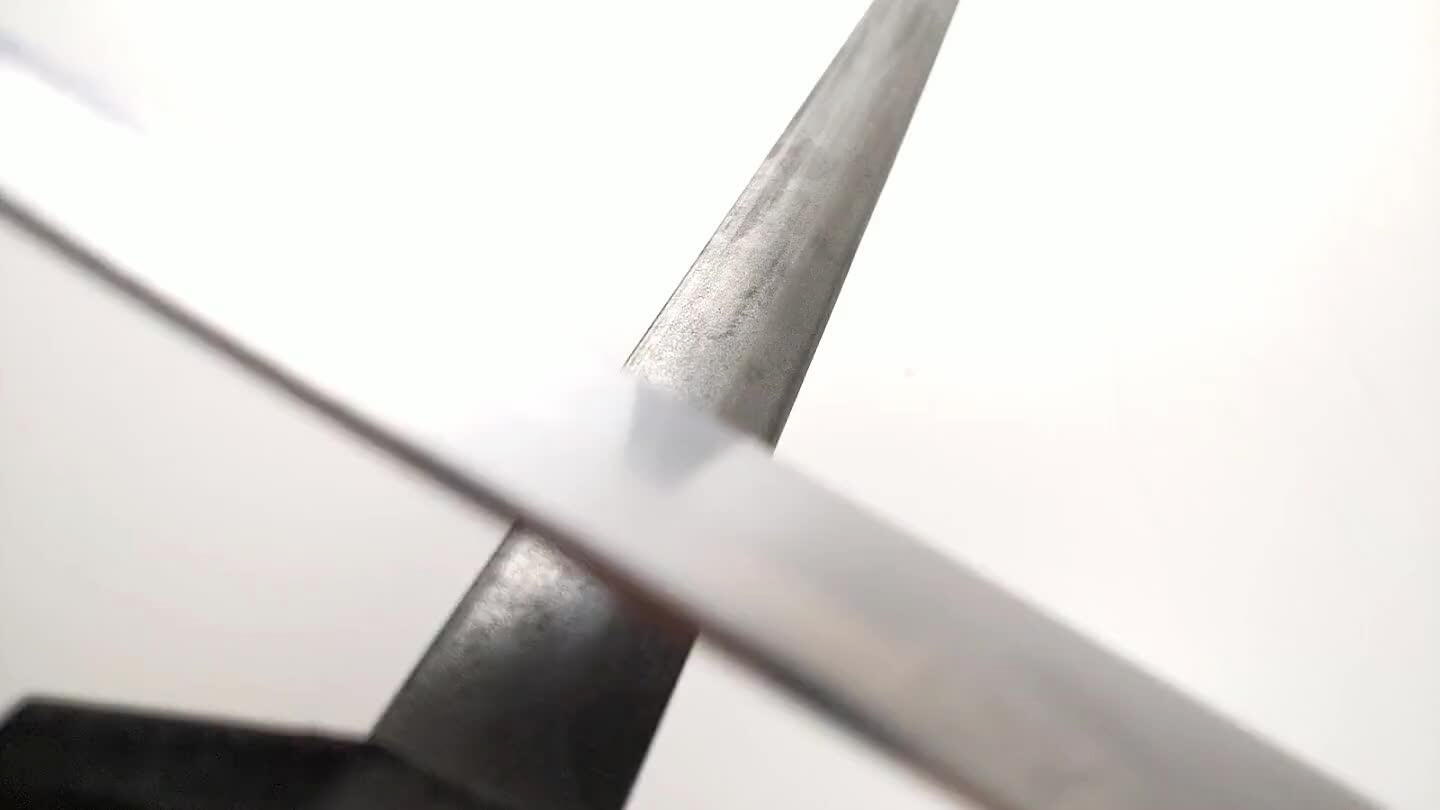
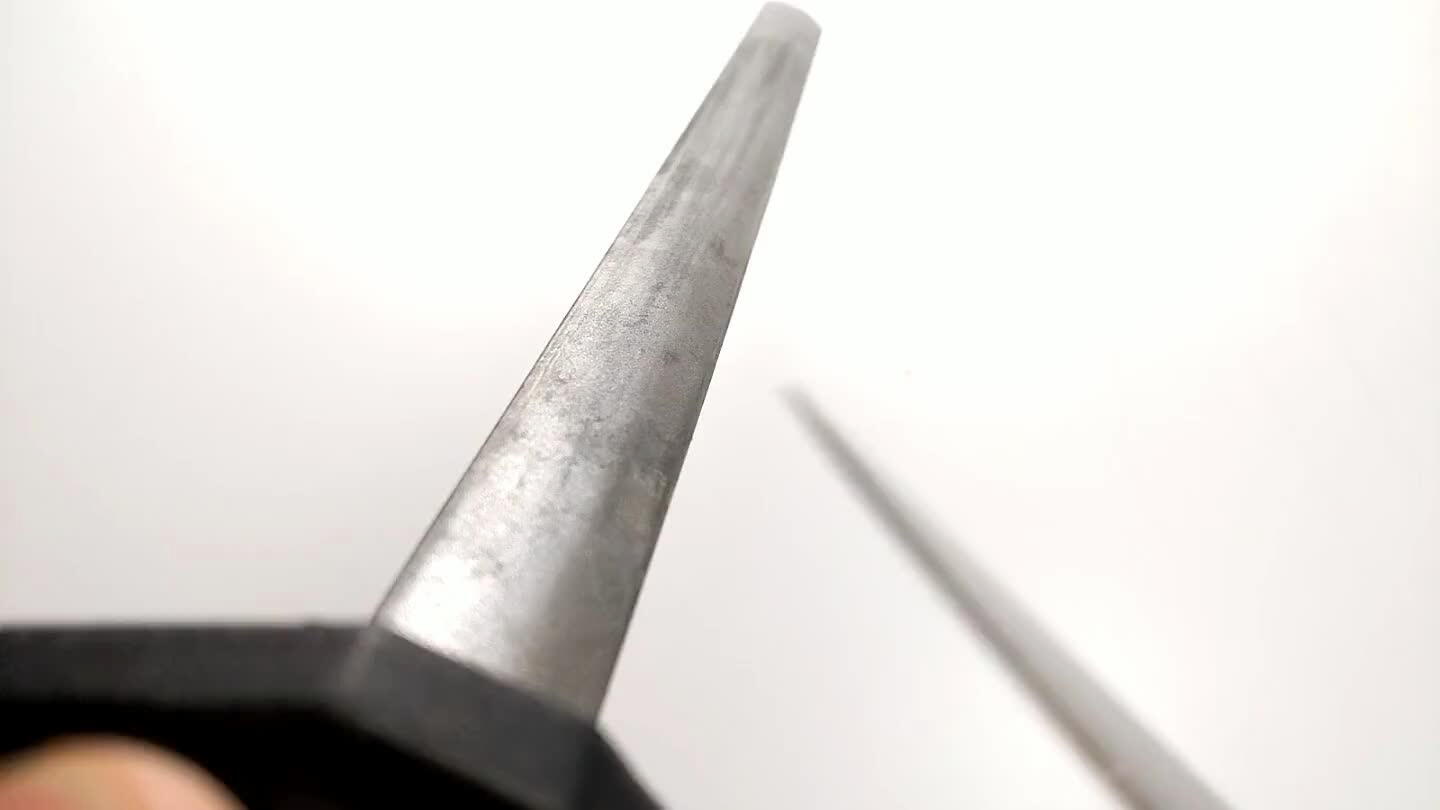
The videos here contrast a freshly ground edge against an unworked edge.
12

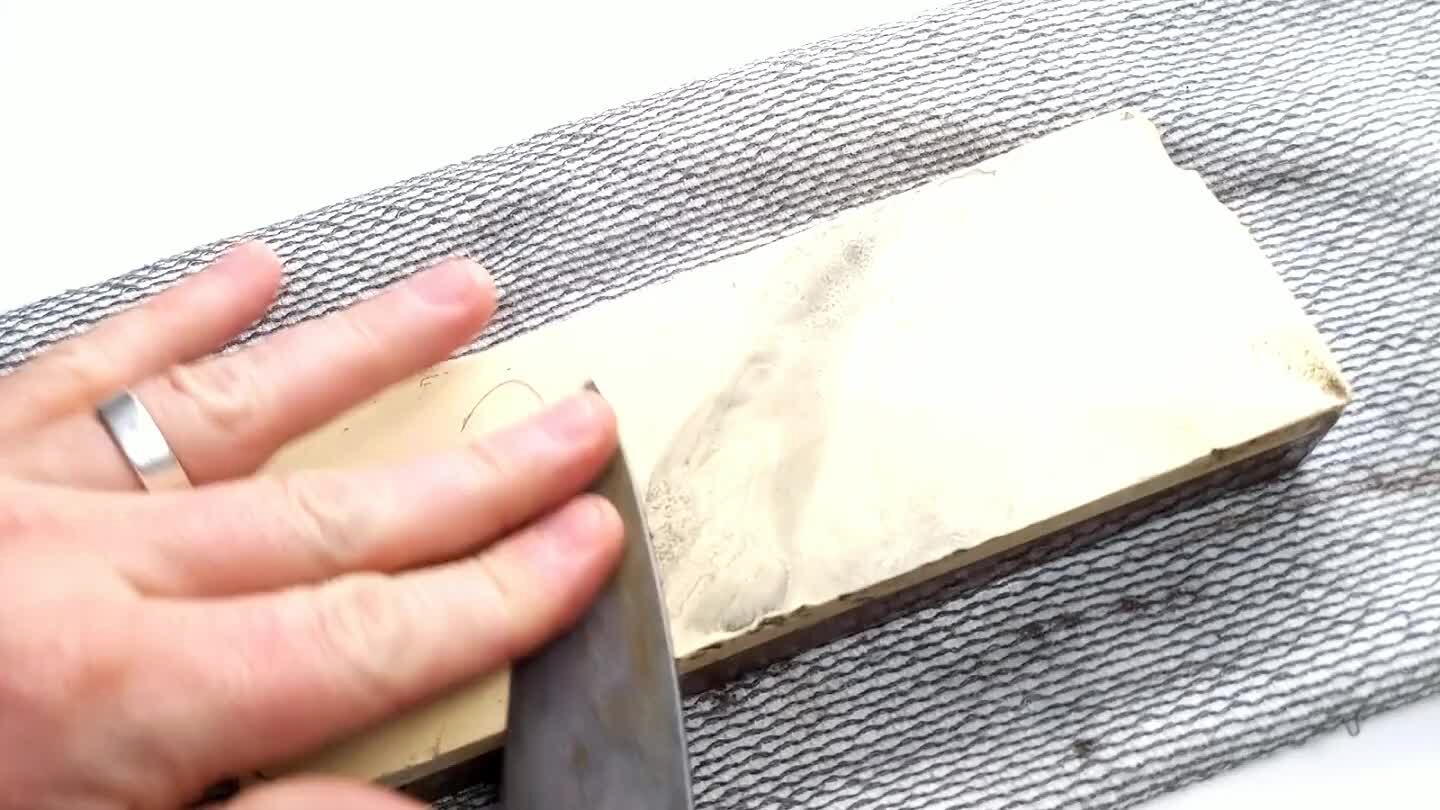
Flip the blade over and grind the opposite edge to match. Count out the same number of passes as the previous side. This is a good practice when you're getting started to help grind evenly. You will probably need to rinse and clean the stone several times to remove the grindings.
13
Continue grinding both sides evenly until you have a nice, clean, even edge on both sides of the blade. both edges should be close to the same width, indicating a similar grind angle.
14

Switch to a finer grit. There are all kinds of whetstones, both artificial and natural, ranging up into the thousands in both grit and price. But 1800 grit is plenty to get working on your technique.
15
Increase the angle slightly. Don't think of the finer grit as polishing the edge you formed with the previous grit. Think of it more as adding a finer leading edge at a steeper angle. Rinse and dry your knife and your stone and store them in a safe location.
16
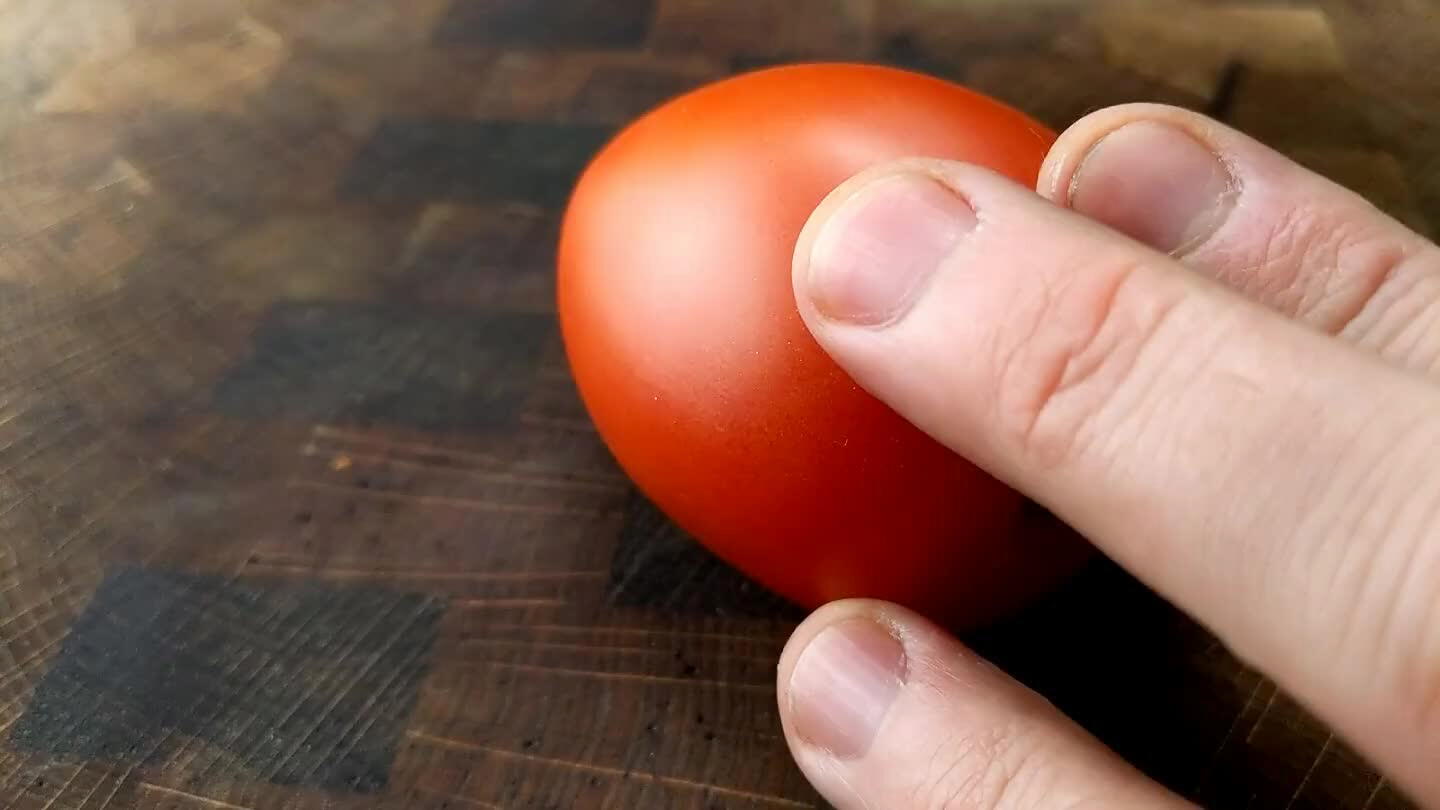
A properly sharpened blade should glide through a tomato without disfiguring it. There are a lot of ways to test your blade's sharpness, but I think the tomato test is a practical start. If you can keep your knife sharp enough to handle a ripe tomato, you're already ahead of a lot of professional cooks.
17
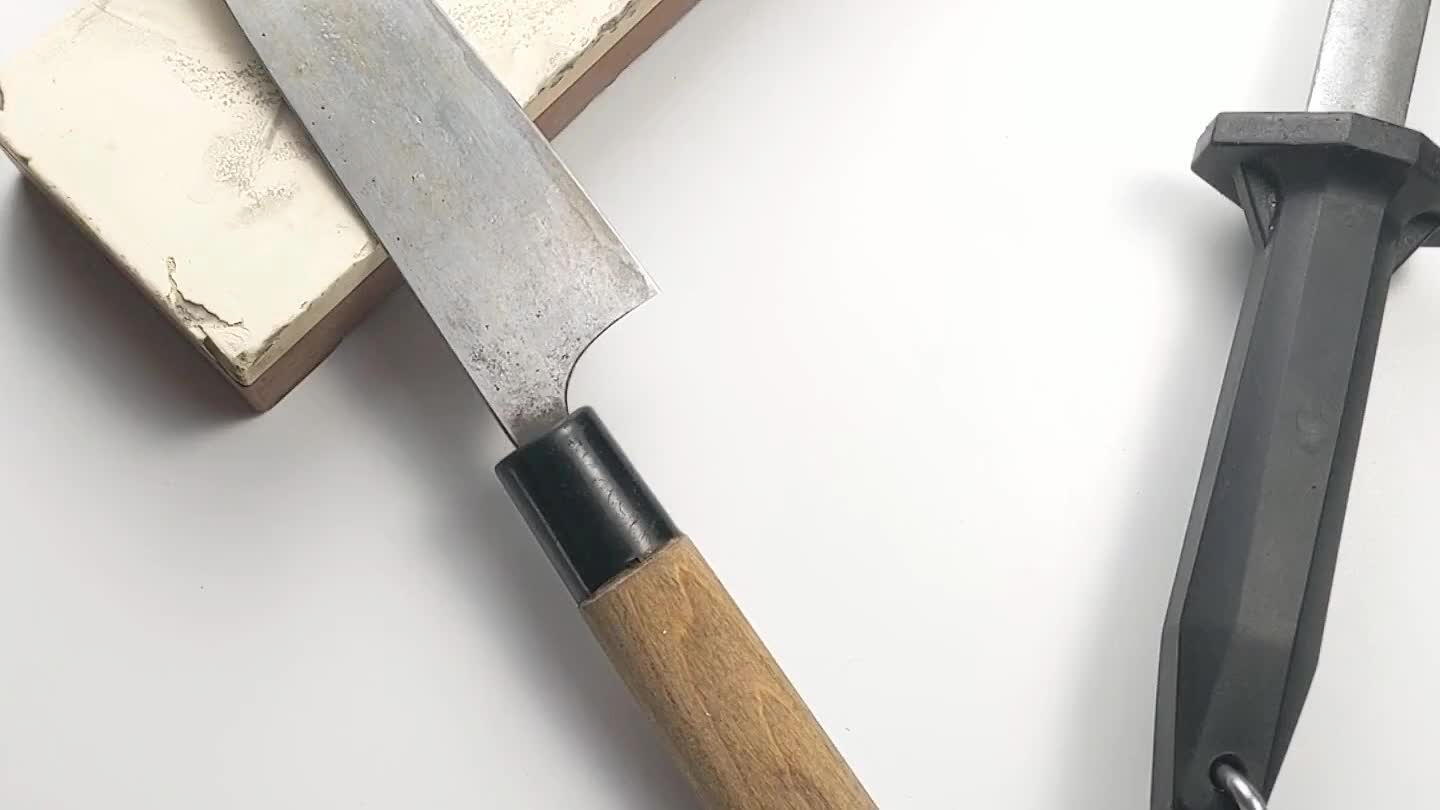
How to Use a Hone
Using a hone to quickly straighten your blade is the fastest and easiest route to a sharp knife.